
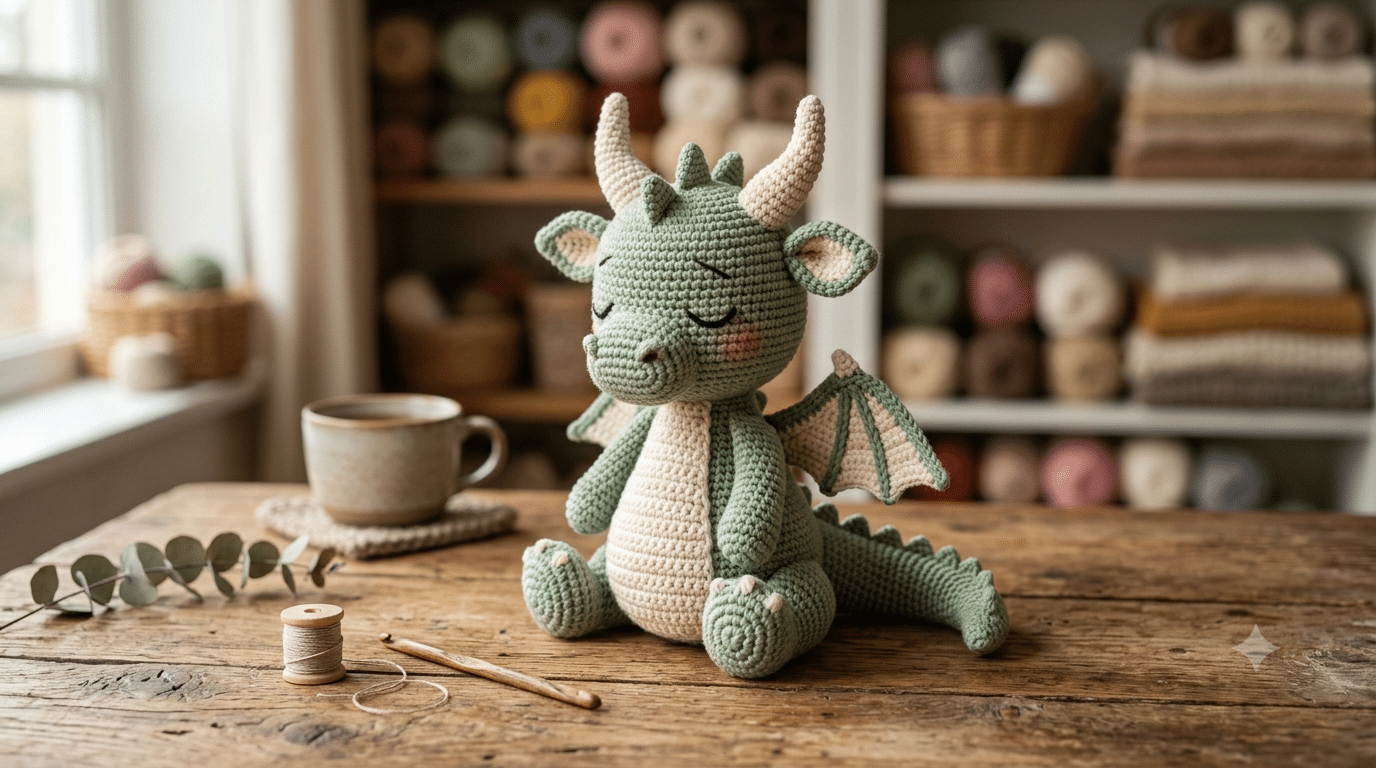
Nothing feels quite as magical as turning a ball of yarn into a tiny dragon. One moment you have a crochet hook and a few simple supplies, and the next you are holding a charming creature complete with wings, a tail, and plenty of personality.
A crochet dragon pattern is one of those projects that looks impressive but can be surprisingly beginner-friendly when you break it into simple stages. Whether you want to make a cute dragon for a child’s gift, decorate your craft room, or add a mythical creature to your amigurumi collection, this guide walks you through the entire process from start to finish.
You’ll learn how to choose the best materials, shape each part of your dragon, add adorable details, and customize your creation to match your own style. By the time you finish, you’ll have a handmade dragon you’ll be proud to display or gift.
The secret to creating soft and cuddly dragons is choosing the right yarn from the start. My favorite choice for a beginner-friendly plush dragon is Bernat Blanket yarn because it creates a wonderfully squishy finish and hides small mistakes beautifully.
Ready to bring a magical dragon to life? Let’s get started.
Table of Contents
Why a Crochet Dragon Pattern Is the Perfect Amigurumi Project
Dragons have remained one of the most popular amigurumi animals for years. They combine fantasy, creativity, and adorable design elements in a single project.
Unlike some crochet animals that follow predictable shapes, dragons let you experiment with unique features. You can add spikes, wings, horns, tails, and colorful details that make every dragon completely unique.
Another reason crafters love a crochet dragon pattern is its flexibility. Beginners can create a simple chubby dragon with minimal shaping, while advanced crocheters can add intricate details and complex construction.
Great for Learning New Techniques
A dragon project teaches several valuable amigurumi skills:
- Shaping with increases and decreases
- Attaching separate pieces
- Creating symmetrical limbs
- Designing facial features
- Adding decorative details
These techniques transfer easily to future crochet projects.
Perfect for Gifts
Handmade dragons make wonderful gifts for:
- Children
- Fantasy lovers
- Gamers
- Collectors
- Birthday celebrations
Because dragons are timeless mythical creatures, they appeal to many different ages.
Endless Customization Options
One of my favorite things about dragon amigurumi is that there is no wrong color choice.
Your dragon can be:
- Pastel pink
- Bright rainbow
- Forest green
- Deep purple
- Classic red
- Ice blue
Trust me on this one—creative color choices often produce the cutest dragons.
Crochet Dragon Pattern Materials and Preparation
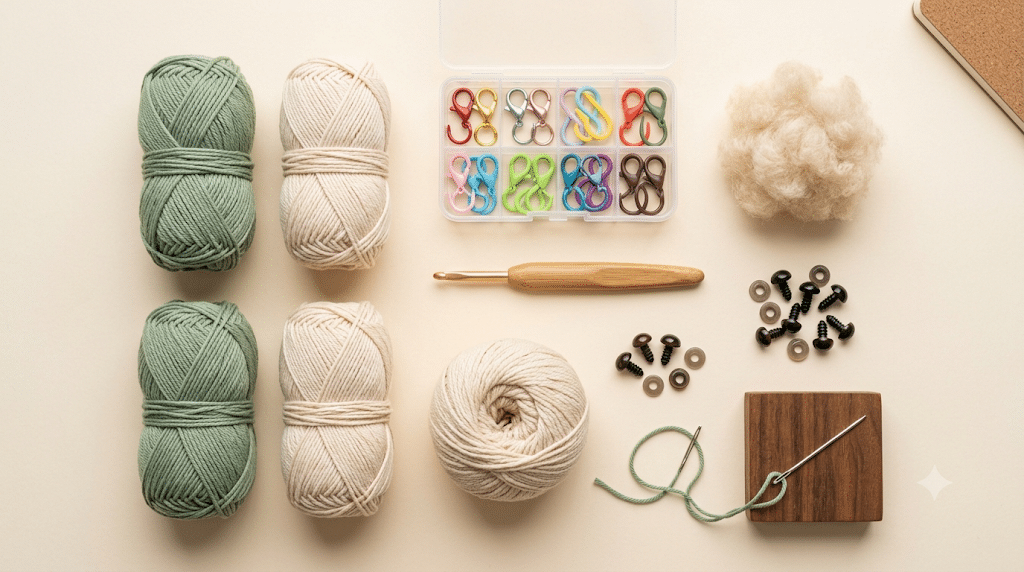
Before you begin crocheting, gathering the right materials makes the process smoother and more enjoyable.
A well-prepared workspace helps you stay organized and reduces frustration later.
Choosing the Best Yarn
Several yarn options work beautifully for dragon amigurumi.
Paintbox Simply DK yarn creates excellent stitch definition and gives your dragon a classic amigurumi appearance.
Other good choices include:
- Lion Brand Comfy Cotton yarn
- Red Heart Soft yarn
- Chenille-style plush yarns
Each yarn creates a different finished look.
Selecting the Right Hook
For this project I almost always reach for my Clover Amour crochet hook. The comfortable grip makes longer crochet sessions much easier on your hands, especially when working on detailed pieces like wings and tails.
Choose a hook slightly smaller than your yarn label suggests. This helps prevent stuffing from showing through the stitches.
Prepare Your Crochet Space
Before starting:
- Gather scissors
- Keep stitch markers nearby
- Prepare stuffing
- Organize safety eyes
- Have a yarn needle ready
A tidy setup makes the entire project more relaxing.
Decide on Your Dragon Style
Think about the final appearance before making your first stitch.
Ask yourself:
- Cute or realistic?
- Small or large?
- Winged or wingless?
- Bright or natural colors?
Making these decisions early creates a more cohesive design.
Crochet Dragon Pattern Step-by-Step Construction Guide
Now comes the fun part. Building your dragon piece by piece helps make the project feel manageable and exciting.
Step 1: Create the Head
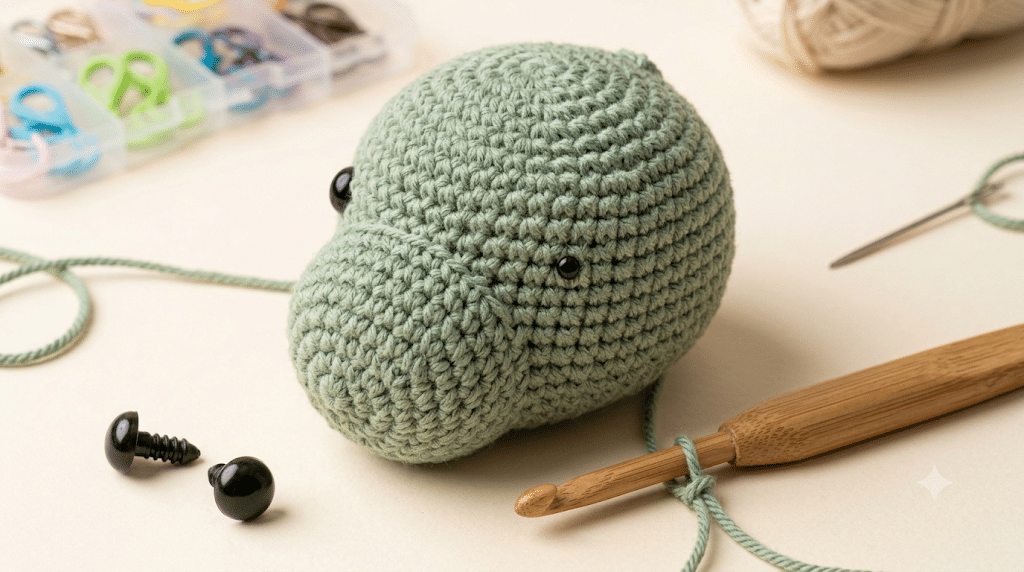
The head becomes the focal point of your dragon.
Start with a rounded shape and gradually increase until you achieve the desired width.
Many crocheters slightly flatten the muzzle area to create a more dragon-like appearance.
When shaping the head:
- Keep stitches tight
- Stuff gradually
- Maintain symmetry
- Check proportions often
A properly shaped head instantly makes your dragon more recognizable.
Step 2: Crochet the Body
Next up, create the body.
Most beginner dragons use an oval or rounded body shape. This style creates a cuddly and approachable appearance.
Keep the body slightly larger than the head for a balanced look.
As you work:
- Add stuffing slowly
- Shape with your fingers
- Avoid overfilling
A soft body helps your dragon maintain its adorable charm.
Step 3: Make the Legs
Dragons usually have four legs.
Crochet each leg separately before attaching them to the body.
Try placing all four legs before sewing permanently. Small adjustments often improve balance dramatically.
Step 4: Form the Tail
The tail adds movement and personality.
Many crocheters gradually taper the tail toward the tip.
You can leave the tail simple or add decorative spikes later.
Step 5: Assemble the Main Pieces
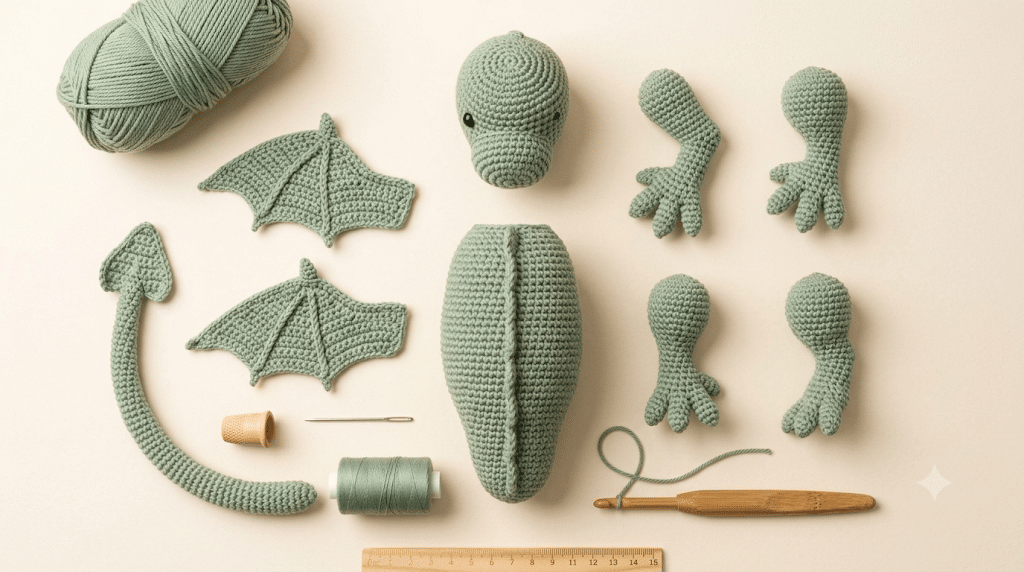
Before sewing:
- Pin pieces in place
- View from multiple angles
- Check proportions
- Adjust placement if needed
Taking extra time here creates a polished final result.
How to Add Wings, Horns, and Dragon Details
A dragon truly comes alive when you add the signature features that make it magical.
These details transform a simple amigurumi animal into a mythical creature.
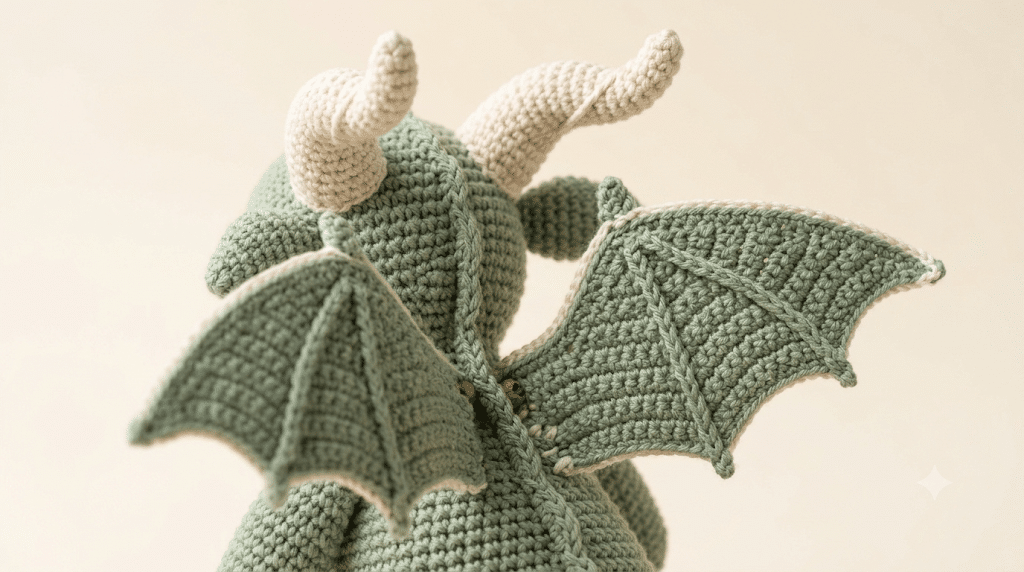
Creating Adorable Dragon Wings
Wings are often the feature people notice first.
Beginner dragons can use simple flat wings attached to the back.
More advanced dragons may include:
- Curved wings
- Layered wings
- Structured wings
- Textured wing membranes
Keep wing size proportional to the body.
Large wings can overwhelm smaller dragons.
Adding Horns
Horns instantly strengthen the dragon appearance.
Popular horn styles include:
- Curved horns
- Straight spikes
- Rounded horns
- Mini antler-style horns
Try using a contrasting color to help them stand out.
Designing a Dragon Spine
A row of spikes running down the back creates a classic dragon silhouette.
Spines can continue across:
- Head
- Neck
- Back
- Tail
This detail looks impressive while remaining beginner-friendly.
Creating Expressive Faces
Facial details determine whether your dragon appears:
- Cute
- Playful
- Sleepy
- Curious
- Mischievous
Eye placement matters more than many beginners realize.
Moving eyes even slightly can completely change your dragon’s expression.
Customizing Your Crochet Dragon Pattern for Every Skill Level
One reason a crochet dragon pattern remains so popular is its incredible versatility.
You can make the project as simple or as detailed as you like.
Beginner Dragon Ideas
If you’re new to amigurumi:
- Use basic shapes
- Skip complicated wings
- Choose one yarn color
- Keep facial details simple
Your first dragon does not need perfection.
The goal is learning and having fun.
Intermediate Dragon Upgrades
Once you’re comfortable with the basics, add:
- Color changes
- Larger wings
- Detailed horns
- Decorative spikes
- Textured stitches
These additions increase visual interest without becoming overwhelming.
Advanced Dragon Features
Experienced crocheters often enjoy creating:
- Poseable dragons
- Wire-supported wings
- Articulated tails
- Sculpted facial features
- Complex colorwork
These advanced techniques create stunning display pieces.
Seasonal Dragon Themes
Dragons can match any season.
Ideas include:
- Spring flower dragon
- Summer rainbow dragon
- Autumn pumpkin dragon
- Winter snow dragon
Seasonal themes make wonderful gifts and decorations.
Common Crochet Dragon Mistakes and How to Avoid Them
Every crocheter makes mistakes, especially when creating fantasy creatures for the first time.
Fortunately, most problems have easy solutions.
Uneven Assembly
Crooked features can affect the finished appearance.
Before sewing permanently:
- Pin everything first
- Measure placement
- Compare both sides
- View from different angles
Small adjustments create a professional finish.
Overstuffing the Dragon
Too much stuffing stretches stitches.
This causes gaps and reduces softness.
Instead:
- Add small amounts gradually
- Shape frequently
- Stop before stitches stretch
Your dragon should feel plush, not rigid.
Wings That Flop
Oversized wings sometimes collapse.
To prevent this:
- Use tighter stitches
- Reduce wing size
- Add structural shaping
Balanced proportions solve many wing issues.
Inconsistent Tension
Tension affects appearance significantly.
Practice maintaining an even rhythm while crocheting.
Consistency helps all pieces fit together properly.
Advanced Finishing Techniques That Make Your Dragon Look Professional
Now that your dragon has a head, body, legs, tail, and wings, it’s time to add the finishing touches that make handmade amigurumi look truly special.
Many crocheters focus heavily on construction but rush through finishing. The final details often make the biggest difference.
Shape the Dragon Before Final Assembly
Before sewing every piece permanently, spend a few minutes adjusting the shape.
Try:
- Moving the wings slightly higher
- Repositioning the tail
- Adjusting leg spacing
- Tilting the head
Sometimes a tiny adjustment creates a much more expressive dragon.
Take photos from different angles if you’re unsure.
Add Gentle Sculpting
Advanced amigurumi makers often use light sculpting to create extra character.
You can shape:
- Cheeks
- Eye areas
- Snouts
- Belly sections
A few carefully placed stitches can make your dragon appear happier, sleepier, or more playful.
Create Soft Texture Details
Texture adds visual interest without making the project complicated.
Consider adding:
- Tiny embroidered scales
- Decorative ridges
- Surface crochet details
- Contrasting belly panels
These small additions make your dragon stand out from simpler designs.
Secure Every Piece Carefully
Dragons often become favorite toys or display pieces.
Double-check:
- Wing attachment points
- Horn placement
- Tail security
- Eye placement
Strong assembly helps your dragon last for years.
Crochet Dragon Pattern Color Ideas You’ll Want to Try
One of the most exciting parts of making a crochet dragon pattern is choosing colors.
Unlike realistic animals, dragons can be any color imaginable.
This gives you complete creative freedom.
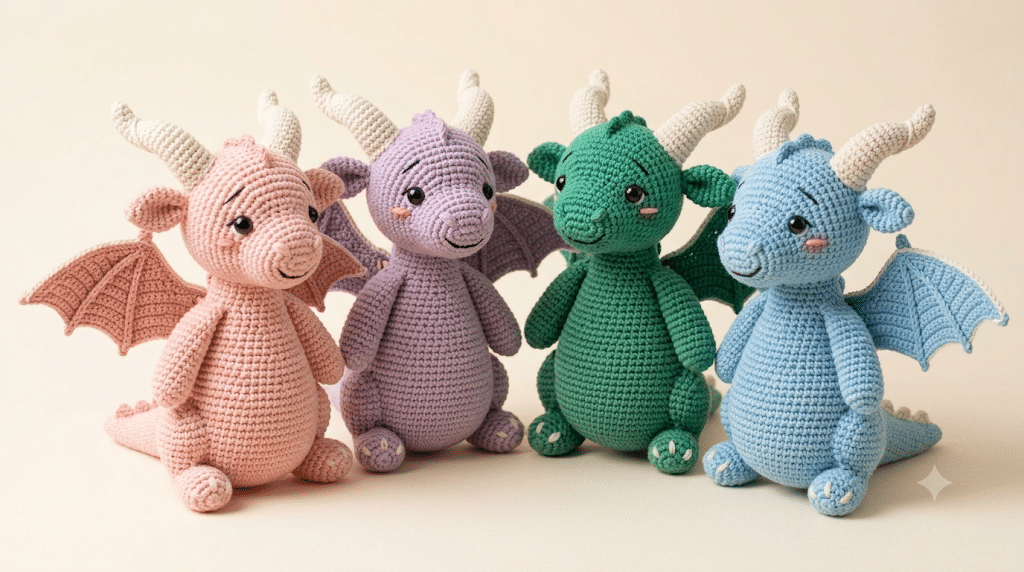
Classic Fantasy Dragon Colors
Traditional fantasy dragons often feature bold shades.
Popular combinations include:
- Emerald green and gold
- Crimson red and black
- Royal purple and silver
- Midnight blue and gray
These color schemes create a magical appearance.
Cute Kawaii Dragon Colors
Many Yarned Animals readers love soft pastel palettes.
Try:
- Baby pink and cream
- Mint green and white
- Lavender and pale blue
- Peach and ivory
Pastel dragons look adorable on nursery shelves and craft displays.
Nature-Inspired Dragon Themes
Natural color combinations feel timeless.
Ideas include:
- Moss green and brown
- Ocean blue and turquoise
- Sand beige and cream
- Forest green and tan
These dragons blend fantasy with a realistic touch.
Rainbow Dragons
Rainbow dragons remain Pinterest favorites.
Use gradual color transitions to create:
- Ombre effects
- Multi-color spikes
- Rainbow wings
- Colorful tails
Kids especially love bright rainbow dragons.
Creative Ways to Display or Gift Your Dragon
After spending hours crocheting your dragon, you deserve to show it off.
Fortunately, dragon amigurumi work beautifully as gifts and decorations.
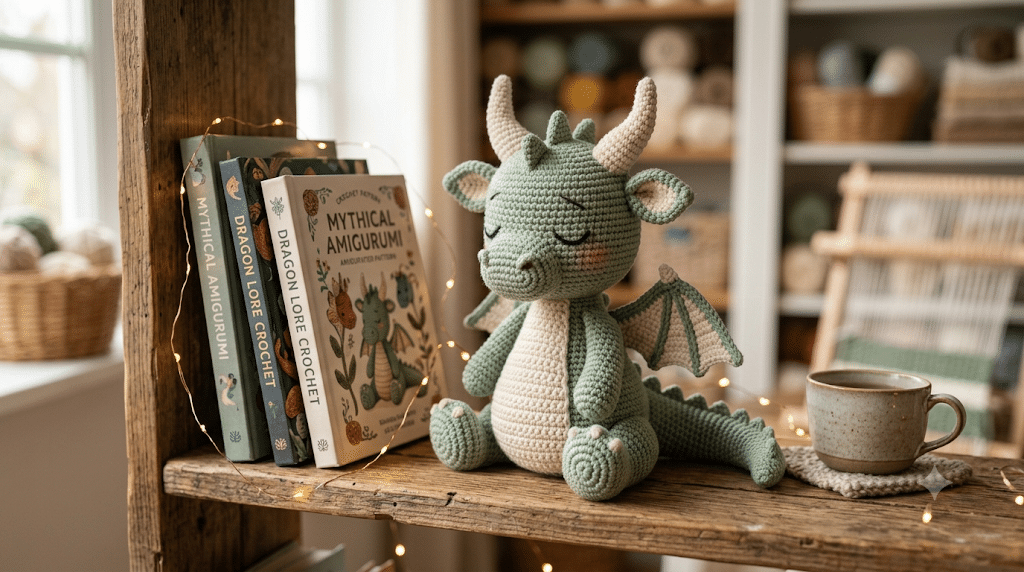
Create a Fantasy Shelf Display
A handmade dragon instantly becomes a conversation piece.
Display your dragon with:
- Crystals
- Books
- Fairy lights
- Small plants
This creates a magical fantasy-themed shelf.
Make a Memorable Handmade Gift
A crocheted dragon feels personal and thoughtful.
Perfect occasions include:
- Birthdays
- Baby showers
- Holidays
- Graduation gifts
People often treasure handmade gifts far longer than store-bought items.
Build a Dragon Collection
Once you finish one dragon, stopping becomes surprisingly difficult.
Many crocheters create:
- Seasonal dragons
- Mini dragons
- Family dragon sets
- Color-themed collections
Each new project helps improve your amigurumi skills.
Add a Personal Touch
Before gifting, consider adding:
- A handmade tag
- A name card
- A small story
- A gift box
These little details make the gift feel even more special.
The stuffing that gives my dragons their soft, huggable shape is Poly-fil Premium fiberfill. It stays fluffy over time and helps maintain smooth shaping throughout the body and tail.
Frequently Asked Questions About Crochet Dragon Pattern
How long does it take to crochet a dragon?
A simple beginner dragon usually takes between 4 and 8 hours. Larger or more detailed dragons may require 10 to 20 hours. Your speed depends on experience, yarn choice, and how many details you decide to add.
Is this crochet dragon pattern good for beginners?
Yes. Beginners can simplify the design by using basic body shapes and smaller wings. The project teaches valuable amigurumi skills without requiring advanced crochet techniques from the start.
What yarn is best for dragon amigurumi?
Many crocheters enjoy using Paintbox Simply DK yarn for clear stitch definition. Plush options like Bernat Blanket yarn create softer dragons. The best choice depends on whether you prefer a classic amigurumi look or a cuddly plush finish.
What size safety eyes should I use?
For medium-sized dragons, 9mm safety eyes usually create balanced proportions. Smaller dragons may use 6mm eyes, while larger dragons often look best with 12mm eyes.
Can I sell dragons made from this pattern?
In most cases, yes. Handmade dragons created from a pattern can usually be sold in small quantities. Always check the original designer’s terms if you are using a commercial pattern instead of designing your own.
Why does my dragon look uneven?
Uneven appearance often comes from assembly rather than crochet stitches. Pin all pieces before sewing, compare both sides carefully, and make adjustments until everything looks balanced.
Your Magical Dragon Is Ready to Fly
Creating a crochet dragon pattern is a wonderful way to grow your amigurumi skills while making something truly magical. Along the way, you’ve learned how to choose materials, shape the head and body, add wings and horns, customize colors, and finish your dragon with professional-looking details.
The best part is seeing your creation come to life stitch by stitch. Every dragon develops its own personality, making each project unique. Whether you keep your dragon on display, gift it to someone special, or start an entire collection, you’ll have a handmade piece you can feel proud of.
Save this pin to your crochet board on Pinterest so you can find this pattern anytime!
Looking for more free crochet animal patterns? Visit Yarned Animals for new amigurumi patterns, kawaii plushies and beginner crochet tutorials added every week at yarnedanimals.com