
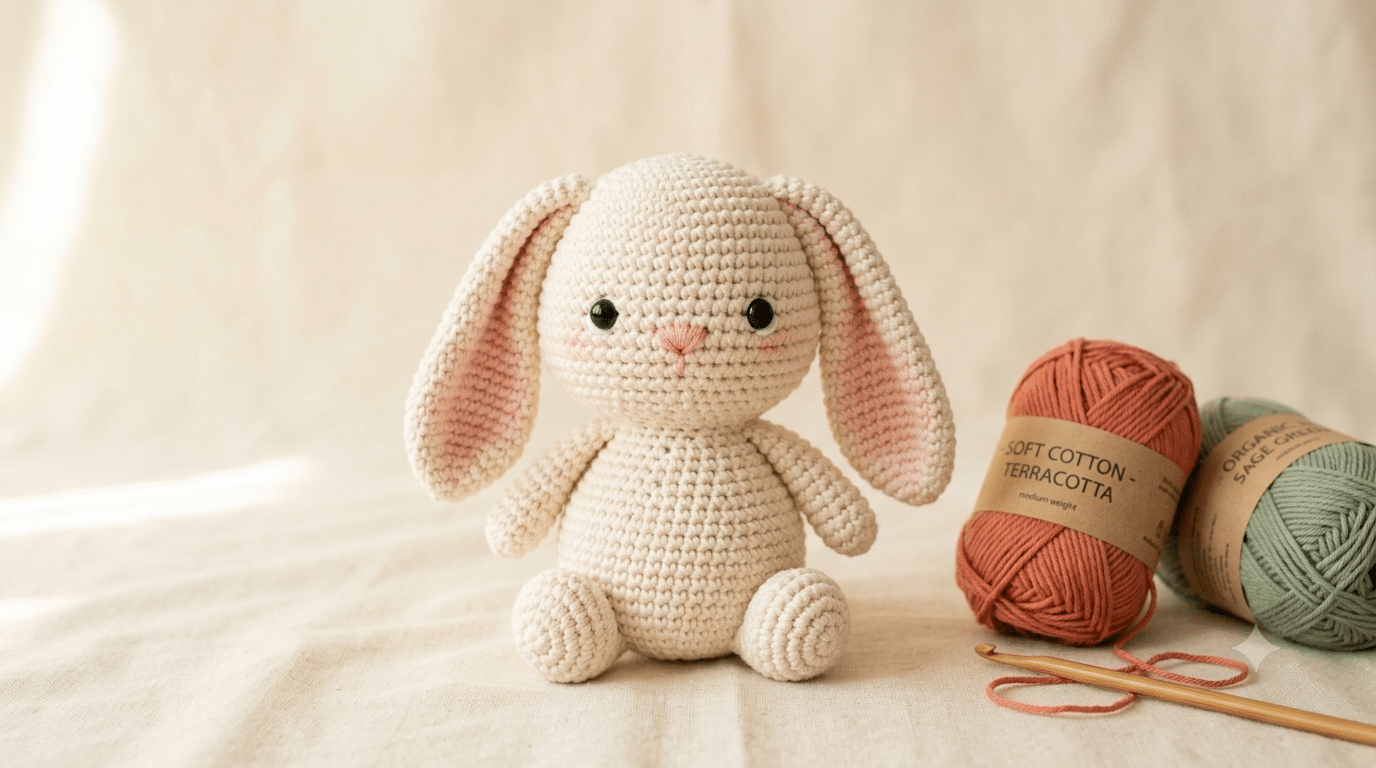
Nothing feels quite as magical as holding a handmade bunny in your hands for the first time. Those floppy ears, sweet little face, and cuddly shape make bunny amigurumi one of the most loved crochet projects around. Whether you’re making a thoughtful gift, decorating a nursery, or adding another cute plushie to your collection, a crochet bunny pattern free project is always a wonderful choice.
The best part is that you do not need years of crochet experience to create an adorable bunny. With a little patience and a few basic stitches, you can make a soft companion that looks like it came straight from a boutique gift shop. Along the way, you’ll learn helpful amigurumi techniques, discover beginner-friendly tips, and build confidence with every stitch.
For this bunny, I love using Paintbox Simply DK yarn because it creates beautiful stitch definition while keeping the finished plushie soft and cuddly.
Let’s grab your hook and start creating your new favorite bunny friend.
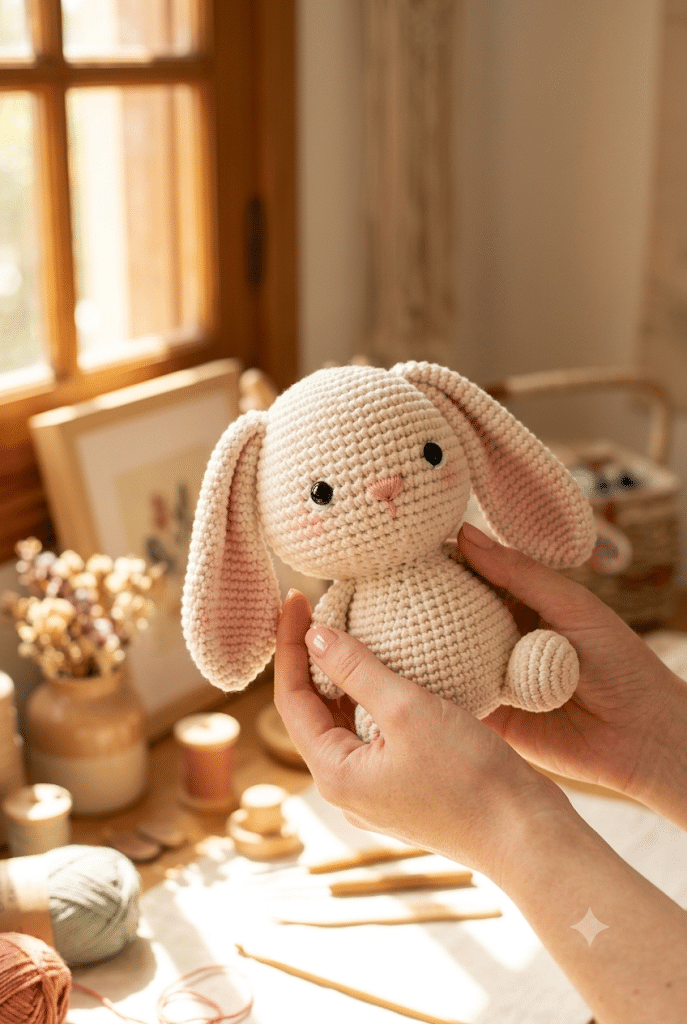
Table of Contents
Why This Crochet Bunny Pattern Free Project Is Perfect for Beginners
Bunny amigurumi projects have remained popular for years because they are simple, adorable, and incredibly customizable. Unlike some crochet animals that require complicated shaping, a bunny relies on easy rounded pieces that come together naturally.
Even if you’ve only recently learned basic crochet stitches, you can successfully complete this project. Each section builds on beginner skills while helping you learn techniques commonly used in amigurumi.
One of my favorite things about making bunnies is how easy it is to personalize them. You can create a classic white bunny, a soft brown woodland rabbit, or even a pastel kawaii bunny inspired by your favorite characters.
Skills You’ll Practice
As you work through this project, you’ll practice:
- Working in continuous rounds
- Creating simple shapes
- Joining pieces neatly
- Basic embroidery details
- Light shaping techniques
These skills transfer directly to many other amigurumi animals.
Why Bunnies Make Great Gifts
Handmade bunnies fit nearly every occasion.
They make charming baby shower gifts, birthday surprises, Easter decorations, and nursery companions. Their timeless design appeals to both children and adults.
A Great Confidence Builder
Many beginners worry about making mistakes.
The rounded body shape of a bunny makes small imperfections almost invisible. That means you can relax, enjoy the process, and focus on learning.
Now that you know why this project is so beginner-friendly, let’s talk about choosing the best materials.
Choosing the Best Materials for Your Crochet Bunny Pattern Free Tutorial
The materials you choose can dramatically change the appearance of your finished bunny. Different yarns create different textures, sizes, and personalities.
Soft yarn creates a cuddly bunny, while smoother yarn highlights stitch detail. Neither option is wrong. It simply depends on the look you want.
Best Yarn Options
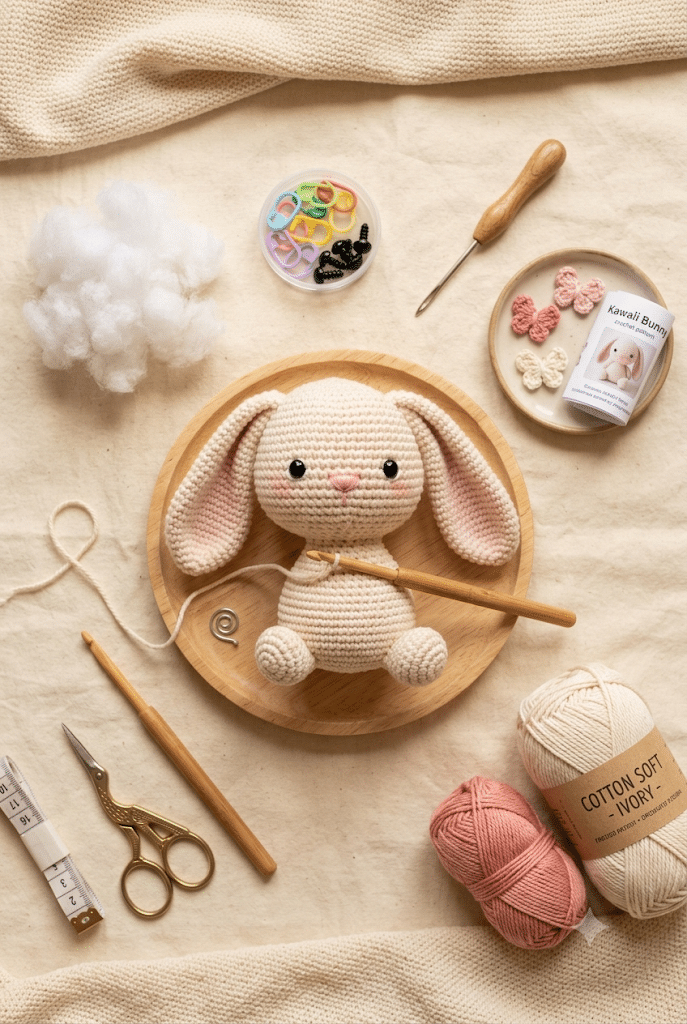
Several yarn choices work beautifully for bunny amigurumi.
Popular options include:
- Soft cotton blends
- Acrylic yarn
- Chenille yarn
- Lightweight plush yarn
If you’re new to amigurumi, smooth yarn often makes stitches easier to see.
Choosing the Right Hook
Comfort matters during long crochet sessions.
For this pattern I always reach for my Clover Amour crochet hook. The soft grip makes long crochet sessions so much easier on your hands.
A comfortable hook can make the entire experience more enjoyable.
Stuffing Tips
Firm stuffing helps your bunny maintain its shape.
Avoid overstuffing the head because it can stretch stitches and reveal gaps. Add stuffing gradually until the bunny feels soft yet structured.
Ready to move on? Next up, let’s explore the shape and design of your bunny.
Crochet Bunny Pattern Free: Understanding the Bunny Construction
Before picking up your hook, it helps to understand how the bunny comes together.
Most bunny amigurumi patterns use several simple shapes assembled at the end. Breaking the project into small sections makes it feel much less intimidating.
The Bunny Head
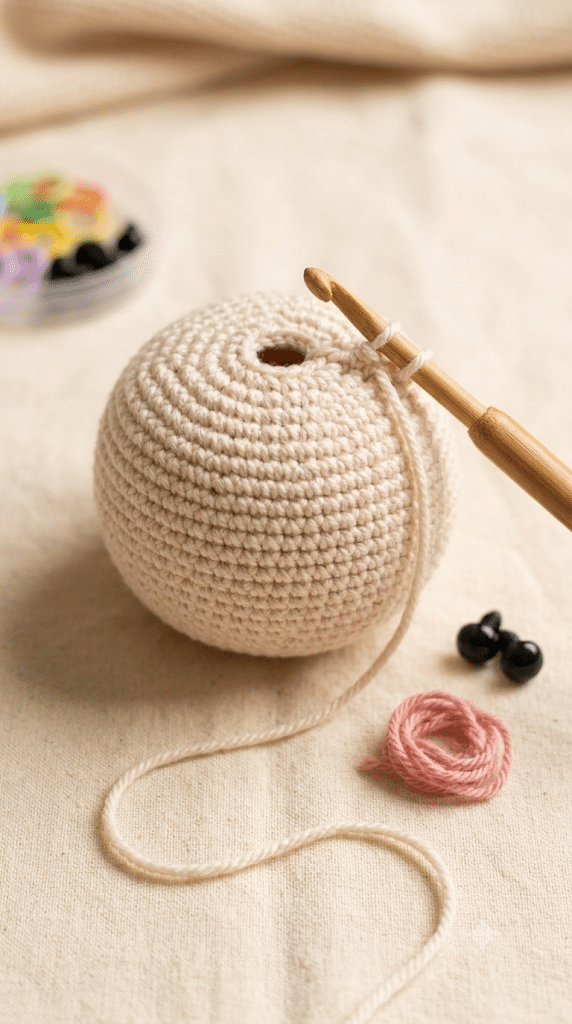
The head forms the personality of your bunny.
A round shape creates a cute and friendly appearance. Placement of the eyes and nose will help determine the final expression.
The Bunny Body
The body acts as the foundation.
A slightly oval shape often creates a balanced and cuddly look. You can make the body smaller for a chibi style or larger for a classic plushie appearance.
The Ears and Limbs
Long ears instantly identify the project as a bunny.
You can customize:
- Ear length
- Ear width
- Arm position
- Leg size
- Tail shape
These small changes create a completely unique bunny.
Trust me on this one—planning your bunny before assembly makes finishing much easier.
10 Adorable Steps to Make Your Bunny
Here is the fun part. Let’s walk through the entire bunny-making process from start to finish.
Step 1: Create the Magic Ring
Begin with a magic ring.
This creates a tight center and prevents gaps at the top of the bunny’s head.
Work slowly and focus on keeping tension even.
Step 2: Shape the Head
Continue increasing rounds to form a smooth sphere.
The head should look round and balanced. Consistent tension helps create a polished appearance.
Step 3: Add the Facial Placement Markers
Before attaching eyes, mark the locations.
This allows you to adjust spacing before making anything permanent.
Step 4: Crochet the Bunny Body
The body follows a similar process.
Work gradual increases and decreases to create a soft oval shape.
Keep checking proportions as you go.
Step 5: Make the Front Legs
Small cylindrical shapes work perfectly.
Try making both legs before attaching them to ensure matching size and shape.
Step 6: Crochet the Back Legs
Back legs often appear slightly larger.
This helps your bunny sit comfortably when displayed on a shelf.
Step 7: Create Long Floppy Ears
The ears are the signature feature.
Experiment with different lengths until you find a style you love.
Some crafters prefer upright ears while others love floppy ones.
Step 8: Add the Tail
A tiny pom-pom style tail adds charm.
Even a simple round tail instantly makes the bunny feel complete.
Step 9: Assemble the Pieces
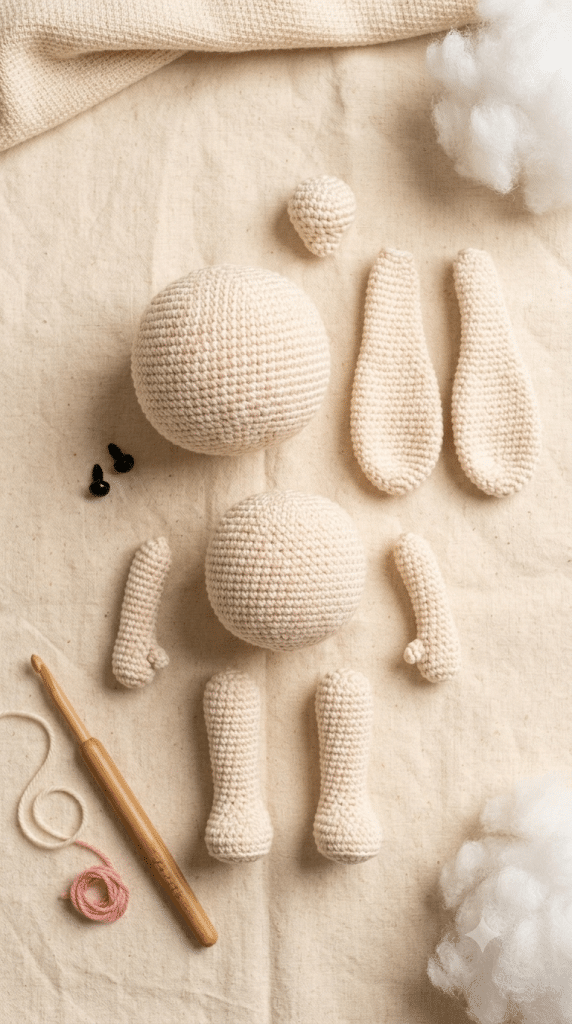
Carefully attach all parts.
Check symmetry often during assembly.
Small adjustments can make a huge difference in the final look.
Step 10: Embroider the Face
Finish with facial details.
A tiny nose and gentle smile bring the bunny to life and create its unique personality.
Congratulations—you now have a handmade bunny ready for cuddles.
Creative Ways to Customize Your Crochet Bunny Pattern Free Design
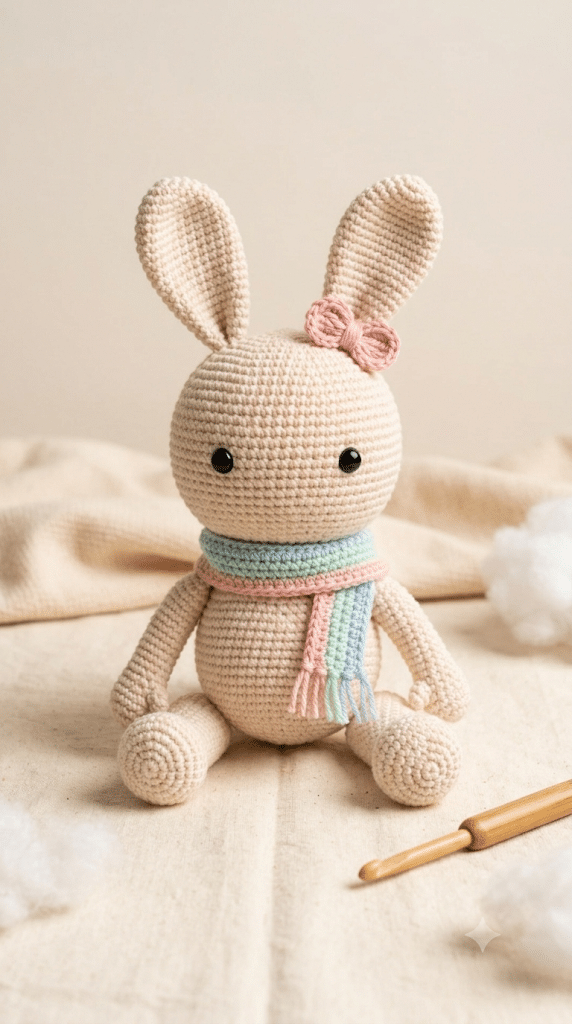
One of the joys of amigurumi is customization.
A single pattern can create dozens of completely different bunnies simply by changing colors and details.
Try Different Color Palettes
Popular bunny colors include:
- White
- Cream
- Soft gray
- Light brown
- Blush pink
- Lavender
Pastel shades create an especially kawaii appearance.
Add Accessories
Tiny accessories make your bunny even more special.
Ideas include:
- Scarves
- Mini bows
- Flower crowns
- Tiny dresses
- Little sweaters
Accessories add personality without much extra effort.
Experiment With Eye Styles
Before you start, grab a set of 9mm safety eyes. I use this exact size for most of my medium amigurumi animals and they click in perfectly every time.
Different eye placements can create playful, sleepy, shy, or cheerful expressions.
Now that you know how to customize your bunny, let’s make sure it looks as polished as possible.
Simple Tips for Professional-Looking Bunny Amigurumi
A few small tricks can dramatically improve the final result.
Professional-looking amigurumi often comes down to finishing details rather than complex crochet techniques.
Keep Tension Consistent
Even tension creates smooth stitches.
If some rounds look tighter than others, slow down and focus on maintaining a steady rhythm.
Pin Pieces Before Sewing
Always pin pieces before attaching them permanently.
This lets you preview placement and make adjustments easily.
Take Your Time With Assembly
Assembly deserves patience.
Many crocheters rush this stage, but careful sewing often separates a good project from a great one.
Shape With Stuffing
Add stuffing gradually.
Adjusting stuffing levels can improve proportions and help create a balanced bunny shape.
Photograph Your Finished Bunny
Taking photos helps you spot small adjustments.
It is also a fun way to document your crochet journey and share your creations online.
Frequently Asked Questions About Crochet Bunny Pattern Free
How long does it take to crochet a bunny?
Most beginners finish a bunny within one or two weekends. Smaller bunnies may only take a few hours, while larger plush versions can take longer. Working at a comfortable pace helps you enjoy the process and produce cleaner results.
What yarn is best for bunny amigurumi?
Smooth acrylic and cotton-blend yarns work wonderfully because they make stitches easy to see. Many crocheters also enjoy plush yarn for extra softness. The best choice depends on the style and texture you want.
Is this crochet bunny pattern free project good for beginners?
Yes. The project focuses on simple shapes and basic amigurumi techniques. Beginners can build confidence while practicing essential skills used in many crochet animal patterns.
What size safety eyes should I use?
For medium-sized bunnies, 9mm safety eyes are often ideal. Smaller bunnies may look better with 6mm eyes, while larger plushies can use 12mm eyes for a more expressive appearance.
Can I sell bunnies made from this pattern?
In most cases, handmade finished items can be sold at craft fairs, local markets, or online shops. Always check any individual pattern designer’s terms if you are following a specific published pattern.
How do I make my bunny extra soft?
Choose soft yarn and high-quality stuffing. Plush yarns and premium fiberfill often create the cuddliest results. Gentle shaping during assembly also improves the overall feel.
Your Adorable Bunny Is Ready to Hop Into Your Collection
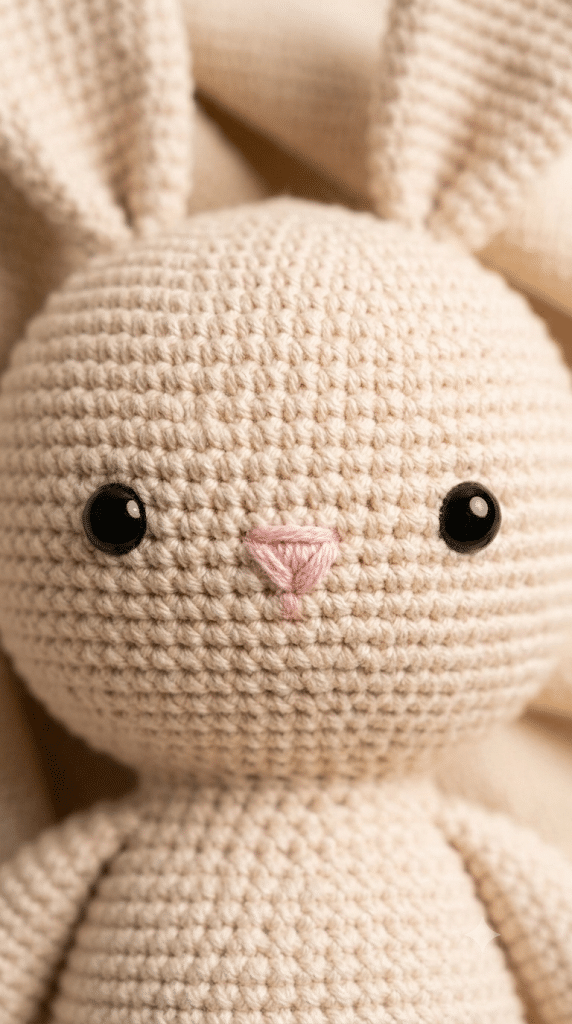
Creating a bunny from yarn is one of the most rewarding amigurumi projects you can try. From shaping the head and ears to adding the final embroidered smile, every step brings your handmade friend to life.
By following this crochet bunny pattern free guide, you’ve learned how to choose materials, construct the bunny, customize its appearance, and add professional finishing touches. Best of all, you now have a cuddly creation that reflects your own creativity and style.
Whether you keep your bunny, gift it to someone special, or display it proudly among your crochet collection, you can enjoy the satisfaction that comes from making something truly handmade.
Save this pin to your crochet board on Pinterest so you can find this pattern anytime!
Looking for more free crochet animal patterns? Visit Yarned Animals for new amigurumi patterns, kawaii plushies and beginner crochet tutorials added every week at yarnedanimals.com