
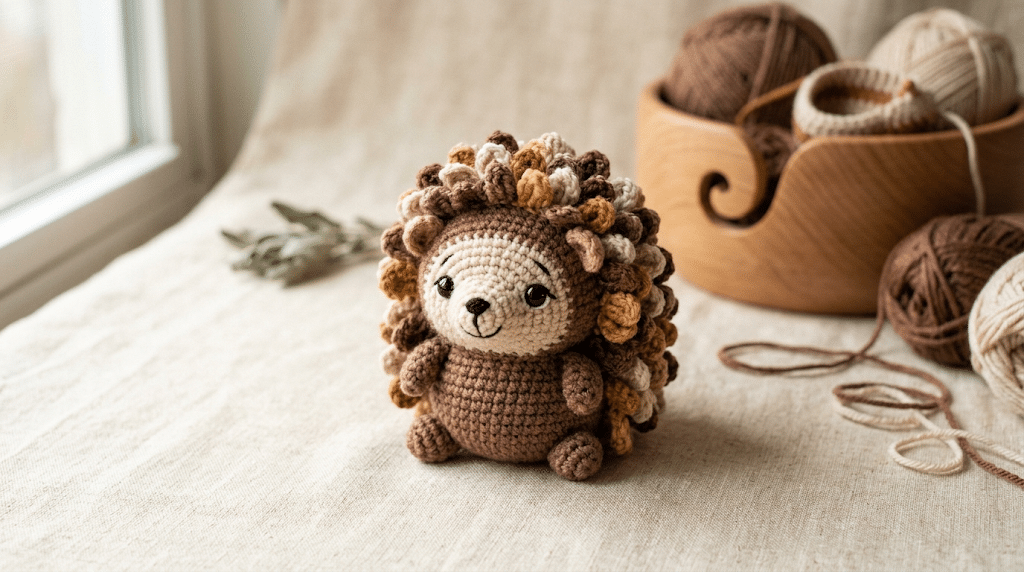
There is something irresistibly cute about a tiny porcupine with a round little body, sweet eyes, and a whole row of soft crochet spikes. If you love woodland animals, this crochet porcupine pattern gives you a fun way to create your own pocket-sized forest friend.
This beginner-friendly design uses simple amigurumi techniques, mostly single crochet, increases, and decreases. You will also learn how to shape the body, create adorable ears, embroider a tiny nose, and add textured quills without complicated stitches.
For this project, I recommend choosing soft yarn that makes your finished porcupine cuddly and easy to hold. I especially like working with Bernat Blanket yarn when I want an extra plush finish.
Now grab your hook, settle into your favorite crochet spot, and let’s make this little woodland cutie together.
Table of Contents
Why This Crochet Porcupine Pattern Is So Adorable
Porcupines have such a funny combination of features. Their rounded bodies look cuddly, while their quills give them a wonderfully unusual silhouette.
That contrast makes a porcupine perfect for amigurumi. You can keep the body simple and let the textured quills become the star of the design.
A beginner-friendly woodland project
This pattern uses basic amigurumi construction. You will crochet the body in continuous rounds, then add smaller pieces separately.
If you already know how to make a magic ring and crochet single crochet stitches, you have most of the skills needed.
You will also practice increasing and decreasing, which helps you understand how amigurumi shapes are created.
The body begins small and gradually becomes wider. Later, decreases bring the shape back together toward the head.
What makes the quills special
The quills create the personality of your porcupine. Instead of using complicated crochet techniques, this design creates soft spikes with simple stitches and layered texture.
You can make them subtle or dramatic. For a very kawaii look, use short, rounded quills around the back.
For a more realistic woodland style, make the quills slightly longer and use two shades of brown.
A sweet handmade gift idea
A finished porcupine makes a lovely handmade gift for an animal lover, woodland-themed nursery, or amigurumi collector.
You can also make several in different colors. Imagine a warm brown porcupine, a cream one, and a tiny caramel version sitting together on a shelf.
Now that you know what makes this project special, let’s gather everything you need.
Crochet Porcupine Pattern: Materials and Preparation
Before you begin your crochet porcupine pattern, prepare your yarn and tools. Having everything nearby makes the project much more relaxing.
For this version, the finished porcupine measures approximately 6–7 inches long, depending on your yarn, hook, and tension.
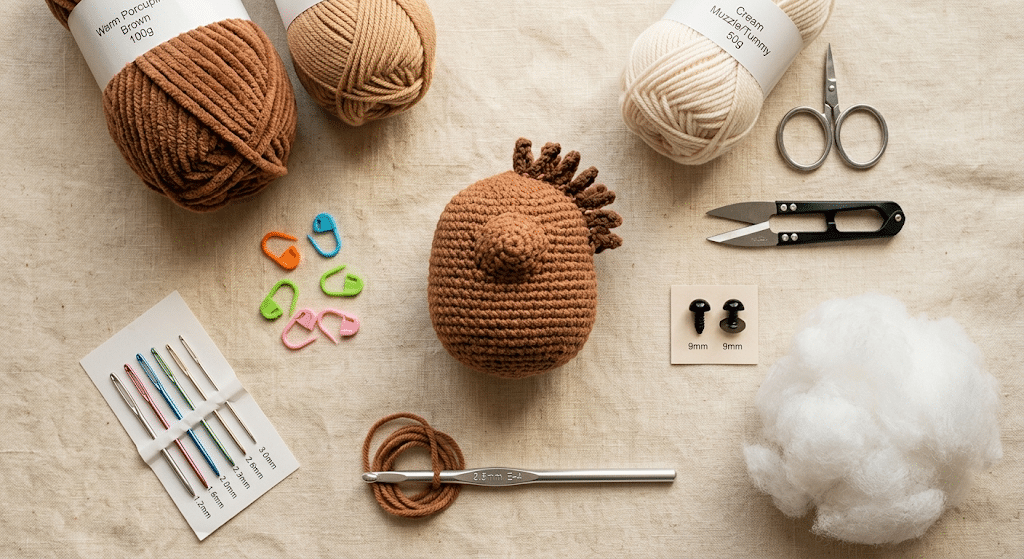
Yarn and hook
Use a medium-weight yarn for the main body.
Main materials:
- Paintbox Simply DK yarn in brown or warm tan
- Small amount of cream yarn for the muzzle
- Small amount of black yarn for embroidery
- 3.5 mm crochet hook
- 9mm safety eyes
- Poly-fil Premium fiberfill
- Stitch markers
- Yarn needle set
- Scissors
A tight crochet fabric works best for stuffed animals. If your stitches look loose, switch to a smaller hook.
For another soft finish, you can use Red Heart Soft yarn. Its smooth texture works especially well when you want clearly defined stitches.
Helpful crochet abbreviations
You will use these abbreviations throughout the pattern:
- MR — magic ring
- SC — single crochet
- INC — increase
- DEC — invisible decrease
- SL ST — slip stitch
- ST — stitch
- R — round
Work in continuous rounds unless the instructions tell you otherwise.
Place a stitch marker into the first stitch of each round. This tiny habit makes counting much easier.
Before you start crocheting
Stuff your porcupine gradually instead of waiting until the final round.
Add small amounts of stuffing as you crochet. Then use your fingers to push the fiberfill into the corners.
Do not overstuff the body. You want a firm shape, but the stitches should not stretch enough for stuffing to show.
Now that your supplies are ready, here comes the fun part.
12-Step Crochet Porcupine Pattern
This crochet porcupine pattern builds the animal from simple pieces. You will create the body and head, then make the ears, feet, muzzle, and quills.
Take your time with stitch counts. Consistent tension will give your porcupine a smooth shape.
Step 1: Create the body base
Start with your brown yarn.
R1: Make a magic ring and crochet 6 SC into the ring. (6 sts)
R2: INC around. (12 sts)
R3: SC in next ST, INC in next ST. Repeat around. (18 sts)
R4: SC in next 2 ST, INC in next ST. Repeat around. (24 sts)
R5: SC in next 3 ST, INC in next ST. Repeat around. (30 sts)
R6: SC in next 4 ST, INC in next ST. Repeat around. (36 sts)
Your piece should now look like a small rounded disk.
Keep your stitches firm and even. This foundation determines how nicely the finished porcupine sits.
Step 2: Build the rounded body
Continue crocheting in brown.
R7–R12: SC in each ST around. (36 sts)
These rounds create the widest part of the body.
Add a little stuffing after Round 9. You do not need much yet.
Gently press the piece between your fingers as you work. This helps you keep a rounded rather than oval shape.
Step 3: Shape the head
Now begin reducing the body toward the front.
R13: SC in next 4 ST, DEC. Repeat around. (30 sts)
R14: SC in next 3 ST, DEC. Repeat around. (24 sts)
R15: SC in next 2 ST, DEC. Repeat around. (18 sts)
Add more stuffing before the opening becomes too small.
Make sure the stuffing reaches the top and sides. Use the blunt end of your crochet hook to gently push fiberfill into any empty spaces.
Step 4: Finish the body
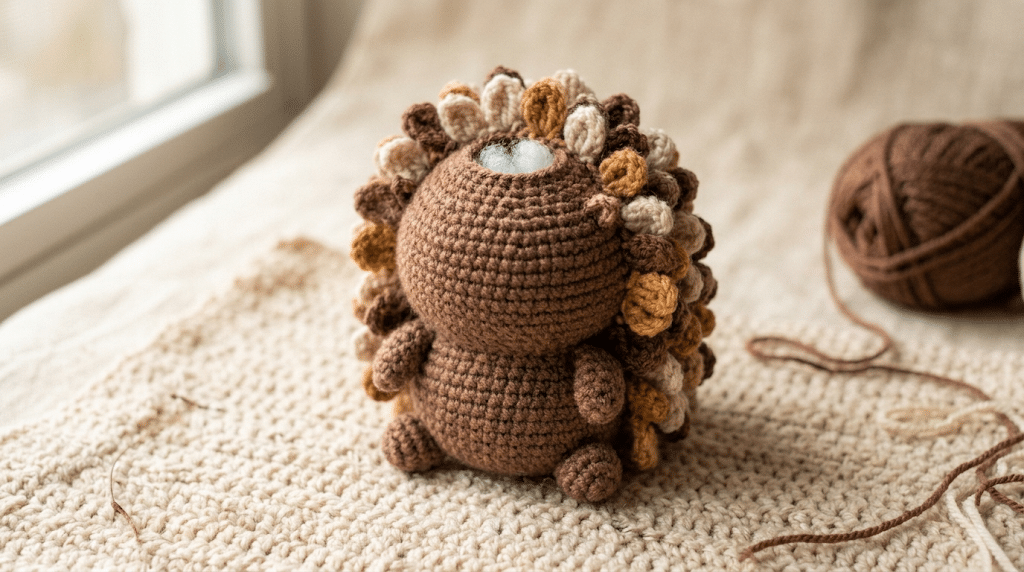
Continue shaping.
R16: SC in next ST, DEC. Repeat around. (12 sts)
R17: DEC around. (6 sts)
Cut the yarn, leaving a long tail.
Thread the tail through your yarn needle. Weave through the remaining six stitches and pull gently to close the opening.
Secure the yarn and hide the remaining tail inside the body.
Your main body is complete.
Step 5: Add the safety eyes
Now give your porcupine its expression.
Place the 9mm safety eyes between approximately R13 and R14, leaving about 5 stitches between them.
The exact position can change the personality of your animal.
Place them closer together for a baby-like kawaii expression. Place them slightly farther apart for a more woodland-inspired look.
Before locking the backs into place, look at your porcupine from several angles.
If the eyes look right, press the backs firmly into position.
Step 6: Crochet the ears
Make two small rounded ears using brown yarn.
R1: Make a magic ring with 6 SC. (6 sts)
R2: INC around. (12 sts)
R3: SC in each ST around. (12 sts)
R4: SC, DEC. Repeat around. (8 sts)
Fasten off, leaving a sewing tail.
Do not stuff the ears.
Fold each ear slightly in half before attaching it.
Sew the ears onto the head around R11–R13. Keep them symmetrical, but don’t worry if they are not perfectly identical.
A little handmade unevenness often makes amigurumi look even sweeter.
Step 7: Crochet the little feet
Make four feet with brown yarn.
R1: Magic ring with 6 SC. (6 sts)
R2: INC around. (12 sts)
R3: SC in each ST around. (12 sts)
R4: SC, DEC. Repeat around. (8 sts)
Fasten off and leave a sewing tail.
Add only a tiny amount of stuffing to each foot.
Sew two front feet underneath the front half of the body. Attach the back feet slightly farther apart.
Keep the feet close to the body so your porcupine has a stable sitting position.
Step 8: Make the soft muzzle
Use cream yarn for the muzzle.
R1: Magic ring with 6 SC. (6 sts)
R2: INC around. (12 sts)
R3: SC in each ST around. (12 sts)
R4: SC, DEC. Repeat around. (8 sts)
Fasten off.
Add a very small amount of stuffing.
Sew the muzzle onto the front of the face, centered underneath the eyes.
The muzzle should sit slightly forward rather than completely flat against the head.
Step 9: Embroider the nose and smile
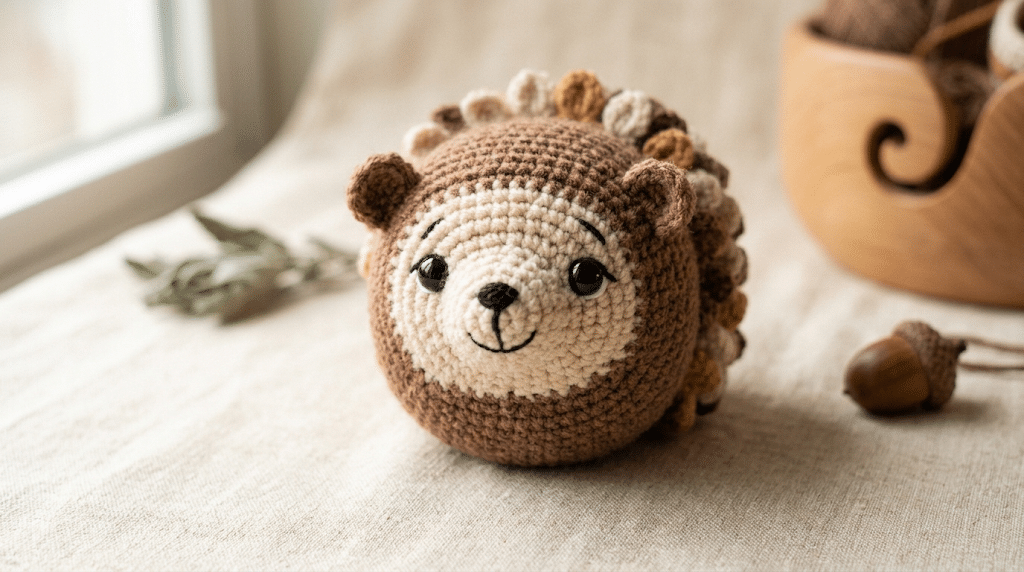
Use black yarn to create a tiny triangular nose.
Thread your yarn needle and make several small stitches across the top center of the muzzle.
Then add a short vertical stitch underneath the nose.
For the mouth, create two tiny diagonal stitches extending downward.
Keep the embroidery simple.
A tiny face usually looks cuter than a heavily detailed one.
If your first attempt looks too large, remove it and try again with fewer stitches. This part is easy to customize.
Step 10: Create the porcupine quills
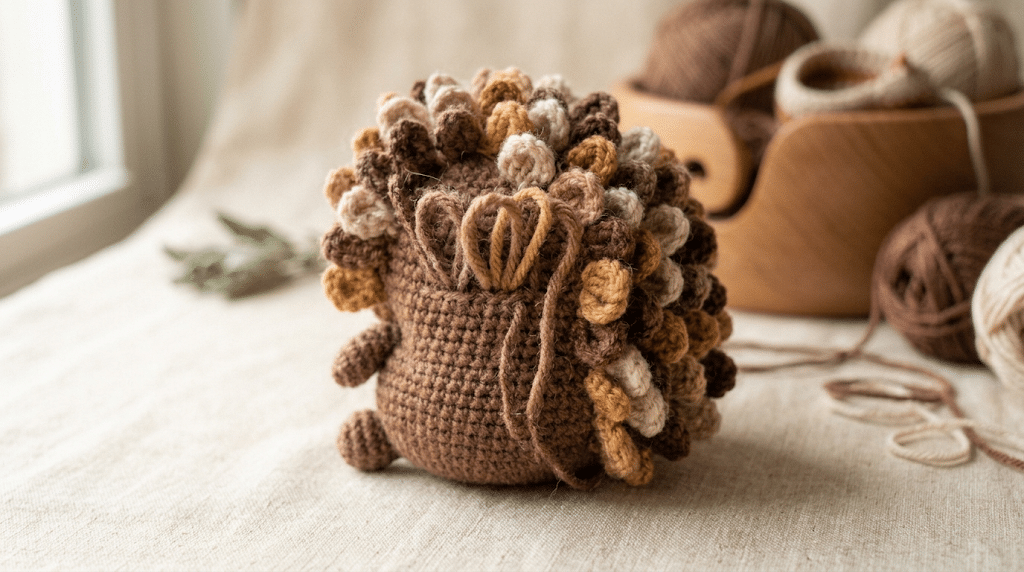
Now your little woodland friend gets its signature texture.
Cut several short lengths of brown, dark tan, or cream yarn.
Fold each strand in half.
Using your crochet hook, pull the folded loop through a stitch along the back of the body. Then pull the loose ends through the loop to create a small yarn tuft.
Work from the back of the head toward the lower back.
Create several rows of tufts.
Keep the front of the face mostly smooth. The quills should frame the head and cover the back.
For a fuller appearance, stagger each row instead of placing the tufts directly on top of one another.
Step 11: Shape and trim the quills
Take a moment to inspect the quills.
Trim any strands that look dramatically longer than the others.
You can leave the quills soft and fluffy or cut them shorter for a more polished amigurumi appearance.
For a cute baby porcupine, use shorter quills around the entire back.
For a dramatic woodland character, leave the back quills longer.
Avoid trimming everything perfectly. Slight differences give the texture a natural handmade appearance.
Step 12: Final assembly and finishing
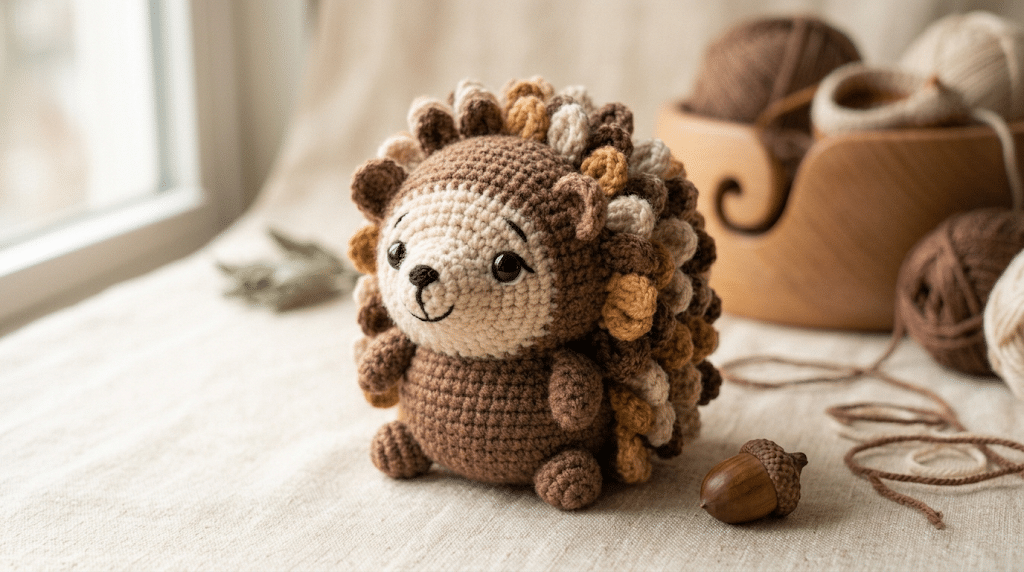
Check every attachment before calling your porcupine finished.
Make sure both ears feel secure. Check the four feet and make sure the eyes sit firmly.
Use your yarn needle to weave in every loose end.
Gently squeeze the body to distribute the stuffing evenly.
Finally, shape the head, belly, feet, and quills with your fingers.
Your adorable little porcupine is ready!
How to Make Your Crochet Porcupine Look Extra Cute
Once you’ve completed the main pattern, small details can completely change your finished animal.
The beauty of amigurumi is that you can personalize almost everything.
Choose a cozy woodland color palette
Classic brown looks wonderful for a porcupine, but you don’t have to stop there.
Try these combinations:
- Warm brown body with cream muzzle
- Caramel body with dark chocolate quills
- Beige body with chestnut quills
- Cream body with tan quills
- Soft gray body with charcoal quills
For a kawaii nursery style, use softer neutral shades.
For a woodland collection, deeper earthy colors create a more natural appearance.
Give your porcupine a different personality
The eye placement matters more than you might expect.
Eyes positioned slightly lower can make the animal look younger. Larger eyes create a more exaggerated kawaii expression.
You can also embroider tiny rosy cheeks using pink yarn.
A small embroidered smile gives your porcupine a cheerful personality.
Keep the stuffing smooth
Stuffing can make or break an amigurumi project.
Add it gradually and spread it evenly with your fingers.
If you see bumps, remove a small amount and redistribute it.
A smooth, firm body makes the crochet stitches look cleaner.
Use a comfortable crochet hook
For amigurumi, I prefer a hook that feels comfortable during tight stitching.
The Clover Amour crochet hook has a soft-grip handle designed for comfortable crocheting. The manufacturer also lists an ergonomic elastomer handle and smooth hook shape.
Trust me on this one, comfortable tools make a noticeable difference during long crochet sessions.
Common Problems When Crocheting a Porcupine
Even simple amigurumi can create confusing moments.
The good news is that most problems have an easy fix.
Why does my body look too flat?
Your tension may be too tight, or you may not be adding enough stuffing.
Check that your increase and decrease rounds contain the correct number of stitches.
If the body still looks flat, add more fiberfill while shaping it with your fingers.
Why can I see the stuffing?
Visible stuffing usually means your stitches are too loose.
Try using a smaller hook.
You can also reduce the amount of stuffing slightly. The goal is a firm body without stretching the crochet fabric.
Why are my quills uneven?
Uneven quills are not necessarily a problem.
However, if some tufts look much longer, trim them carefully after all the quills are attached.
Work row by row when adding your quills. This creates a more balanced texture.
Why does my porcupine lean sideways?
Check your feet first.
If one foot sits higher than the other, your finished animal may lean.
Pin each foot temporarily before sewing it permanently. Then place your porcupine on a flat surface and check the balance.
Tips for Making This Amigurumi as a Gift
A handmade porcupine makes a charming gift because it feels personal without requiring a huge project.
You can make one for a birthday, woodland-themed nursery, animal lover, or crochet collector.
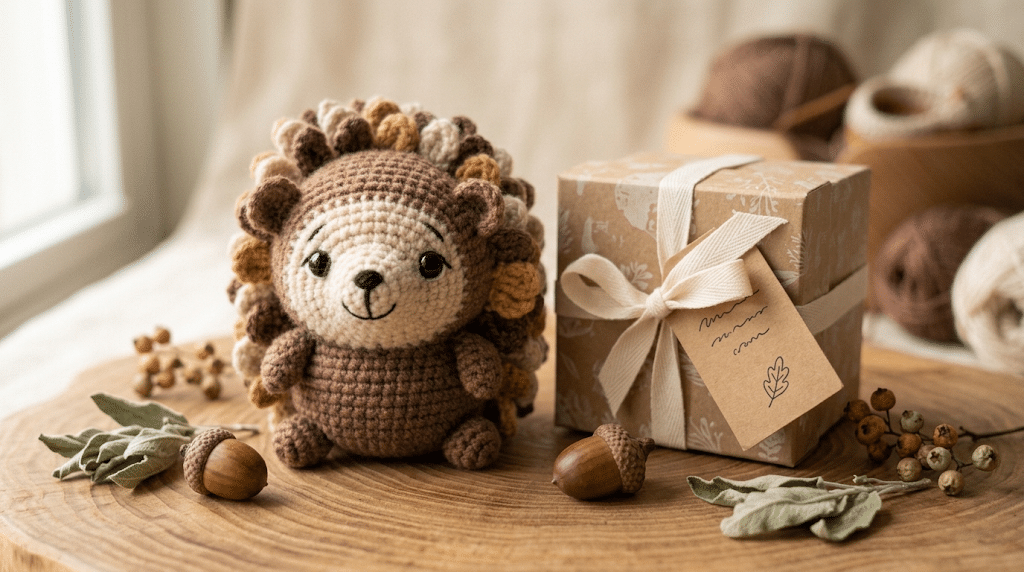
Add a handmade gift tag
A simple handmade tag can make your project feel extra special.
Write the animal’s name on one side and a short care note on the other.
If you create several animals, give each one a personality.
You could make a whole woodland family with a porcupine, squirrel, owl, deer, and fox.
Make a mini collection
This pattern also works beautifully as part of a woodland amigurumi collection.
Try making three porcupines in different neutral shades.
You could make one large adult and two smaller babies by changing your yarn weight and hook size.
Remember that changing yarn and hook size changes the finished dimensions.
Keep safety in mind
If you make this project for a young child, consider embroidered eyes instead of safety eyes.
Safety eyes can present a choking hazard if they become detached.
For adult collectors and older children, follow the appropriate safety precautions for the intended recipient.
Frequently Asked Questions About Crochet Porcupine Pattern
How long does it take to crochet a porcupine?
A beginner can usually complete this porcupine in a few relaxed crochet sessions. The main body is fairly quick because it uses mostly single crochet. Adding the feet, ears, muzzle, embroidery, and quills takes additional time. Your crochet speed and experience will affect the total time.
What yarn is best for a crochet porcupine?
A soft worsted or DK-weight yarn works well for this design. Paintbox Simply DK creates clear stitches and makes the shaping easy to see. Bernat Blanket yarn can create a larger, extra-soft version, but you should adjust the hook size and expect different finished measurements.
Is this crochet porcupine pattern good for beginners?
Yes. This pattern works well for beginners who already understand basic crochet stitches. You will practice a magic ring, single crochet, increases, decreases, stuffing, sewing pieces together, and simple embroidery. The quills also use a straightforward yarn-loop technique rather than complicated crochet stitches.
What size safety eyes should I use for a porcupine amigurumi?
For this particular size, 9mm safety eyes create a cute balanced face. You can experiment with 6mm eyes for a smaller or more subtle expression. Larger eyes can create a more exaggerated kawaii look. Always choose safety features based on the intended recipient.
Can I sell porcupines made from this pattern?
You can generally sell finished handmade items you crochet from your own work, but pattern designers can set their own terms. If you publish or sell finished pieces, crediting the pattern source is a thoughtful practice. Do not redistribute, copy, or sell the written pattern itself.
How can I make the porcupine bigger?
Use thicker yarn and a larger crochet hook while maintaining a tight enough fabric for stuffing. You can also scale the pattern by adding extra increase rounds before the straight body rounds. Remember that changing your materials will affect the final proportions and size.
More Crochet Inspiration for Your Next Project
If you enjoy making woodland animals, you can build an entire handmade collection around this project.
Try pairing your porcupine with other forest-inspired amigurumi. A squirrel, deer, owl, fox, or tiny mushroom would make an adorable display.
For additional free crochet inspiration, Yarnspirations also offers free crochet toy patterns and projects. Their pattern library includes beginner-friendly stuffed animal designs using different yarn weights and construction techniques.
Browse free crochet patterns at Yarnspirations
You can also experiment with different yarn textures.
Smooth yarn makes the stitch definition easy to see, while plush yarn creates a softer finished animal.
If you are still learning amigurumi, start with the smoother yarn first. Once you feel comfortable with increases, decreases, and stuffing, try a plushier version.
The most important thing is to enjoy the process.
Your stitches do not need to look machine-perfect. Every little handmade detail gives your porcupine its own personality.
Conclusion
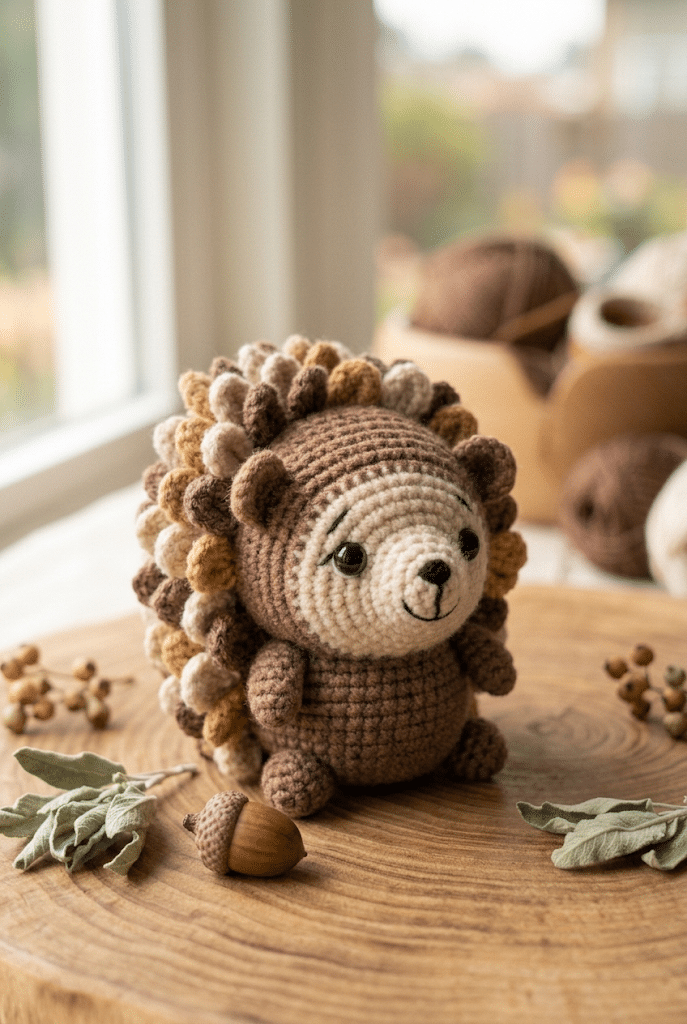
You now have everything you need to create a tiny woodland friend from start to finish. This crochet porcupine pattern walks you through the rounded body, sweet ears, little feet, soft muzzle, embroidered face, and signature quills.
The best part is seeing all those simple pieces become one adorable animal in your hands. Whether you make your porcupine as a gift or keep it as part of your own amigurumi collection, you can feel proud of every stitch.
Take your time, enjoy the texture, and don’t worry if your first version looks slightly different from mine. That’s the charm of handmade crochet.
Save this pin to your crochet board on Pinterest so you can find this pattern anytime!
Looking for more free crochet animal patterns? Visit Yarned Animals for new amigurumi patterns, kawaii plushies and beginner crochet tutorials added every week at yarnedanimals.com