
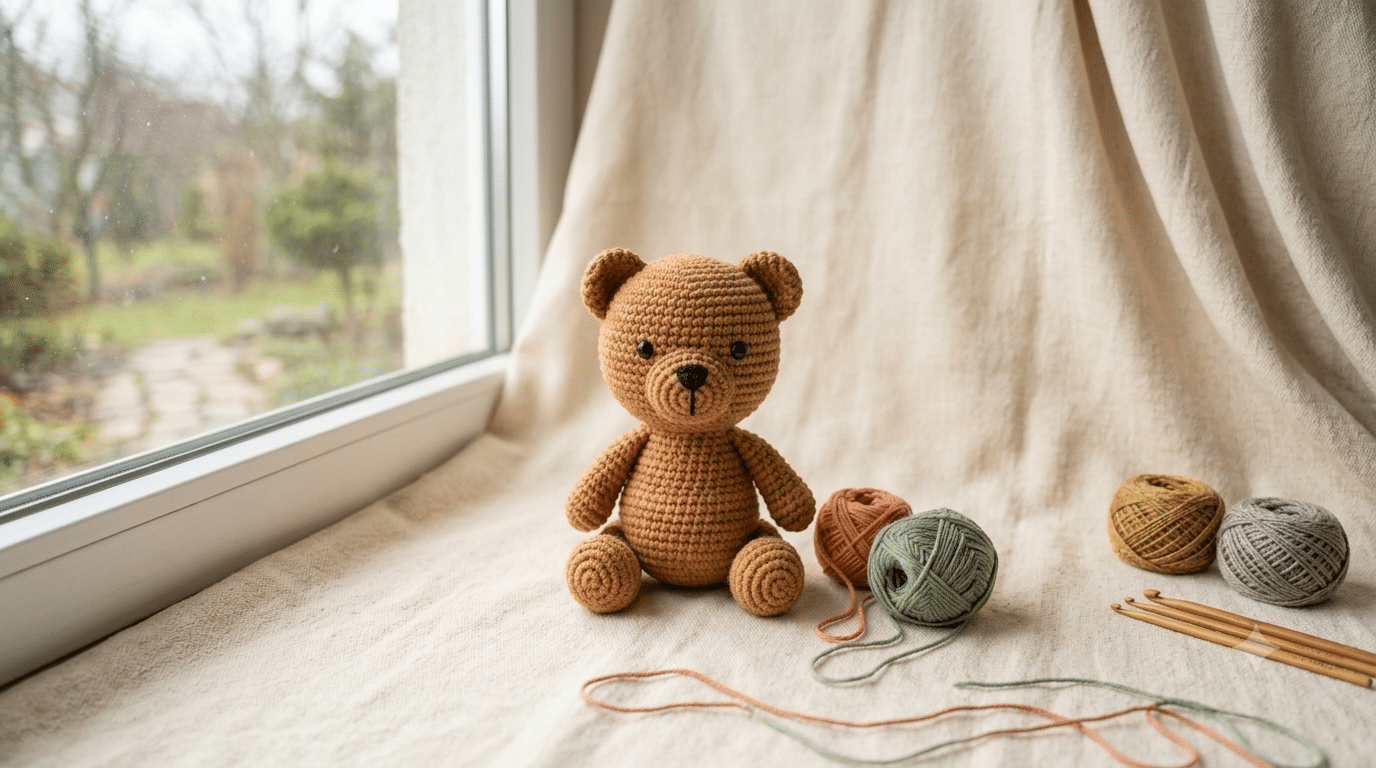
Nothing feels quite as special as holding a handmade teddy bear in your hands. The soft yarn, the sweet little face, and the knowledge that you created it stitch by stitch make crochet projects extra rewarding. If you’ve been searching for a crochet bear pattern easy enough for beginners yet adorable enough to become a treasured gift, you’re in the right place.
This charming bear is perfect for learning amigurumi basics while creating something truly lovable. You’ll discover how to shape the head, body, ears, and limbs, plus tips for stuffing and assembling your bear for the cutest results. Whether you’re making a baby shower gift, a birthday surprise, or simply adding another plush friend to your collection, this guide will help you crochet with confidence.
The secret to a wonderfully soft bear is choosing comfortable yarn that feels great in your hands. I often reach for Paintbox Simply DK yarn because it creates neat stitches and lovely stitch definition for amigurumi.
Now that you know what you’ll be making, let’s gather everything you need and start stitching.
Table of Contents
Why This Crochet Bear Pattern Easy Project Is Perfect for Beginners
Many crocheters fall in love with amigurumi because the projects look impressive while using only a handful of basic stitches. This bear is a wonderful example.
You don’t need advanced shaping skills or complicated techniques. Instead, you’ll build your bear using simple rounds and easy construction methods.
The finished bear also works for many occasions. You can make one for a nursery, a child’s toy collection, or a thoughtful handmade gift.
Simple Shapes Make Learning Easier
Most of this project uses rounded shapes. You’ll crochet separate pieces and join them together later.
That means you can focus on one section at a time without feeling overwhelmed.
Small Size Means Faster Results
Large crochet projects can take weeks to finish. A bear amigurumi usually works up much faster.
Quick progress helps you stay motivated and excited.
Great Practice for Future Amigurumi
Learning how to make a bear teaches important skills you’ll use in many other projects.
These include:
- Working in continuous rounds
- Shaping with increases and decreases
- Stuffing evenly
- Sewing pieces together
- Creating symmetrical features
Trust me on this one—once you finish one bear, you’ll want to make an entire family.
Materials That Help Your Crochet Bear Look Extra Cute
Choosing the right materials can make a huge difference in the final appearance of your bear.
Soft yarn, secure eyes, and quality stuffing help create a plush toy that looks polished and professional.
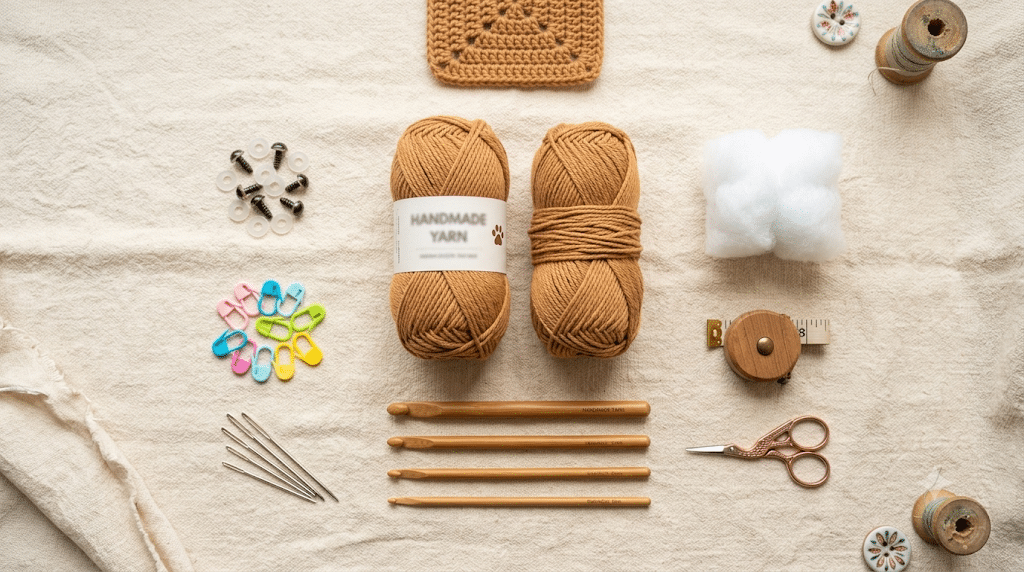
Pick a Soft Yarn You Love
A smooth yarn makes stitches easier to see and count.
Popular choices include:
- Paintbox Simply DK yarn
- Lion Brand Comfy Cotton yarn
- Red Heart Soft yarn
Lighter shades create classic teddy bears, while pastel colors add a kawaii touch.
Choose the Right Safety Eyes
Safety eyes bring your bear to life.
Most medium-sized teddy bears look adorable with:
- 9mm safety eyes
- 12mm safety eyes
Positioning matters just as much as size. Test placement before securing them.
Don’t Skip Good Stuffing
Even stuffing creates a professional finish.
For this project I always use Poly-fil Premium fiberfill because it stays fluffy and helps the bear keep its shape over time.
Ready to move on? Let’s start building your bear from the ground up.
Crochet Bear Pattern Easy Tutorial: 10 Adorable Steps
Here is the fun part. Follow these simple steps and watch your teddy bear come to life.
Step 1: Create the Bear’s Head
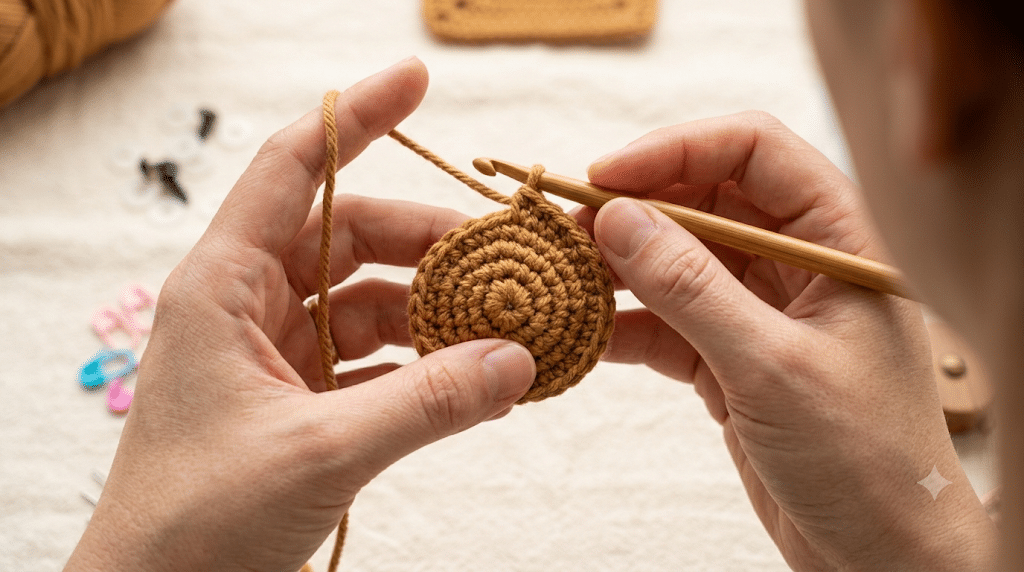
Begin with a magic ring and crochet in continuous rounds.
Gradually increase your stitches to form a smooth sphere. The head should feel round and balanced.
Keep your tension relaxed and consistent.
Step 2: Shape the Muzzle Area
The muzzle gives your bear personality.
Add gentle shaping near the front of the head to create a slightly raised snout.
This detail makes the face look more realistic and expressive.
Step 3: Insert the Safety Eyes
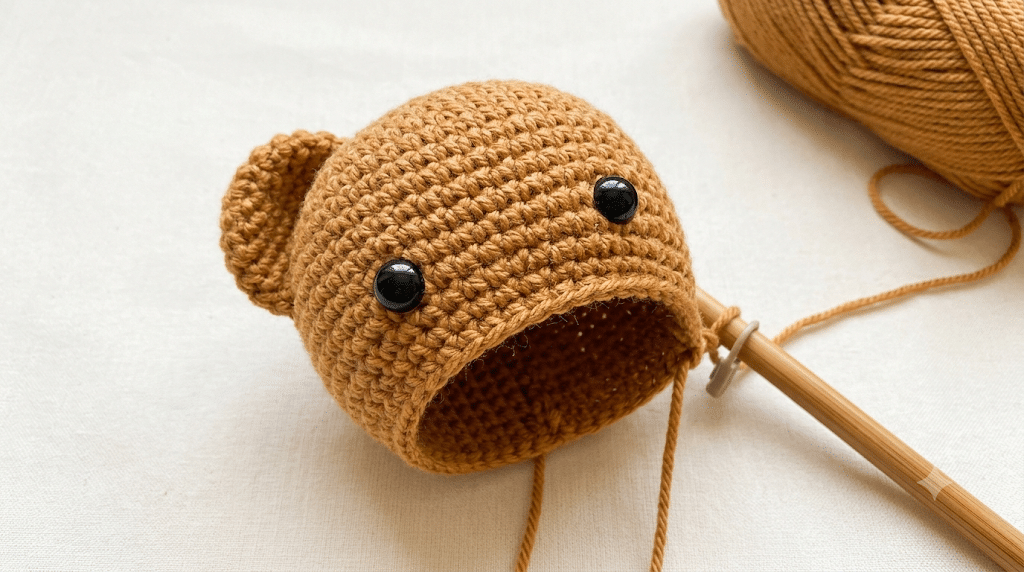
Before closing the head, place the eyes evenly on each side of the muzzle.
Take time to test different placements.
Small adjustments can completely change the bear’s expression.
Step 4: Stuff the Head Firmly
Add stuffing little by little.
Avoid large clumps that create lumps or uneven spots.
The head should feel firm yet slightly squishy.
Step 5: Crochet the Body
Create a rounded body that complements the head size.
Many beginners make the body too small, so compare proportions often.
A balanced body gives your bear a cuddly appearance.
Step 6: Make Two Tiny Ears
Bear ears are simple and quick.
Crochet two matching pieces and fold them slightly before attaching.
This creates a natural teddy bear look.
Step 7: Create the Arms
The arms should be slightly narrower than the body.
Light stuffing helps them keep shape while remaining flexible.
Symmetry is the goal here.
Step 8: Crochet the Legs
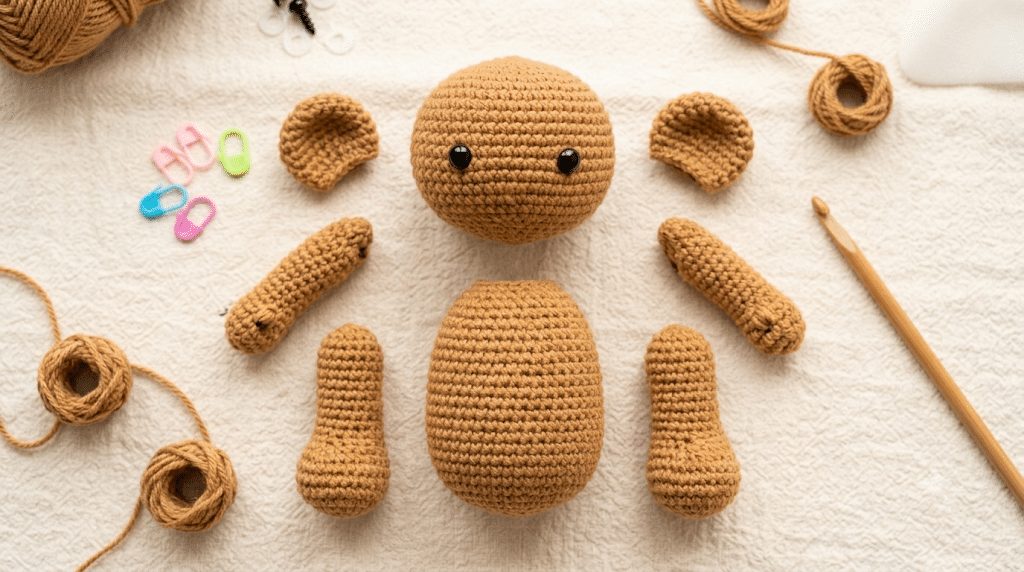
The legs provide stability and balance.
Stuff them firmly enough to support the finished bear when sitting.
Take your time matching both sides.
Step 9: Assemble the Pieces
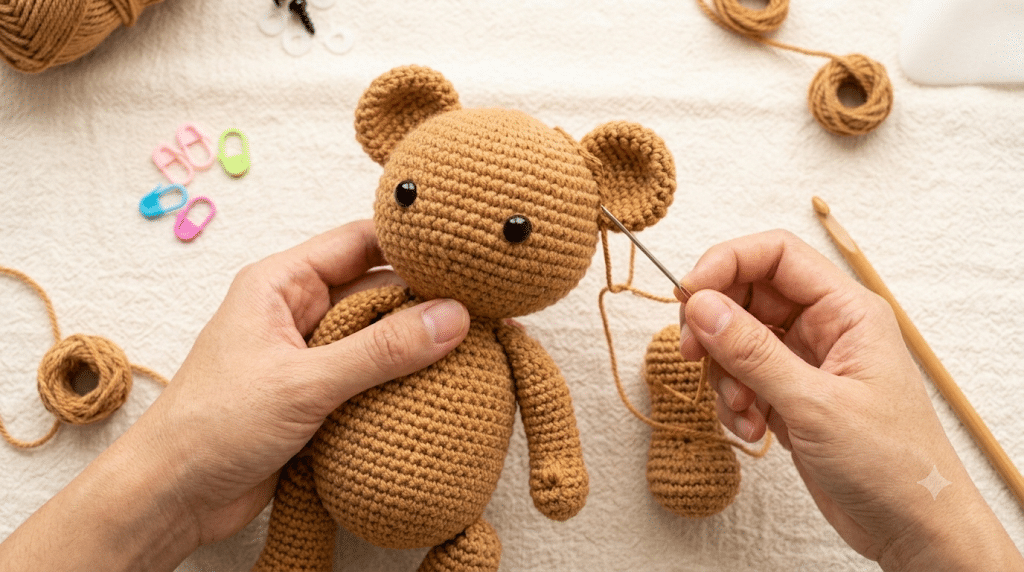
Pin everything in place before sewing.
Check alignment from every angle.
Making adjustments now saves time later.
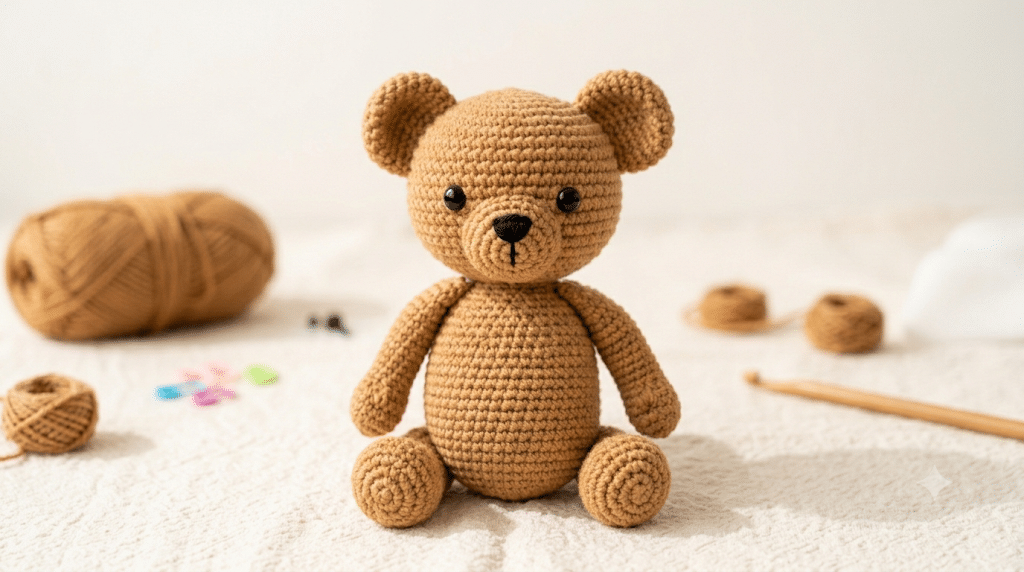
Step 10: Add Final Details
Embroider a nose and smile using contrasting yarn or embroidery thread.
Small facial details add charm and personality.
Suddenly your bear transforms from a collection of pieces into a lovable friend.
Secrets for Making Your Bear Look Professional
Even simple amigurumi projects can look amazing with a few finishing techniques.
The little details often create the biggest impact.
Focus on Even Tension
Consistent stitches create a smoother surface.
Try holding your yarn the same way throughout the project.
Uneven tension can make shaping look less polished.
Take Extra Time With Assembly
Many crocheters rush the sewing stage.
Instead, pin pieces first and inspect them carefully.
Balanced placement makes a huge difference.
Shape While Stuffing
Add stuffing gradually rather than all at once.
Gently massage the stuffing into place.
This prevents lumps and keeps curves smooth.
Before we get into customization ideas, remember that perfection isn’t the goal. Handmade charm is part of what makes amigurumi special.
Fun Ways to Customize Your Crochet Bear Pattern Easy Design
One of the best things about a teddy bear pattern is how easy it is to personalize.
A few small changes can create an entirely different character.
Create Different Bear Colors
Try:
- Classic brown
- Cream
- White
- Gray
- Pink
- Lavender
Different colors instantly change the mood of your project.
Add Cute Accessories
Accessories help your bear stand out.
Popular options include:
- Tiny scarves
- Mini sweaters
- Bows
- Flower crowns
- Little backpacks
A simple accessory can make your bear feel unique.
Experiment With Facial Expressions
Changing the eye placement creates different personalities.
Eyes placed slightly lower often create a sweeter look.
Eyes placed farther apart can create a playful appearance.
For long crochet sessions, I always reach for my Clover Amour crochet hook. The comfortable grip makes stitching much easier on tired hands.
Next up, let’s answer some common questions crocheters ask before starting.
Frequently Asked Questions About Crochet Bear Pattern Easy
How long does it take to crochet a bear?
Most beginners can finish a small bear within a weekend. Experienced crocheters may complete one in a single day. The exact time depends on your speed, the size of the bear, and how much detail you add.
What yarn is best for bear amigurumi?
Soft cotton blends and smooth acrylic yarns work wonderfully. Paintbox Simply DK yarn, Lion Brand Comfy Cotton yarn, and Red Heart Soft yarn all create beautiful stitch definition and help beginners see their stitches clearly.
Is this crochet bear pattern good for beginners?
Yes. This project uses basic amigurumi techniques and simple shaping. If you know how to crochet in rounds, increase, and decrease, you’ll have everything needed to complete this adorable teddy bear.
What size safety eyes should I use?
Most medium-sized bears look great with 9mm safety eyes. Larger bears may benefit from 12mm safety eyes. Always test placement before securing them permanently.
Can I sell bears made from this pattern?
In most cases, yes. Many crocheters sell finished handmade items at markets and online shops. It’s always smart to mention that the item is handmade and created from a crochet pattern.
How do I make my bear extra cuddly?
Use high-quality stuffing and avoid overfilling the body. A slightly softer body creates a plush, huggable feel while still maintaining shape.
Your New Favorite Handmade Teddy Bear
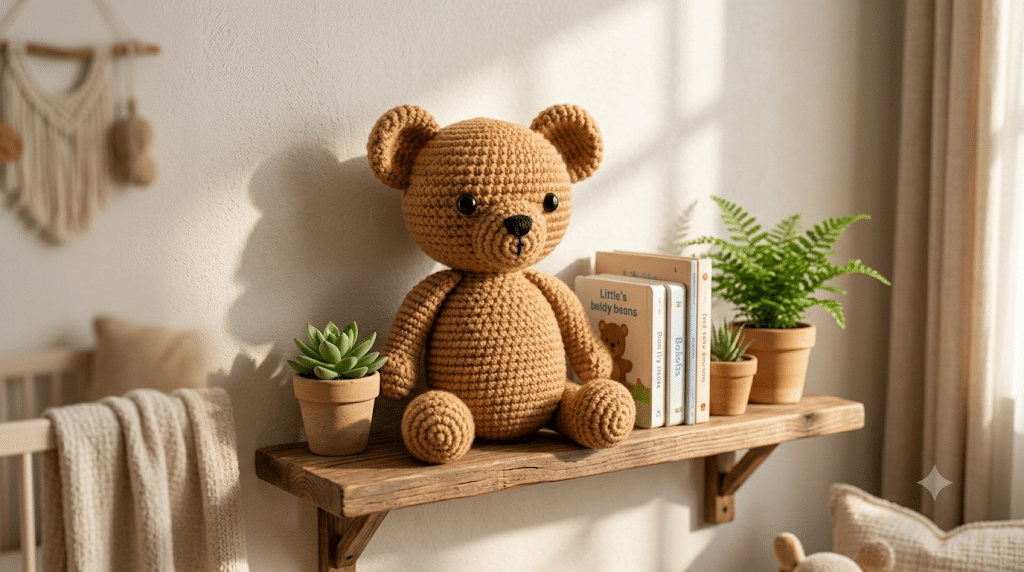
Creating a handmade teddy bear is one of the most rewarding amigurumi projects you can make. You learned how to choose materials, shape each section, assemble the pieces, and add those adorable finishing touches that bring a bear to life. Best of all, this crochet bear pattern easy project gives you a lovable companion that reflects your creativity and care.
Whether you keep your bear for yourself or gift it to someone special, you’ll enjoy the pride that comes from making something completely by hand. Every stitch tells a story, and every finished bear becomes a treasured keepsake filled with personality and charm.
Save this pin to your crochet board on Pinterest so you can find this pattern anytime!
Looking for more free crochet animal patterns? Visit Yarned Animals for new amigurumi patterns, kawaii plushies and beginner crochet tutorials added every week at yarnedanimals.com