
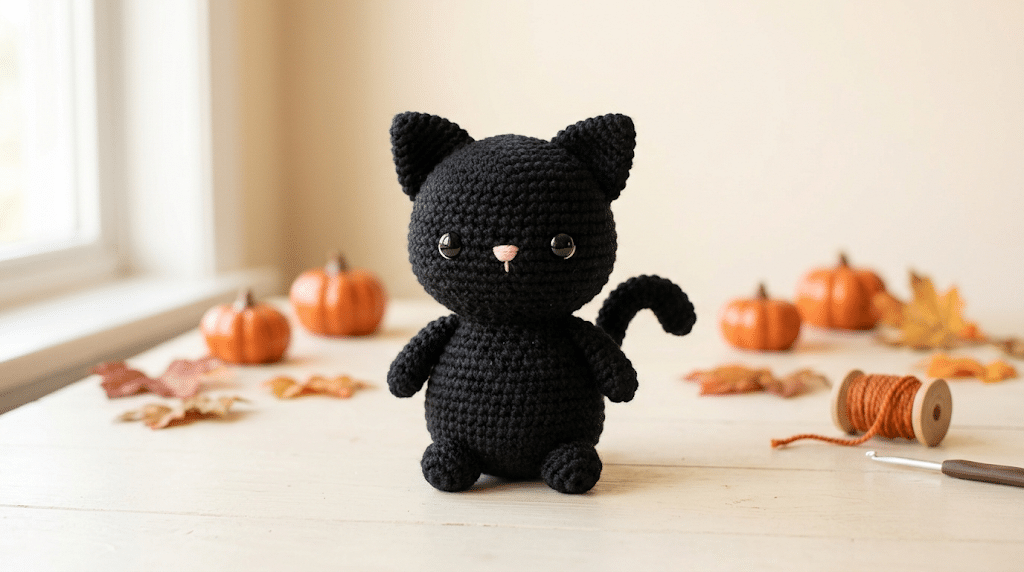
There’s something magical about a tiny black cat made from soft yarn, especially when Halloween is just around the corner. A handmade kitty can turn into a sweet shelf decoration, a spooky little gift, or a cuddly companion that stays cute long after October ends. This crochet black cat pattern gives you an easy way to create your own adorable amigurumi cat with simple shapes and beginner-friendly techniques. You’ll learn what yarn and tools to choose, how to build the body, and how to add those irresistible pointy ears, tiny paws, and whisker details. You’ll also find helpful tips for shaping and stuffing your cat neatly. So grab your hook, choose your favorite black yarn, and let’s start creating something wonderfully spooky!
Table of Contents
Why This Crochet Black Cat Pattern Is Perfect for Halloween
Black cats and Halloween simply belong together. Yet your handmade cat doesn’t need to look scary or spooky. With a round body, tiny paws, bright eyes, and little ears, you can create a kawaii amigurumi that feels playful instead.
This crochet black cat pattern works especially well for beginners because you can focus on basic amigurumi shapes. You don’t need complicated colorwork or advanced shaping to create something adorable.
The finished cat also makes a lovely handmade decoration. Place it beside your pumpkins, books, candles, or Halloween decorations for an instant cozy touch.
A Cute Halloween Project for Beginners
Amigurumi can look complicated when you first see finished projects online. The good news is that many cute animals rely on simple crochet techniques.
You’ll mainly work with single crochet, increases, decreases, and stuffing. These stitches create the rounded shapes that make amigurumi animals look so plush and cute.
If you make a mistake, don’t worry. Small imperfections often give handmade toys their personality.
Make a Cat That Matches Your Style
You can keep your kitty completely black for a classic Halloween appearance. You can also add tiny details to make the finished piece uniquely yours.
Try a small orange bow, a purple collar, or a tiny embroidered pumpkin. You could even add a little witch hat for extra Halloween charm.
Tip: Keep decorative pieces secure when making toys for young children. Embroidered details offer a safer alternative to small detachable accessories.
A Sweet Handmade Gift Idea
A crocheted black cat makes more than seasonal decor. It can become a thoughtful gift for someone who loves cats, Halloween, or handmade treasures.
You can also make several cats in different sizes. Arrange them together as a tiny handmade cat family.
Now that you know why this project is so fun, let’s gather everything you need before your hook gets busy.
What You Need for Your Crochet Black Cat
Before you start your crochet black cat pattern, prepare your materials in one small basket. Having everything nearby makes crocheting much more relaxing.
Choose yarn that feels comfortable with your hook. For amigurumi, you usually want a fabric that holds its shape without leaving large gaps between stitches.
Choose the Right Yarn
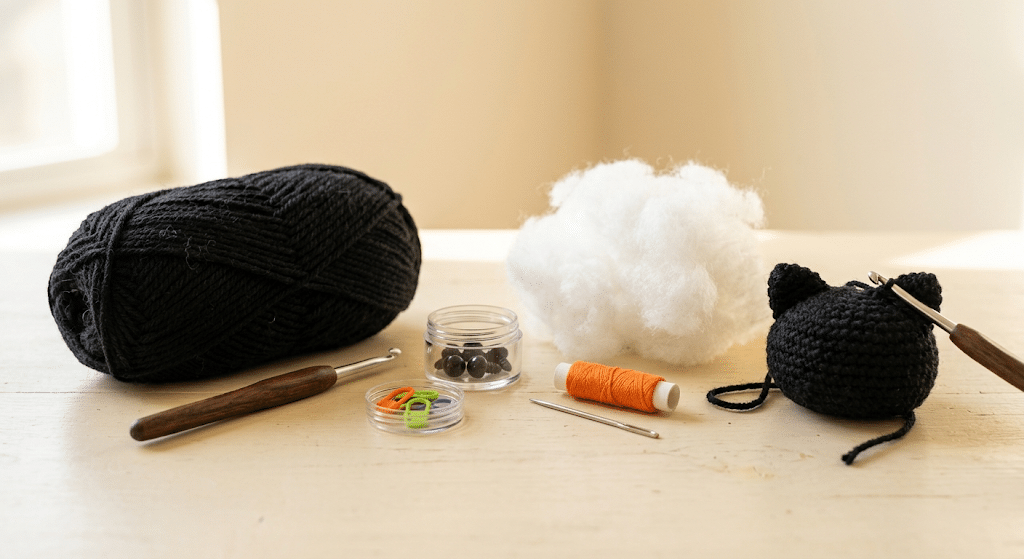
Paintbox Simply DK yarn works beautifully when you want a neat, lightweight amigurumi with clear stitch definition.
For a softer, chunkier Halloween cat, Bernat Blanket yarn creates a wonderfully squishy texture. It can make your finished cat feel especially cuddly.
You can also experiment with different shades of black. A true black gives a classic Halloween appearance, while charcoal creates a softer look.
Pick a Comfortable Crochet Hook
Your hook size should match your yarn and help create tight stitches. Amigurumi generally needs a smaller hook than you might expect.
A Clover Amour crochet hook is one of my favorite choices when teaching beginners because its comfortable grip makes longer crochet sessions much easier.
Check your stitches as you work. If stuffing becomes visible through large holes, switch to a smaller hook.
Prepare Your Safety Eyes and Filling
For a medium-sized cat, 9mm safety eyes can give the face a cute balanced appearance. Place them evenly so your kitty keeps that sweet expression.
Poly-fil Premium fiberfill works well for stuffing the body. Add small amounts gradually rather than filling the entire body at once.
You’ll also want stitch markers and a yarn needle for assembling your pieces.
Your Basic Supply Checklist
Here’s a simple checklist to keep beside you:
- Black yarn
- Crochet hook suited to your yarn
- Safety eyes
- Fiberfill stuffing
- Stitch markers
- Yarn needle
- Scissors
- A small amount of contrasting yarn for details
Before we get into the actual construction, remember one thing: tight, even stitches matter more than speed.
How to Crochet the Black Cat Body Step by Step
Here is the fun part. Your little Halloween cat starts taking shape once you begin working the body.
The exact finished size depends on your yarn, hook, tension, and how firmly you stuff it. That makes this project easy to customize.
The body should have a rounded shape rather than a flat tube. You’ll create that shape by gradually increasing, maintaining the width, and then decreasing.
Start With the Amigurumi Foundation
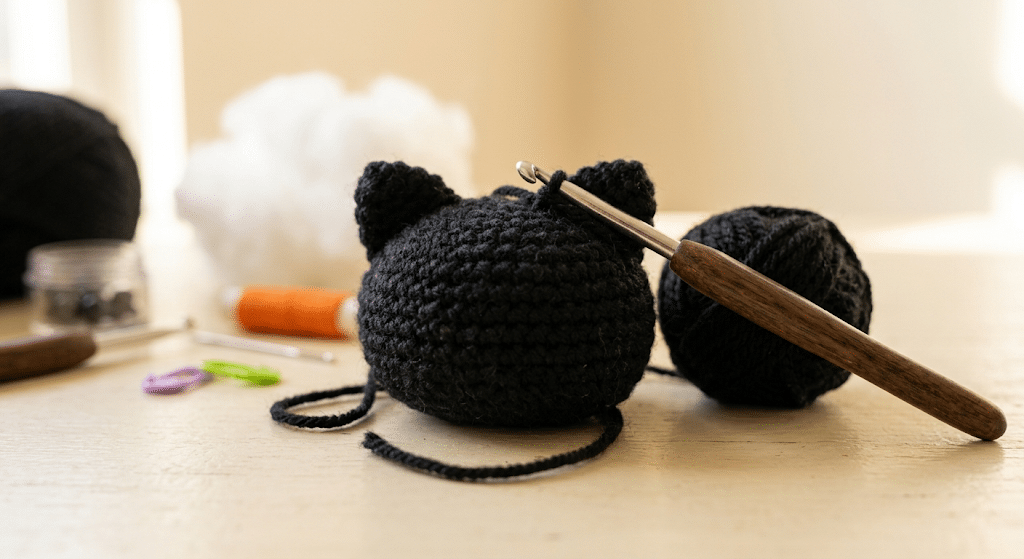
Begin with your preferred magic ring technique. Work your first stitches into the ring and pull it closed.
If magic rings feel tricky, don’t panic. Practice it a few times with scrap yarn before starting the actual cat.
Place a stitch marker at the beginning of your rounds. This small habit can save you from losing your place.
As you crochet, keep your stitches snug. You want the fabric dense enough to prevent stuffing from showing.
Build the Rounded Body
Continue working around the piece while gradually increasing. Your circle will begin expanding and then curve downward.
Once the body reaches its widest point, continue without adding extra width. This creates the main rounded section.
Tip: Stop occasionally and gently squeeze the body. If it feels evenly rounded, your tension is working nicely.
Your cat doesn’t need to have a perfectly mathematical shape. Handmade amigurumi often looks more charming with a little personality.
Shape the Upper Body and Head
As you approach the upper section, begin decreasing gradually. This pulls the crochet fabric inward and creates the rounded top.
Add stuffing as you go rather than waiting until the final few rounds. This gives you much more control over the shape.
Avoid packing the fiberfill too tightly. Firm but springy stuffing gives amigurumi a polished appearance.
Once the opening becomes small, add your final stuffing and close the piece securely.
Keep the Shape Smooth
Run your fingers around the body before finishing. Feel for soft spots or large lumps.
If one side feels flatter, add a little stuffing before closing. Small adjustments make a surprisingly big difference.
Ready to move on? The body is the largest piece, but the ears are what make your kitty instantly recognizable.
Give Your Amigurumi Cat Its Adorable Face
The face brings your black cat to life. A few carefully positioned details can completely change its personality.
For a kawaii appearance, keep the eyes slightly wide and the features simple. For a more traditional Halloween cat, make the eyes slightly narrower or add embroidered details around them.
Attach the Pointy Cat Ears
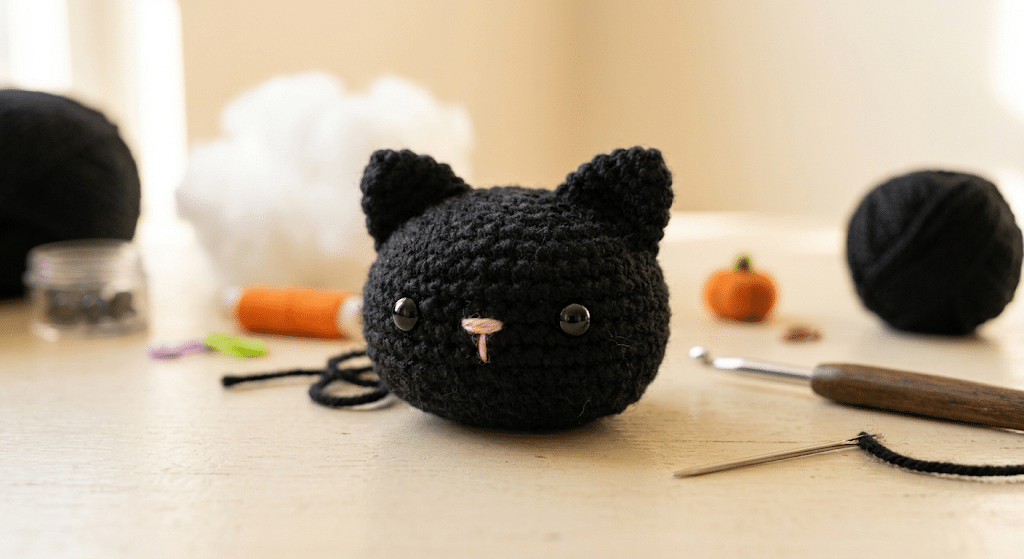
The ears should have a triangular shape. Crochet two matching pieces and attach them near the top of the head.
Position them symmetrically before sewing them permanently. You can use pins to test different placements.
Tip: Don’t sew immediately after crocheting the ears. Hold them against the head first and take a quick look from several angles.
Slightly tilted ears can make your cat look playful. Upright ears create a more alert expression.
Create Sweet Amigurumi Cat Eyes
Insert your safety eyes before completely closing the head if your design allows it. This makes placement easier.
Look at your cat from the front before securing everything. Uneven eyes can change the entire expression.
If you prefer an embroidered face, use black or contrasting embroidery yarn instead. This can give your cat a softer handmade look.
Add the Nose and Tiny Mouth
A small embroidered triangle or dot can work beautifully for the nose. Keep it simple.
You can add a tiny curved mouth underneath. Even one or two stitches can create a surprisingly expressive face.
Avoid adding too many details. Simple faces often create the cutest kawaii amigurumi animals.
Don’t Forget the Whiskers
Whiskers instantly make your crochet cat recognizable. Use a yarn needle and a small amount of contrasting thread or yarn.
Keep both sides balanced. You can gently pull the stitches to adjust their length.
Now your kitty should already have a personality. Next up, let’s add the tiny details that turn a simple cat into a complete Halloween character.
Add Paws, Tail, and Halloween Details
Once the main body and face are complete, the little accessories make the project even more enjoyable.
You can keep these parts simple because the cat already has plenty of personality.
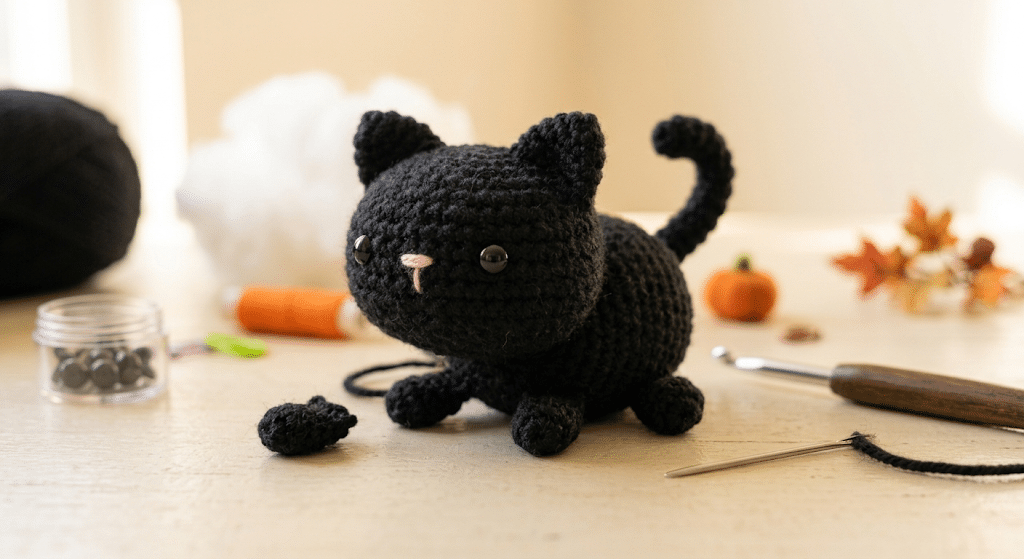
Crochet the Tiny Paws
Make four small paw pieces or create simplified paws directly from the body, depending on your preferred design.
Keep the front paws slightly visible from the front. Place the back paws lower so your cat can sit comfortably.
Sew each piece firmly into place. Before finishing each attachment, check that both sides sit at similar heights.
A little asymmetry isn’t a problem. In fact, slightly different positioning can make your handmade cat look more expressive.
Shape the Curly Cat Tail
The tail can give your finished amigurumi its most playful feature.
Create a narrow crocheted tube and add light stuffing. Don’t overstuff it because you want the tail to remain flexible.
Curl the tail gently before sewing it onto the body. A curved tail creates a classic Halloween-cat silhouette.
You can position it upright, curled beside the body, or sweeping toward the floor.
Add a Tiny Halloween Accessory
Here’s where you can get creative. A miniature pumpkin, bow, collar, or witch hat can completely change the theme.
Orange and purple details look especially festive against black yarn.
If you want a more timeless cat, skip the Halloween accessories. The black body and pointy ears already create a charming classic look.
Try Different Expressions
Make several cats with slightly different faces. One can look sleepy, another curious, and another mischievous.
Small changes in eye placement can create completely different expressions.
Trust me on this one: making a tiny collection can become even more addictive than making one cat.
If you’re making several Halloween gifts, vary the accessories too. You’ll end up with a little group of unique handmade personalities.
Helpful Tips for a Neat Crochet Black Cat Pattern
Even simple amigurumi can look dramatically different depending on your technique.
A few small habits will help you create cleaner stitches, smoother shapes, and stronger seams.
Keep Your Amigurumi Stitches Tight
Loose stitches can create visible holes once you add stuffing. Work with consistent tension throughout the body.
If you naturally crochet loosely, try a smaller hook. Your goal is a dense fabric that still feels comfortable to crochet.
Don’t pull every stitch extremely tight. Excessive tension can make your hands tired and your stitches difficult to work.
Instead, aim for even and controlled tension.
Stuff Gradually
Add fiberfill in small pieces. Push each piece gently into the corners before adding more.
Pay special attention to the head and areas around the ears. Uneven stuffing can create bumps.
Use the blunt end of your crochet hook or a stuffing tool to move fiberfill carefully. Avoid forcing it through individual stitches.
Check Your Cat From Every Angle
Before sewing the final pieces permanently, look at your cat from the front, side, and back.
This helps you catch uneven ears, crooked paws, or a tail that sits too low.
Taking thirty seconds to check placement can save you from having to undo stitches later.
Use a Stitch Marker
A stitch marker makes round-based crochet much easier to follow.
Move it to the first stitch of each new round. This keeps your rounds organized and reduces counting mistakes.
If you lose your place, stop and count your stitches instead of continuing with a guess.
Correcting a small mistake early is much easier than fixing a large shape later.
Make the Pattern Your Own
Once you understand the basic construction, experiment.
Try a slightly larger body, longer ears, a curled tail, or a different facial expression.
You can even create seasonal versions throughout the year. Add a tiny heart for Valentine’s Day or a scarf for winter.
That flexibility makes amigurumi such a rewarding craft. One basic idea can become dozens of different handmade animals.
Creative Ways to Display Your Finished Halloween Cat
Your finished cat deserves more than a spot inside your craft basket.
Because this project is small, you can decorate almost any corner with it.
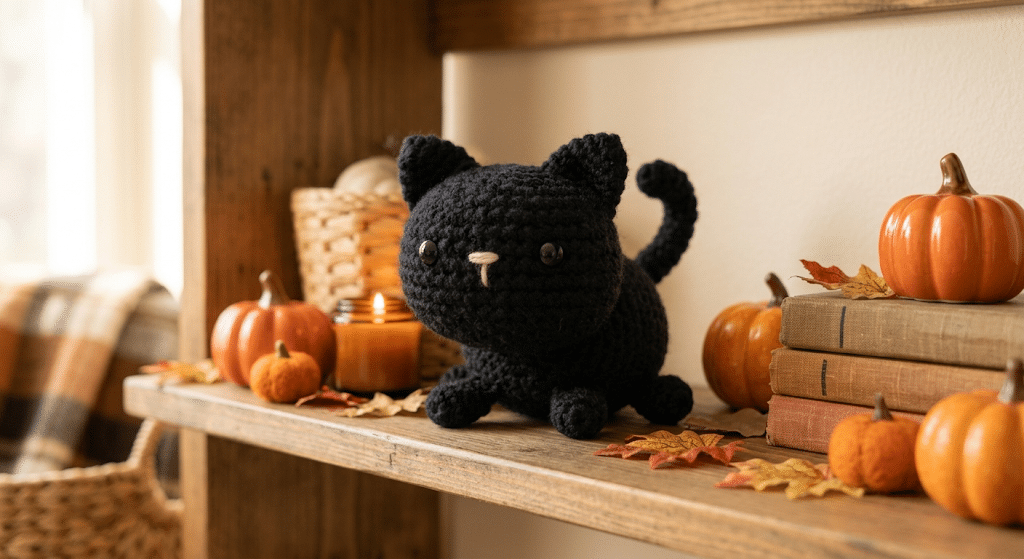
Create a Cozy Halloween Shelf
Place your crochet cat beside miniature pumpkins and autumn leaves. Add a few books underneath to create different heights.
A cream-colored background or wooden shelf can make the black yarn stand out beautifully.
You can also group several handmade cats together. Use different poses and accessories to create a tiny Halloween scene.
Turn It Into a Handmade Gift
Wrap your finished cat in tissue paper and place it inside a small gift box.
Add a handwritten note for an extra personal touch.
A handmade gift doesn’t need to be expensive. The time and care behind it are what make it special.
Use It as Seasonal Home Decor
Your cat can sit on a desk, nightstand, bookshelf, or entryway table.
When Halloween ends, you don’t have to pack it away. Black cats work wonderfully as year-round cat-themed decorations.
You can even create a small collection of crochet animals and rotate them throughout the seasons.
Make a Mini Amigurumi Collection
If you enjoy this project, pair your cat with other handmade animals.
A black cat looks adorable beside a crochet bat, owl, pumpkin, or ghost.
This gives you a fun way to build a handmade Halloween display without buying matching decorations.
Next up, let’s answer the questions beginners often have before starting their first amigurumi cat.
Frequently Asked Questions About Crochet Black Cat Pattern
How long does it take to crochet a black cat?
A small amigurumi cat can take a few hours, depending on your crochet experience, yarn thickness, and design complexity. Beginners may need extra time while learning the shaping techniques. If you work slowly and check your stitches as you go, you can enjoy the process without worrying about speed.
What yarn is best for a black cat amigurumi?
A smooth worsted or DK-weight yarn works well for a black cat amigurumi. Choose yarn that gives you clear stitches and creates a firm fabric. Chenille yarn can produce a wonderfully soft result, but beginners may find smooth yarn easier for learning increases and decreases.
Is this crochet black cat pattern good for beginners?
Yes. The basic construction uses beginner-friendly amigurumi techniques such as single crochet, increases, decreases, stuffing, and simple sewing. The most challenging part may involve keeping your tension consistent. Start slowly and use a stitch marker to make each round easier to follow.
What size safety eyes should I use for a crochet cat?
The ideal safety-eye size depends on your finished cat’s size. 9mm safety eyes work well for many medium-sized amigurumi cats. Smaller designs may look better with 6mm eyes, while larger cats can support bigger eyes. Always check the proportions before permanently attaching them.
Can I sell amigurumi I make from this pattern?
You can generally sell physical handmade items you create from an original pattern, but you should always check the pattern designer’s specific terms if applicable. You should not sell, copy, or redistribute the written pattern itself. When selling your finished cats, adding your own handmade touches can make each piece special.
Can I make this cat in another color?
Absolutely. Although black creates the classic Halloween appearance, you can make your cat in gray, cream, brown, orange, or even pastel colors. You can also combine two shades for the ears, paws, or muzzle. Experimenting with colors lets you create a completely different personality while keeping the same basic construction.
Finish Your Crochet Black Cat With Confidence
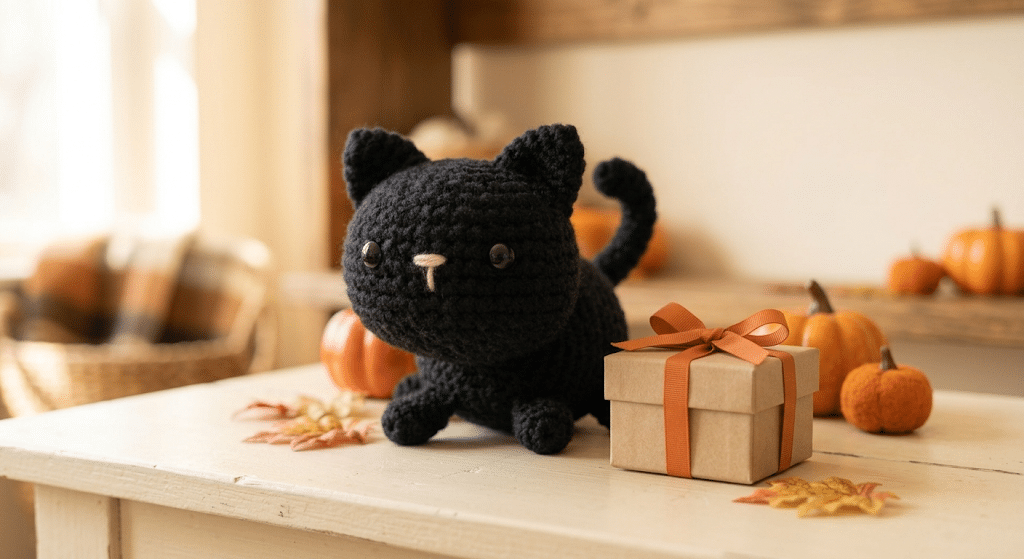
You now have everything you need to create a sweet little Halloween companion with yarn, a hook, and a few simple techniques. From the rounded body and pointy ears to the tiny paws and curled tail, each piece adds another bit of personality.
The best part of a crochet black cat pattern is seeing your handmade character appear stitch by stitch. Your first cat may not look perfectly symmetrical, and that’s completely okay. Those little handmade details are part of what makes crochet so special.
Make one for your Halloween shelf, create a tiny cat family, or surprise a fellow cat lover with a handmade gift. Your creativity is what turns simple yarn into something worth keeping.
Save this pin to your crochet board on Pinterest so you can find this pattern anytime!
Looking for more free crochet animal patterns? Visit Yarned Animals for new amigurumi patterns, kawaii plushies and beginner crochet tutorials added every week at yarnedanimals.com