
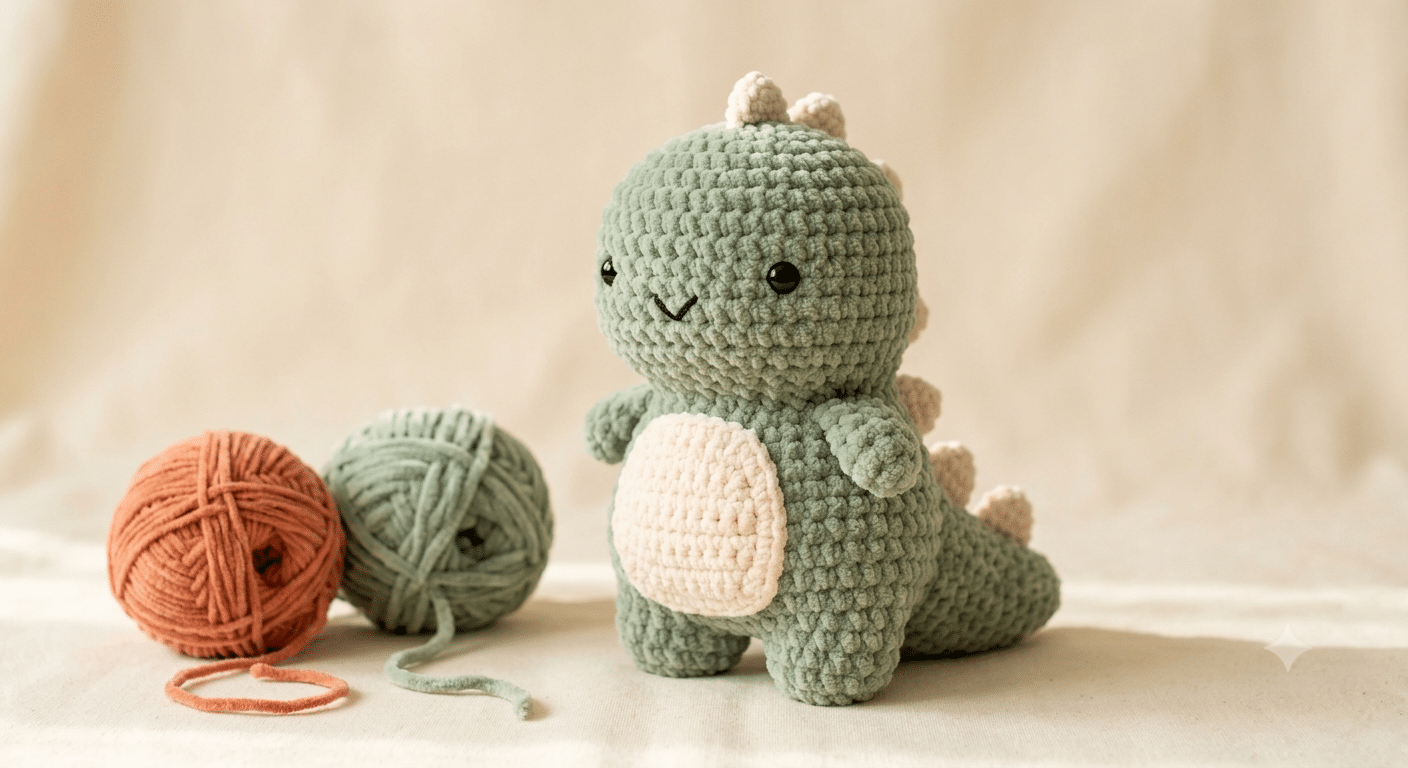
Few crochet projects bring as much joy as holding a tiny dinosaur in your hands and watching it come to life stitch by stitch. There is something magical about turning a ball of yarn into a cute prehistoric friend with a squishy belly, tiny legs, and an adorable smile.
If you have been searching for a crochet dinosaur pattern free tutorial that feels beginner-friendly and fun, you are in the right place. This guide walks you through everything you need to know, from choosing yarn to shaping your dinosaur and adding those charming finishing details.
The secret to getting a soft and cuddly result is using Bernat Blanket yarn for extra plush texture. It creates a wonderfully squishy dinosaur that children and adults both love.
Now that you know what to expect, let’s start creating your new favorite amigurumi friend.
Table of Contents
Why Everyone Loves a Crochet Dinosaur Pattern Free Project
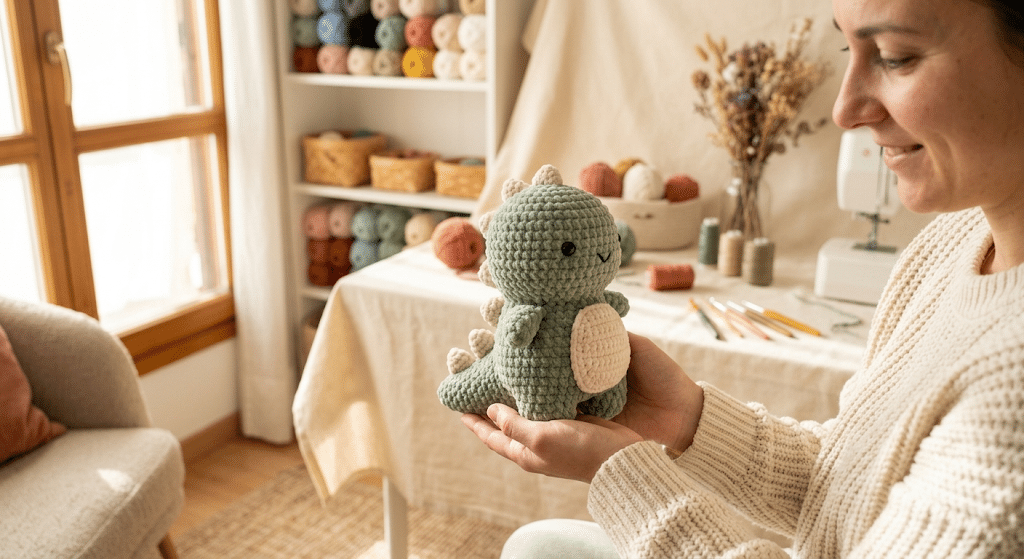
Dinosaurs never seem to go out of style. Kids adore them, adults collect them, and crochet lovers enjoy creating them in every size imaginable.
A cute dinosaur amigurumi combines the best parts of crochet. You get simple shapes, playful details, and endless color options.
Unlike complicated plush toys, most dinosaur designs rely on basic crochet skills. That makes them ideal if you are still learning.
Perfect for Handmade Gifts
A crocheted dinosaur makes a thoughtful gift for birthdays, baby showers, holidays, and classroom surprises.
You can customize colors to match a child’s favorite dinosaur or nursery theme.
Beginner Friendly Shapes
Most dinosaur amigurumi patterns use spheres, ovals, and tubes.
These simple shapes help new crocheters gain confidence while creating something adorable.
Endless Creative Possibilities
You can make tiny pocket dinosaurs, medium-sized plushies, or giant cuddle companions.
Adding spikes, spots, stripes, or embroidered details makes every dinosaur unique.
Ready to move on? Let’s gather the supplies you need.
Supplies That Make Your Dinosaur Look Extra Cute
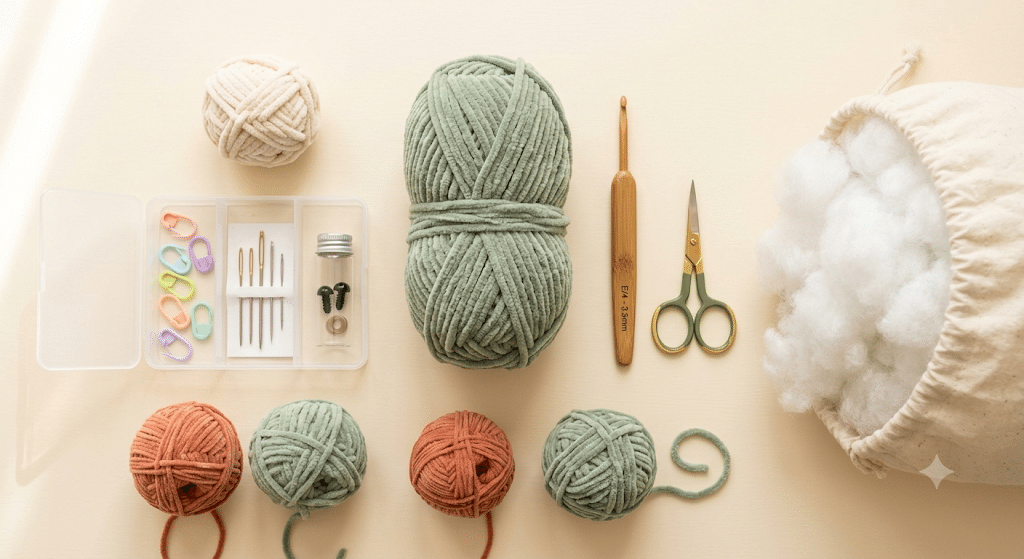
The materials you choose can completely change the finished look of your project.
Soft yarn creates a cuddly plushie, while cotton yarn produces crisp stitch definition.
Yarn Choices for Dinosaur Amigurumi
Many crocheters enjoy:
- Paintbox Simply DK yarn
- Lion Brand Comfy Cotton yarn
- Red Heart Soft yarn
Choose green, blue, orange, pink, or even rainbow shades.
Dinosaurs look adorable in almost any color combination.
Crochet Hooks and Helpful Tools
For this project I always reach for my Clover Amour crochet hook. The comfortable grip helps reduce hand fatigue during longer crochet sessions.
Other useful tools include:
- Stitch markers
- Yarn needle set
- Scissors
- Measuring tape
Stuffing for a Professional Finish
Firm stuffing helps your dinosaur keep its shape.
Poly-fil Premium fiberfill works beautifully because it stays fluffy and distributes evenly throughout the body.
Before we get into that, let’s look at the basic construction.
Crochet Dinosaur Pattern Free Construction Explained
Many beginners feel nervous when starting amigurumi.
The good news is that dinosaur construction follows a simple structure.
Step 1: Create the Head
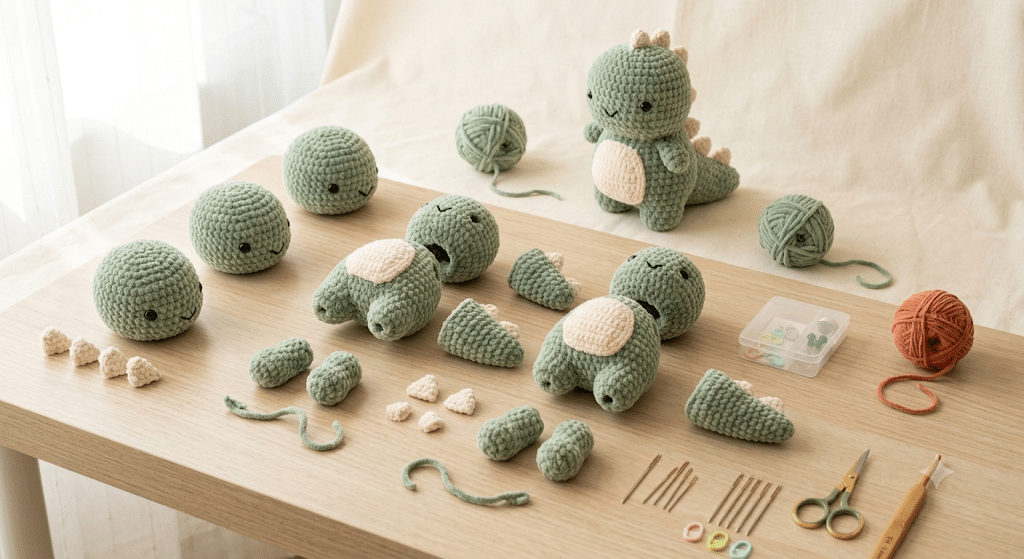
Start with a rounded head shape.
The head often becomes the cutest feature, so take your time shaping it evenly.
Step 2: Crochet the Body
The body typically uses an oval shape.
Stuff gradually as you work to maintain a smooth appearance.
Step 3: Add the Tail
The tail creates balance and gives your dinosaur character.
You can make it short and chunky or long and curved.
Step 4: Make the Legs
Small stubby legs give your dinosaur a kawaii appearance.
Keep them symmetrical for the best result.
Step 5: Attach Everything Together
Assembly may seem intimidating at first.
Use pins or stitch markers to test placement before sewing.
Trust me on this one. Taking a few extra minutes here creates a much cleaner finish.
10 Easy Steps to Crochet an Adorable Dinosaur
This section breaks the project into simple stages.
Step 1: Choose Your Colors
Select one primary color and one accent color.
Contrasting shades help details stand out.
Step 2: Crochet the Head
Create a smooth rounded shape.
Check frequently for symmetry.
Step 3: Form the Body
Work a slightly larger piece for the torso.
Stuff lightly as you go.
Step 4: Make the Tail
Shape the tail gradually.
A gentle curve gives a playful look.
Step 5: Crochet the Front Legs
Keep both legs the same size.
Consistency improves the finished appearance.
Step 6: Crochet the Back Legs
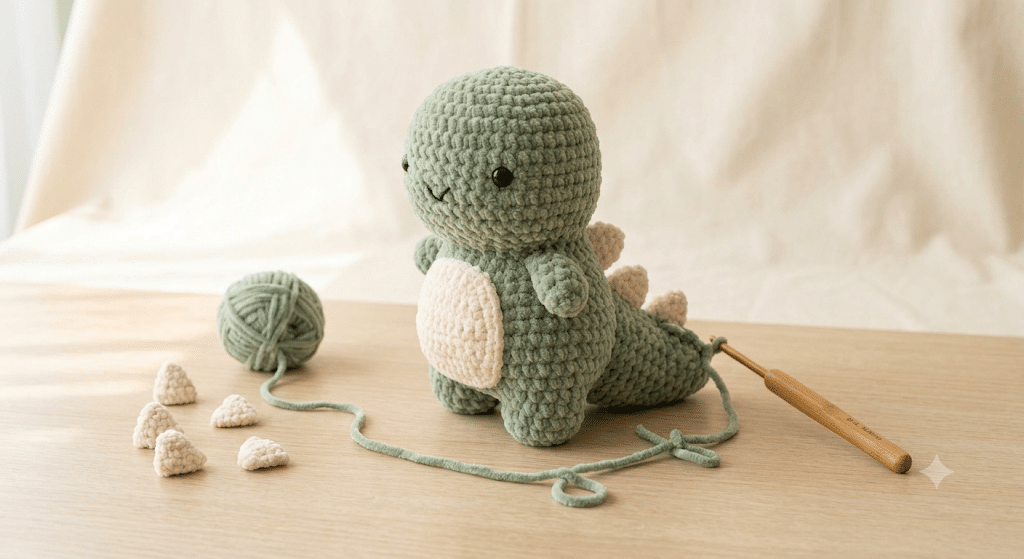
These often support the plushie’s balance.
Add extra stuffing if needed.
Step 7: Create the Dinosaur Spikes
Spikes instantly make the dinosaur recognizable.
You can use matching or contrasting yarn.
Step 8: Assemble the Pieces
Pin each part first.
Check proportions from every angle.
Step 9: Add Facial Features
A sweet smile transforms the entire project.
Position eyes carefully before securing them.
Step 10: Final Shaping
Adjust stuffing and smooth uneven areas.
Your dinosaur is now ready for cuddles.
Here is the fun part. Small finishing details make a huge difference.
Simple Tricks That Make Dinosaur Amigurumi Look Professional
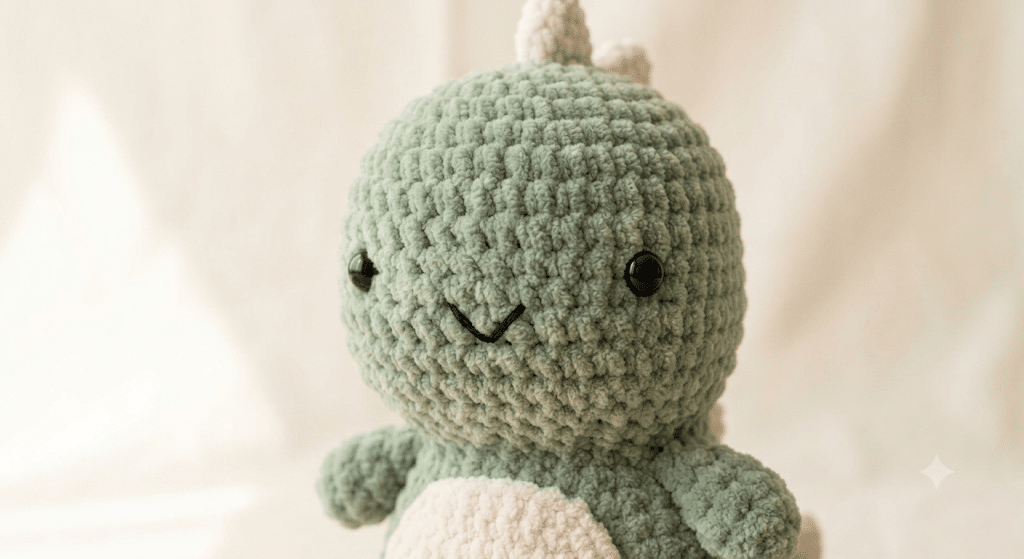
Tiny details separate a good plushie from a great one.
These tricks require very little extra effort.
Focus on Symmetry
Uneven placement can make a dinosaur look awkward.
Measure both sides before sewing.
Stuff Firmly but Gently
Too little stuffing creates wrinkles.
Too much stuffing stretches stitches.
Aim for a balanced feel.
Add Cute Embroidery Details
Small nostrils, blush cheeks, and tiny eyebrows add personality.
These little touches make your dinosaur memorable.
Before you start the finishing touches, grab a set of 9mm safety eyes. This size creates a sweet expression on most medium-sized dinosaur plushies.
Next up, let’s answer some common questions.
Frequently Asked Questions About Crochet Dinosaur Pattern Free
How long does it take to crochet a dinosaur?
Most beginners complete a small dinosaur in 4–8 hours. Larger plush dinosaurs may take several evenings. Your speed improves with practice, so each project becomes faster and easier.
What yarn is best for dinosaur amigurumi?
Soft acrylic and chenille yarns work wonderfully. Many crocheters enjoy Paintbox Simply DK yarn for stitch definition or Bernat Blanket yarn for an extra cuddly finish.
Is this crochet dinosaur pattern free tutorial good for beginners?
Yes. The project uses simple amigurumi shapes and basic crochet techniques. Even new crocheters can complete it with patience and practice.
What size safety eyes should I use?
For medium-sized dinosaurs, 9mm safety eyes usually create the cutest proportions. Smaller dinosaurs often use 6mm eyes, while larger plushies may need 12mm eyes.
Can I sell dinosaurs made from this pattern?
Many designers allow small-scale handmade sales. Always review the original pattern terms if you follow a specific designer’s instructions.
What is the best color for a crochet dinosaur?
Green remains the most popular choice, but pastel pink, blue, purple, and rainbow dinosaurs are equally adorable. Choose colors that make you happy.
Common Beginner Mistakes and How to Avoid Them
Every crocheter makes mistakes while learning.
The good news is that most problems are easy to fix.
Uneven Stitch Counts
Count regularly throughout your project.
Stitch markers help track rounds accurately.
Loose Sewing
Secure attachments firmly.
Strong seams prevent parts from shifting later.
Rushing the Assembly
Assembly often determines the final appearance.
Take your time and adjust placement before sewing permanently.
Now that you know how to avoid common problems, you are ready to create a dinosaur you’ll love showing off.
Final Thoughts on Your Crochet Dinosaur Adventure
Creating a crochet dinosaur pattern free project is a wonderful way to practice amigurumi skills while making something irresistibly cute. You learned how to choose materials, shape the body, assemble the pieces, and add professional finishing touches that bring personality to your dinosaur.
Whether you keep it for yourself, gift it to a child, or add it to your growing amigurumi collection, you can feel proud of every stitch. Handmade creations always carry a special kind of magic, and your dinosaur will become a cherished keepsake for years to come.
Save this pin to your crochet board on Pinterest so you can find this pattern anytime!
Looking for more free crochet animal patterns? Visit Yarned Animals for new amigurumi patterns, kawaii plushies and beginner crochet tutorials added every week at yarnedanimals.com