Table of Contents
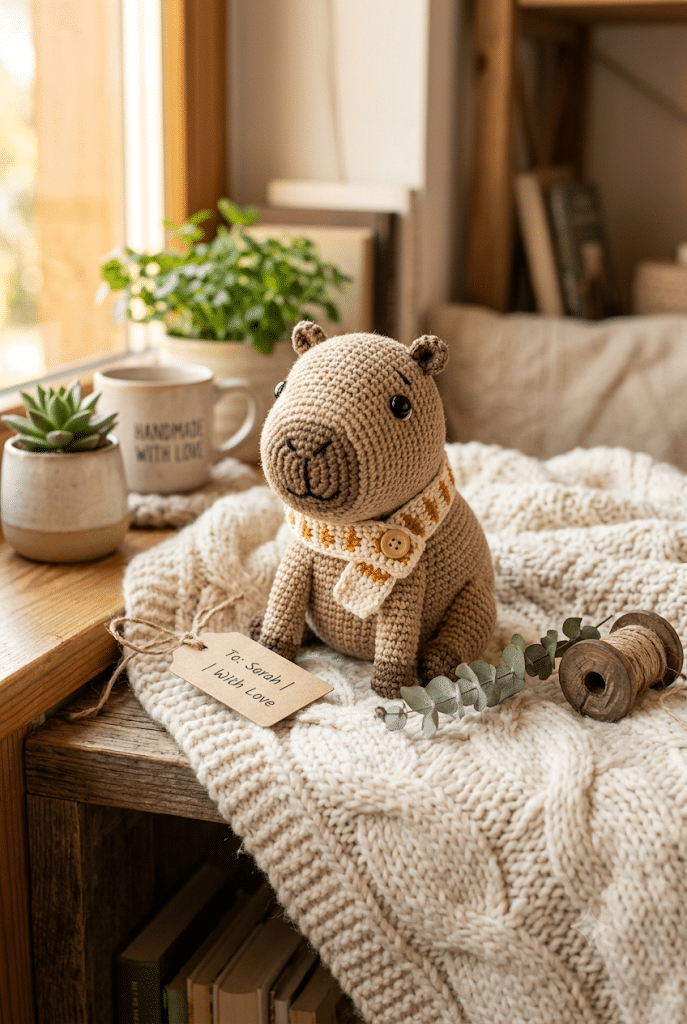
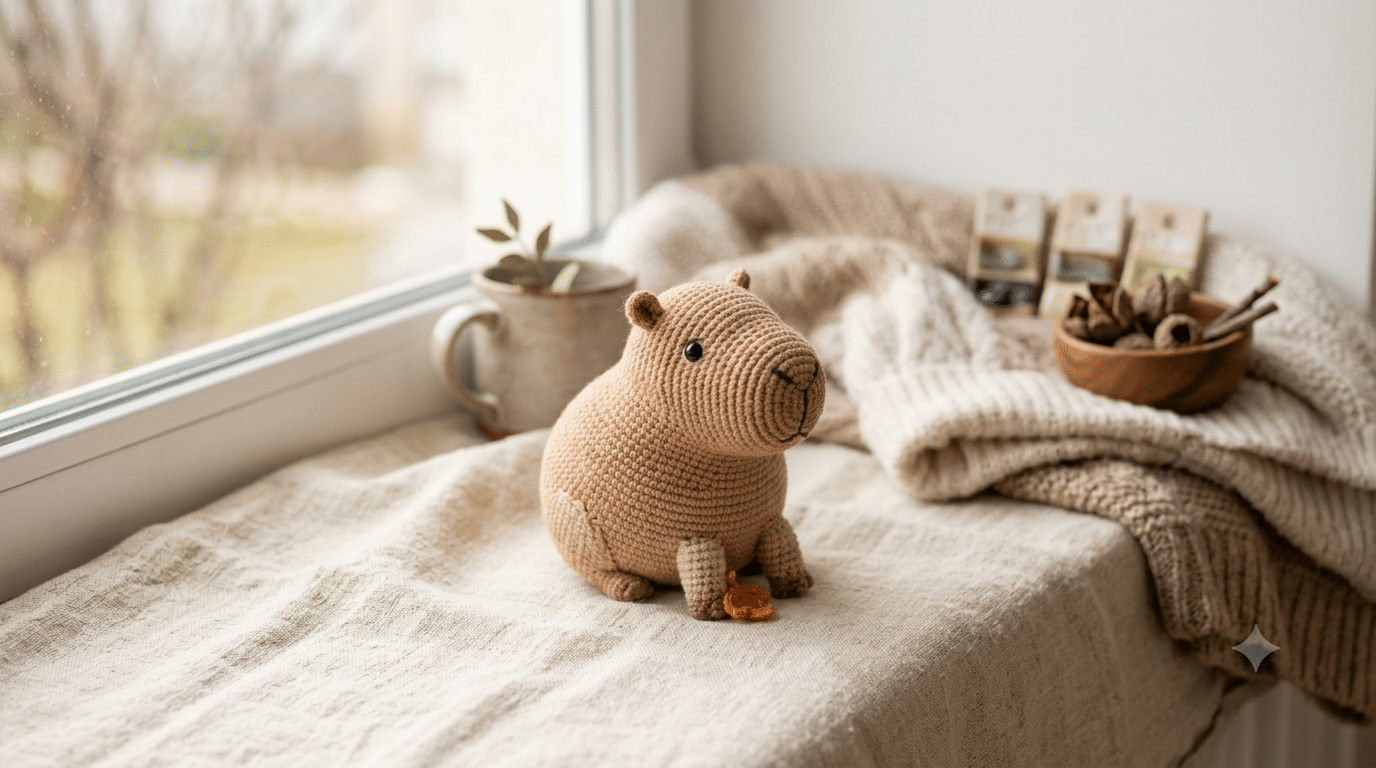
Few animals have captured the hearts of crafters quite like the capybara. With its calm personality, sweet face, and lovable shape, it’s no surprise that capybara plushies are popping up everywhere on Pinterest and social media. If you’ve been dreaming of making your own cuddly version, this crochet capybara pattern is the perfect place to start.
This beginner-friendly guide breaks the process into simple steps that feel manageable, even if you’re still learning basic amigurumi techniques. You’ll discover the best yarn choices, helpful shaping tips, common mistakes to avoid, and ways to personalize your finished capybara. Before long, you’ll have an adorable handmade friend ready for your shelf, gift basket, or crochet collection.
One supply I reach for often is Paintbox Simply DK yarn because it creates neat stitches and comes in beautiful natural shades that work perfectly for capybaras.
Now that you know what to expect, it’s time to gather inspiration and start crocheting.
Why a Crochet Capybara Pattern Is Perfect for Beginners
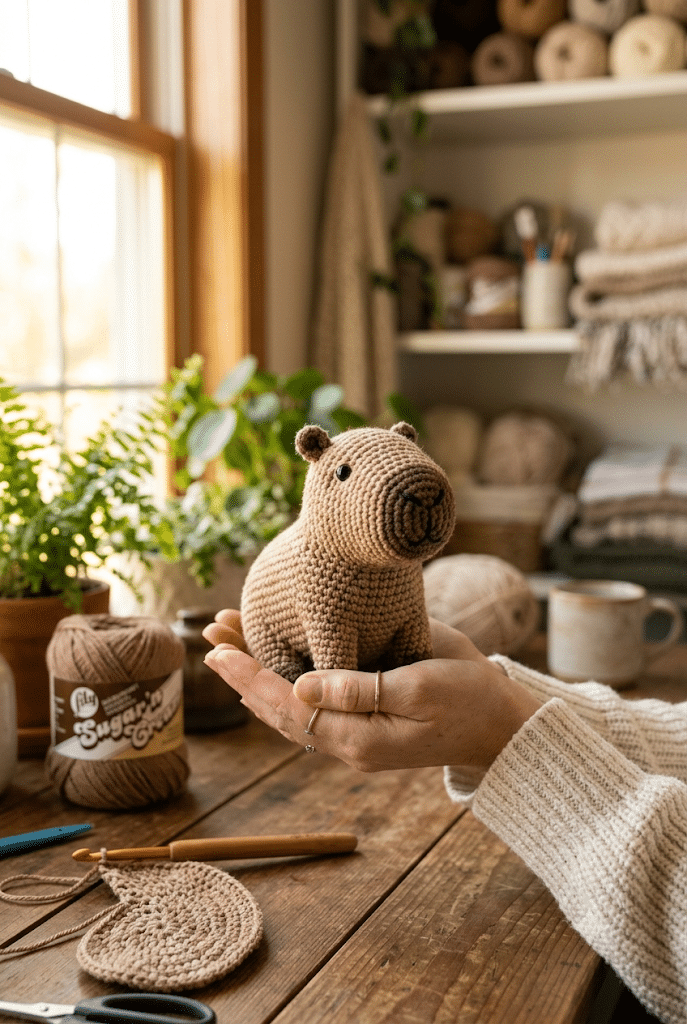
Capybaras have a wonderfully simple shape that makes them ideal for learning amigurumi. Unlike animals with long limbs or complicated features, most capybara patterns rely on basic rounds, increases, and decreases.
This means you can focus on building confidence while still creating a finished project that looks impressive.
Many beginner crocheters feel nervous about shaping plush animals. A capybara helps remove that pressure because its body naturally has a rounded, chunky appearance.
Simple Shapes Make Learning Easier
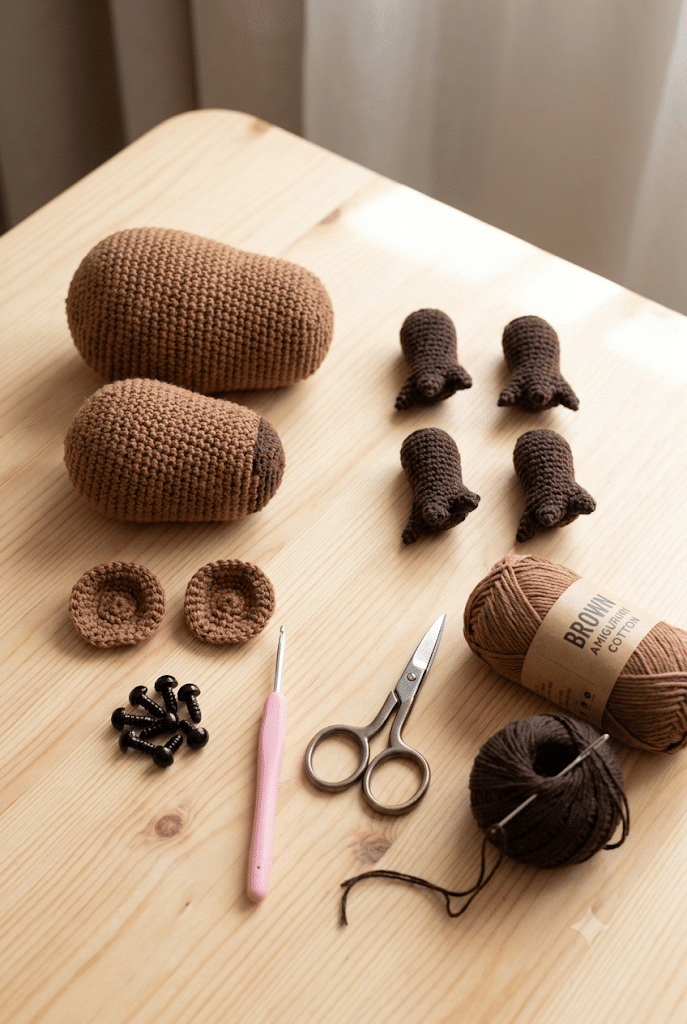
The body of a capybara typically consists of:
- A rounded oval body
- Small ears
- Tiny legs
- A short snout
These shapes use beginner-friendly stitches and repeat often throughout the project.
Quick Progress Keeps You Motivated
One of the best things about a beginner capybara project is seeing results quickly.
After only a few rounds, your plushie starts looking recognizable. That feeling encourages you to keep going and finish the project.
A Great Gift-Making Project
Capybaras appeal to all ages.
You can make them for:
- Birthdays
- Baby showers
- Holiday gifts
- Desk decorations
- Kawaii collections
Trust me on this one—few handmade gifts create bigger smiles than a cute capybara plush.
Choosing the Best Materials for Your Crochet Capybara Pattern
Your materials can make a huge difference in how your finished plushie looks and feels.
The good news is that you don’t need a large collection of supplies to create a beautiful capybara.
Pick the Right Yarn Weight
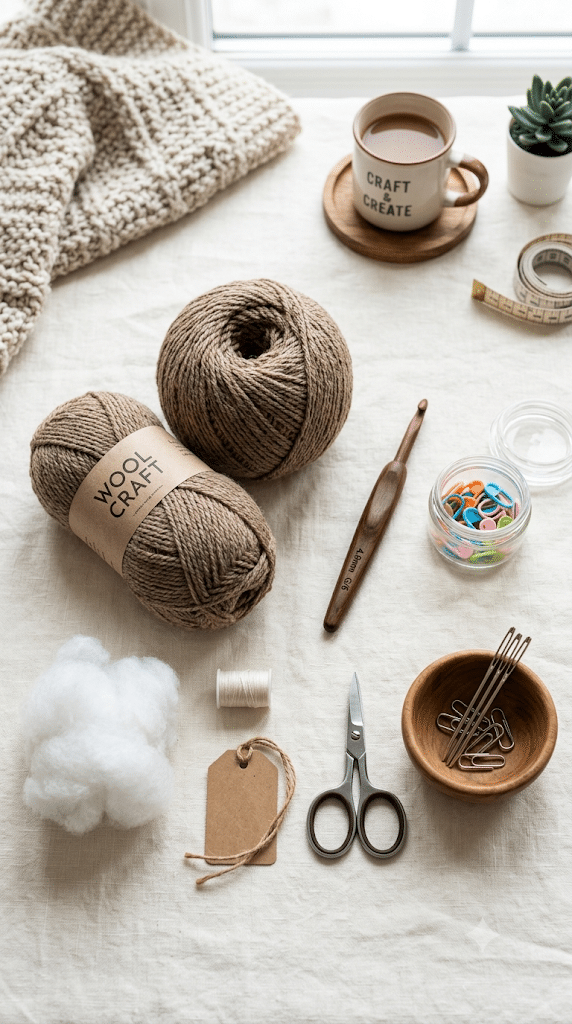
For beginners, DK or worsted-weight yarn works wonderfully.
These yarns make stitches easier to see, which helps when counting rounds and spotting mistakes.
Popular color choices include:
- Light brown
- Caramel
- Beige
- Sand
- Taupe
Natural shades help capture the classic capybara look.
Select Comfortable Crochet Hooks
A comfortable hook makes long crochet sessions much more enjoyable.
For this pattern I always reach for my Clover Amour crochet hook. The soft grip feels comfortable and helps maintain consistent tension during larger projects.
Many beginners notice less hand fatigue when using ergonomic hooks.
Don’t Forget the Finishing Supplies
Helpful tools include:
- Stitch markers
- Yarn needle set
- Scissors
- Stuffing
- Safety eyes
Keeping these nearby makes the entire process smoother.
Ready to move on? Let’s talk about the actual construction process.
Crochet Capybara Pattern: 7 Easy Adorable Steps
The fun part begins here.
These steps follow the general structure found in many beginner-friendly capybara amigurumi designs.
Step 1: Crochet the Main Body
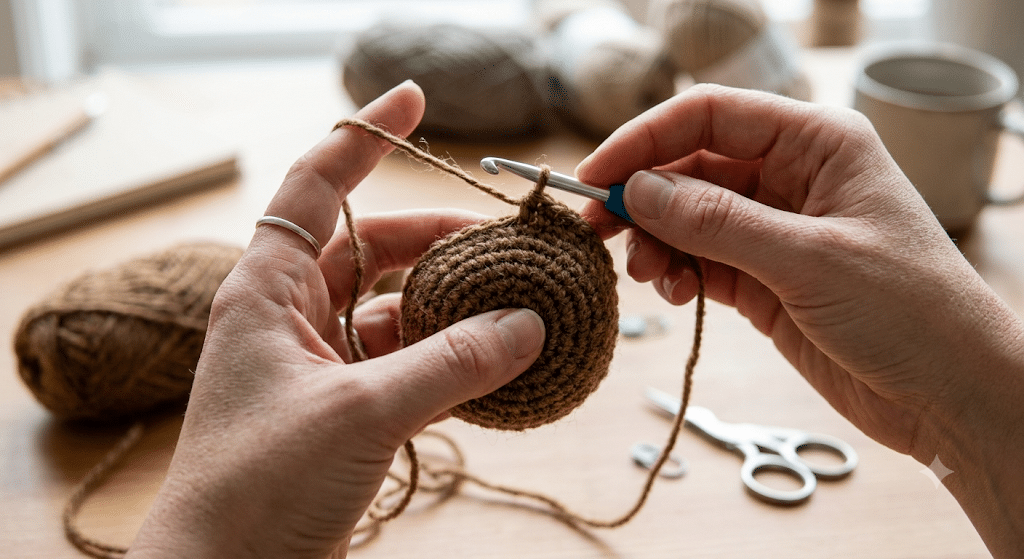
Start with a magic ring and work in continuous rounds.
Gradually increase stitches to create a rounded shape.
The body forms the foundation of your project, so take your time and count carefully.
Step 2: Shape the Belly
Continue crocheting evenly for several rounds.
This creates the signature barrel-like shape that makes capybaras so recognizable.
Consistency matters more than speed.
Step 3: Add Soft Stuffing
Begin stuffing before the opening becomes too small.
Add stuffing gradually instead of all at once.
This helps prevent lumps and creates a smoother appearance.
Step 4: Create the Snout
The snout gives your capybara personality.
Keep it slightly rounded and proportional to the head.
Small details often make the biggest visual impact.
Step 5: Crochet Tiny Ears
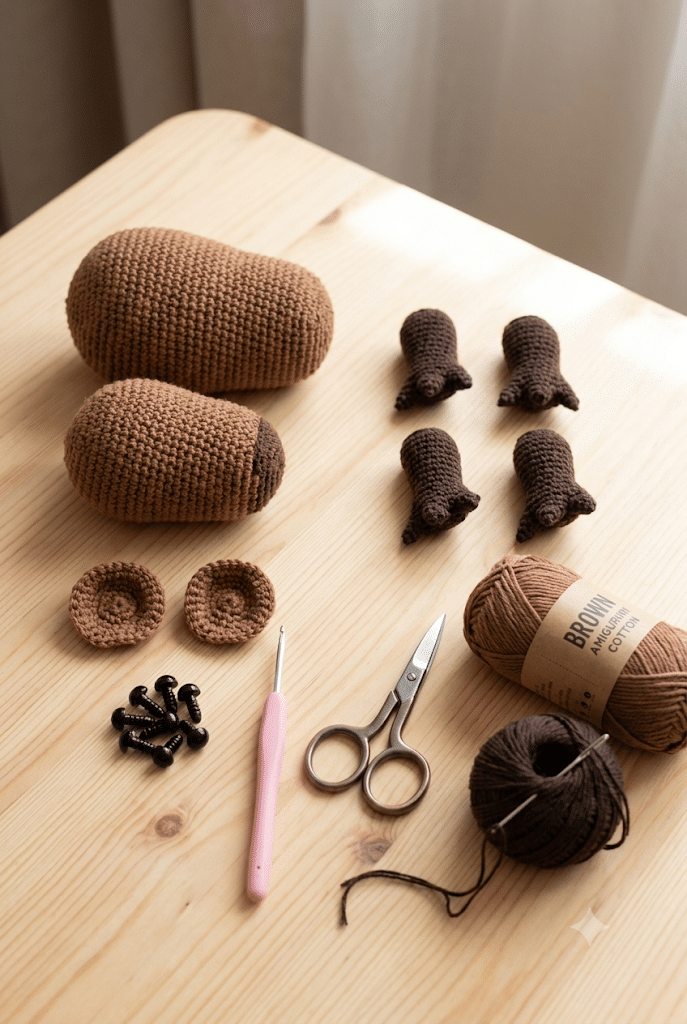
Capybara ears are small and simple.
Because they are compact, beginners can finish them quickly and gain confidence with sewing pieces onto amigurumi.
Step 6: Attach Legs and Features
Position all pieces before sewing permanently.
Checking placement first helps maintain symmetry.
A few extra minutes here can dramatically improve the final result.
Step 7: Finish and Shape
Adjust stuffing where needed.
Gently shape the body with your hands.
Make final adjustments to ears, snout, and facial features until everything looks balanced.
Next up, let’s explore ways to make your capybara even cuter.
Creative Ways to Customize Your Crochet Capybara Pattern
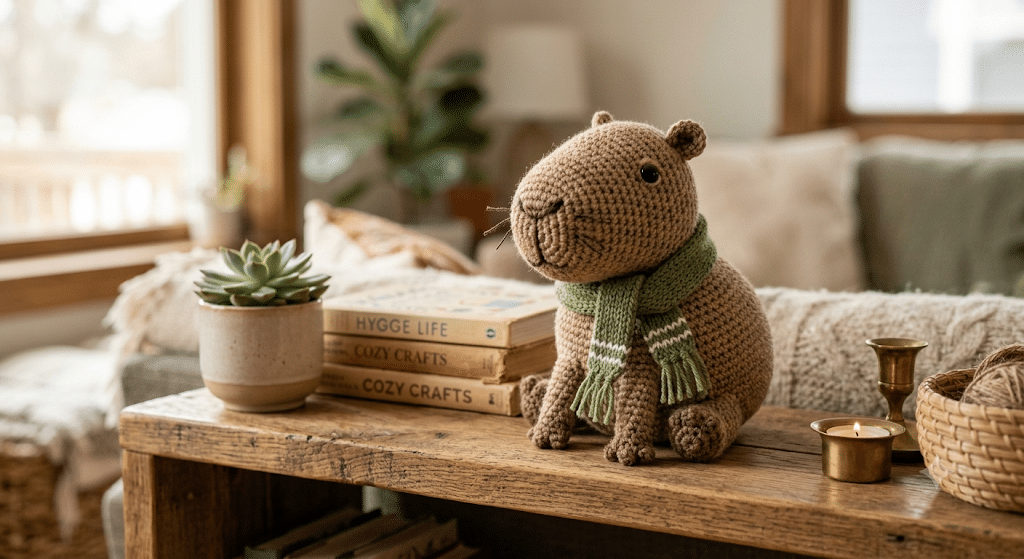
One of the joys of amigurumi is making each project uniquely yours.
Even simple changes can create a completely different personality.
Add Fun Accessories
Try adding:
- Tiny scarves
- Mini hats
- Flower crowns
- Backpacks
- Bow ties
Accessories transform a basic plushie into a memorable character.
Create Different Color Variations
Traditional brown capybaras look wonderful.
However, kawaii-inspired colors can be equally charming.
Consider:
- Cream
- Soft pink
- Light gray
- Sage green
- Pastel blue
These colors work especially well for nursery decor.
Make Seasonal Versions
Holiday-themed capybaras are popular gifts.
Ideas include:
- Winter capybara with earmuffs
- Spring capybara with flowers
- Summer capybara with sunglasses
- Autumn capybara with tiny pumpkins
These seasonal touches help keep your crochet projects fresh and exciting.
Common Mistakes Beginners Make With a Crochet Capybara Pattern
Every crocheter makes mistakes while learning.
The key is recognizing them early and knowing how to fix them.
Losing Track of Stitch Counts
This is the most common beginner issue.
Using stitch markers helps keep rounds organized and accurate.
Count often rather than waiting until several rounds later.
Overstuffing the Plushie
Too much stuffing can stretch stitches and expose filling.
Aim for a firm shape without creating visible gaps.
The finished toy should feel soft and squishy.
Sewing Pieces Too Quickly
Many crocheters rush assembly because they’re excited to finish.
Take time to pin pieces in place first.
Proper positioning creates a cleaner and more professional result.
Before you start your next project, grab some 9mm safety eyes. This size works beautifully for many medium-sized amigurumi animals and helps create a sweet expression.
Here is the fun part—your skills will improve dramatically with every plushie you complete.
Tips for Making Your Crochet Capybara Look Professional
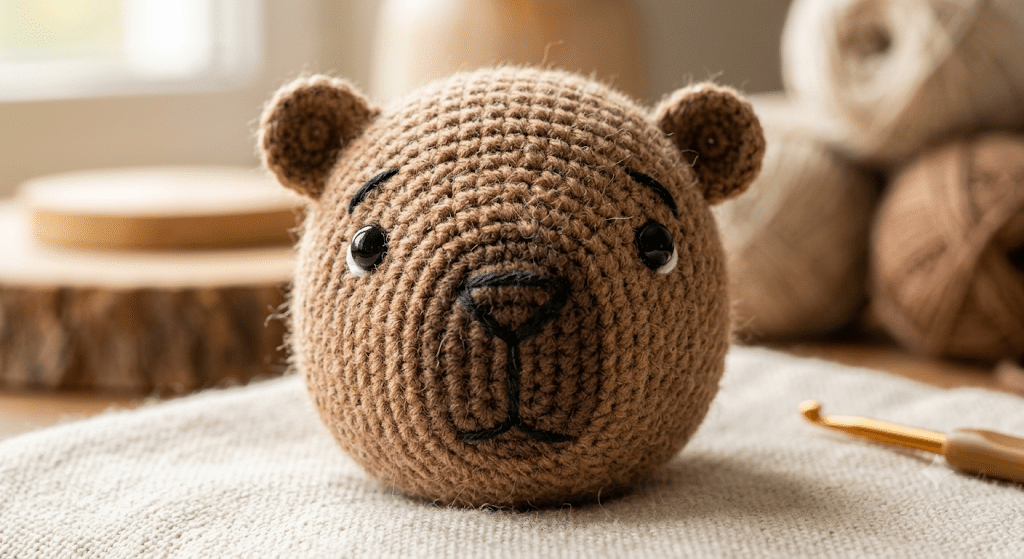
Small details separate a good amigurumi from a great one.
Fortunately, most improvements require patience rather than advanced techniques.
Focus on Consistent Tension
Even stitches create smoother shapes.
Try relaxing your grip if stitches become too tight.
Consistency matters more than perfection.
Use Quality Stuffing
Premium stuffing helps maintain shape over time.
Distribute it evenly throughout the plushie.
Pay special attention to corners and curved areas.
Shape While You Stuff
Don’t wait until the end.
Gently shape the body during stuffing.
This prevents awkward bumps and improves the overall silhouette.
Check Symmetry Frequently
Look at your capybara from multiple angles.
Make adjustments before permanently attaching pieces.
Tiny corrections can have a big visual impact.
Now that you know these finishing tricks, your projects will look cleaner and more polished.
Frequently Asked Questions About Crochet Capybara Pattern
How long does it take to crochet a capybara?
Most beginners finish a capybara amigurumi in four to eight hours. The exact time depends on your crochet speed, pattern complexity, and experience level. Many crafters spread the project across several relaxing evenings.
What yarn is best for capybara amigurumi?
DK and worsted-weight yarn are excellent choices for beginners. They provide clear stitch definition and make counting easier. Neutral brown shades help create a realistic capybara appearance while still looking soft and cute.
Is this crochet capybara pattern good for beginners?
Yes. Most beginner capybara designs use simple stitches such as single crochet, increases, and decreases. The rounded body shape also makes assembly easier than many other amigurumi animals.
What size safety eyes should I use?
Many medium-sized capybara plushies look best with 9mm safety eyes. Smaller projects may use 6mm eyes, while larger plushies can use 12mm eyes for a balanced appearance.
Can I sell amigurumi made from this pattern?
In many cases, yes. However, you should always check the individual designer’s terms before selling finished items. Some designers allow small-batch sales while requesting credit for the original pattern.
How do I make my capybara extra soft?
Choosing soft yarn and quality stuffing makes a big difference. Plush yarns and evenly distributed filling help create a cuddly texture that feels wonderful to hold and display.
Conclusion
Creating a handmade capybara is one of the most rewarding amigurumi projects for beginners. You’ve learned how to choose materials, shape the body, assemble features, avoid common mistakes, and add creative personal touches. With a little patience and practice, your finished plushie can become a treasured gift or a charming addition to your crochet collection.
The best part about a crochet capybara pattern is how approachable it feels while still producing impressive results. Every stitch brings your adorable capybara to life, and the sense of accomplishment when you finish is hard to beat.
Save this pin to your crochet board on Pinterest so you can find this pattern anytime!
Looking for more free crochet animal patterns? Visit Yarned Animals for new amigurumi patterns, kawaii plushies and beginner crochet tutorials added every week at yarnedanimals.com