
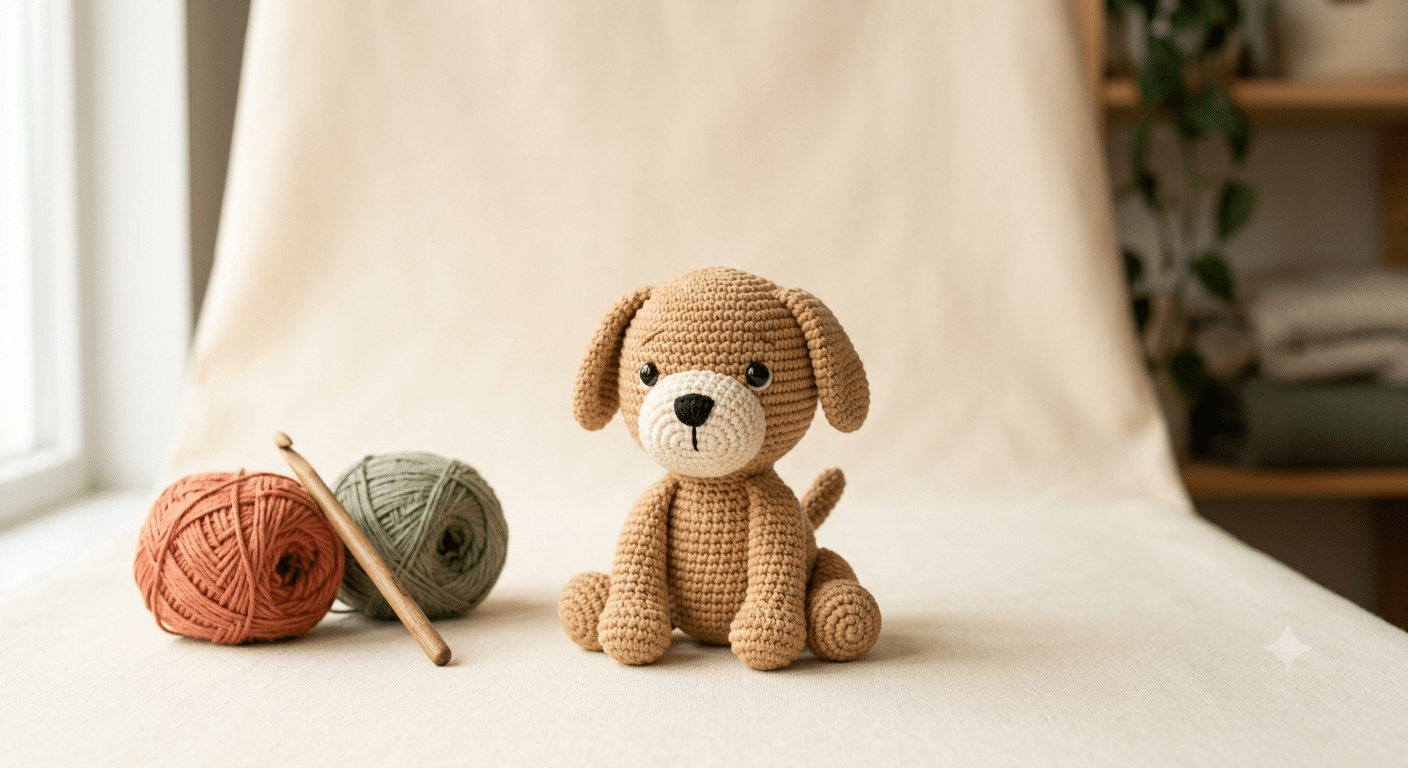
Nothing beats the feeling of finishing a tiny crochet puppy that fits perfectly in your hand. Those floppy ears, little embroidered nose, and wag-worthy tail can turn a simple ball of yarn into a keepsake you’ll treasure for years. Whether you’re making a handmade gift or adding another cute friend to your amigurumi collection, a crochet dog pattern free project is one of the most rewarding animals you can create.
This beginner-friendly guide walks you through every stage without overwhelming stitch counts or confusing instructions. You’ll learn how to shape your puppy, sew the pieces neatly, and add those charming details that make each dog unique. Before you know it, you’ll have an adorable companion ready for cuddles or gifting.
One tool I never crochet without is my Clover Amour crochet hook. The soft grip stays comfortable during longer crafting sessions, especially when you’re working on several small pieces.
Table of Contents
Why a Crochet Dog Pattern Free Project Is Perfect for Beginners
Dogs are one of the most loved amigurumi animals for a reason. Their simple shapes make them easy to build, yet there are endless ways to personalize every puppy. You can change the ears, colors, or tail and end up with a completely different breed.
Even if you’ve only finished one or two crochet projects, this puppy is an excellent next step. Each piece teaches a useful skill that you’ll use in future amigurumi patterns.
Build Confidence One Piece at a Time
Instead of tackling a complicated toy, you’ll work on several small parts that come together naturally.
You’ll create:
- A round head
- A soft body
- Four tiny legs
- Floppy or pointed ears
- A cheerful little tail
Completing each section gives you quick wins that keep your motivation high.
Easy Shapes Create Adorable Results
The secret behind cute amigurumi isn’t complicated stitches. Most of the magic comes from smooth shaping and thoughtful assembly.
Simple rounds form the body, while careful stuffing creates those irresistible chubby proportions.
Small adjustments can completely change your puppy’s personality. Lower ears create a sleepy look, while upright ears make your dog appear alert and playful.
Every Puppy Can Look Different
One pattern can become dozens of unique dogs.
Try experimenting with:
- Cream and brown for a beagle look
- Black and tan for a shepherd-inspired puppy
- White with brown patches for a terrier
- Gray for a schnauzer style
- Golden shades for a retriever
Changing only the yarn colors gives every finished puppy its own charm.
Materials You’ll Need for Your Crochet Dog Pattern Free
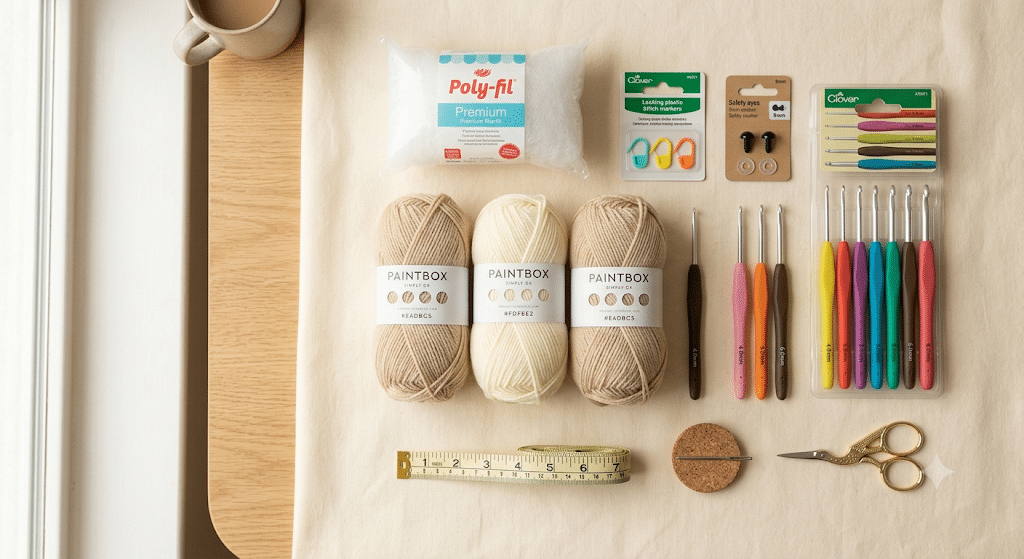
Choosing comfortable materials makes every step easier. You don’t need expensive supplies to create a beautiful puppy.
Soft yarn, good stuffing, and a sharp yarn needle will do most of the work for you.
Pick the Right Yarn
Medium-weight yarn is forgiving for beginners and produces neat stitches.
Some wonderful choices include:
- Paintbox Simply DK yarn
- Red Heart Soft yarn
- Lion Brand Comfy Cotton yarn
Each creates a slightly different texture while keeping your puppy soft and cuddly.
Light colors make it easier to see your stitches if you’re still learning.
Stuffing Makes the Difference
Even perfect crochet stitches won’t look their best without proper stuffing.
Fill the head firmly enough to hold its round shape, but avoid overstuffing.
The body should stay soft enough to squeeze while still supporting the head.
The result feels cuddly instead of stiff.
Helpful Little Accessories
Several small tools make finishing much easier.
Keep nearby:
- Stitch markers
- Sharp embroidery scissors
- Measuring tape
- Yarn needle set
A Yarn needle set becomes especially helpful when sewing tiny ears and legs into place. Having several needle sizes makes assembly much smoother.
10 Easy Steps to Crochet an Adorable Puppy
Creating your puppy becomes much easier when you focus on one piece at a time. Each step builds naturally on the previous one, making the entire project feel relaxed and enjoyable.
Step 1: Crochet the Head
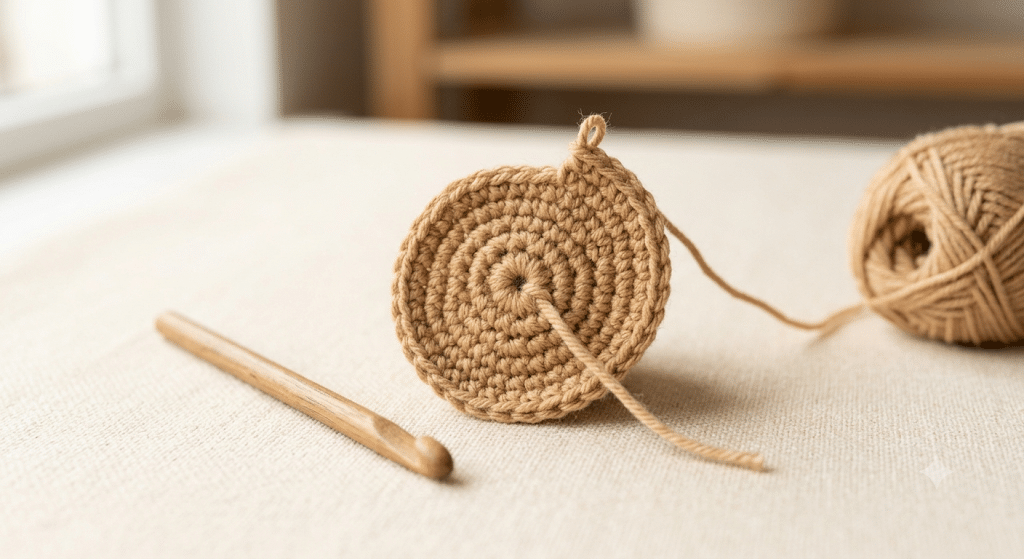
Start with a small magic ring and work evenly to create a smooth, round shape. The head gives your puppy most of its personality, so take your time here.
Pause often to check that it stays symmetrical. A nicely shaped head makes the finished toy look polished before you even add the facial features.
Step 2: Shape the Body
Keep the body slightly smaller than the head for that classic kawaii style. Gentle increases and decreases help create soft curves without sharp edges.
Stuff the body gradually instead of waiting until the end. This keeps the filling evenly distributed and prevents lumps.
Step 3: Make Four Tiny Legs
Crochet each leg separately and aim for matching sizes. Identical legs help your puppy sit evenly without wobbling.
Lay the finished legs side by side before attaching them. If one looks longer, it’s much easier to adjust now than after sewing.
Step 4: Create the Ears
Ears completely change your puppy’s expression. Long floppy ears create a sweet, relaxed look, while shorter pointed ears make your dog appear curious and energetic.
Make both ears before attaching either one so you can compare their size and shape.
Step 5: Add the Tail
A tiny tail is quick to crochet but adds so much character. Whether you prefer a straight tail or a slight curve, keep it proportionate to the body for a balanced finish.
Now that your puppy has all of its main pieces, it’s time for the fun part. Assembly is where your handmade friend truly comes to life. Take your time with these final steps, and don’t worry if you need to adjust a piece before sewing it permanently.
Step 6: Position the Legs Carefully
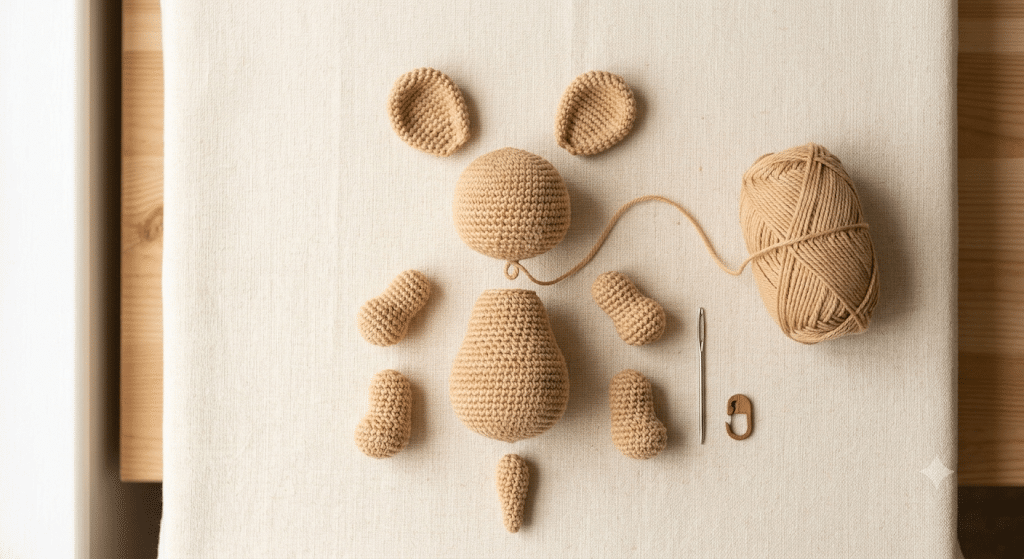
Before threading your yarn needle, place each leg against the body using sewing pins or stitch markers. This lets you check that your puppy sits evenly.
Look at your project from the front, side, and back. Small adjustments now make a huge difference later.
Sew each leg securely using small, neat stitches. Pull the yarn snugly, but don’t tighten it so much that the body loses its shape.
Step 7: Attach the Head
The head is the biggest feature of your puppy, so spend extra time finding the perfect position.
A slightly forward-leaning head creates a playful, curious expression. A centered head gives your puppy a classic teddy bear appearance.
Sew around the entire neck slowly, adding a little extra stuffing if needed before closing the final opening.
Trust me on this one—checking the alignment every few stitches helps prevent a crooked finish.
Step 8: Add the Ears
Place both ears before sewing either one completely.
Try holding them:
- High on the head for an alert puppy
- Lower on the sides for a floppy-eared look
- Slightly forward for extra cuteness
Once you’re happy, stitch them firmly into place.
Tiny adjustments of only a few stitches can completely change your puppy’s personality.
Step 9: Create the Face
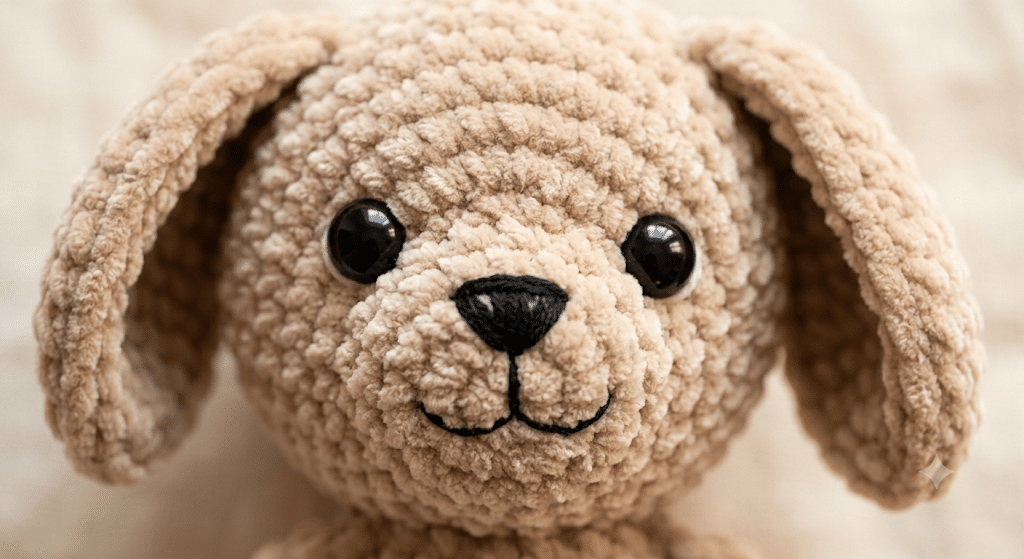
Here is where your crochet puppy truly comes alive.
Attach a pair of cute safety eyes at equal distances from the center of the face. Then embroider a small nose using black yarn.
Keep the mouth simple.
A tiny smile or short straight stitch often looks sweeter than a complicated expression.
Less is usually more with kawaii amigurumi.
Step 10: Add the Finishing Touches
Give your puppy one final inspection.
Check for:
- Loose yarn tails
- Uneven stuffing
- Crooked ears
- Gaps between sewn pieces
- Uneven facial features
Brush away any yarn fuzz and gently shape the body with your hands.
When you finish, you’ll have an adorable handmade puppy that’s ready to display, cuddle, or wrap as a heartfelt gift.
Creative Ways to Customize Your Crochet Dog Pattern Free
One of the best things about a crochet dog pattern free project is how easily you can make it your own. A few simple changes can transform the same basic pattern into dozens of different puppies.
You don’t need advanced crochet skills to add personality. Small details often make the biggest impact.
Change the Colors
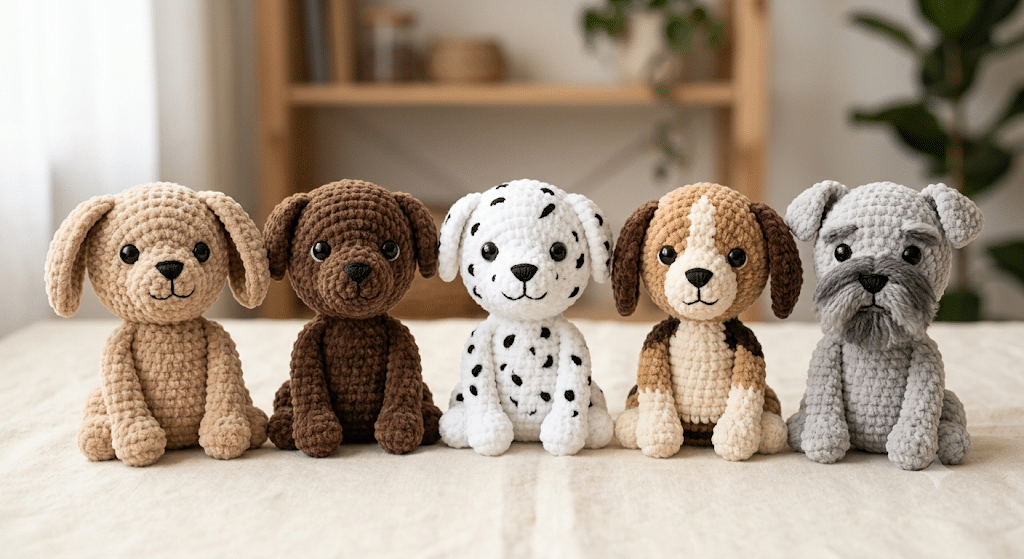
Different yarn colors instantly create the look of popular dog breeds.
Try combinations like:
- Golden honey for a retriever
- Black with tan accents for a shepherd
- White with brown patches for a terrier
- Chocolate brown for a Labrador
- Cream with floppy ears for a cocker spaniel
Don’t worry about making your puppy look exactly like a real breed. Handmade toys are extra special because they have their own unique charm.
Experiment with Different Ear Styles
Ears are one of the easiest features to customize.
You can make:
- Long floppy ears
- Short pointed ears
- Rounded teddy-style ears
- Folded ears
- Oversized kawaii ears
Even using the same body pattern, changing the ears creates a completely different character.
Add Cute Accessories
Accessories make every puppy feel extra special.
Consider adding:
- A tiny bow
- A colorful collar
- A miniature bandana
- A little flower
- A heart-shaped tag
- A small crochet bone
These finishing touches also make your puppy a thoughtful handmade gift for birthdays, baby showers, or holidays.
Ready to move on? Next, you’ll discover the little tricks that help your finished puppy look polished and professional.
Tips That Make Every Crochet Puppy Look Professional
Beautiful amigurumi isn’t about perfection. It’s about paying attention to the small details that bring your project together.
These simple habits can improve every crochet animal you make.
Stuff Gradually
Instead of filling the entire piece at once, add stuffing as you crochet.
This keeps the shape smooth and prevents large lumps.
Your puppy will feel soft while still holding its form.
Keep Your Stitch Tension Consistent
Even tension creates cleaner-looking fabric.
If your stitches become loose halfway through, the stuffing may show between them.
Take short breaks if your hands begin to tire. Fresh hands often produce more even stitches.
Sew Before You Tie Off
Before weaving in your yarn ends, double-check every attached piece.
Make sure:
- Both ears match
- The legs sit evenly
- The head faces forward
- The tail sits straight
Fixing a small issue now is much easier than repairing it later.
One supply I always keep nearby is Poly-fil Premium fiberfill. It creates a soft, even shape without becoming lumpy, which helps every amigurumi look neatly finished.
Frequently Asked Questions About Crochet Dog Pattern Free
How long does it take to crochet a dog amigurumi?
Most beginners can finish a small crochet dog in 4 to 8 hours, depending on the size and their crochet experience. More experienced crocheters may complete one in a single afternoon. If you’re new to amigurumi, enjoy the process and work at your own pace.
What yarn is best for a crochet dog pattern free?
Soft DK or worsted-weight yarn works beautifully for most puppy projects. Paintbox Simply DK yarn, Red Heart Soft yarn, and Lion Brand Comfy Cotton yarn all create smooth stitches with excellent definition. Choose light colors if you’re still learning because they’re easier to see while crocheting.
Is this crochet dog pattern free good for beginners?
Yes! This pattern is designed with beginners in mind. The puppy is made from simple shapes that are easy to crochet and assemble. Even if you’ve only completed one or two amigurumi projects, you’ll build confidence while learning useful shaping and sewing techniques.
What size safety eyes should I use for dog amigurumi?
For a medium-sized crochet puppy, 9mm safety eyes create a cute, balanced face. Smaller puppies often look best with 6mm safety eyes, while larger plush dogs can use 12mm safety eyes. Always position the eyes before attaching them permanently to make sure the expression looks just right.
Can I sell crochet dogs made from this free pattern?
In most cases, yes. Handmade crochet toys created from free patterns can usually be sold at craft fairs, local markets, or online. It’s always a good idea to check the original designer’s terms if you’re following someone else’s pattern, and remember not to copy or redistribute the written instructions themselves.
How do I make my crochet puppy look extra cute?
Small details make a big difference. Place the eyes slightly lower on the head, keep the nose tiny, and stuff the head firmly for a round shape. Floppy ears, rosy embroidered cheeks, and a small collar or bow can also give your puppy even more personality.
Your Adorable Crochet Puppy Is Ready to Shine
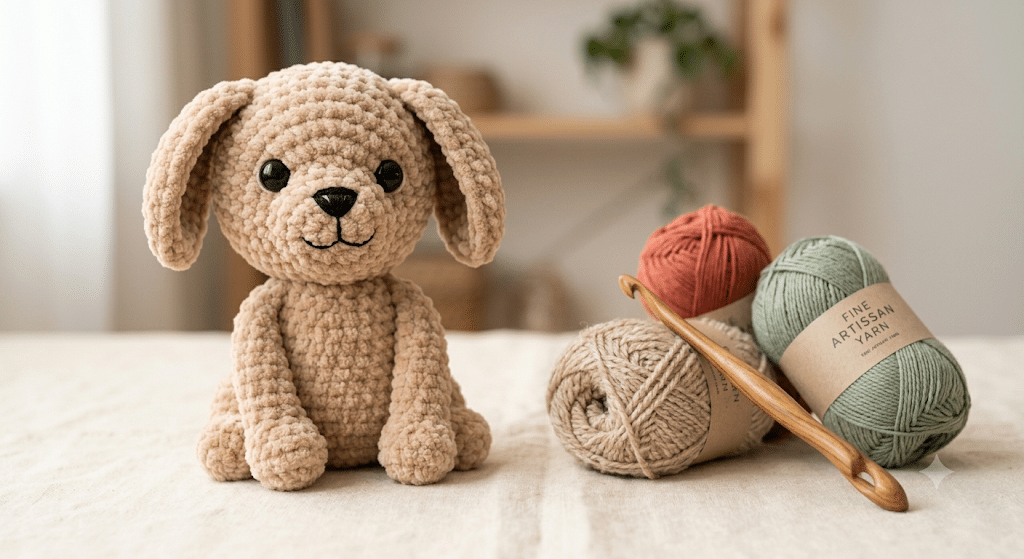
Creating a crochet dog pattern free project is more than making another amigurumi—it’s a chance to turn a simple skein of yarn into a lovable companion filled with personality. From shaping the head and body to adding the ears, tail, and sweet little face, every step brings your puppy to life. Even if this is your first crochet dog, you’ll finish with new skills and a handmade creation you can proudly display or gift to someone special.
Every finished puppy tells its own story, and no two are ever exactly alike. That’s part of the magic of amigurumi. Keep experimenting with colors, accessories, and expressions, and soon you’ll have an entire collection of adorable handmade dogs.
Save this pin to your crochet board on Pinterest so you can find this pattern anytime!
Looking for more free crochet animal patterns? Visit Yarned Animals for new amigurumi patterns, kawaii plushies and beginner crochet tutorials added every week at yarnedanimals.com