
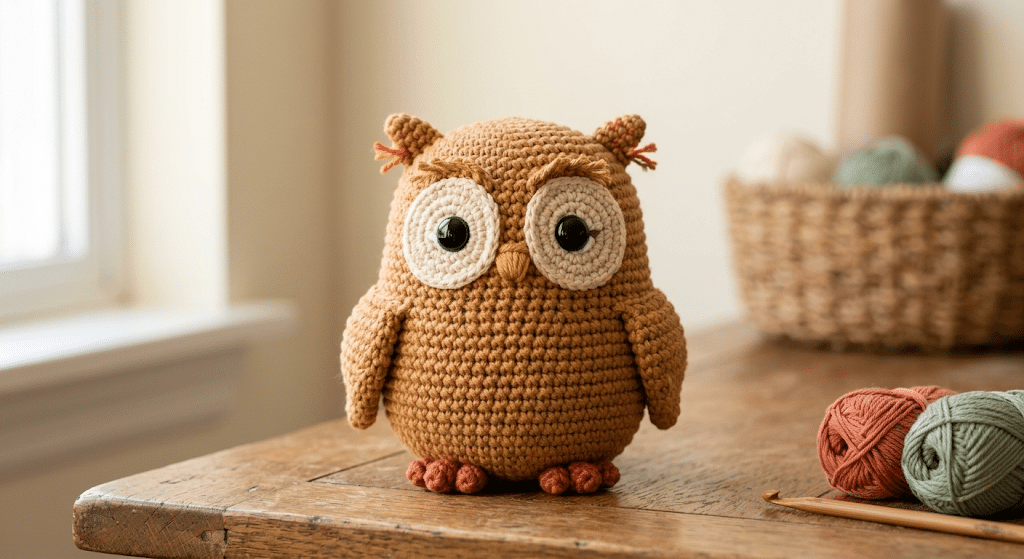
There’s something magical about a tiny owl sitting in your hand, especially when you made every stitch yourself. With its round body, oversized eyes, little beak, and sweet feather details, an owl makes the perfect crochet owl pattern free project for a cozy afternoon of crafting.
This beginner-friendly design keeps the shapes simple while giving you plenty of room to add your own personality. You’ll learn how to build the body, create the big owl eyes, shape the wings, add the beak, stuff your amigurumi, and finish those adorable details.
You can use soft earthy colors for a woodland look or bright pastels for a kawaii-style owl. Before you pick your favorite colors, let’s gather everything you need and make this little bird come to life.
Table of Contents
Why This Crochet Owl Pattern Free Is Perfect for Beginners
A good first amigurumi should feel exciting rather than intimidating. That’s why this owl uses familiar crochet techniques and simple rounded shapes instead of complicated construction.
You’ll work mostly with single crochet, increases, decreases, and continuous rounds. These basic techniques appear again and again in amigurumi, so finishing your owl can also build confidence for future projects.
The finished owl has a soft, rounded silhouette with a slightly flattened bottom. That shape helps it sit nicely on a shelf, desk, bedside table, or gift basket.
A simple project with a big personality
The face does most of the work here. Large round eyes instantly give the owl that classic cute amigurumi expression.
You can make the eyes white, cream, pale yellow, or even a soft pastel shade. A tiny embroidered beak between them completes the face without requiring complicated shaping.
The body also gives you plenty of freedom. A brown owl feels woodland-inspired, while gray, cream, sage, dusty pink, or lavender can create a softer kawaii style.
What makes this owl beginner-friendly
You don’t need advanced shaping skills for this project. The body grows from a small round base, stays fairly even through the middle, then gradually narrows toward the top.
That construction makes the project easy to understand as you crochet. If your first few rounds look slightly wobbly, don’t worry. Stuffing and shaping will smooth out many small imperfections.
The Craft Yarn Council groups worsted yarn under the medium category, which makes yarn labels easier to understand when choosing supplies.
A quick project for handmade gifts
This owl works especially well when you need a small handmade gift. Make one for a teacher, friend, book lover, bird lover, or anyone who enjoys cute desk decorations.
You can also make several owls in different colors and turn them into a little woodland family. Once you know the basic construction, experimenting becomes half the fun.
For a soft, plush finish, Bernat Blanket yarn is one of my favorite choices when I want an extra cuddly amigurumi texture.
Crochet Owl Pattern Free Materials and Preparation
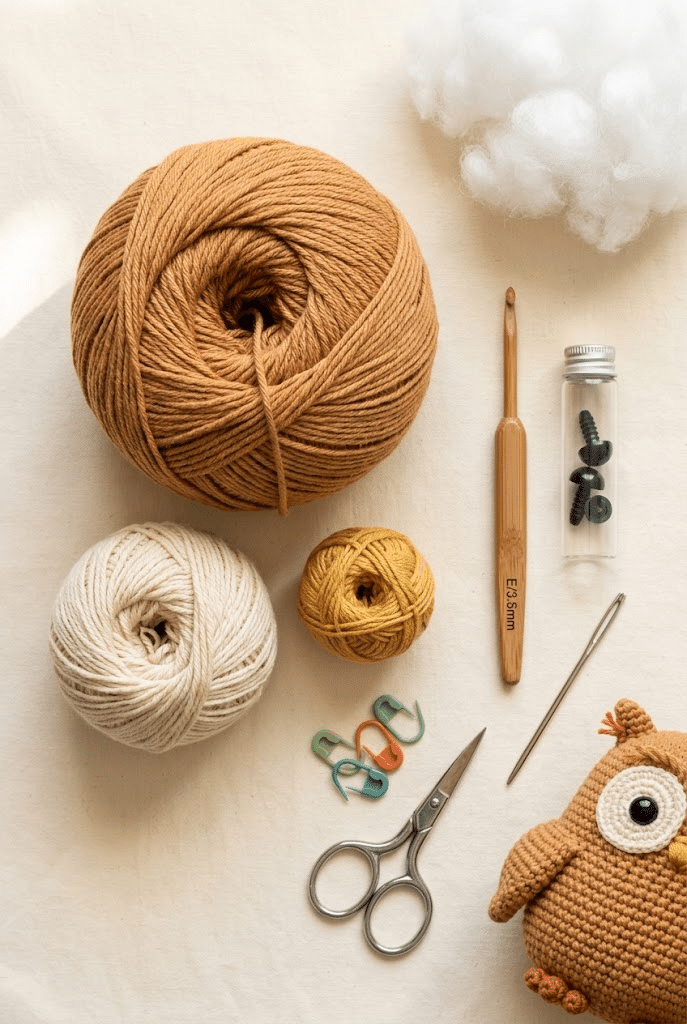
Before you begin, set up your materials so everything stays within easy reach. A small amount of preparation can make your crochet session feel much more relaxed.
For this project, choose yarn that gives you a firm fabric. Amigurumi usually needs tighter stitches than a loose crochet accessory because the stuffing should stay inside the body.
Choose your yarn carefully
You can make this owl with several yarn styles, but Paintbox Simply DK yarn works beautifully for a neat, colorful finish.
Choose one main shade for the body and one contrasting shade for the eye patches. You’ll also want a small amount of yellow, orange, or golden yarn for the beak.
Medium-weight yarn can create a sturdy little owl, while softer yarn gives you a cuddly result. Always check your tension as you work.
For a general reference, the Craft Yarn Council lists medium yarn as commonly including worsted, Afghan, and Aran yarns.
Gather your crochet tools
You’ll need:
- Main-color yarn
- Contrasting yarn for the eyes
- Small amount of yellow or orange yarn
- Clover Amour crochet hook
- 9mm safety eyes
- Poly-fil Premium fiberfill
- Stitch markers
- Yarn needle set
- Scissors
A stitch marker helps you find the beginning of each continuous round. That tiny tool can save you from losing your place, especially when you’re still getting comfortable with amigurumi.
Understand the basic stitches
This project uses beginner-friendly stitches.
Single crochet: The main stitch that creates the dense body fabric.
Increase: Two single crochet stitches worked into one stitch. This makes your circle grow.
Decrease: Two stitches worked together to make the shape narrower.
Magic ring: A small adjustable loop that creates a neat starting circle.
If the magic ring feels awkward, practice it separately before beginning your owl. Once your fingers remember the motion, it becomes much easier.
Prepare your stuffing
Keep your fiberfill nearby instead of waiting until the final rounds. The body becomes harder to reach as the opening gets smaller.
You want firm but flexible stuffing. Add small pieces gradually rather than pushing one large piece inside.
That approach gives you better control over the owl’s shape and helps prevent a lumpy finish.
How to Crochet the Owl Body in 10 Easy Steps
Now that you know what you need, here is the fun part. The owl comes together through a series of simple stages that build one shape at a time.
Work in continuous rounds unless the instructions tell you otherwise. Keep your stitch marker in the first stitch of each round so you always know where the round begins.
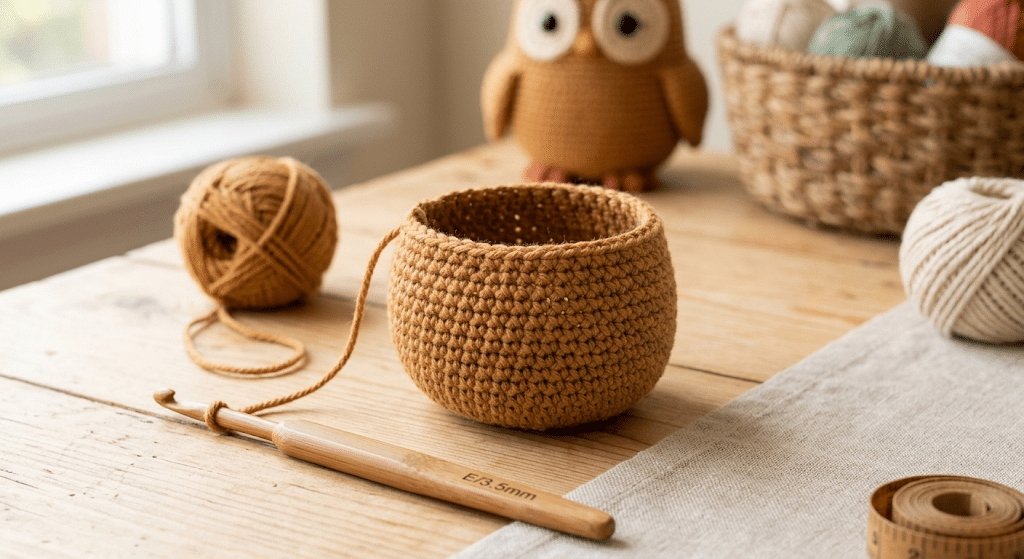
Step 1: Start the magic ring
Begin with your main body color.
Create a magic ring and work your first group of single crochet stitches into the ring. Pull the adjustable loop closed so the center looks neat.
Keep your stitches fairly tight. A loose beginning can leave a visible hole where stuffing might later escape.
Step 2: Build the round base
Continue with increases around the next few rounds.
You’ll notice the small circle gradually becoming wider. Keep your tension consistent because uneven tension can make the body look lopsided.
At this stage, don’t worry if the piece looks more like a tiny bowl than an owl. The recognizable shape comes later.
Step 3: Create the rounded body
Continue working single crochet around the expanded base.
The body should now start growing upward rather than outward. Keep checking that your stitches remain tight enough to prevent large gaps.
Tip: If you can clearly see stuffing through your crochet fabric, try using a smaller hook or tightening your tension slightly.
Step 4: Add the eye area
As the body grows, begin planning where the eyes will sit.
You can make separate crocheted eye patches using your contrast color. Work each patch into a small flat circle.
Keep the two patches similar in size. Place them against the owl before attaching them so you can adjust their position.
Step 5: Add the safety eyes
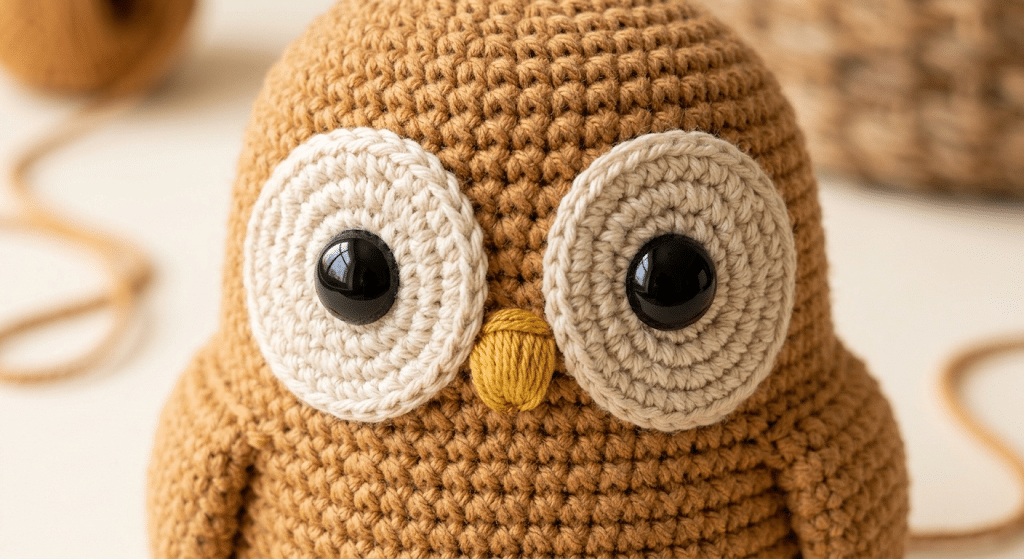
Place your safety eyes through the centers of the eye patches.
For this design, 9mm safety eyes give the face a sweet, balanced expression. Position both eyes before securing the backs.
Take a moment to look at the owl from the front. Moving the eyes even one stitch can completely change the personality of your finished animal.
Step 6: Start stuffing the owl
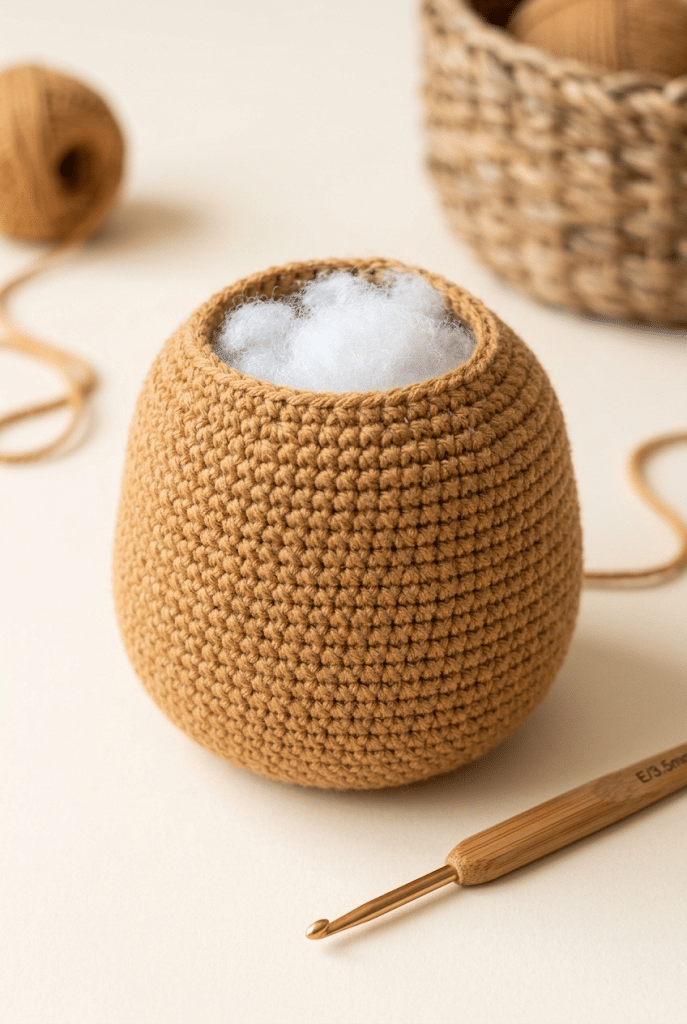
Begin adding small amounts of fiberfill as the body becomes taller.
Work the stuffing into the corners with your fingers or the blunt end of your yarn needle. Avoid packing everything tightly into the center.
The goal is a smooth, rounded body, not a rock-hard toy.
Step 7: Shape the top
Continue with your decreases to bring the upper body inward.
As the opening becomes smaller, keep checking the silhouette. Add tiny pieces of stuffing whenever you notice a soft or hollow area.
Don’t overstuff the top. Too much filling can make the decreases pull apart and create unwanted gaps.
Step 8: Close the body
Once you reach the final opening, finish the remaining stitches and close the top securely.
Use your yarn needle to weave the yarn tail through the final stitches. Pull gently until the opening closes.
Hide the remaining yarn inside the owl and trim the excess.
Step 9: Add the wings and beak
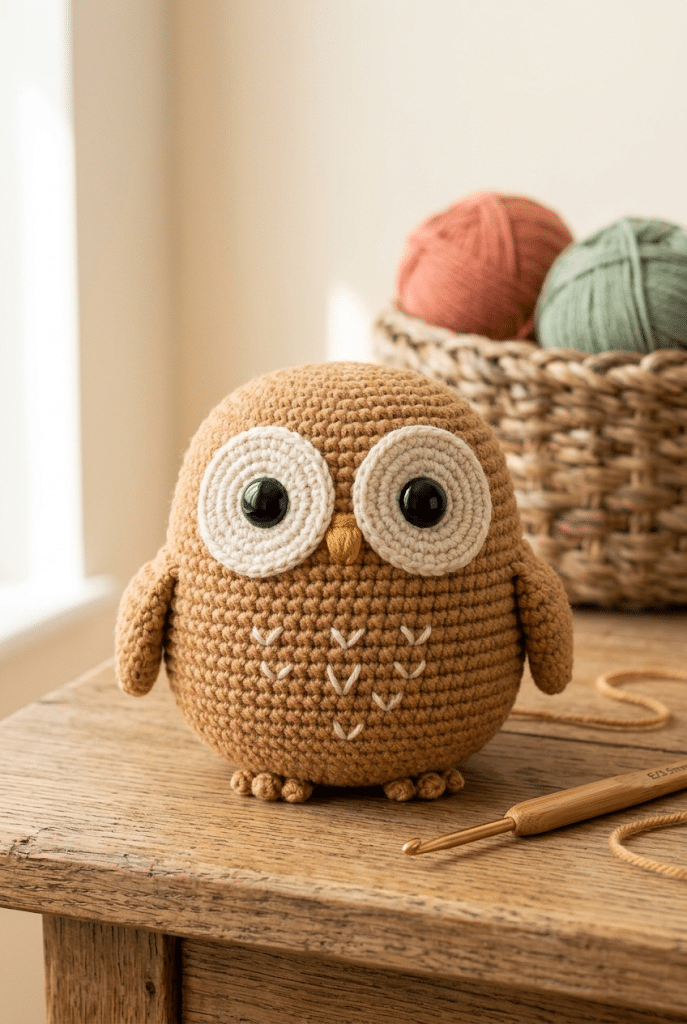
Create two small wings using your chosen accent color.
You can make them simple rounded shapes, then flatten them slightly before sewing them onto each side of the body. Position them symmetrically, but don’t worry about making them perfectly identical.
For the beak, use yellow, orange, or golden yarn. A tiny embroidered triangle works beautifully and gives the owl a soft handmade appearance.
Step 10: Finish the feather details
Now give your owl its final personality.
Add tiny embroidered feather marks beneath the eyes or across the belly. You can also add small tufts at the top of the head using short yarn strands.
Finally, weave in every loose end and gently shape the owl with your fingers.
Stand back and admire it. You’ve just turned a few simple crochet stitches into a tiny woodland friend!
How to Make Your Crochet Owl Look Extra Cute
Once the basic owl is finished, small design choices can make a surprisingly big difference.
The easiest way to customize an amigurumi is through color, facial placement, and texture. You don’t need complicated stitches to create a completely different personality.
Try a woodland color palette
For a classic owl, combine warm brown with cream eyes and a golden beak.
Gray and cream create a soft snowy owl effect. Dark brown with beige gives a cozy woodland appearance.
You can also try sage green, dusty pink, lavender, mustard, or muted blue if you prefer a kawaii color palette.
Make a sleepy owl
For a sleepy expression, place the eyes slightly lower on the face.
You can also embroider tiny curved eyelids above each eye. This creates a gentle expression without changing the body shape.
A small blush detail on each cheek makes the owl even sweeter.
Create a tiny owlet
For a baby-style owl, use softer colors and make the body slightly rounder.
Keep the wings small and use oversized eye patches. Large eyes compared with the body create that classic kawaii amigurumi look.
You can also add a tiny embroidered heart to the belly.
Experiment with texture
If you want more feather detail, embroider small V-shaped marks across the belly.
Keep the marks simple and evenly spaced. You don’t need to cover the entire body.
Another option is adding a contrasting belly patch. A cream oval against a brown body instantly creates more visual depth.
Common Crochet Owl Mistakes and Easy Fixes
Before we get into the finishing touches, let’s talk about the little problems that can happen during amigurumi.
Almost every crocheter has experienced a mysterious extra stitch, a crooked eye, or stuffing that somehow seems determined to escape. None of these problems means your project has failed.
Your body has gaps
Large gaps usually come from loose tension or using a hook that is too large for your yarn.
Try going down one hook size. Your stitches should create a dense fabric without feeling painfully tight.
Remember: Amigurumi does not need the same loose drape as a scarf or sweater.
Your owl looks uneven
Check your stitch count at the end of each round.
Missing an increase can make one side narrower. Adding an accidental stitch can make the body expand where you don’t expect it.
Your stitch marker becomes especially helpful here.
The stuffing looks lumpy
Use small pieces of fiberfill instead of one large handful.
Add a little, shape the body, then add more where needed. Rotate the owl as you work so you can check its shape from every angle.
The eyes look crooked
Don’t attach the backs until you’re happy with the placement.
Hold the owl upright and look at it from several angles. Take a quick photo with your phone if you’re unsure.
A photograph often makes uneven placement much easier to spot.
Easy Ways to Turn Your Owl Into a Handmade Gift
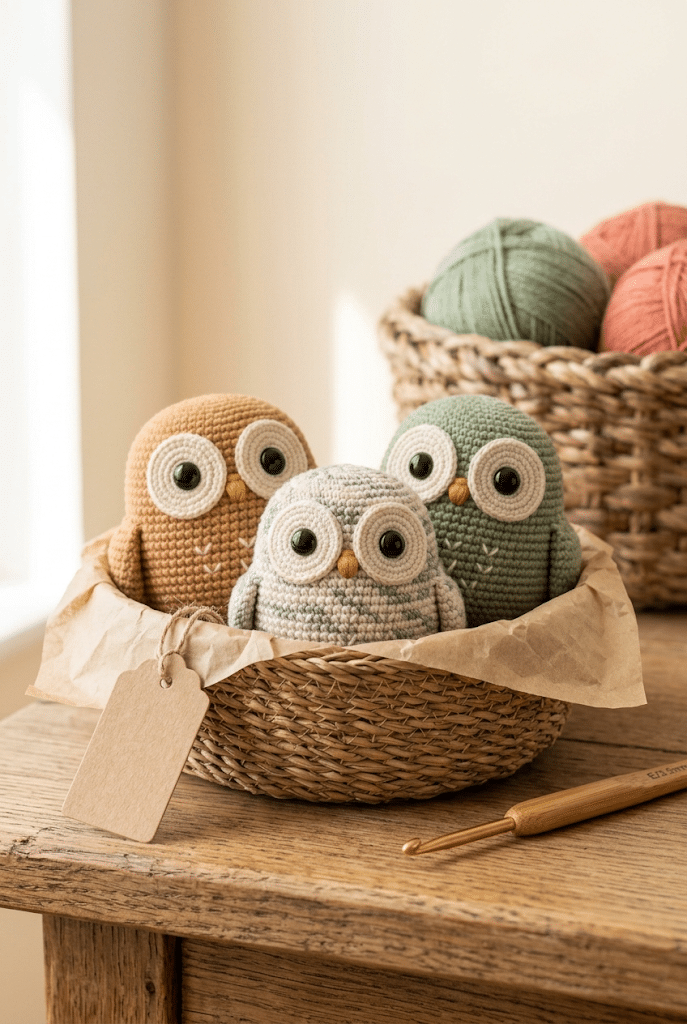
Here is where your little owl becomes more than a crochet project.
A handmade amigurumi can carry much more personality than a store-bought decoration. You can choose the colors around the recipient’s favorite shades and add small details that make the gift feel personal.
Make a matching owl pair
Create two owls in complementary colors.
Try cream and brown, pink and lavender, or sage and mustard. You can make one slightly smaller for an adorable parent-and-baby set.
Add the owl to a gift basket
A tiny crochet owl looks lovely inside a handmade gift basket.
Pair it with a notebook, cozy socks, a candle, or other craft-inspired goodies. The owl becomes a cute little centerpiece instead of another item simply wrapped in paper.
Make seasonal owls
Change the palette for different seasons.
Use warm orange and brown for autumn. Try cream and sage for spring. Soft red and green can create a festive holiday owl.
You can also add a tiny embroidered scarf or bow for special occasions.
Crochet Owl Pattern Free Tips for Selling and Gifting
If you enjoy making several owls, this design can become a fun handmade-gift project.
You can personalize each one with different colors, expressions, and belly details. That means you can make a small collection without every owl looking exactly the same.
Choose colors with your recipient in mind
For a child’s room, pastel colors often create a soft nursery feel.
For an adult gift, deeper woodland colors can look more sophisticated. Neutral gray, cream, brown, and olive shades also work beautifully as home decor.
Give your owl a personality
Think about what expression you want before sewing the final details.
Wide eyes create a surprised look. Lower eyes create a sleepy look. Slightly angled embroidered brows can create a curious expression.
These tiny details are what make handmade amigurumi so special.
Remember toy safety
If you plan to give the owl to a young child, think carefully about the materials you use.
Safety eyes are small parts and can create a choking hazard for children under three. The U.S. Consumer Product Safety Commission specifically addresses small-part hazards for products intended for children under three.
For very young children, embroidered eyes are a better choice than removable plastic eyes. Also check that wings, beaks, tufts, and other decorative pieces stay securely attached.
You can read the CPSC’s current toy safety guidance for additional information. CPSC Toy Safety Guidance
Finishing Your Crochet Owl With a Professional Look
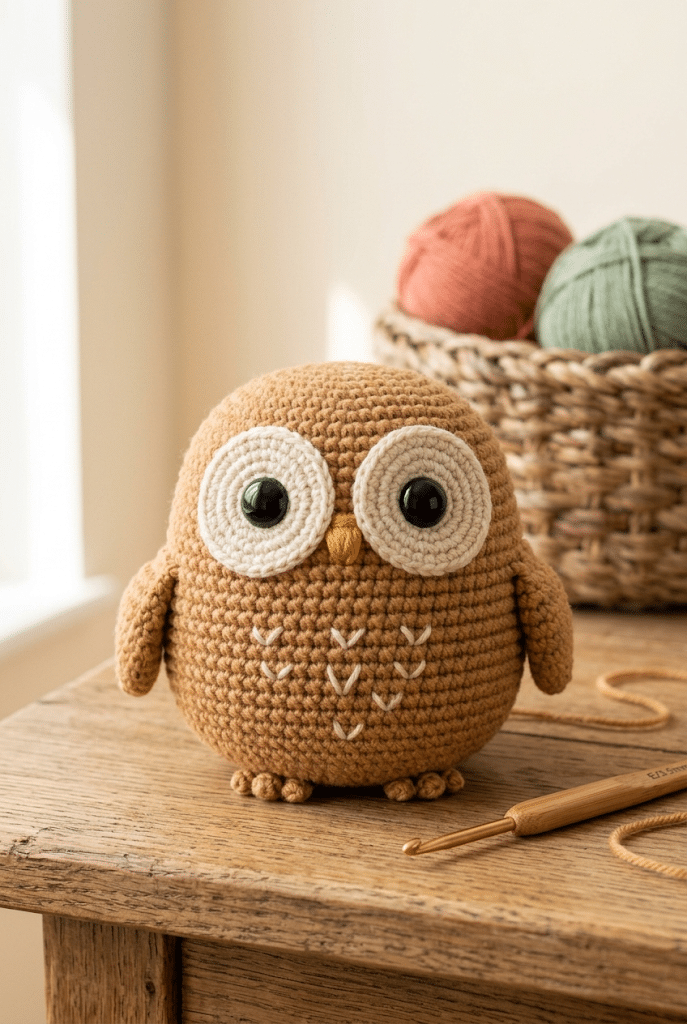
The final few minutes can transform a homemade-looking project into a polished handmade piece.
Before you call your owl finished, inspect every seam, loose end, and facial detail.
Shape the body gently
Roll the owl lightly between your palms.
This helps distribute the stuffing and smooth the curves. Avoid squeezing too hard because you want the body to remain pleasantly rounded.
Check every attachment
Look carefully at both wings and the beak.
Give each piece a gentle tug. If something shifts noticeably, reinforce the stitching before gifting the owl.
For a particularly polished finish, weave your yarn tails deep into the body rather than leaving them near the surface.
Add the final personality touches
This is your chance to add tiny details.
Try embroidered cheeks, little eyebrows, feather marks, or a contrasting belly. You can even make each owl a different color and give every one its own personality.
Trust me on this one: the tiny finishing details are often what make you fall in love with the finished amigurumi.
For sewing and finishing, I like keeping a yarn needle set nearby because different needle sizes make attaching small pieces much easier.
How to Care for Your Crochet Owl
Your finished owl can stay cute for years with a little gentle care.
Dust can collect between the stitches, especially when your amigurumi sits on a shelf. A soft lint roller or gentle hand cleaning can help keep the surface fresh.
Keep the shape looking full
If your owl becomes slightly squashed after storage, gently massage the stuffing back into place.
Avoid pulling strongly on the wings or embroidered details. Small decorative pieces can loosen with rough handling.
Clean gently
Always check the care instructions for your yarn before washing.
For many handmade amigurumi pieces, gentle surface cleaning works better than aggressive washing. Let the owl dry completely before storing it.
Store handmade owls carefully
Keep finished amigurumi away from prolonged direct sunlight.
Sun exposure can gradually fade yarn colors. A shelf, basket, or decorative box makes a lovely storage spot when your owl is not on display.
More Ideas for Your Next Amigurumi Project
Once you finish one owl, you may find yourself wanting an entire little crochet bird collection.
That’s one of the best things about amigurumi. The same basic skills can help you create completely different animals.
Build a woodland collection
Try making owls alongside foxes, bears, hedgehogs, and rabbits.
Keep the same warm color palette across the animals so they look like a coordinated handmade collection.
Create tiny desk companions
A small owl can sit beside your computer, books, craft supplies, or houseplants.
Make several in different colors and arrange them together. They’re especially cute when each one has a slightly different expression.
Turn your skills into larger projects
After finishing this owl, practice making other rounded amigurumi shapes.
You’ll become more comfortable with increases, decreases, stuffing, embroidery, and attaching small pieces. Those skills transfer directly into many beginner crochet animal patterns.
Frequently Asked Questions About Crochet Owl Pattern Free
How long does it take to crochet an owl?
A beginner may need several hours for a first owl, especially while learning amigurumi techniques. Once you become comfortable with continuous rounds, increases, decreases, stuffing, and assembly, the same project can become much quicker.
What yarn is best for a crochet owl?
Smooth DK or medium-weight yarn works well for a beginner-friendly owl because you can clearly see your stitches. Soft chenille yarn can create a plush finish, while cotton blends give you crisp stitch definition.
Is this crochet owl pattern good for beginners?
Yes. The project focuses on basic amigurumi techniques rather than complicated shaping. If you can make single crochet, increases, decreases, and a magic ring, you have the foundation needed to make this owl.
What size safety eyes should I use?
For this design, 9mm safety eyes create a cute proportion for a small-to-medium owl. You can choose a different size if you change the yarn or finished size, but always check the placement before permanently securing the eyes.
Can I make the owl bigger or smaller?
Yes. Changing your yarn weight and hook size will change the finished size. A thicker yarn generally creates a larger owl, while finer yarn creates a smaller one. Keep your stitches tight enough to prevent stuffing from showing.
Can I sell owls I make from this pattern?
You can sell handmade items only when the specific pattern designer allows commercial use. If you use a pattern from another designer, always check that designer’s terms before selling finished pieces. Never copy or redistribute someone else’s written pattern or photographs.
Final Thoughts on This Crochet Owl Pattern Free
There’s something incredibly satisfying about watching a simple ball of yarn become a tiny owl with a personality of its own.
With this crochet owl pattern free tutorial, you’ve learned how to build a rounded amigurumi body, create expressive eyes, shape wings, add a tiny beak, stuff the body smoothly, and finish the details that make your owl special.
The best part is that your owl doesn’t need to look exactly like anyone else’s. Choose your favorite colors, experiment with expressions, and add little feather details that make your handmade bird completely yours.
Once you finish that final stitch, take a moment to enjoy what you made. That little owl represents your time, creativity, and growing crochet skills.
Save this pin to your crochet board on Pinterest so you can find this pattern anytime!
Looking for more free crochet animal patterns? Visit Yarned Animals for new amigurumi patterns, kawaii plushies and beginner crochet tutorials added every week at yarnedanimals.com