
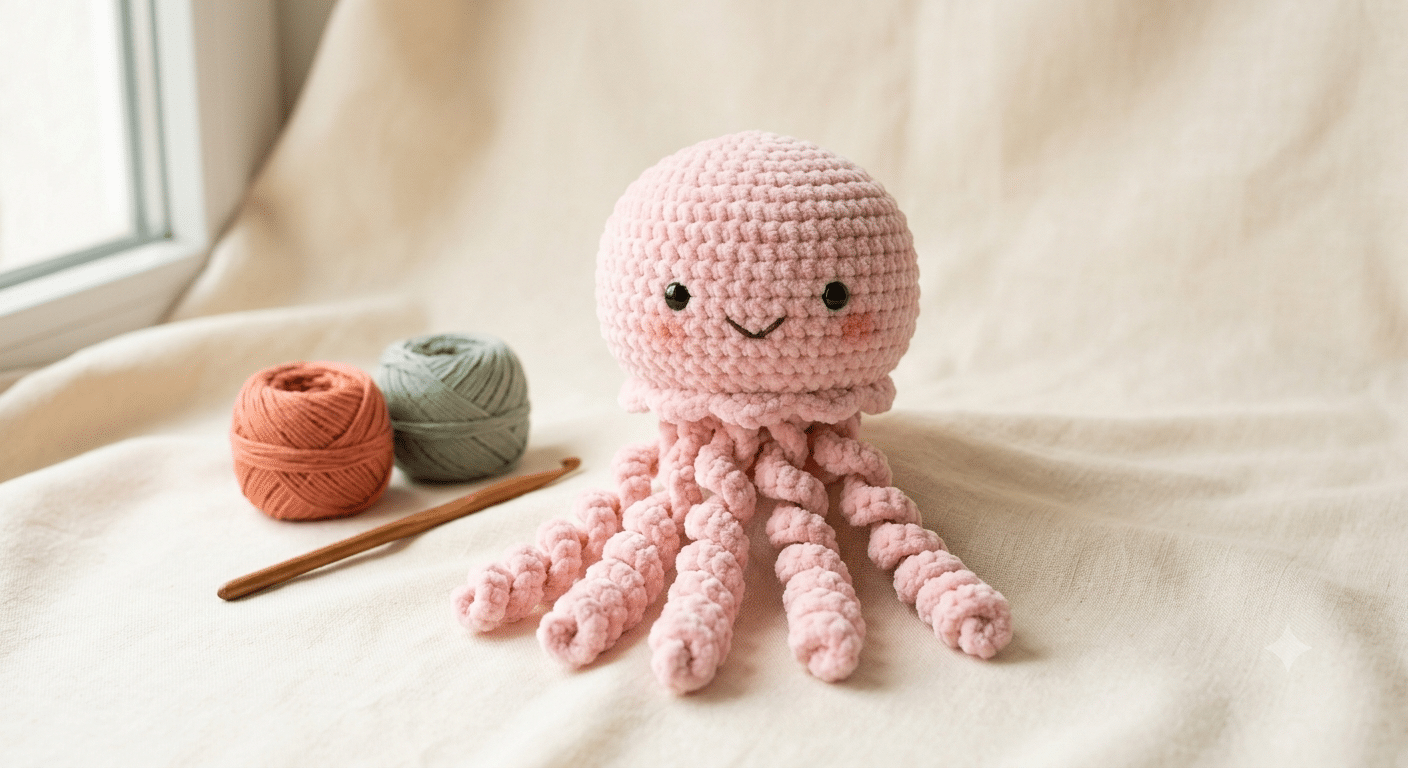
Few crochet projects are as satisfying as watching a cute jellyfish take shape in your hands. The soft, flowing tentacles, round squishy body, and endless color possibilities make this little sea creature impossible to resist. Whether you’re creating a nursery decoration, a thoughtful handmade gift, or simply adding another adorable plushie to your collection, crochet jellyfish pattern projects are always a joy to make.
This beginner-friendly guide walks you through everything you need to know, from choosing the best yarn to finishing those signature curly tentacles. You’ll also discover helpful tips that make your finished jellyfish look polished and cuddly, even if you’re new to amigurumi.
One thing I always reach for is Paintbox Simply DK yarn because it creates beautiful stitch definition while staying wonderfully soft for plush toys.
Now that you have your inspiration, let’s start creating an adorable ocean friend.
Table of Contents
Why a Crochet Jellyfish Pattern Is Perfect for Beginners
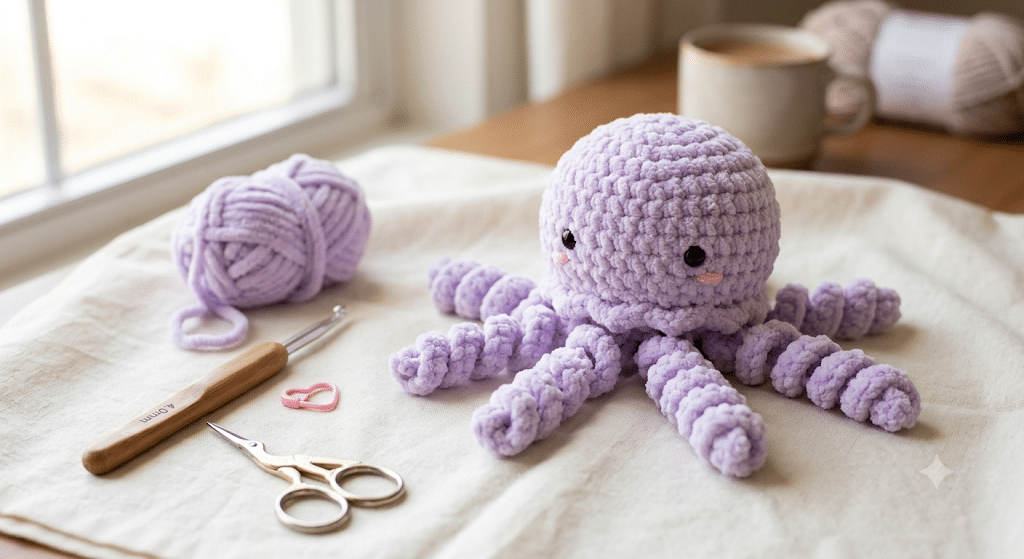
A jellyfish is one of the easiest sea animals to crochet because its shape is wonderfully forgiving. You don’t need complicated limbs or tricky shaping. Instead, you build a simple rounded body and finish it with playful tentacles.
Simple Shapes Build Confidence
The body is worked mostly in continuous rounds. Once you master increasing and decreasing, you’ve already learned the most important techniques.
Small mistakes are also easy to hide, making this project much less stressful than animals with detailed faces or long legs.
Endless Color Possibilities
Pastel pink, lavender, mint, coral, turquoise, or classic ocean blue all create beautiful results.
You can even make rainbow tentacles or add tiny embroidered cheeks for extra kawaii charm.
A Wonderful Handmade Gift
Finished jellyfish make lovely nursery decorations, baby shower gifts, desk companions, and cheerful surprises for friends who love marine life.
Their soft tentacles are especially fun for little hands to explore under supervision.
Crochet Jellyfish Pattern Materials You’ll Love Using
Choosing comfortable materials makes the project more enjoyable and gives your finished plushie a professional appearance.
Pick the Right Yarn
Many beginners enjoy smooth cotton blends because the stitches stay visible while learning.
If you want a fluffy plush look, chenille yarn creates an extra cuddly finish.
Choose Comfortable Tools
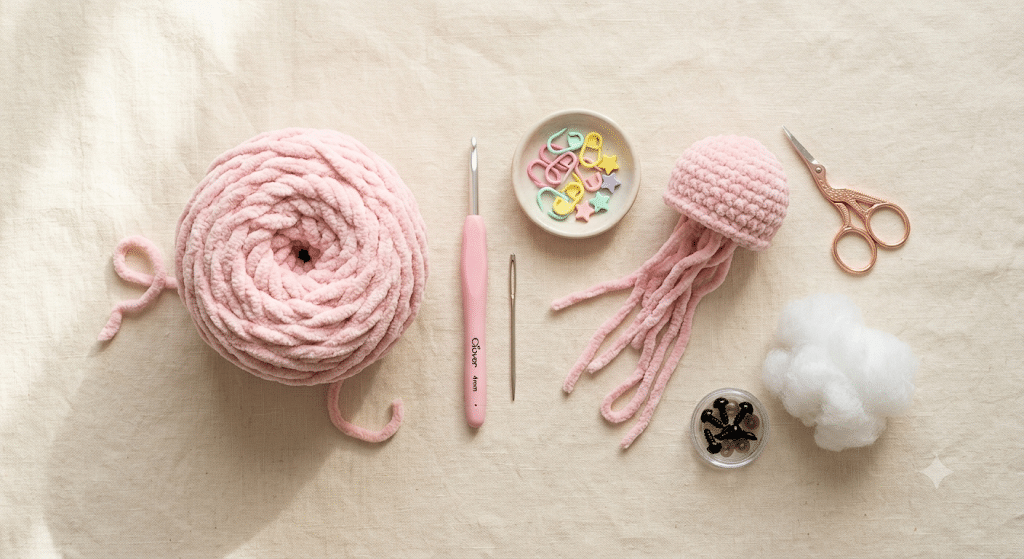
For this project I usually crochet with my Clover Amour crochet hook. The soft handle feels comfortable during long crafting sessions and helps maintain even tension.
You’ll also want:
- Stitch markers
- Yarn needle set
- Scissors
- Stuffing
Select Safety Eyes Carefully
Medium-sized 9mm safety eyes work beautifully for most jellyfish plushies.
Always insert them before closing the body so everything stays secure.
How to Crochet a Jellyfish in 10 Easy Steps
Here is the fun part. Let’s build your adorable ocean friend one step at a time.
Step 1: Create a Magic Ring
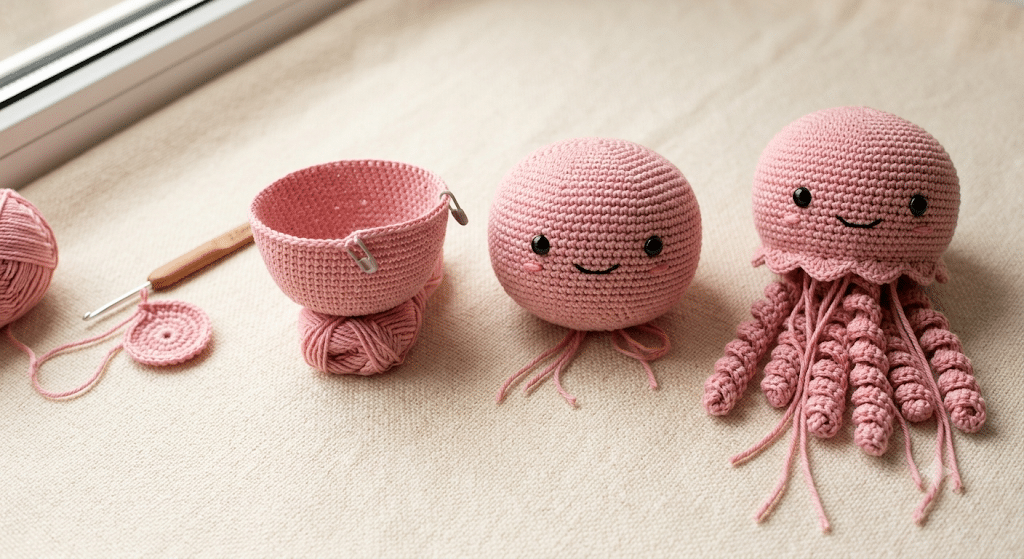
Start with a magic ring to create a tightly closed center.
This prevents small holes from appearing on the top of your jellyfish.
Step 2: Increase Evenly
Work several increase rounds until the body reaches your preferred width.
Keep counting stitches so the shape stays perfectly round.
Step 3: Crochet the Rounded Dome
Continue working even rounds.
This creates the smooth dome that gives jellyfish their signature look.
Step 4: Position the Eyes
Attach your safety eyes before stuffing.
Place them evenly for an adorable expression.
Step 5: Add a Cute Face
Embroider a tiny smile using black thread.
A little blush made with pink yarn or fabric-safe coloring adds even more personality.
Step 6: Stuff Firmly
Fill the body gradually.
Add small pieces of stuffing instead of one large handful for a smoother finish.
Step 7: Shape the Bottom
Decrease evenly to begin closing the body.
Keep checking that the stuffing stays evenly distributed.
Step 8: Create Curly Tentacles
Chain different lengths and add simple stitches that naturally curl.
Mix long and short tentacles for a realistic underwater effect.
Step 9: Attach the Tentacles
Sew each tentacle securely around the bottom opening.
Space them evenly for a balanced appearance.
Step 10: Add Final Details
Check every stitch, weave in loose ends, and gently shape your finished jellyfish.
Now you have a cuddly handmade sea friend ready to display or gift.
Helpful Tips for an Even Cuter Crochet Jellyfish Pattern
Small finishing touches make a surprising difference.
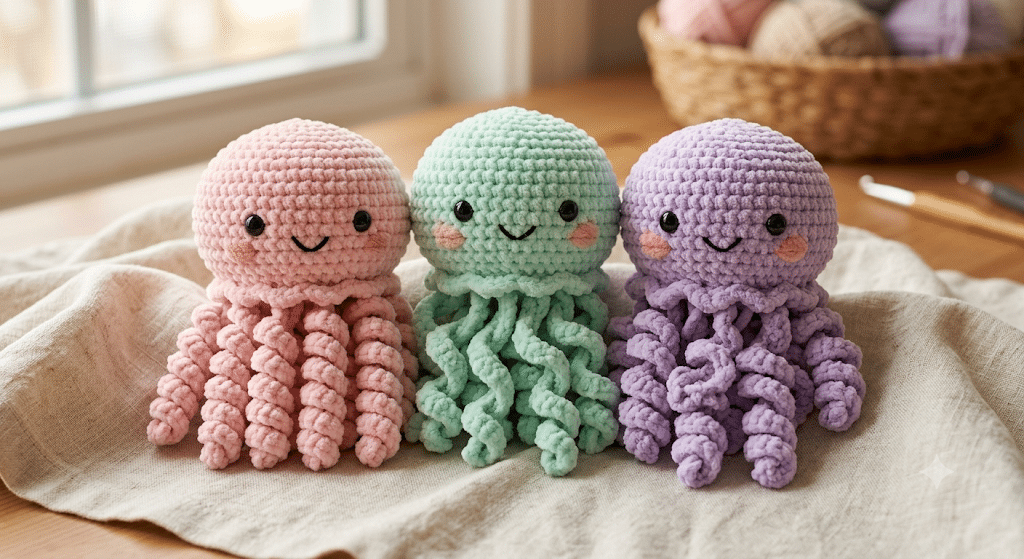
Keep Your Tension Consistent
Even stitches help the body stay perfectly round.
Don’t worry if your first attempt isn’t perfect. Every project improves your skills.
Experiment With Tentacles
Mix spiral curls, straight strands, ribbon yarn, or textured stitches.
Different tentacles give each jellyfish its own personality.
Add Fun Accessories
Tiny bows, miniature sailor hats, flowers, or embroidered stars make every jellyfish unique.
Ready to move on?
Let’s answer some of the most common questions beginners ask.
One finishing supply I never run out of is Poly-fil Premium fiberfill because it keeps plushies soft while helping them hold their shape beautifully.
Frequently Asked Questions About Crochet Jellyfish Pattern
How long does it take to crochet a jellyfish?
Most beginners finish a small jellyfish in three to five hours. Larger plush versions may take a full weekend depending on the yarn and details you choose.
What yarn works best for a crochet jellyfish?
Cotton blends create crisp stitches that are easy to see. Chenille yarn produces a soft plush toy with a cuddly texture. Both are excellent choices depending on the look you want.
Is this crochet jellyfish pattern beginner friendly?
Yes. The project mainly uses simple increases, decreases, and basic stitches. That makes it an excellent first amigurumi for someone learning crochet.
What size safety eyes should I use?
For medium-sized jellyfish, 9mm safety eyes usually create the cutest proportions. Smaller plushies often look better with 6mm eyes, while larger toys may use 12mm.
Can I sell jellyfish made from this pattern?
Many designers allow finished handmade items to be sold in small quantities. Always check the original designer’s terms if you are following someone else’s pattern.
Creative Ways to Display Your Finished Jellyfish
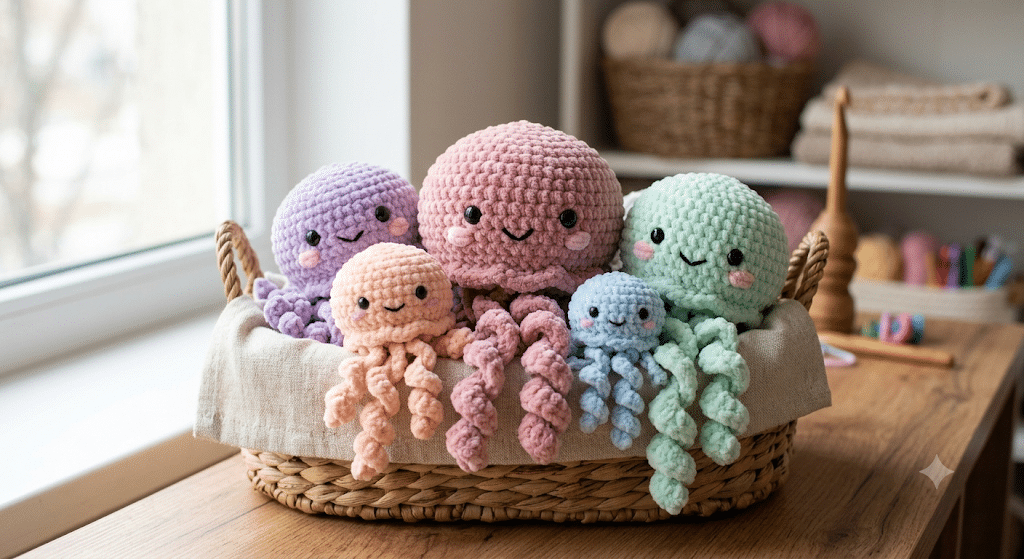
Your adorable creation deserves to be shown off.
Hang several jellyfish from embroidery hoops to create a beautiful nursery mobile.
Fill a basket with colorful jellyfish for cheerful craft room décor.
Make matching sizes for an underwater-themed bedroom.
Create an ocean gift set alongside crochet whales, octopuses, turtles, and starfish.
Because every jellyfish uses relatively little yarn, they’re also excellent stash-busting projects.
Final Thoughts
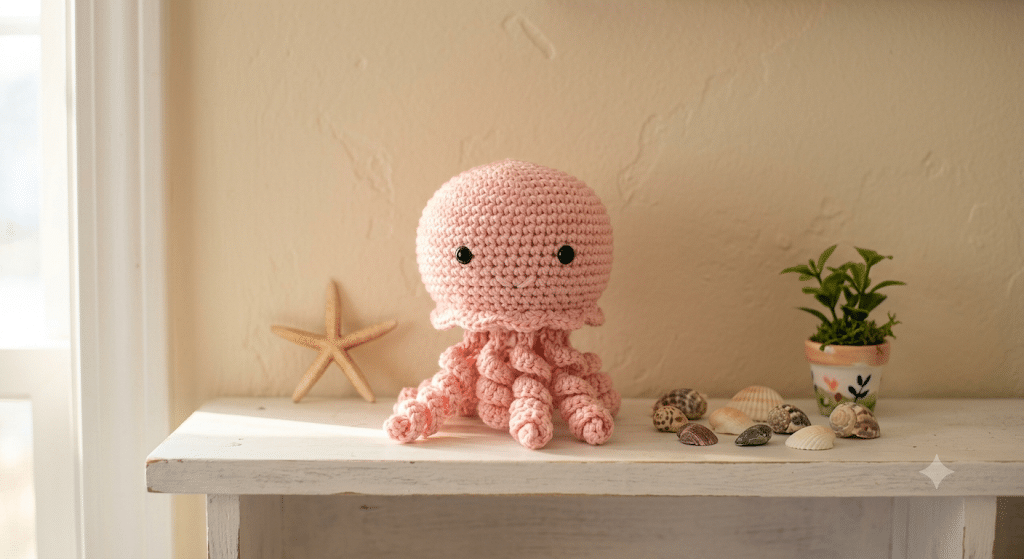
Creating your own crochet jellyfish pattern is a fun and relaxing way to build confidence while making something irresistibly cute. From the simple rounded body to the flowing tentacles, every step helps you practice useful amigurumi techniques that you’ll use again and again. Before long, you’ll have a colorful collection of cheerful sea creatures that make wonderful gifts and charming decorations.
Save this pin to your crochet board on Pinterest so you can find this pattern anytime!
Looking for more free crochet animal patterns? Visit Yarned Animals for new amigurumi patterns, kawaii plushies and beginner crochet tutorials added every week at yarnedanimals.com