
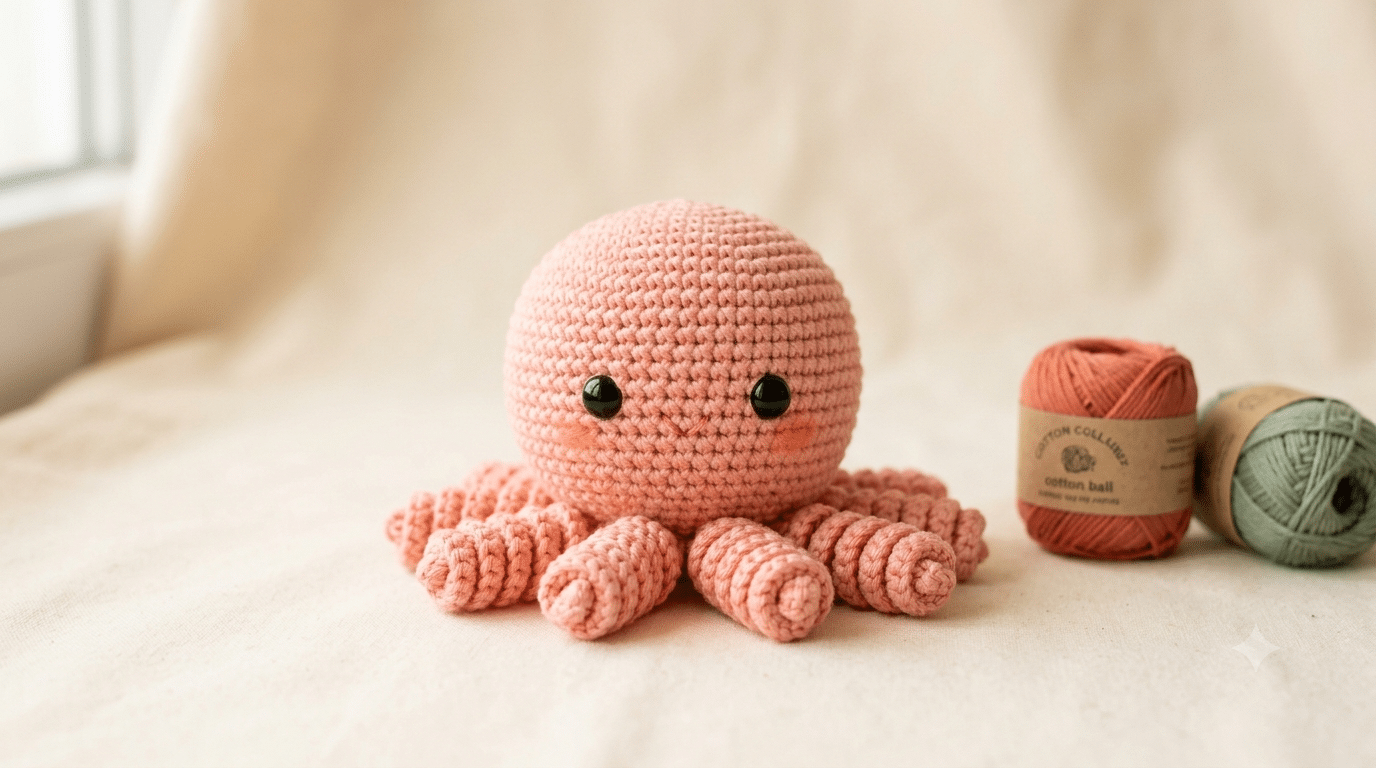
Few handmade projects bring as many smiles as a tiny crochet octopus sitting in the palm of your hand. With its curly tentacles, sweet little face, and cuddly shape, an octopus amigurumi has a magical way of becoming everyone’s favorite crochet creation. Whether you’re making one for a baby shower, a thoughtful gift, or simply adding another adorable plushie to your collection, a **crochet octopus pattern is one of the most rewarding projects you can tackle.
You’ll discover simple techniques that help every stitch look neat, learn how to shape an irresistibly cute octopus, and pick up beginner-friendly tips that make the entire project feel relaxing instead of confusing. By the time you finish, you’ll have a soft ocean friend that looks wonderful on a nursery shelf, tucked inside a gift basket, or proudly displayed with your growing amigurumi collection.
One little tip before you begin: I love using Paintbox Simply DK yarn for projects like this because the stitches stay crisp and the finished octopus holds its shape beautifully.
Now that you know what you’re about to create, it’s time to gather your supplies and start stitching.
Table of Contents
Why a Crochet Octopus Pattern Is Perfect for Beginners
Some amigurumi animals have lots of tiny pieces, complicated shaping, or tricky sewing. An octopus is refreshingly different. Most designs use one rounded body with eight simple tentacles, making the entire project easy to understand from beginning to end.
That simplicity makes it a wonderful first amigurumi project if you’re still learning basic crochet techniques. You won’t feel overwhelmed by dozens of separate pieces, yet you’ll still end up with a finished plush that looks impressively detailed.
The best part is watching the personality appear as you crochet. Even before the safety eyes and smile go on, the rounded body already looks adorable.
The simple shape builds confidence
Many beginners worry about counting stitches or keeping their rounds even. Fortunately, the body of an octopus repeats the same stitches for several rounds, giving you plenty of practice without feeling repetitive.
Each completed round helps you become more comfortable holding your hook, recognizing stitches, and maintaining even tension.
By the time you finish the body, you’ll likely notice that your stitches already look smoother than when you started.
Curly tentacles look impressive but are surprisingly easy
The tentacles often look like the most difficult part of the project.
They’re actually one of the easiest.
A simple combination of chain stitches and multiple stitches worked into each chain naturally creates the beautiful spiral curls that make crochet octopuses so recognizable.
Even complete beginners are often surprised by how quickly the curls appear.
Watching each tentacle twist into shape feels a little magical every single time.
Endless ways to personalize your octopus
Another reason this project stays so popular is the endless customization.
You can easily create:
- Pastel nursery octopuses
- Bright rainbow octopuses
- Ocean-inspired blue friends
- Tiny keychain octopuses
- Oversized cuddly plush versions
- Seasonal holiday colors
- Soft neutral home décor plushies
Changing only the yarn color gives your finished project an entirely different personality.
That’s one reason many crocheters finish one octopus and immediately start another.
Ready to move on? Before your hook even touches the yarn, a little preparation makes the entire project smoother.
Supplies You’ll Need for Your Crochet Octopus Pattern
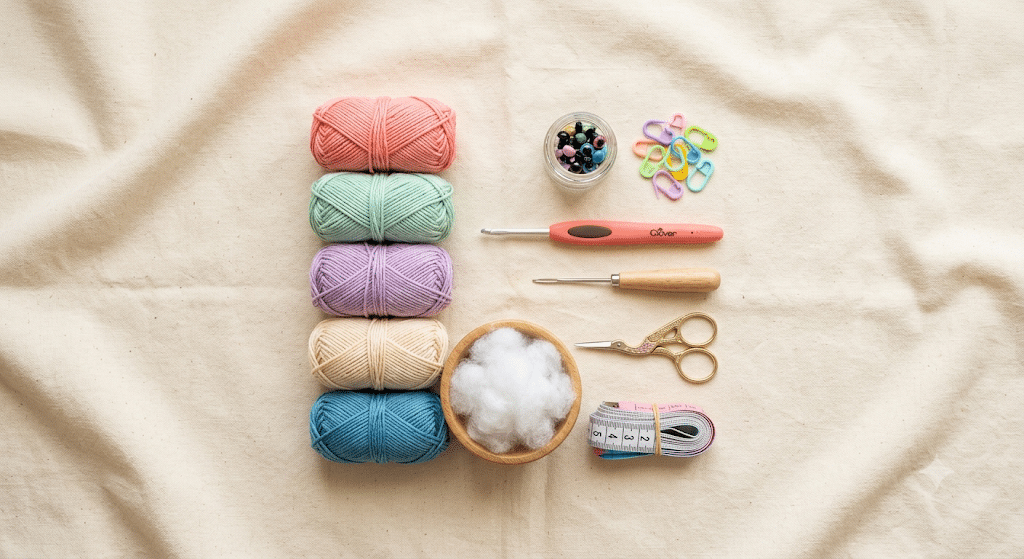
Having everything nearby before you begin means you can simply relax and enjoy crocheting instead of searching for missing supplies halfway through.
Fortunately, you don’t need a huge collection of tools.
Most beginners already own nearly everything required.
Yarn choices that create beautiful texture
The yarn you choose changes the finished look more than anything else.
Cotton yarn creates crisp stitch definition and a polished appearance.
Soft acrylic yarn produces a cuddly everyday plushie that’s lightweight and easy to wash.
Chenille yarn creates an extra fluffy octopus that children love to hug, although it can be slightly harder for beginners to see each stitch.
Choose colors that make you smile.
Classic lavender, mint, coral, teal, cream, peach, and dusty pink all create charming sea creatures.
Hooks and helpful tools
A comfortable crochet hook makes longer crafting sessions much more enjoyable.
For this pattern, I almost always reach for my Clover Amour crochet hook. The soft handle feels comfortable during long evenings of crocheting, especially when making several amigurumi in a row.
Keep these essentials nearby as well:
- Crochet hook suitable for your yarn
- Stitch markers
- Small scissors
- Measuring tape
- Yarn needle for sewing
- Stuffing
- Safety eyes
Keeping everything together in a small basket helps you stay organized from start to finish.
Choosing the right stuffing
Soft stuffing gives your octopus its cuddly shape.
Add small handfuls gradually instead of pushing in one large piece.
Even stuffing creates a smooth, round body without lumps.
If the octopus feels too firm, remove a little stuffing.
If it looks wrinkled, gently add a bit more until the body becomes nicely rounded while still feeling soft to squeeze.
Here is the fun part: now that your supplies are ready, you’re almost ready to begin shaping your adorable ocean friend. In the next section, you’ll learn the simple steps for crocheting the body, creating perfectly curly tentacles, and adding the tiny details that bring your octopus to life.
How to Crochet an Adorable Octopus Step by Step
Now that your supplies are ready, it’s time to turn a ball of yarn into an irresistibly cute sea creature. This project works up surprisingly quickly because the body is crocheted in continuous rounds before you add the curly tentacles.
Don’t worry if your first few stitches aren’t perfect. Every round helps you improve, and the finished octopus will still have plenty of handmade charm.
Step 1: Create a neat magic ring
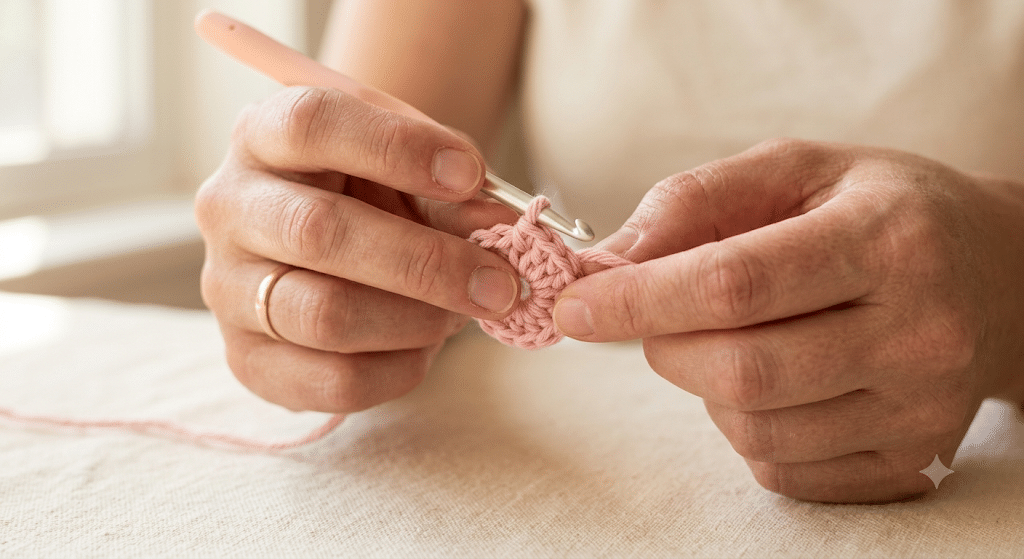
Start with a magic ring, which creates a tightly closed center without leaving a hole at the top of your octopus.
If the magic ring feels tricky, practice it a couple of times before starting the pattern. Once you get the hang of it, you’ll use it in almost every amigurumi project.
Place a stitch marker in the first stitch of every round. This simple habit makes it much easier to keep track of your progress.
Take your time here. A strong foundation makes every later step easier.
Step 2: Increase gradually for a smooth body
Continue increasing evenly until the body reaches the width recommended in your pattern.
Avoid making several increases close together unless the pattern tells you to. Even spacing keeps the body beautifully round instead of forming corners.
As your work begins to curve naturally into a bowl shape, you’ll know everything is going exactly as planned.
This is also a great time to check your tension.
If the stuffing will show through the stitches later, try holding the yarn slightly tighter.
If your stitches feel difficult to work into, relax your grip a little.
Crochet should feel comfortable, not like a workout for your hands.
Step 3: Crochet the straight body rounds
Once you’ve reached the widest part, you’ll work several rounds without increasing.
These rounds create the height of your octopus.
The repetitive stitching is wonderfully relaxing.
Many crocheters enjoy listening to music, watching a favorite show, or sipping tea while working through this section.
Every completed round brings your little sea friend closer to life.
Step 4: Add the safety eyes
Before closing the body, insert your safety eyes.
Position them evenly across the face with several stitches between them.
Take a moment to hold the octopus at arm’s length.
A tiny adjustment can completely change its personality.
Some placements create a playful expression.
Others give your octopus a sleepy or extra kawaii appearance.
Before attaching the backs permanently, make sure you’re happy with the look.
Step 5: Stuff the body evenly
Begin stuffing while the opening is still large enough for your fingers.
Use small pieces instead of one large handful.
This creates a much smoother finish.
Gently shape the body as you add stuffing.
Turn it in your hands occasionally to check for flat spots or uneven areas.
The finished body should feel soft and squishy while still holding its round shape.
Creating Perfect Curly Tentacles Every Time
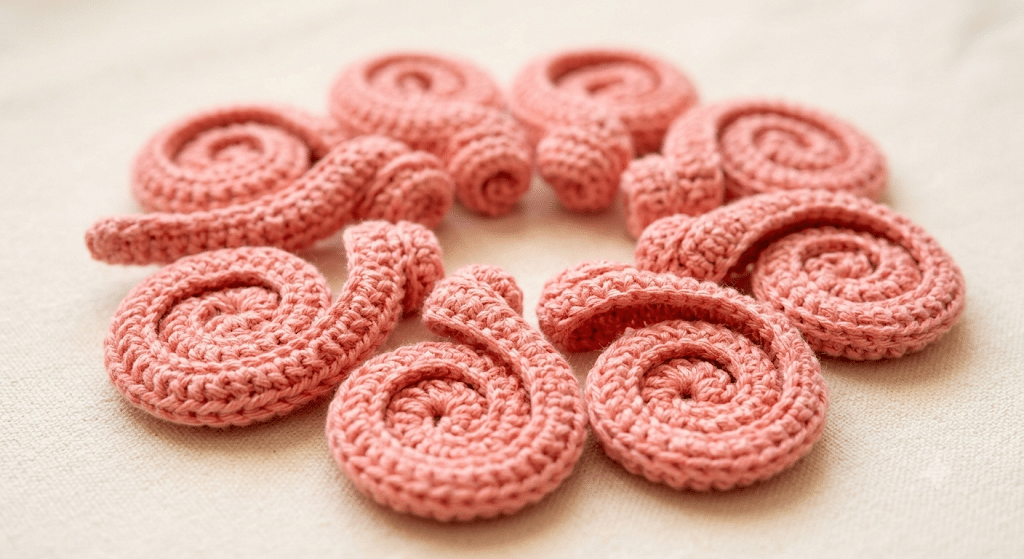
This is the moment everyone looks forward to.
The tentacles transform a simple ball into an unmistakable octopus, and they’re much easier than they appear.
Each curl forms naturally as you work multiple stitches into a chain.
Watching them spiral is one of the most satisfying parts of the project.
Step 6: Chain each tentacle
Start each tentacle by making a chain of your chosen length.
Longer chains create longer legs.
Shorter chains make a tiny pocket-sized octopus.
Try keeping every chain consistent so all eight tentacles finish at nearly the same length.
Small differences aren’t a problem.
Handmade charm comes from those tiny imperfections.
Step 7: Create the signature spiral
Work multiple stitches into each chain as instructed by your pattern.
As you crochet, the tentacle will begin curling automatically.
There’s no twisting or shaping required.
If one curl seems looser than another, don’t panic.
Once all eight tentacles are complete, they naturally settle into a balanced shape.
Watching each spiral appear feels incredibly rewarding.
Step 8: Space the tentacles evenly
Take your time attaching or crocheting each tentacle around the base.
Even spacing gives the octopus a balanced appearance.
Lay your work flat every few tentacles to check the arrangement.
Tiny adjustments now create a much more polished finish later.
If one tentacle sits slightly higher, simply reposition it before fastening securely.
Step 9: Close the opening neatly
After stuffing is complete, decrease the remaining stitches gradually.
Use your yarn needle to weave the tail through the final stitches.
Pull gently until the opening disappears.
Secure the yarn with several hidden stitches inside the body.
A clean finish makes your octopus look professionally handmade.
Now that the main body is complete, your new sea friend already looks adorable.
Trust me on this one—adding just a few finishing details makes an enormous difference.
Step 10: Embroider the sweetest little smile
Using black embroidery thread or matching yarn, stitch a tiny curved smile beneath the eyes.
Keep it simple.
Small facial features often look cuter than large ones.
If you’d like extra personality, lightly brush a little pink fabric blush onto each cheek.
Tiny embroidered eyelashes also create an adorable sleepy expression.
Once the face is finished, it’s almost impossible not to smile back at your little octopus.
Before we get into caring for your finished plush, let’s look at a few simple tricks that make every crochet octopus look even more professional.
Tips to Make Your Crochet Octopus Look Professional
By now, your octopus has its adorable shape, curly tentacles, and sweet little face. These finishing touches are what turn a good amigurumi into one that looks polished enough to gift or proudly display.
The best part is that none of these tips require advanced crochet skills. They’re simply small habits that make a big difference.
Keep your tension consistent
Consistent tension is one of the biggest secrets to beautiful amigurumi.
If your stitches become tighter halfway through the project, the body may look uneven. If they become looser, the stuffing may peek through.
Try holding your yarn the same way throughout the project and pause occasionally to relax your hands.
Remember, even experienced crocheters have slight variations in tension. Your octopus doesn’t need to be perfect to be adorable.
Stuff gradually for the best shape
Many beginners overstuff their first amigurumi.
Adding too much filling stretches the stitches and creates gaps. Too little stuffing leaves the body floppy and wrinkled.
Instead, add small pieces of stuffing one at a time and gently shape the body with your hands as you work.
For medium-sized amigurumi, I always use Poly-fil Premium fiberfill because it stays fluffy without becoming lumpy, even after lots of cuddles.
Sew details securely
If your octopus is meant for a child, make sure every sewn detail is firmly attached.
Weave yarn tails through several stitches before trimming them.
Give each tentacle a gentle tug to ensure nothing feels loose.
Taking an extra minute here means your finished plush will last for years.
Experiment with fun color combinations
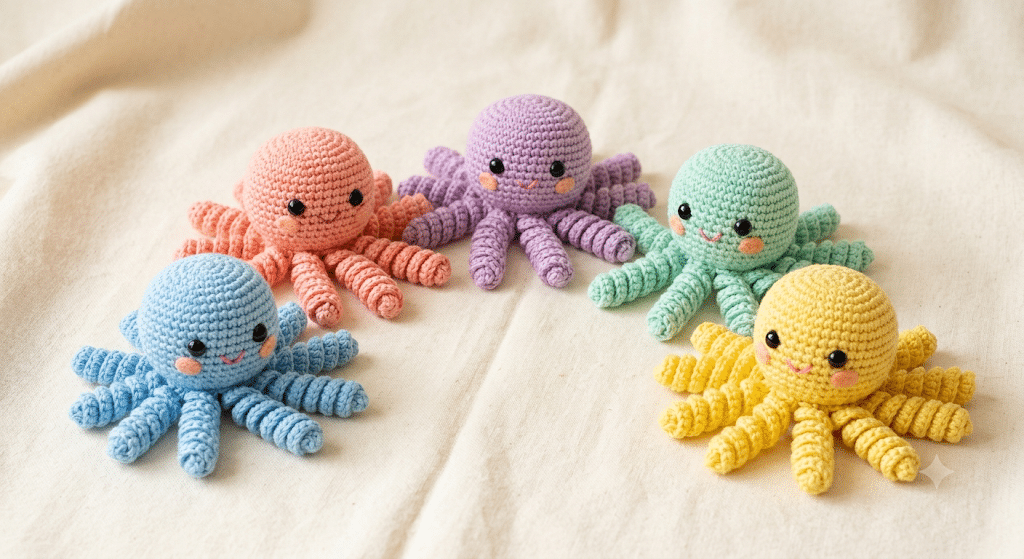
One of my favorite things about making octopuses is playing with color.
Some cheerful combinations include:
- Soft lavender with cream tentacles
- Coral pink with white accents
- Mint green with blush cheeks
- Ocean blue with turquoise curls
- Sunshine yellow with orange details
- Rainbow stripes for a playful look
- Neutral beige for cozy home décor
Changing the colors makes every octopus feel unique, even when you use the same pattern.
Add your own creative touches
Once you’ve finished your first octopus, don’t be afraid to make the next one your own.
You could add:
- A tiny crochet bow
- A miniature sailor hat
- Embroidered freckles
- Rosy cheeks
- Little heart appliqués
- A flower on top
- A tiny scarf for winter
These simple additions give each octopus its own personality.
Next up, let’s answer some of the most common questions crocheters have before starting this project.
Frequently Asked Questions About Crochet Octopus Pattern
How long does it take to crochet an octopus?
Most beginners finish a small crochet octopus in three to six hours, depending on their experience and the yarn they choose. More experienced crocheters can often complete one in just a couple of hours, making this a wonderful weekend project.
Is this crochet octopus pattern good for beginners?
Yes. A crochet octopus pattern is one of the easiest amigurumi projects to learn because it mainly uses basic stitches worked in continuous rounds. The body is simple, and the curly tentacles are easier than they look.
What yarn is best for crochet octopus amigurumi?
DK cotton yarn and soft acrylic yarn are excellent choices because they create clear stitch definition and hold their shape well. Chenille yarn also works beautifully if you want an extra cuddly plush, although beginners may find it harder to see each stitch.
What size safety eyes should I use?
For a medium-sized octopus, 9mm safety eyes create a cute balanced face. Smaller octopuses often look better with 6mm eyes, while larger plushies can use 12mm eyes.
Can I sell octopuses made from this pattern?
In most cases, yes. Many designers allow you to sell finished handmade items while asking that you don’t copy or redistribute the written pattern itself. Always read the designer’s licensing information before selling your creations.
Can I wash a crochet octopus?
Yes. Hand washing with cool water and a gentle detergent is usually the safest option. Lay the octopus flat on a towel and allow it to air dry completely to help it keep its shape.
Every Stitch Brings Your Crochet Octopus to Life
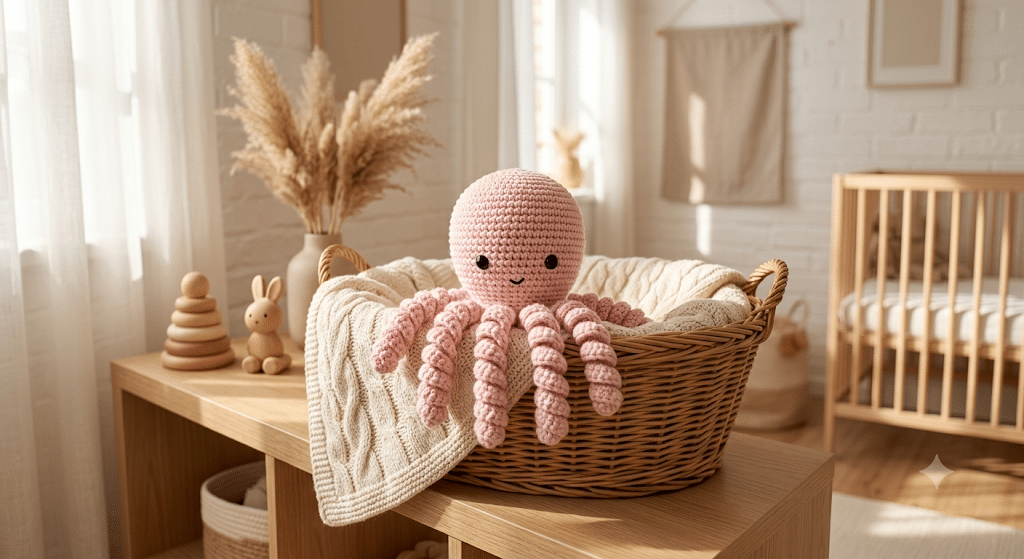
Finishing your first octopus is such a rewarding moment. What started as a simple ball of yarn has become a cheerful little sea friend with curly tentacles, a sweet smile, and plenty of personality. Along the way, you’ve practiced essential amigurumi skills like crocheting in the round, increasing and decreasing stitches, stuffing evenly, and adding facial features that make your project truly unique.
The wonderful thing about a crochet octopus pattern is how easy it is to customize. Try different yarn colors, experiment with larger or smaller hooks, or add tiny accessories to create an entire family of adorable octopuses. Every one you make will have its own charm, and each project will help you grow more confident with your crochet skills.
Whether you’re keeping your finished octopus for yourself or wrapping it as a thoughtful handmade gift, you can feel proud knowing you created something with your own hands that will bring joy for years to come.
Save this pin to your crochet board on Pinterest so you can find this pattern anytime!
Looking for more free crochet animal patterns? Visit Yarned Animals for new amigurumi patterns, kawaii plushies and beginner crochet tutorials added every week at yarnedanimals.com