
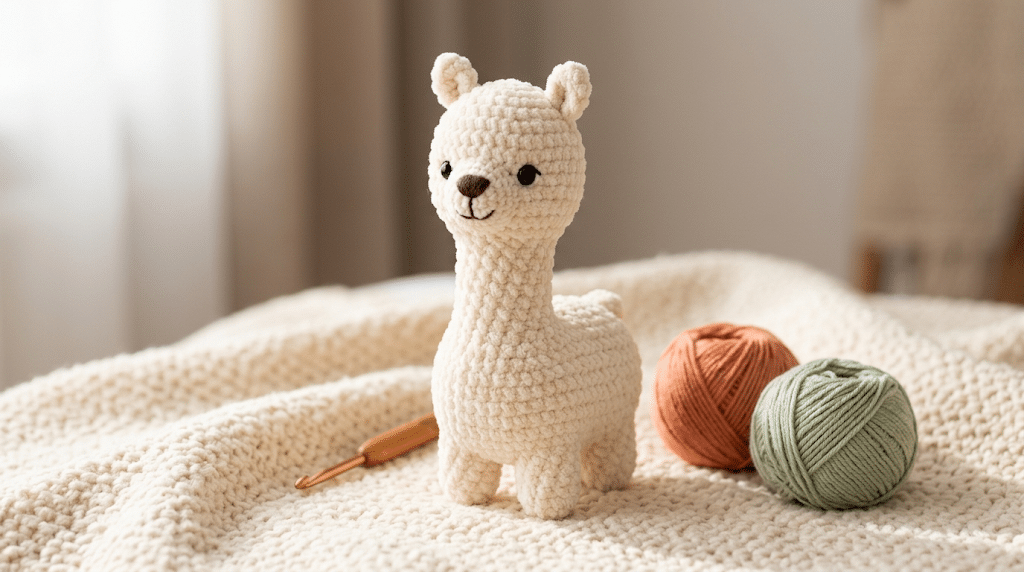
There’s something wonderfully cozy about a tiny crocheted alpaca. With its fluffy texture, sweet little face, and rounded body, an alpaca amigurumi can quickly become a favorite handmade friend.
This crochet alpaca pattern gives you a simple way to create your own adorable plushie, even if you’re still gaining confidence with amigurumi. You’ll learn how to shape the body, add cute ears, create tiny legs, and finish your alpaca with charming details.
The pattern keeps each stage approachable, so you can work slowly and enjoy the process. You’ll also find helpful yarn tips, stuffing advice, finishing ideas, and answers to common beginner questions.
So grab your favorite yarn and hook, and let’s turn a few simple stitches into a cuddly alpaca!
Table of Contents
Why This Crochet Alpaca Pattern Is So Adorable
Alpacas have such a naturally lovable shape. Their rounded bodies, long necks, tiny ears, and fluffy coats translate beautifully into amigurumi.
A handmade alpaca also gives you plenty of room for creativity. You can choose creamy white yarn for a classic look, warm beige for a natural feel, or pastel colors for something extra kawaii.
The perfect beginner amigurumi project
This crochet alpaca pattern works especially well when you already know basic amigurumi techniques. You’ll mainly focus on working in the round, increasing, decreasing, stuffing, and sewing pieces together.
If you’re completely new to crochet, don’t worry. Take your time with each shape instead of trying to crochet everything quickly.
Your tension matters more than speed. Consistent stitches will help your finished alpaca look smooth and balanced.
A cute project for handmade gifts
A little crochet alpaca makes a sweet birthday gift, nursery decoration, desk companion, or handmade keepsake.
You can also customize the colors to match someone’s favorite palette. Try cream with pink ears, soft brown with a white face, or lavender with pastel accents.
The finished plushie feels personal because you made every stitch yourself.
Why texture makes such a difference
The right yarn can completely change your alpaca’s personality. A smooth yarn creates a neat, classic amigurumi appearance, while fluffy yarn creates a wonderfully cuddly finish.
For a soft plush texture, Bernat Blanket yarn can be a lovely choice. I especially like it when teaching beginners who want their finished animals to feel extra squishy.
Now that you know what makes this little project special, let’s prepare everything you need.
Crochet Alpaca Pattern: Materials and Preparation
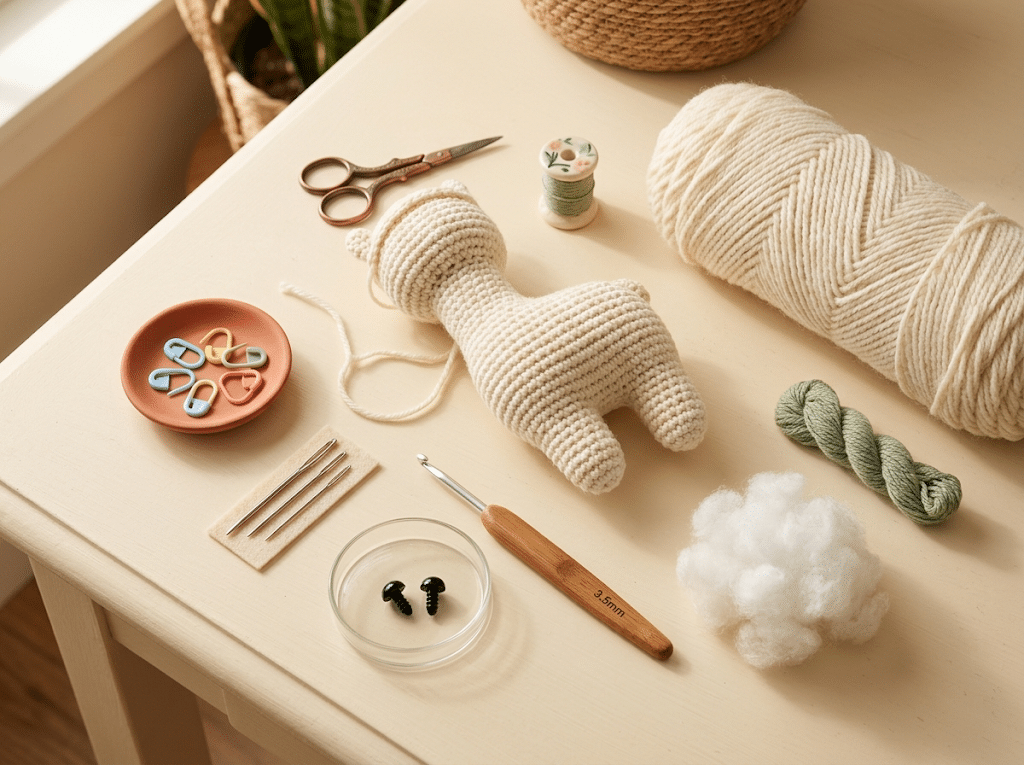
Before starting your crochet alpaca pattern, gather your supplies and prepare a comfortable workspace.
Keeping everything nearby saves you from stopping halfway through a piece. It also makes the project feel much more relaxing.
Choose your yarn and hook
Pick a yarn weight that feels comfortable in your hands. DK yarn works beautifully for a smaller alpaca, while blanket yarn creates a larger, softer plushie.
For a classic handmade appearance, Paintbox Simply DK yarn gives you plenty of color choices. Choose one main shade for the body and a slightly darker or lighter shade for optional details.
Your hook should match your yarn while keeping your stitches firm enough for stuffing.
Tip: Amigurumi usually looks best when your fabric feels tighter than ordinary crochet.
Gather your basic tools
You’ll need a crochet hook, yarn, stuffing, safety eyes, a yarn needle, and stitch markers.
A stitch marker helps you track the beginning of each round. A yarn needle makes sewing the ears, legs, and other pieces much easier.
Keep your stuffing nearby, too. You’ll gradually add it as the body takes shape.
Pick the alpaca’s personality
Think about your alpaca before you start assembling it.
Would you like a sleepy alpaca with slightly lowered eyes? Maybe you prefer a cheerful kawaii face with a tiny embroidered smile.
You can even make a whole family using different colors and facial expressions.
The small details create the personality.
Ready to move on? Here comes the fun part: building the alpaca one shape at a time.
How to Crochet an Alpaca in 10 Easy Steps
This section breaks the project into ten manageable stages. Instead of rushing through the entire animal, complete one component before moving to the next.
Step 1: Crochet the alpaca body
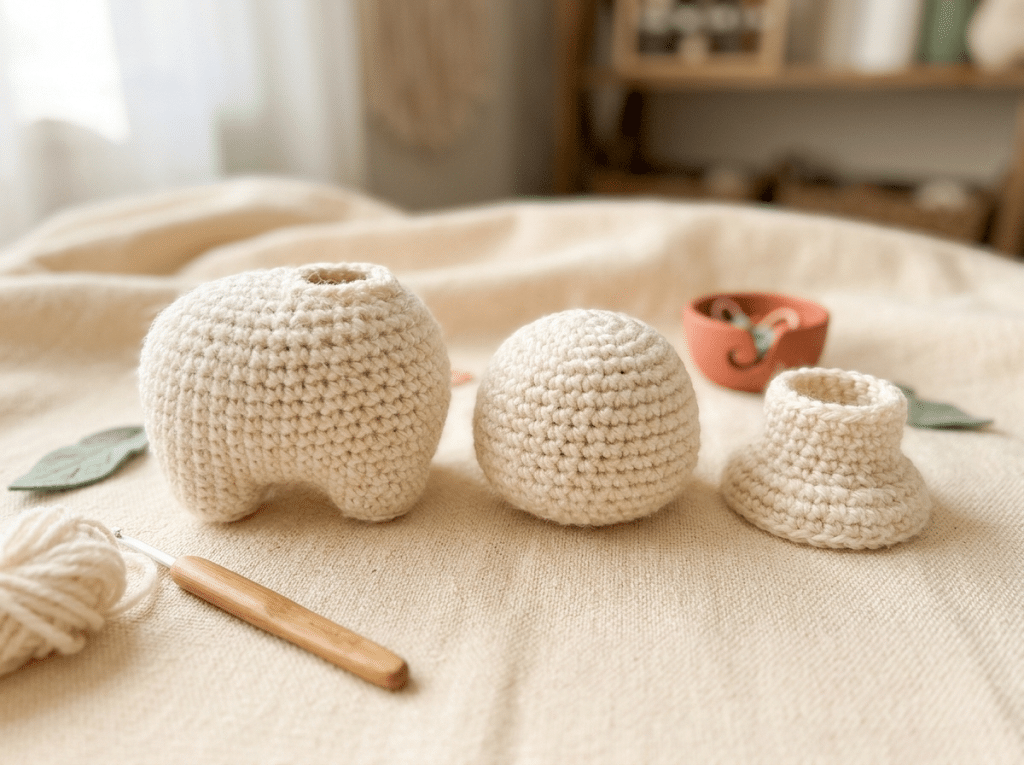
Start with the main body using your chosen yarn color.
Work your stitches in continuous rounds to create a rounded, slightly elongated shape. Keep your tension even while checking that the fabric stays dense.
The body should look plump without becoming overly wide.
Beginner tip: Place a stitch marker at the start of every round. This simple habit prevents many counting mistakes.
Step 2: Shape the head
The head should have a rounded appearance with a slightly longer front section.
Work your increases gradually so the shape expands smoothly. Then use decreases to bring the shape back together.
Avoid making the head too small. Alpacas look especially cute when their heads have a soft, oversized amigurumi proportion.
Step 3: Create the long alpaca neck
Now connect the visual shape of the head and body with a short neck.
The neck doesn’t need to be extremely long. A modest length keeps the plushie stable while still giving it that recognizable alpaca silhouette.
Stuff the neck firmly but gently. Too much stuffing can make the area look lumpy.
Step 4: Crochet the tiny ears
Alpaca ears are one of the sweetest details.
Make two small pointed or rounded ears, depending on the style you prefer. Fold each ear slightly before sewing it onto the head.
Try positioning them at a gentle angle rather than perfectly straight.
This tiny adjustment can make your amigurumi animal look much more expressive.
Step 5: Make four little legs
Create four short legs using the same body color.
Keep the legs similar in length so your alpaca can sit evenly. If you want a sitting plushie, slightly shorter legs work beautifully.
Stuff each leg lightly before attaching it.
Don’t overstuff the legs. A little softness makes them look more natural and cuddly.
Step 6: Add the muzzle
The muzzle gives your alpaca its characteristic face.
Use a contrasting cream, beige, or slightly darker shade. Crochet a small rounded muzzle and attach it near the lower part of the face.
Make sure it sits centrally between the eyes.
If you prefer an embroidered muzzle, you can skip a separate crocheted piece and add the details directly with yarn.
Step 7: Attach the safety eyes
Position the eyes before permanently securing them.
Place them evenly on both sides of the face and check the expression from several angles.
For a medium-sized amigurumi, 9mm safety eyes can create a lovely kawaii proportion.
Once you’re happy with their placement, secure them firmly.
Step 8: Shape the fluffy look
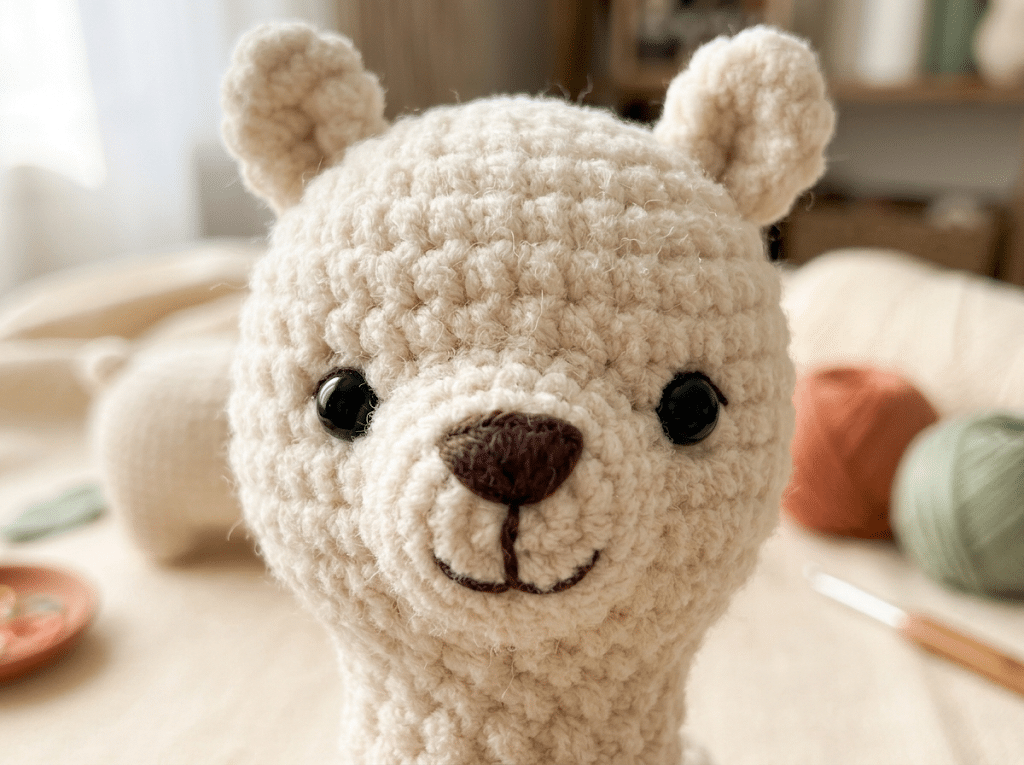
Here is where your alpaca starts looking extra cozy.
If you’re using smooth yarn, gently brush or texture selected areas only if your yarn allows it. With fluffy yarn, let the natural fibers create the coat.
You don’t need to make every section perfectly even.
A slightly handmade texture makes the alpaca feel more charming.
Step 9: Sew everything together
Arrange the head, ears, legs, and body before sewing.
Take a few moments to check symmetry. Rotate the plushie in your hands and make sure the pieces sit where you want them.
Use your yarn needle to attach each piece securely.
A yarn needle set makes this finishing stage much easier, especially when you’re working with several small pieces.
Step 10: Add the final face details
Finish your alpaca with the tiny details that bring it to life.
You can embroider a little nose, a small smile, or subtle eyebrows. Add tiny pink cheeks if you want an extra kawaii effect.
Then gently shape the stuffing from the outside.
Give your finished alpaca a little squeeze. If it feels soft, firm, and evenly stuffed, you’re ready to admire your work!
Easy Tips for a Fluffy Crochet Alpaca
Now that you know how to build the basic shape, a few small techniques can make your finished plushie look even better.
The goal isn’t perfection. You want an alpaca that feels soft, balanced, and full of handmade charm.
Keep your amigurumi stitches tight
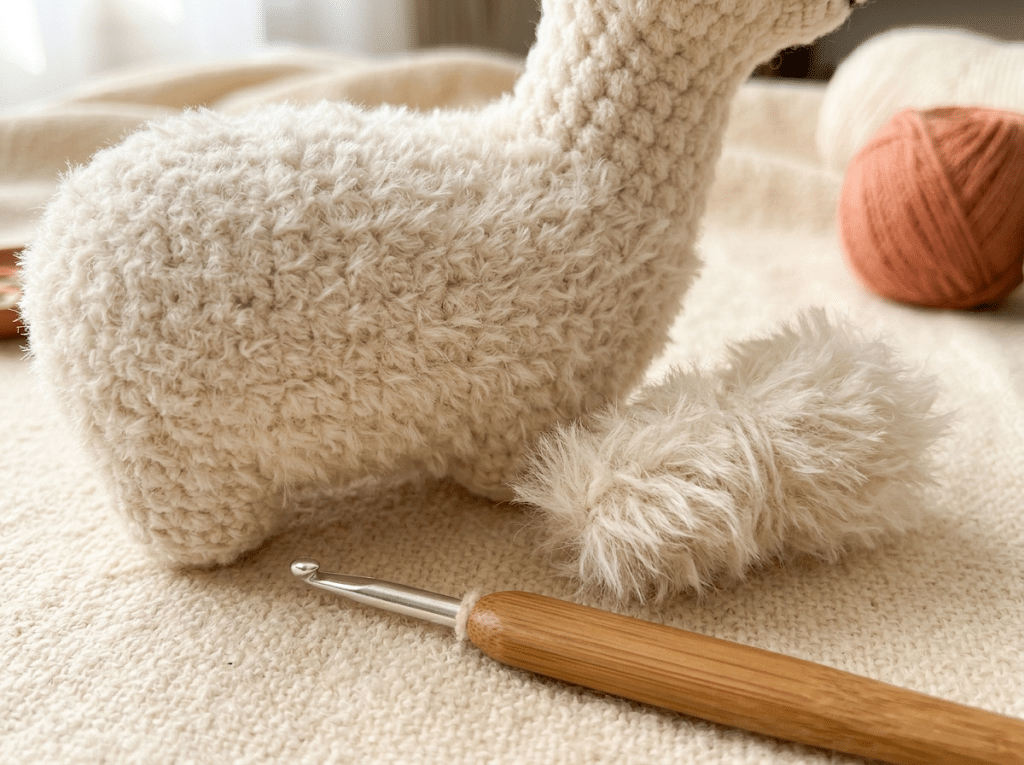
Loose stitches can create visible gaps between your crochet stitches.
Those gaps may allow stuffing to show through. They can also make the shape less defined.
Try using a slightly smaller hook if your fabric looks too loose.
Your crochet fabric should feel dense but still comfortable to work.
Stuff gradually as you crochet
Don’t wait until the final opening to add all the stuffing.
Add small amounts as you work upward. Use your finger or the blunt end of your crochet hook to gently distribute the fiberfill.
Poly-fil Premium fiberfill works well for giving amigurumi a soft, springy shape.
Avoid packing the stuffing too tightly. Overstuffing can stretch the stitches and change the shape of your animal.
Check your shape before closing
Before finishing each stuffed component, hold it in your hand and inspect the shape.
Does one side look fuller? Does the head lean too far forward?
Fixing those issues before closing the piece is much easier than trying to reshape it later.
Trust me on this one: five extra seconds of checking can save you a lot of sewing frustration.
Cute Ways to Customize Your Alpaca Amigurumi
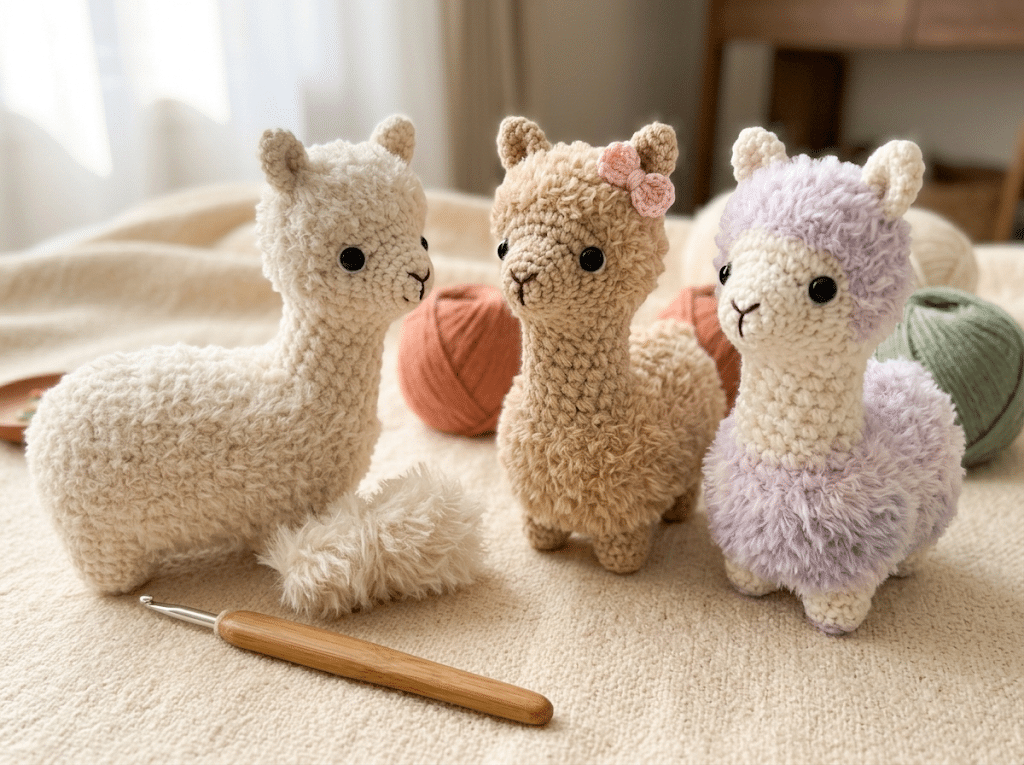
One of the best things about handmade crochet animals is how easily you can change their appearance.
Once you understand the basic structure, you can create several completely different alpacas from the same general idea.
Try different color combinations
Cream and beige create a classic alpaca.
For a playful kawaii version, try soft pink, sage, peach, lavender, or pale yellow accents.
You can also create a two-tone design by changing colors around the muzzle, ears, or legs.
Lion Brand Comfy Cotton yarn can work nicely when you want a smooth, colorful finish.
Give your alpaca a tiny accessory
A small crocheted scarf can instantly change the look.
You could also add a miniature bow, flower, or tiny blanket. Keep accessories simple so they don’t overwhelm the animal.
For gift giving, matching the accessory to the recipient’s favorite color makes the plushie feel extra thoughtful.
Create different facial expressions
The face controls the entire personality of your alpaca.
Try slightly wider-set eyes for a gentle expression. Move them closer together for a more playful look.
You can also embroider different mouths.
Tiny changes can create surprisingly different personalities.
Common Crochet Alpaca Mistakes and Easy Fixes
Every crocheter makes mistakes. That’s part of learning, and amigurumi gives you plenty of chances to practice.
If your first alpaca looks a little wonky, don’t immediately unravel everything.
Look closely at the shape and identify one issue at a time.
The body looks too flat
Your stuffing may not fill the body evenly.
Add small amounts of fiberfill and gently push it toward the edges. Work slowly so you don’t create hard lumps.
If your stitches look stretched, reduce the amount of stuffing slightly.
The head keeps falling forward
The neck may need more support.
Try adding a little extra stuffing around the neck area. You can also sew the head more securely to the body.
Make several stitches through the joining area before hiding the yarn tail.
The face looks uneven
Don’t sew the facial pieces immediately.
First, pin or loosely position everything and inspect the alpaca from the front.
Move the eyes, muzzle, or ears until the expression looks balanced.
Taking a quick photo can help you spot uneven placement. Your phone gives you a different perspective than looking at the plushie directly.
The finished alpaca looks too stiff
You may have overstuffed the pieces.
Remove a small amount if necessary, then reshape the piece with your fingers.
A cuddly amigurumi should feel soft rather than rock hard.
How to Make Your Crochet Alpaca Gift-Ready
Once your alpaca is finished, you can turn it into a thoughtful handmade gift with very little extra work.
A handmade plushie already feels special because someone can see the time behind every stitch.
Add a handmade tag
Write a tiny note explaining that you made the alpaca by hand.
Something as simple as “Made with love” can make the gift feel personal.
You could attach the tag with a small piece of yarn or ribbon.
Create a cozy gift presentation
Place the alpaca inside a small gift box or fabric bag.
Add tissue paper, a handwritten card, or a simple crocheted flower.
Avoid overdecorating. The alpaca should remain the star of the gift.
Make a matching crochet collection
If you enjoyed this project, consider making several farm-inspired animals.
A tiny sheep, llama, cow, or bunny can sit alongside your alpaca.
This makes a sweet nursery collection or handmade animal set.
And if you enjoy making gifts, one finished plushie can easily inspire your next crochet project.
Can You Sell Your Finished Crochet Alpaca?
Many crocheters wonder whether they can sell finished items made from a crochet tutorial.
The answer depends on the specific pattern designer’s terms. Always check the pattern’s stated permissions before selling finished pieces.
If the pattern allows finished-item sales, you can create your own handmade pieces while following those terms.
Price your handmade work fairly
Remember to consider your yarn, stuffing, safety eyes, packaging, and your time.
Handmade work takes effort, and your time has value.
Avoid pricing your plushie based only on the material cost.
Add your own creative touches
If you sell finished alpacas, personal details can help make each one unique.
Try different colors, embroidered expressions, scarves, bows, or other permitted accessories.
Your handmade touch is part of what makes the finished piece special.
Frequently Asked Questions About Crochet Alpaca Pattern
How long does it take to crochet an alpaca?
A small alpaca amigurumi may take several hours, depending on your crochet experience, yarn weight, and construction method. Beginners often need extra time for counting, stuffing, and sewing pieces together. Give yourself plenty of time rather than rushing. The finishing details can take longer than the crocheting itself.
What yarn is best for an alpaca amigurumi?
Soft acrylic, cotton blends, and plush yarn can all work well for an alpaca amigurumi. Smooth yarn makes your stitches easier to see, while fluffy yarn creates a cozy coat-like appearance. Choose a yarn that feels comfortable to crochet and gives you enough stitch definition to shape the animal.
Is this crochet alpaca pattern good for beginners?
Yes, this style of amigurumi can suit beginners who understand basic crochet stitches and working in rounds. The most challenging parts usually involve maintaining consistent tension, shaping stuffed pieces, and sewing everything together. Work slowly and check your pieces before attaching them.
What size safety eyes should I use?
For a medium-sized alpaca, 9mm safety eyes can create a cute balanced expression. Smaller alpacas may look better with 6mm eyes, while larger plushies can handle 12mm eyes. Always check the eye placement before permanently securing the pieces.
How do I make my alpaca look fluffy?
Choose a naturally fluffy yarn or use a suitable plush yarn for a soft appearance. You can also create texture through gentle brushing when your chosen yarn allows it. Avoid aggressive brushing because it can damage some fibers. Test your technique on a small swatch first.
Can I sell alpacas I make from this pattern?
Check the specific pattern’s usage terms before selling finished items. Some designers allow handmade finished products for sale, while others place restrictions on commercial use. If selling is permitted, price your work fairly by considering materials, labor, packaging, and your creative effort.
Final Thoughts on This Adorable Alpaca Project
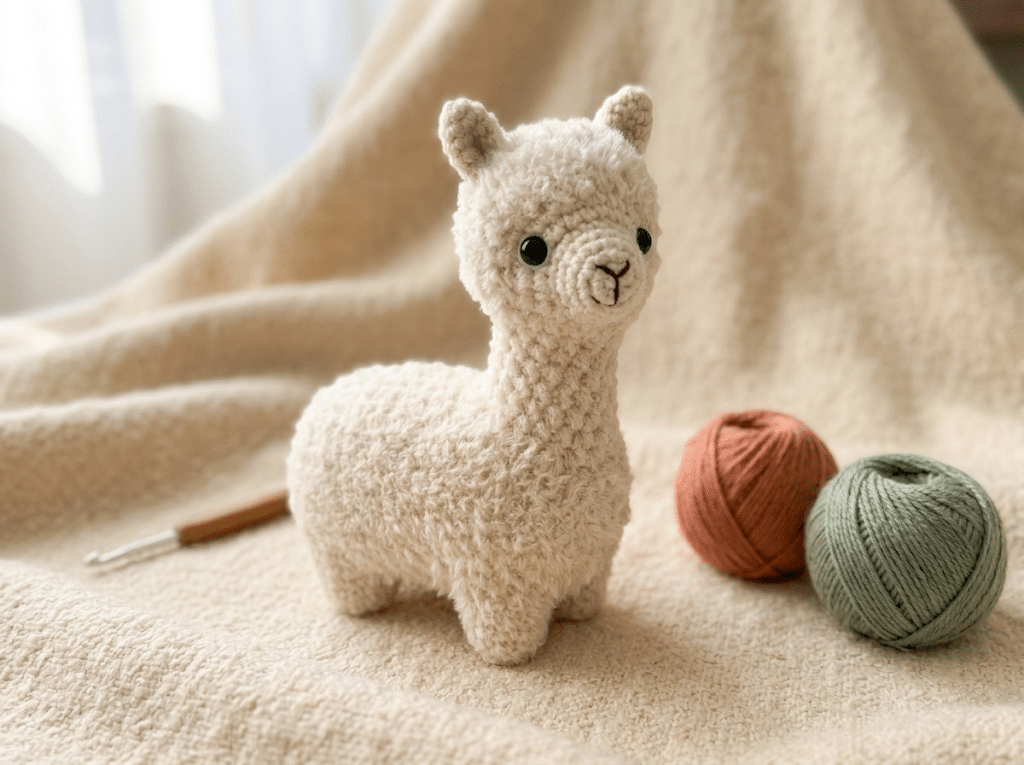
Making a tiny alpaca from yarn is such a satisfying crochet project. You start with simple stitches, then slowly watch a sweet little animal appear in your hands.
This crochet alpaca pattern gives you plenty of opportunities to practice shaping, stuffing, sewing, and facial details without making the project feel overwhelming.
Most importantly, don’t worry if your first alpaca isn’t perfectly symmetrical. Handmade charm comes from those little details, and every project helps you become a more confident crocheter.
Once you finish, you’ll have a cuddly amigurumi you can keep, gift, or add to your growing handmade collection.
Save this pin to your crochet board on Pinterest so you can find this pattern anytime!
Looking for more free crochet animal patterns? Visit Yarned Animals for new amigurumi patterns, kawaii plushies and beginner crochet tutorials added every week at yarnedanimals.com