
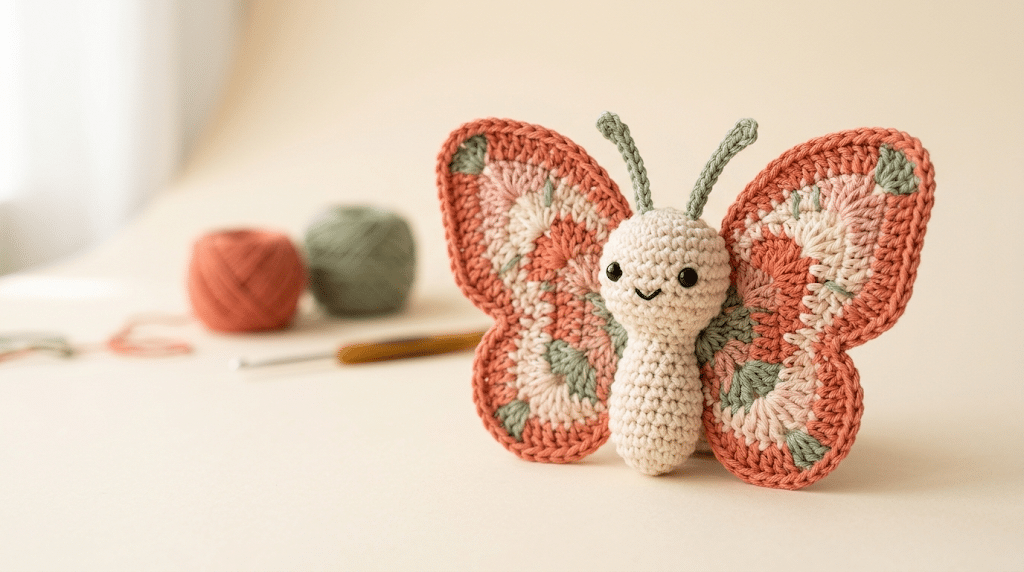
There is something magical about turning a simple strand of yarn into a tiny butterfly you can hold in your hand. A few stitches can create delicate wings, a sweet little body, and a handmade decoration that feels completely personal.
This crochet butterfly pattern gives you a simple way to make your own colorful amigurumi butterfly, even if you are still learning the basics. You will work through the project in 10 easy steps, from choosing yarn and shaping the wings to adding the finishing touches.
The pattern works beautifully for gifts, nursery decorations, keychains, seasonal crafts, and cute crochet collections. You can also change the colors to match almost any room or celebration.
Grab your favorite hook and yarn, and let’s turn those stitches into something fluttery and adorable.
Table of Contents
Why This Crochet Butterfly Pattern Is So Cute
A handmade butterfly has a special charm because you can make every detail your own. You choose the colors, wing shape, size, and little finishing touches.
This design focuses on a cute amigurumi style rather than trying to copy a realistic butterfly. The result feels soft, playful, and perfect for handmade gifts.
You also do not need a complicated collection of stitches. Basic crochet techniques can create the main shapes, which makes this project approachable when you are still building confidence.
A beginner-friendly crochet project
If you already know how to make a slip knot, chain, single crochet, and slip stitch, you have a great starting point.
The wings use simple shaping techniques. You will work gradually and keep checking the shape as you go.
Tip: Keep your stitches fairly tight when making the body. Tight stitches help the stuffing stay inside the finished piece.
Pick colors that make your butterfly pop
Butterflies give you endless color combinations.
Try soft pink and cream for a delicate look. Choose yellow and orange for a sunny spring butterfly, or use purple and lavender for something dreamy.
You can also make each wing different.
For a kawaii crochet butterfly, pastel shades work especially well with tiny black eyes and a small embroidered smile.
Make one butterfly or a whole collection
One butterfly looks lovely on its own, but several butterflies can create a beautiful display.
Make three in different colors and arrange them around a plant pot. You could also attach several to a handmade garland.
This pattern also works well for crochet animal patterns collections because butterflies are quick to customize.
If you want a softer texture, Bernat Blanket yarn creates a plush finish that feels especially cozy for stuffed crochet projects.
Materials and Crochet Skills You Need
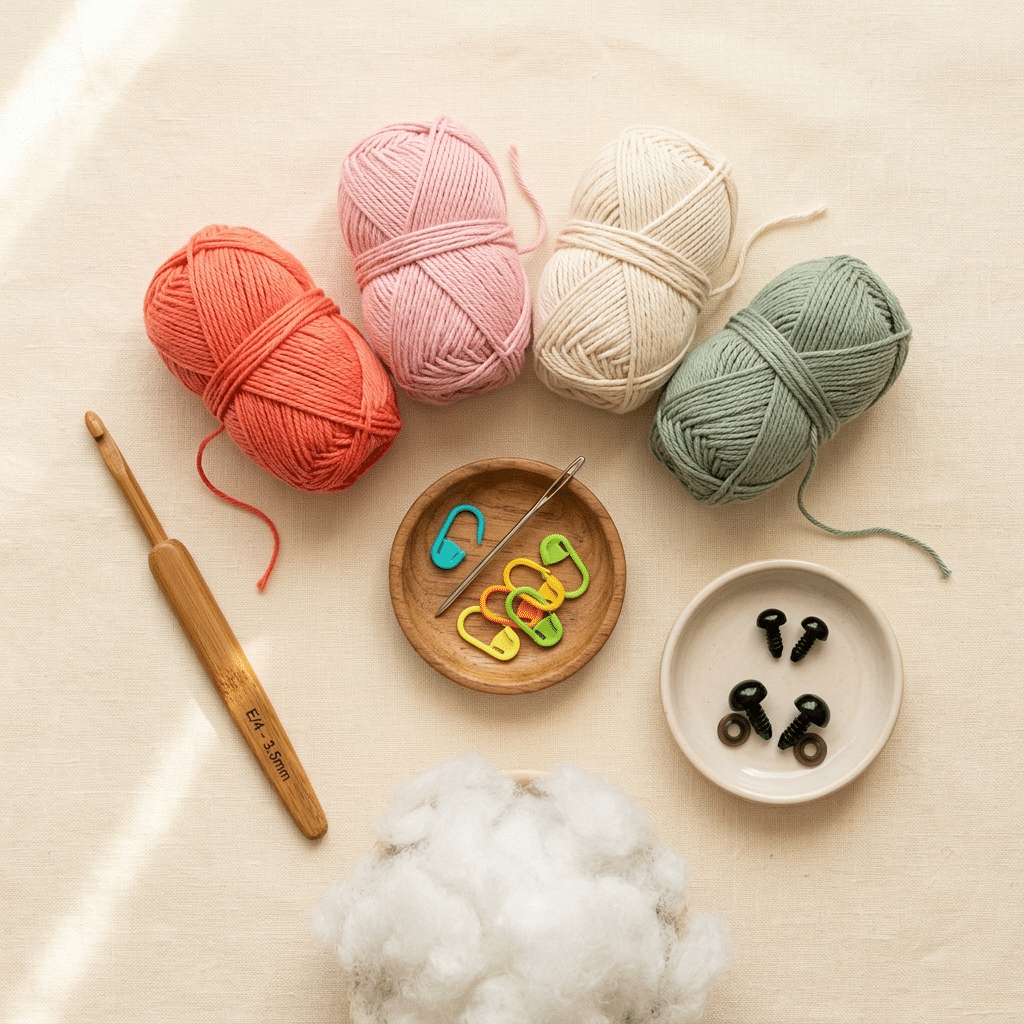
Before starting your butterfly, gather everything you need within easy reach. Having your supplies ready makes the project much more relaxing.
You can use different yarn weights, but medium-weight yarn gives you a manageable butterfly size without making the wings too delicate.
For a smaller decoration, try lighter yarn with a smaller hook. For a larger plush butterfly, use thicker yarn and adjust your hook size accordingly.
Basic materials for your butterfly
You will need yarn in your chosen colors, a suitable crochet hook, stuffing, safety eyes, and a yarn needle.
You may also want stitch markers if you sometimes lose track of your rounds.
For the stuffing, Poly-fil Premium fiberfill works nicely because you can add small amounts gradually while shaping the body.
Choose safety eyes based on the size of your butterfly. Smaller butterflies usually look better with smaller eyes.
Crochet techniques to know
This project uses beginner-friendly techniques, including:
- Slip knot
- Chain stitch
- Single crochet
- Slip stitch
- Increasing
- Decreasing
- Working in rounds
- Basic sewing
- Simple embroidery
You do not need advanced lace techniques.
If you are new to amigurumi, take your time with the first few rounds. Once you understand the rhythm, the project becomes much easier.
Helpful tools for cleaner results
A stitch marker can help you identify the beginning of each round.
A yarn needle makes sewing the wings and finishing the body much easier. You can also use it to hide yarn ends neatly.
For hook comfort, I like a Clover Amour crochet hook when teaching beginner projects because the handle feels comfortable during longer sessions.
For general crochet technique references, the Craft Yarn Council offers useful information about yarn weights, hook sizing, and standard crochet terminology.
How to Make This Crochet Butterfly in 10 Easy Steps
Now that your supplies are ready, here is the fun part.
The project becomes much easier when you treat the butterfly as a few simple shapes instead of one complicated piece. You will create the body first, shape the wings, then bring everything together.
Step 1: Start the butterfly body
Begin with your main body color and create your starting loop.
Work the first small section in the round. Keep your stitches snug but not so tight that your hook becomes difficult to move.
The body should gradually become a rounded shape.
If you are making amigurumi butterfly projects for the first time, pause after a few rounds and check your tension.
Your stitches should look even rather than stretched.
Step 2: Shape the main body
Continue crocheting around the body, using increases where needed to create a rounded center.
The goal is a soft, compact shape rather than a long tube.
As the body grows, gently check its proportions. Your butterfly should have enough room for the wings without looking too bulky.
Beginner tip: If your body looks uneven, do not panic. Small tension differences often disappear after stuffing.
Step 3: Add the stuffing gradually
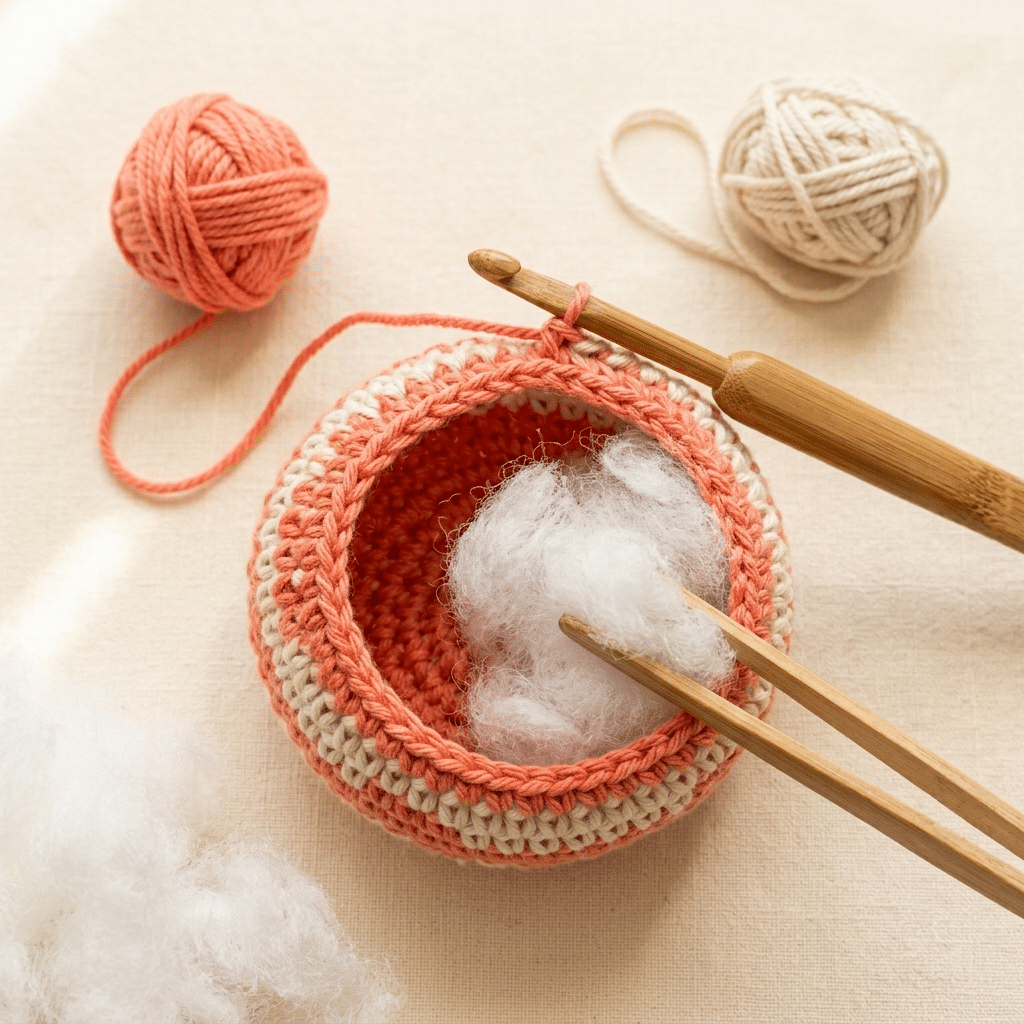
Once the body has enough height, begin adding small amounts of fiberfill.
Avoid putting a large handful inside at once. Small pieces allow you to control the shape much more easily.
Press the stuffing gently into the sides.
You want a firm shape, but the stitches should not stretch so much that you can see large gaps.
Step 4: Finish the body shape
Continue toward the final section of the body.
Decrease gradually to close the opening.
Before completely closing the body, check that the stuffing feels even. Add another tiny piece if one side feels softer.
Once the shape looks smooth, fasten off and leave enough yarn for finishing.
You now have the central shape that holds your butterfly together.
Step 5: Crochet the upper wings
Next up, create the larger upper wings.
The upper wings should have a wider outer section and a narrower attachment point.
Work slowly around the curves. If your first wing does not look perfect, gently reshape it with your fingers.
The beauty of crochet butterfly wings comes from their curves, so focus on maintaining a balanced outline.
Step 6: Make the second upper wing
Repeat the same process for the opposite side.
Try to keep both wings similar in size.
You do not need absolute mathematical perfection. Handmade crochet looks charming because tiny differences make each piece unique.
Lay both wings beside each other before attaching them.
If one looks slightly larger, you can adjust its shape with gentle blocking or by changing how you sew it to the body.
Step 7: Create the smaller lower wings
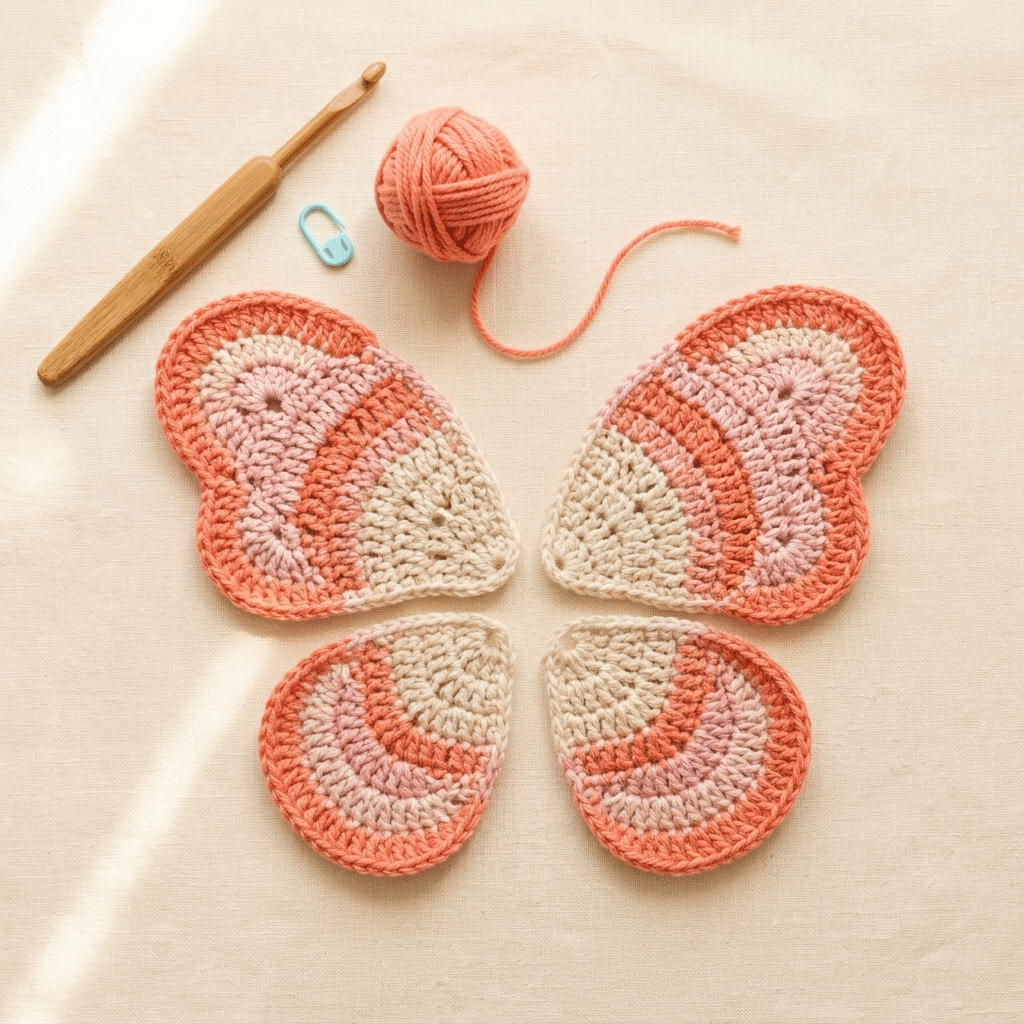
Now make the lower wings.
These should remain smaller than the upper wings so the butterfly gets a layered silhouette.
Use a contrasting color if you want a more colorful design.
For example, try coral upper wings with cream lower wings.
You can also use the same color throughout for a simple monochrome look.
Step 8: Attach the wings
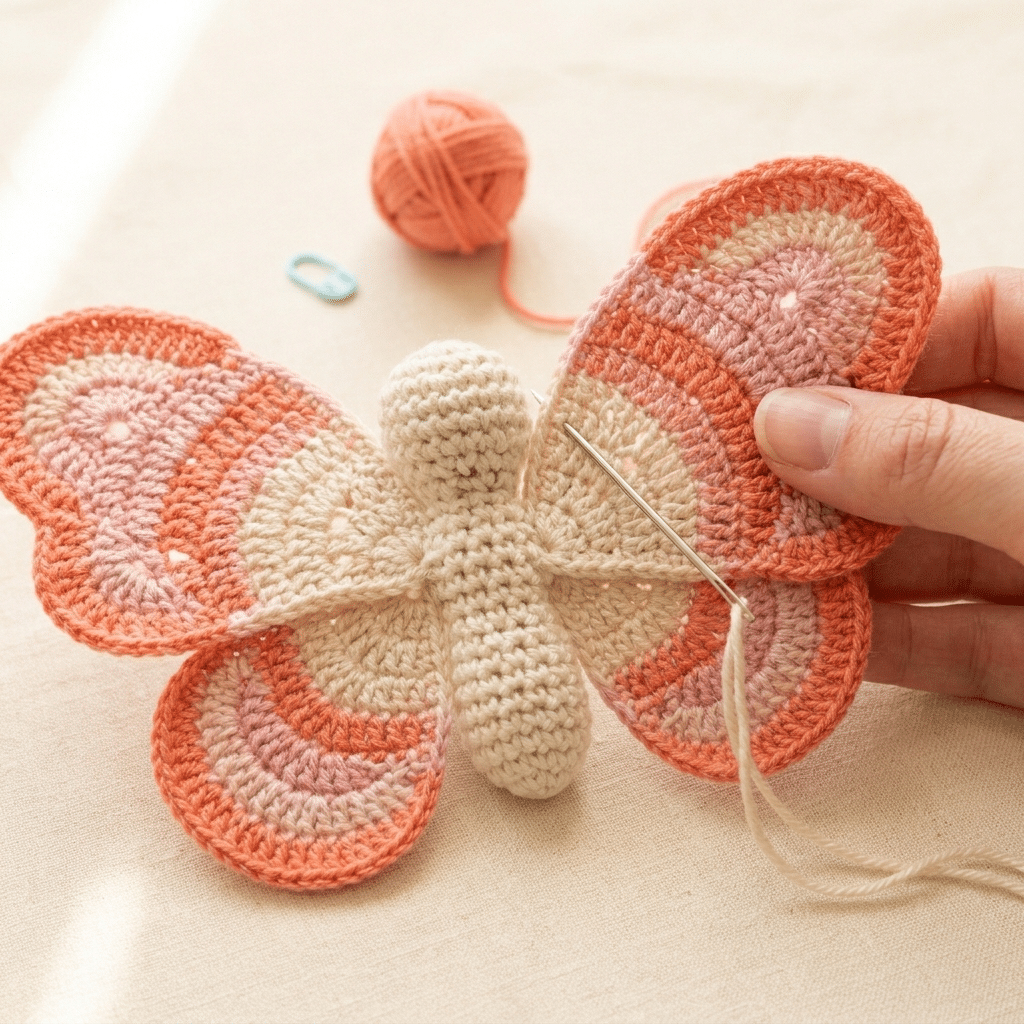
Place the wings against the body and decide exactly where you want them before sewing.
Start with the upper wings.
Use your yarn needle to attach them securely to the sides of the body. Then add the lower wings underneath.
Take your time here. Wing placement makes a huge difference to the final appearance.
For a traditional butterfly shape, angle the wings slightly upward.
Step 9: Add the face and details
Your butterfly is almost finished.
Attach the safety eyes and embroider a tiny smile if you want a kawaii expression.
You can also add small embroidered dots to the wings.
If you want a more decorative look, use a contrasting yarn color for simple wing accents.
For a small butterfly, 6mm safety eyes can create a sweet proportion. Larger butterflies may look better with 9mm eyes.
Step 10: Finish and shape your butterfly
We are at the final step.
Hide all remaining yarn ends securely inside the body or behind the wings.
Gently shape the wings with your fingers.
Curve them slightly forward or upward until your butterfly has the silhouette you like.
Then give the finished piece a final inspection.
Check that the wings feel secure and the face looks centered.
Congratulations! Your handmade butterfly is ready to flutter into its new home.
Easy Ways to Customize Your Crochet Butterfly
Once you finish your first butterfly, you will probably want to make another one.
That is one of the best things about this project. A small color change can make the same design look completely different.
You can also change the size, expression, wing decorations, and intended use.
Try different color combinations
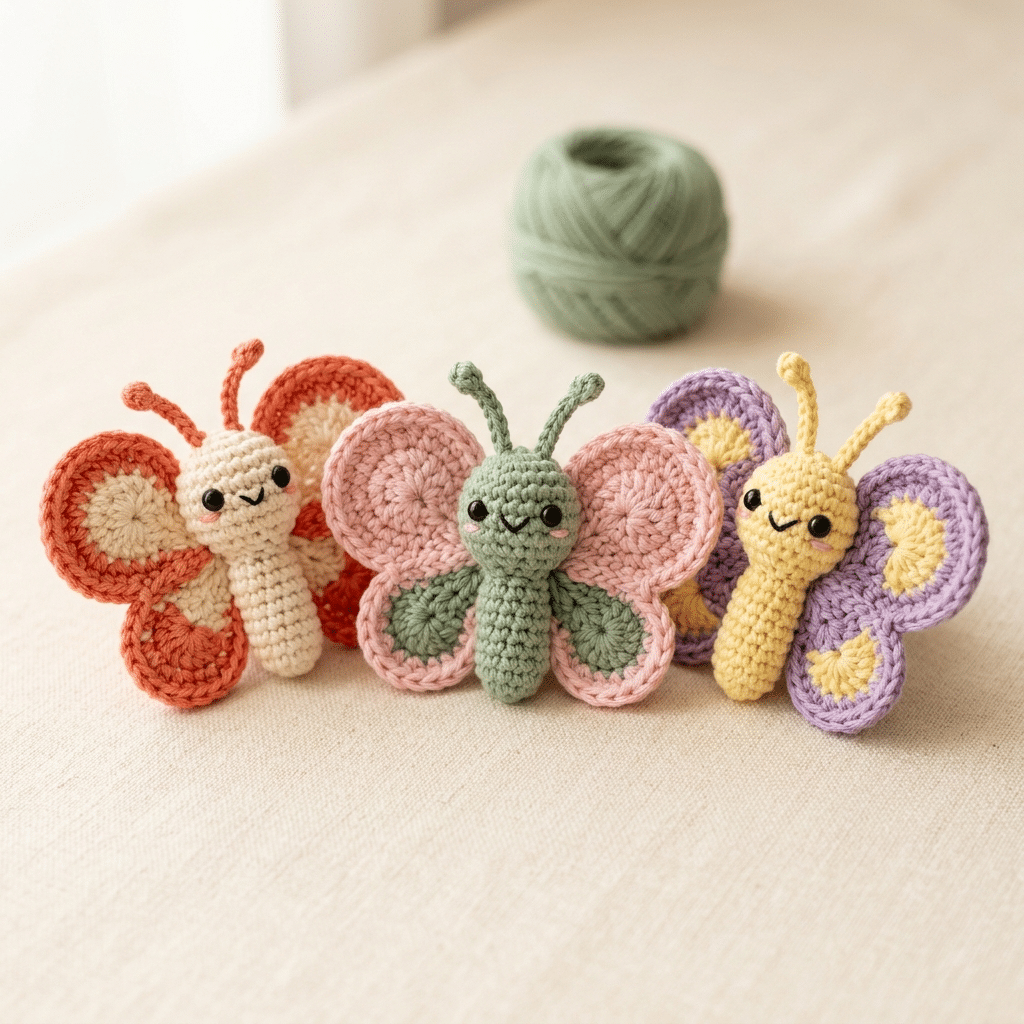
Color is the easiest way to create a completely new butterfly.
For a soft spring look, combine pastel pink, cream, and lavender.
For a bright garden-inspired design, try yellow, orange, and coral.
For a night butterfly, use deep purple with a small amount of cream.
A colorful crochet butterfly also makes a lovely handmade gift because you can match the recipient’s favorite colors.
Change the wing shape
You can make the upper wings taller for a more dramatic silhouette.
Alternatively, make them rounder for a softer kawaii appearance.
Keep the attachment area narrow so the body remains visible.
If you want a more decorative butterfly, add tiny embroidered dots, lines, or simple scalloped edging.
Turn it into a gift
Your finished butterfly can become much more than a shelf decoration.
Attach it to a gift bag as a reusable handmade embellishment. You could also place it inside a birthday card or attach it to a handmade basket.
A small crochet butterfly keychain can also make a cute gift for a friend.
If you turn your butterfly into a hanging decoration, leave a small loop of yarn at the top.
Common Problems and Easy Fixes
Even simple amigurumi can have moments where something looks slightly wrong.
That does not mean you have ruined your project.
Most problems come from tension, stuffing, or wing placement. The good news is that you can usually fix them without starting over.
Why does my butterfly look flat?
If the body looks too flat, you may not have added enough stuffing.
Open the finishing area carefully if necessary and add a small amount of fiberfill.
Do not overstuff the piece.
Too much filling can stretch the stitches and make the body look uneven.
Why are my wings different sizes?
This happens often when your tension changes between pieces.
Try crocheting both wings with the same hook and yarn.
Keep your tension as consistent as possible.
If one wing still looks slightly different, reshape it gently before attaching it.
Remember that handmade crochet does not need factory-level symmetry.
Why does my butterfly look too bulky?
A bulky butterfly usually needs less stuffing or a smaller body.
Try reducing the amount of fiberfill.
You can also use lighter yarn for future projects.
When making easy crochet animals, matching the yarn weight to the finished size makes a noticeable difference.
How to Use Your Finished Crochet Butterfly
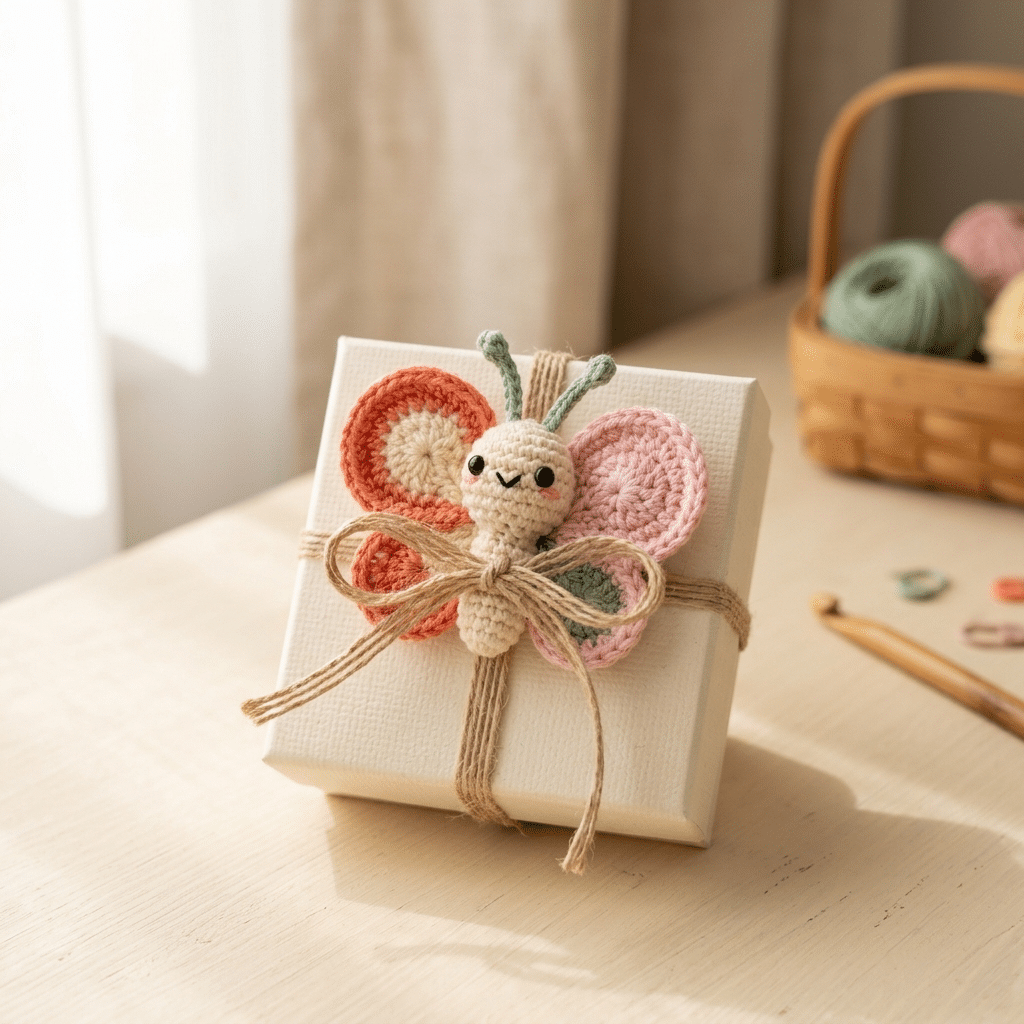
Your completed butterfly deserves to be seen.
Instead of putting it into a craft box, use it somewhere that makes you smile.
These little crochet decorations work beautifully in bedrooms, nurseries, craft rooms, and gift displays.
Create a spring decoration
Make several butterflies in coordinating colors.
Attach them to a piece of yarn and create a simple hanging garland.
You can hang it above a craft desk, near a window, or across a shelf.
Make a handmade gift topper
Use one butterfly as a reusable gift decoration.
Tie it onto a wrapped present with ribbon or yarn.
The recipient gets two gifts: the present and a handmade decoration they can keep.
Build a butterfly collection
Create butterflies in different sizes and colors.
Display them together in a basket or arrange them around a potted plant.
You could even create a seasonal collection with soft spring colors and brighter summer shades.
For more crochet inspiration, The Spruce Crafts crochet tutorials offers additional beginner-friendly crochet ideas and techniques.
Tips for Making Your Next Butterfly Even Better
Once you finish one butterfly, the second usually feels much easier.
You already understand the basic construction, so you can focus more on your color choices and finishing details.
Keep your tension consistent
Consistent tension helps your wings match.
If you notice your stitches becoming tighter during difficult sections, stop for a moment and relax your hands.
Crochet should feel enjoyable rather than like a race.
Count carefully around wing shapes
Wing sections can change direction quickly.
Mark important points with stitch markers.
This simple habit can save you from having to undo several rows later.
Sew before you commit
Place your wings on the body before sewing them permanently.
Move them slightly higher, lower, or outward until the butterfly looks balanced.
Take a quick photo if you want to compare different positions.
Keep your finishing neat
Loose ends can make a beautiful project look unfinished.
Use your yarn needle to weave ends securely into the body.
Trim only after you know the yarn will not pull loose.
A neat finish makes your crochet butterfly pattern look polished and gift-ready.
Frequently Asked Questions About Crochet Butterfly Pattern
How long does it take to crochet a butterfly?
A small butterfly can take around one to two hours, depending on your experience, yarn weight, and finishing details. Beginners may need longer while learning the shapes and construction. Once you become comfortable with the pattern, you can usually make another butterfly much faster.
What yarn is best for a crochet butterfly?
Cotton or soft acrylic yarn works well for a butterfly because it keeps the wing shapes defined. Choose a smooth yarn if you want visible stitches and crisp details. Chenille yarn can create a softer plush look, although it may make small wing details harder to see.
Is this crochet butterfly pattern good for beginners?
Yes, especially if you already know basic crochet stitches. The project uses simple shaping, sewing, and stuffing rather than advanced techniques. Take your time with the wings and check their placement before attaching them. Those two steps usually make the biggest difference in the final result.
What size safety eyes should I use?
The right safety eye size depends on the finished butterfly. Small butterflies usually look cute with 6mm safety eyes, while medium designs can work well with 9mm eyes. Always check the proportions before attaching them, especially if you want a kawaii face.
Can I sell butterflies made from this pattern?
You can generally sell finished handmade items you create from a crochet pattern, but you should check the specific pattern designer’s terms first. Avoid selling or distributing the written pattern itself unless you have permission. If you sell your finished pieces, handmade photography and clear product descriptions can help showcase your work.
Can I make a crochet butterfly without safety eyes?
Absolutely. Embroidered eyes work beautifully, especially for small butterflies or gifts for young children. Use securely stitched embroidery instead of plastic pieces when you prefer a soft, child-friendly finish. You can also create a simple sleeping expression using small curved stitches.
Final Thoughts on This Crochet Butterfly Pattern
Making a butterfly from yarn feels surprisingly special.
You start with simple stitches and gradually create something with personality, color, and shape. That little transformation is exactly why handmade crochet is so rewarding.
With these 10 easy steps, you can create a sweet butterfly for yourself, a friend, a nursery, or a handmade gift collection.
Do not worry if your first pair of wings looks slightly different. Every project teaches you something, and your next butterfly will feel even easier.
Most importantly, enjoy the process. Your finished crochet butterfly pattern project is not just a decoration. It is something you created with your own hands.
Save this pin to your crochet board on Pinterest so you can find this pattern anytime!
Looking for more free crochet animal patterns? Visit Yarned Animals for new amigurumi patterns, kawaii plushies and beginner crochet tutorials added every week at yarnedanimals.com