
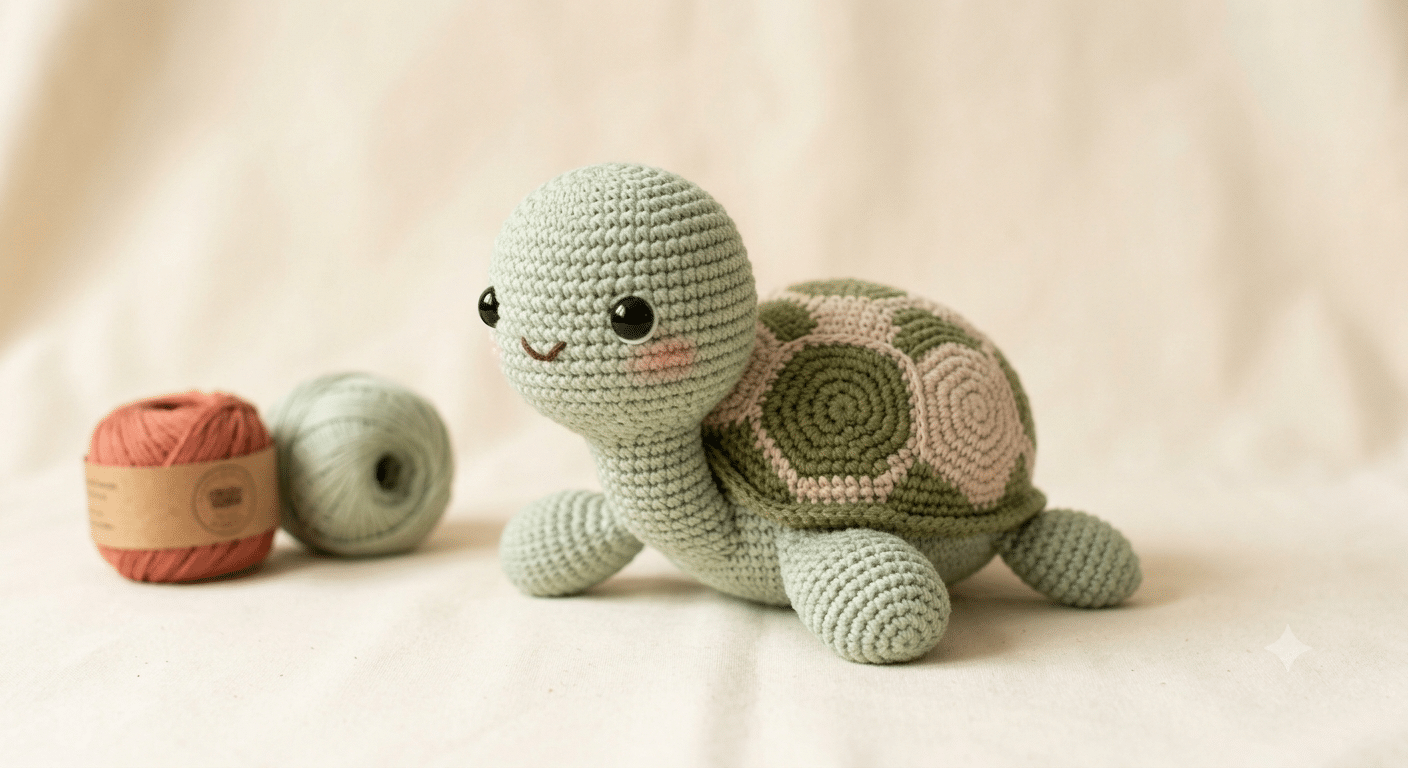
Nothing feels quite as rewarding as holding a tiny handmade turtle in your hands after just a few relaxing crochet sessions. Its rounded shell, sweet little flippers, and cheerful face make it one of the most lovable amigurumi animals you can create. If you’ve been searching for a crochet turtle pattern free, you’re in exactly the right place.
This beginner-friendly guide walks you through everything you need to know, from choosing the best yarn to shaping an adorable turtle that looks wonderful on a shelf, in a nursery, or tucked into a gift basket. You’ll also discover helpful tips that make each step easier, even if this is your very first amigurumi project. Before long, you’ll have a cuddly turtle you’ll be proud to show off or gift to someone special.
One little tool that makes every project smoother is a Clover Amour crochet hook. The soft grip feels comfortable during longer crochet sessions and helps keep your stitches even.
Now that you know what you’ll be making, let’s gather everything you need.
Table of Contents
Materials You’ll Need for Your Crochet Turtle Pattern Free
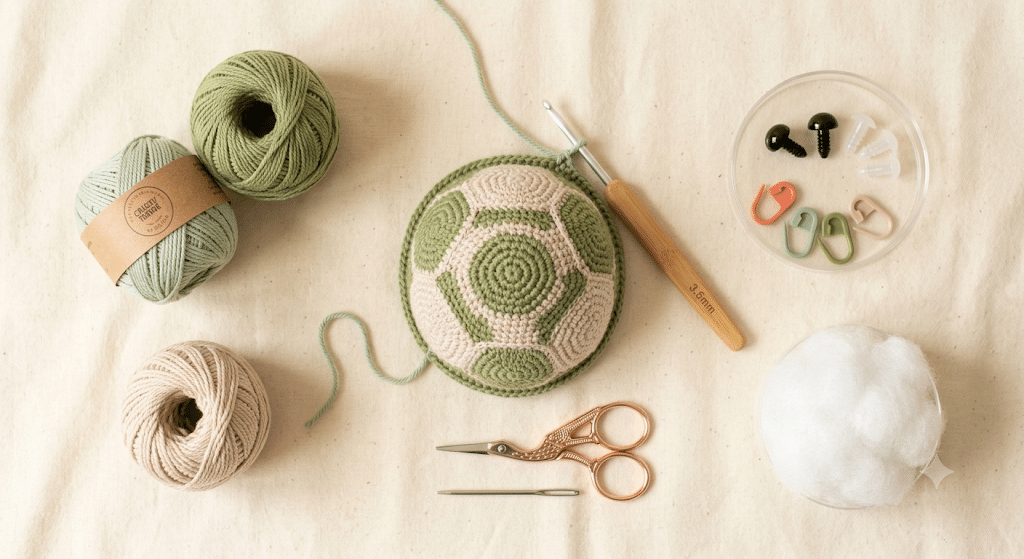
Starting with the right supplies makes every project more enjoyable. The good news is that this turtle doesn’t require anything fancy. Most of these materials are already sitting in your crochet basket.
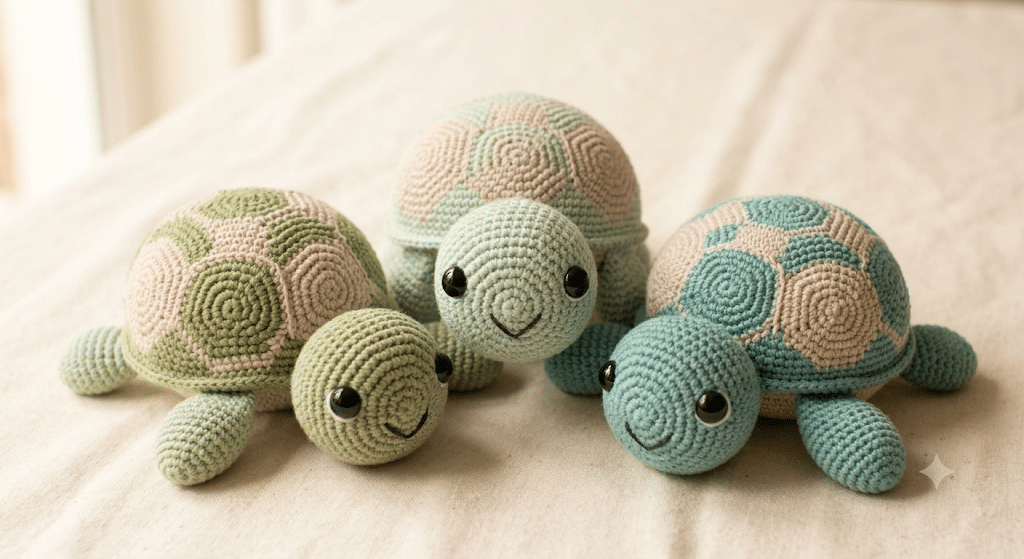
Choose colors that make you smile. Classic green turtles are always adorable, but pastel shades, bright rainbow shells, and even ocean-inspired blues look fantastic too.
Yarn Choices That Work Beautifully
Soft yarn creates a cuddly turtle that’s perfect for hugs, while smooth cotton gives crisp stitch definition.
Great beginner choices include:
- Paintbox Simply DK yarn
- Cotton DK yarn
- Acrylic DK yarn
- Soft chenille yarn for plush turtles
If you’re hoping for an extra cuddly finish, Bernat Blanket yarn creates a wonderfully squishy turtle with a soft texture that’s hard to resist.
Helpful Tools
Besides yarn and your favorite hook, you’ll want a few simple tools nearby.
Keep these within reach:
- Sharp scissors
- Stitch markers
- Yarn needle
- Polyester stuffing
- Safety eyes
- Measuring tape
Having everything prepared before you begin helps you stay relaxed and enjoy the creative process.
Picking the Perfect Colors
Nature offers plenty of inspiration.
Popular combinations include:
- Sage green with a mint shell
- Olive green with a brown shell
- Seafoam with turquoise accents
- Beige body with a mossy shell
- Lavender body with a pastel shell
- Aqua turtle with coral details
Don’t worry about matching real turtles exactly. Handmade amigurumi shines because every creator adds their own personality.
Ready to move on? Let’s see why this little turtle has become one of the most loved beginner crochet projects.
Why This Crochet Turtle Pattern Free Is Perfect for Beginners
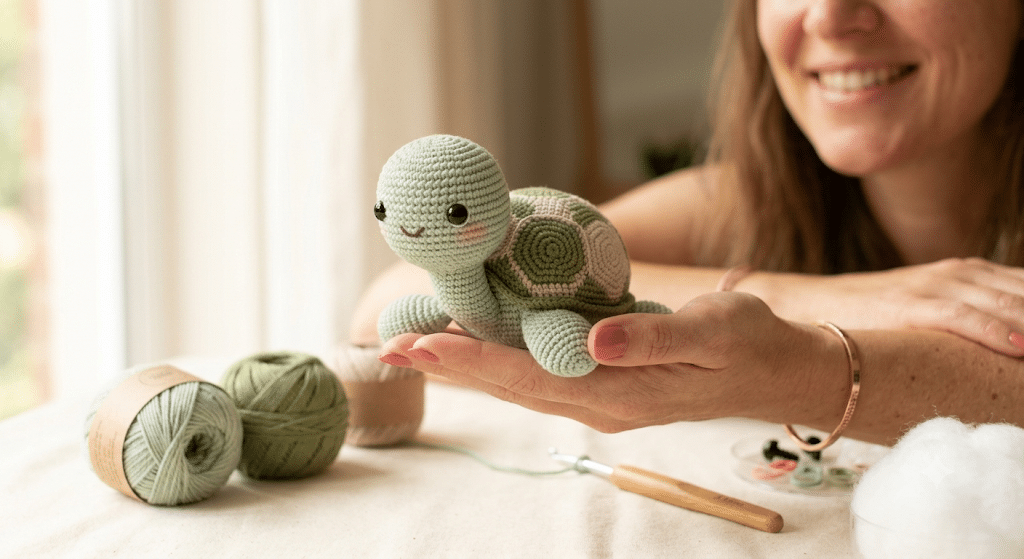
Some amigurumi patterns ask you to master complicated shaping right away. Thankfully, turtles are much more forgiving. Their rounded body and layered shell hide tiny imperfections beautifully, making them an excellent confidence-building project.
Even if you’ve only recently learned the magic ring, you’ll likely find this turtle surprisingly approachable.
Simple Shapes Build Confidence
Most of the turtle comes together with easy circles and gentle increases.
You’ll practice:
- Working in continuous rounds
- Increasing evenly
- Decreasing smoothly
- Closing small openings
- Stuffing evenly
These are the same skills you’ll use in many future amigurumi projects.
Small Pieces Mean Faster Progress
Nothing keeps motivation high like finishing pieces quickly.
The turtle includes:
- One shell
- One body
- Four flippers
- One tail
- One head
Each part is small enough to finish during a relaxing evening.
That means you’ll see progress every time you pick up your hook.
Mistakes Are Easy to Fix
Every crocheter makes mistakes.
The wonderful thing about turtle patterns is that they’re very forgiving.
A slightly uneven increase often disappears once the stuffing is added.
Tiny stitch differences blend naturally into the shell texture.
Even flippers that aren’t perfectly identical still give your turtle a charming handmade personality.
Trust me on this one—your finished turtle will look much cuter than you imagine while you’re making it.
Understanding the Turtle Before You Crochet
Taking a minute to understand how each piece fits together makes assembly much easier later.
Instead of thinking about dozens of separate steps, picture the turtle as a few simple building blocks.
The Rounded Body
The body forms the foundation.
You’ll crochet a smooth oval that holds the stuffing securely while supporting the shell.
Aim for firm stitches so the stuffing stays hidden.
The Puffy Shell
The shell gives the turtle its signature look.
Many crocheters create a slightly domed shell with textured rounds that resemble natural shell sections.
You can keep it simple or experiment with gentle ridges for extra detail.
Either style looks adorable.
Tiny Flippers and Tail
These little details bring your turtle to life.
Keep the flippers slightly curved so they look as though your turtle is happily swimming.
A tiny rounded tail finishes the back beautifully without adding much extra work.
Here is the fun part—once every piece is complete, the assembly comes together surprisingly quickly, and suddenly your turtle’s sweet personality appears.
Certainly. Here’s the rewritten section with proper heading formatting (H2 and H3 only), removing the extra ### prefixes.
Crochet Turtle Pattern Free in 10 Easy Steps
Now that your supplies are ready and you understand how each piece fits together, it’s time to start crocheting. These simple steps focus on the process rather than exact stitch counts, making them easy to follow with your favorite free turtle pattern.
Step 1: Create the Magic Ring
Every great amigurumi starts with a neat center.
Begin with a magic ring and crochet your first round of stitches into the loop. Pull the ring closed firmly so there isn’t a hole in the middle.
Take your time here. A tidy center gives your turtle a polished finish.
Step 2: Shape the Turtle’s Body
Continue working in continuous rounds.
Add increases gradually to form a smooth, rounded shape. Place a stitch marker at the beginning of each round so you always know where to start.
Check your work every few rounds. A flat, even circle is exactly what you want before the body begins to curve upward.
Step 3: Crochet the Puffy Shell
The shell is what makes every turtle instantly recognizable.
Work another rounded piece slightly larger than the body. Many crocheters like adding a textured round or changing yarn colors to make the shell stand out.
Choose colors that complement each other, such as:
- Sage green and cream
- Mint and white
- Aqua and turquoise
- Olive and tan
- Lavender and soft pink
Don’t worry if your shell looks simple. Clean stitches always look beautiful.
Step 4: Make Four Cute Flippers
Each flipper is a tiny project on its own.
Crochet four matching pieces with gentle curves. They don’t have to be perfectly identical because slight differences add handmade charm.
Lay them side by side before attaching them to check that they look balanced.
Step 5: Crochet the Head
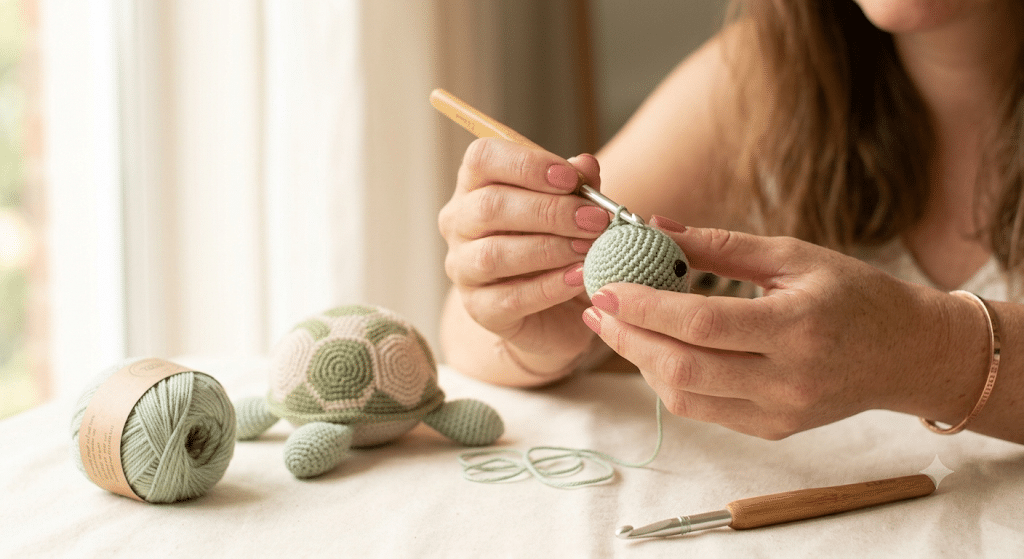
The head gives your turtle its personality.
Work small increases to create a rounded shape, then add a few decrease rounds before stuffing lightly.
Avoid overstuffing. A slightly soft head keeps the finished turtle looking cuddly instead of stiff.
Step 6: Add the Tiny Tail
The tail is one of the quickest pieces.
Crochet a tiny cone or rounded nub and leave a long yarn tail for sewing.
Although it’s small, this detail completes the turtle’s silhouette.
Step 7: Stuff Every Piece Evenly
Before joining everything together, fill each piece with Poly-fil Premium fiberfill.
A little stuffing goes a long way.
Add small amounts at a time instead of large handfuls. This prevents lumps and helps your turtle keep its rounded shape.
Step 8: Assemble the Turtle
Place the shell over the body and pin everything before sewing.
Attach:
- Head
- Four flippers
- Tail
Step back occasionally and check the symmetry from different angles.
Small adjustments now make a big difference later.
Step 9: Add the Face
The face transforms your project from cute to unforgettable.
Attach 6mm safety eyes evenly on both sides of the head.
Then embroider a tiny smile with black embroidery floss.
Rosy cheeks stitched with pink yarn can add even more kawaii charm.
Step 10: Add Your Personal Touch
Now comes the creative part.
Decorate your turtle with details like:
- Tiny flowers
- Mini bows
- Embroidered hearts
- Starfish appliqués
- Colorful shell stripes
- Little blush cheeks
Every turtle becomes one of a kind.
Trust me on this one—once you’ve finished your first turtle, you’ll probably want to make a whole family in different colors and sizes.
Tips to Make Your Crochet Turtle Look Extra Adorable
The smallest details often make the biggest difference. These simple tricks help your finished turtle look polished and irresistibly cute.
Keep Your Stitches Tight
Loose stitches allow stuffing to peek through.
Use a hook size slightly smaller than the yarn label suggests if your stitches tend to be loose.
Your turtle will hold its shape much better.
Stuff Gradually
Instead of filling the body all at once, add stuffing in small pieces.
Gently push the fiberfill into the corners using the end of your crochet hook or a chopstick.
Even stuffing creates smooth curves without bumps.
Position the Eyes Carefully
Before attaching safety eyes permanently, test a few different positions.
Eyes placed slightly lower on the head often create a sweeter expression.
A small adjustment can completely change your turtle’s personality.
Don’t Rush Assembly
Many beginners hurry through sewing the pieces together.
Take a few extra minutes to pin everything in place first.
You’ll feel much happier with the finished result.
Common Beginner Mistakes and Easy Fixes
Every crocheter runs into little challenges. The good news is that most mistakes are simple to correct.
The Shell Doesn’t Fit
If your shell seems too small or too large, compare it with the body before sewing.
Sometimes blocking the pieces gently or adjusting your tension solves the problem.
The Turtle Leans to One Side
This usually happens when the flippers aren’t attached evenly.
Lay your turtle on a flat surface before sewing each flipper permanently.
Stuffing Shows Through
This often means your stitches are slightly loose.
Try using a smaller hook for your next project or reduce the amount of stuffing slightly.
Uneven Face
Always place the eyes before locking them into position.
Looking at your turtle from the front helps you spot tiny differences that are easy to fix early.
Creative Ways to Customize Your Crochet Turtle
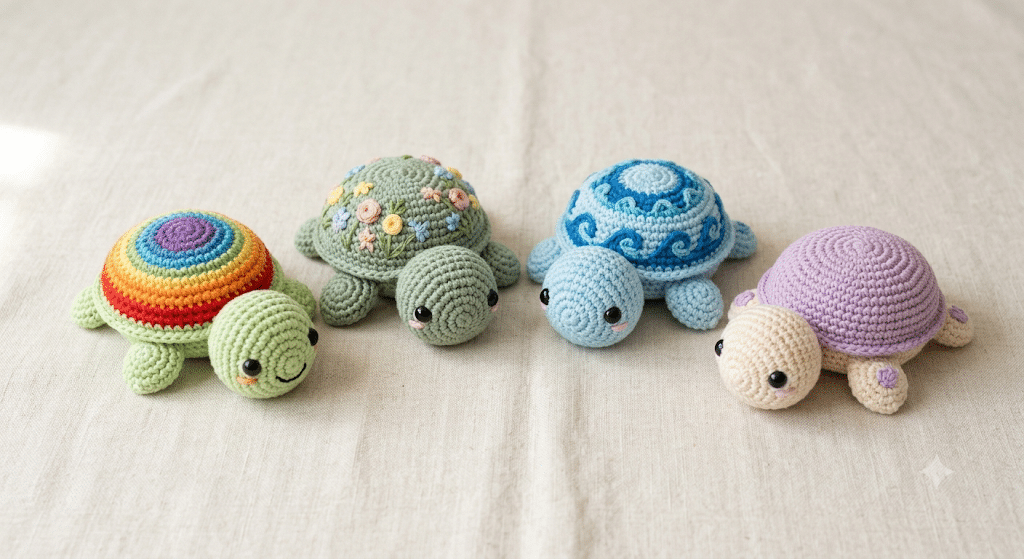
One of the best things about this crochet turtle pattern free is how easy it is to personalize.
You can make each turtle unique with just a few simple changes.
Try these fun ideas:
- Ocean-themed colors
- Rainbow shell sections
- Pastel baby turtle
- Christmas turtle with a tiny hat
- Beach turtle holding a seashell
- Flower garden turtle
- Birthday turtle with a miniature cupcake
- Woodland turtle in earthy greens
You can also experiment with different yarn textures.
Smooth cotton gives a classic look, while plush chenille yarn creates an extra cuddly turtle that’s perfect for children or nursery décor.
Frequently Asked Questions About Crochet Turtle Pattern Free
How long does it take to crochet a turtle?
A simple crochet turtle usually takes 2 to 6 hours, depending on your experience and the yarn you choose. Beginners may take a little longer while learning the basic techniques, but the small pieces make this a relaxing weekend project that comes together faster than many larger amigurumi animals.
What yarn is best for a crochet turtle pattern free?
DK-weight cotton or acrylic yarn works wonderfully because it shows stitch definition clearly. If you prefer an extra cuddly plushie, Lion Brand Comfy Cotton yarn creates a soft finish with excellent shape and beautiful color options for adorable turtles.
Is this crochet turtle pattern free good for beginners?
Yes! A crochet turtle pattern free is one of the easiest amigurumi projects for beginners. The design uses simple shapes, basic increases and decreases, and small pieces that are easy to assemble. It also helps you practice essential crochet skills that you’ll use in many future projects.
What size safety eyes should I use for turtle amigurumi?
For a medium-sized turtle, 9mm safety eyes create a cute, balanced look. Smaller turtles often look best with 6mm eyes, while larger plush turtles can use 12mm eyes. Choose the size that matches your finished project and the expression you want to create.
Can I sell turtles made from this pattern?
In most cases, yes. Many free designers allow you to sell finished handmade items while asking that you do not copy or redistribute the written pattern itself. Always check the original designer’s terms before selling your finished amigurumi at craft fairs or online shops.
Care Tips to Keep Your Crochet Turtle Looking New
Your handmade turtle deserves a little care so it stays soft and adorable for years.
Dust your turtle regularly with a soft cloth or a lint roller to keep the yarn looking fresh. If it needs a deeper clean, gently hand wash it in cool water with a mild detergent.
Avoid twisting or wringing the plushie after washing. Instead, press out excess water with a clean towel and reshape the body before leaving it to air dry completely.
Store your turtle away from direct sunlight if it’s displayed on a shelf. This helps prevent bright yarn colors from fading over time.
If your turtle becomes slightly flattened after lots of hugs, gently massage the stuffing back into place. A few minutes of reshaping will help it regain its rounded body and puffy shell.
Fun Gift Ideas for Your Finished Turtle
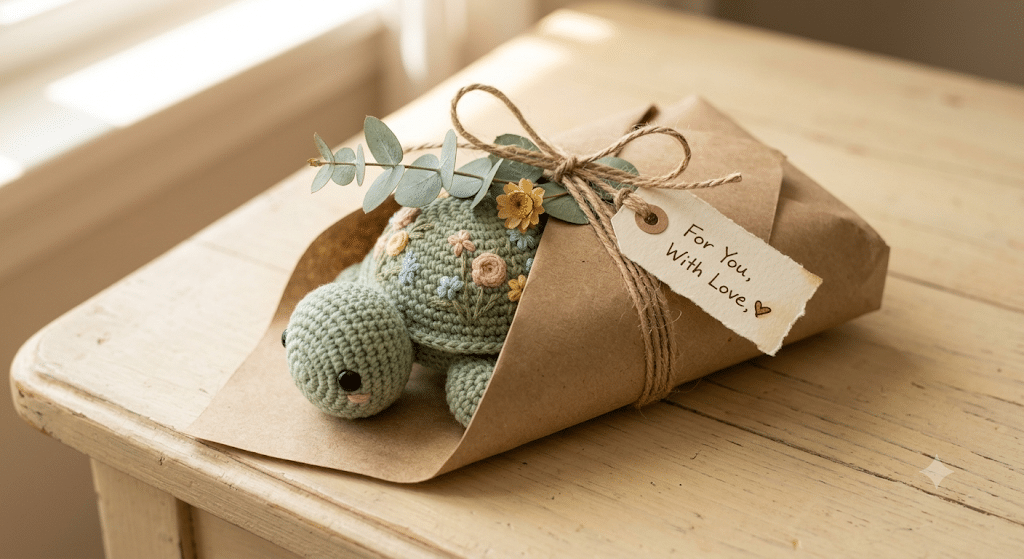
One of the best things about making a crochet turtle is sharing it with someone special.
A tiny turtle makes a thoughtful handmade gift for birthdays, baby showers, graduations, and holidays. You can also create a matching turtle family in different colors for children who love ocean animals.
Small turtles fit beautifully inside gift baskets, while larger plush versions become cozy nursery decorations.
Before wrapping your finished turtle, I like adding a small handwritten care tag with washing instructions. A yarn needle set also makes finishing and weaving in ends much easier on detailed amigurumi projects.
Little finishing touches like these make your handmade gift feel even more special.
Why You’ll Love Making More Crochet Turtles
After finishing your first turtle, you’ll quickly discover how easy it is to customize the design.
Try making:
- Tiny keychain turtles
- Pocket-sized turtles
- Rainbow turtle collections
- Ocean-themed nursery sets
- Holiday turtles
- Birthday party favors
- Teacher appreciation gifts
- Baby mobile decorations
Because the basic construction stays the same, you’ll become faster and more confident with every turtle you crochet.
Many crocheters even keep a basket of finished turtles ready for last-minute gifts because they’re always appreciated.
Final Thoughts
Creating your own crochet turtle pattern free is a wonderful way to build your amigurumi skills while making something truly heartwarming. From choosing your favorite yarn colors to sewing on the final flipper, every step brings your tiny turtle to life. Best of all, you’ll finish with a handmade keepsake that spreads smiles wherever it goes.
Whether you keep your turtle on your desk, decorate a nursery, or surprise someone with a thoughtful gift, you’ll always remember the joy of making it yourself. Grab your hook, enjoy the process, and don’t be afraid to add your own creative touch to every turtle you crochet.
Save this pin to your crochet board on Pinterest so you can find this pattern anytime!
Looking for more free crochet animal patterns? Visit Yarned Animals for new amigurumi patterns, kawaii plushies and beginner crochet tutorials added every week at yarnedanimals.com