
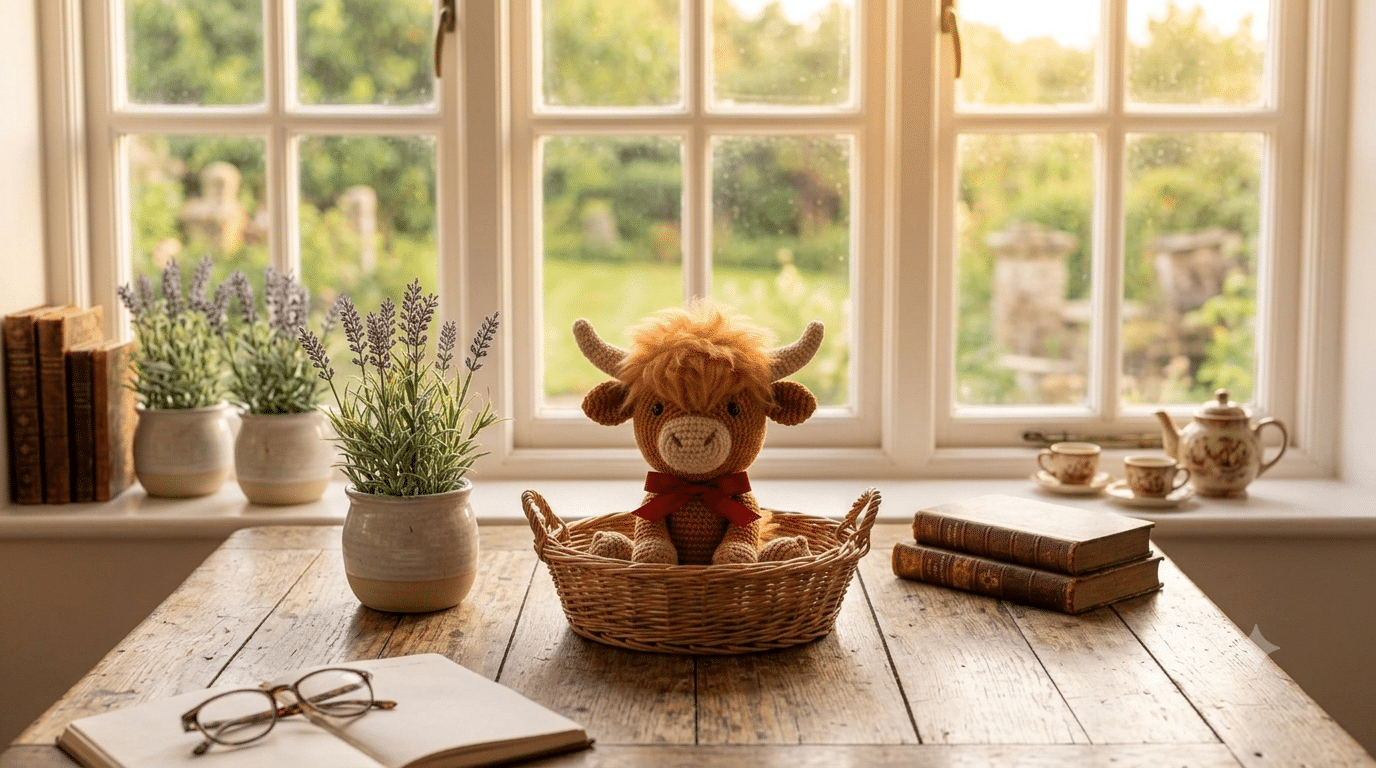
That shaggy orange fringe. Those tiny curved horns. Something about a highland cow crochet pattern just makes people stop scrolling and smile. This little guy has become one of the most requested amigurumi shapes on Pinterest, and once you make your first one, you will understand why.
In this free pattern, you get every step you need to crochet your own fluffy highland cow from start to finish. No guessing, no confusing shorthand, just clear instructions written for real beginners. Grab your hook and let’s get that shaggy fringe started.
Table of Contents
Why This Highland Cow Crochet Pattern Will Be Your New Favorite
There is something magical about highland cow amigurumi. The shape is simple, round, and forgiving, which makes it perfect if you are still building confidence with your stitches.
The real charm comes from the texture. That messy, fluffy fringe across the forehead gives this pattern personality that most amigurumi animals just do not have. You get to play with loops, brushed yarn, and fun little details that make every cow look slightly different.
This pattern also makes an incredible gift. Highland cows have exploded on Pinterest and TikTok over the last year, so a handmade one feels both trendy and deeply personal. Ready to see what goes into making one? Here is the fun part.
Everything You Need Before You Start This Highland Cow Crochet Pattern
Before you dive into your highland cow crochet pattern, let’s gather your supplies. Having everything ready makes the whole process smoother and way more relaxing.
You will need worsted weight yarn in a warm caramel or rust shade for the body, plus small amounts of white, black, and cream for the face and horns. A 3.5mm hook, stuffing, safety eyes, and a yarn needle round out your kit.
Best Yarn Colors for Your Highland Cow
Highland cows come in gorgeous natural shades, so this is where you get to have fun. Rust, caramel, and warm honey tones all read as authentic highland cow colors.
For that classic shaggy look, texture matters just as much as color. The secret to that irresistible fluffy finish is using Bernat Blanket yarn for the fringe sections — it gives your amigurumi a soft, chenille-like texture that photographs beautifully for Pinterest.
Tools That Make This Pattern Easier
A comfortable hook matters more than people expect, especially during longer amigurumi projects. For this pattern I always reach for my Clover Amour crochet hook, since the soft grip keeps my hands happy through every fringe row.
Stitch markers are also essential here. This pattern works in a continuous spiral, and it is easy to lose track of your rounds without one marking your starting stitch.
How to Crochet a Highland Cow Amigurumi Step by Step
Now that your supplies are ready, let’s build this cow one round at a time. Working in continuous rounds keeps the shape smooth and seamless, so no slip stitching between rounds here.
Crocheting the Head and Face
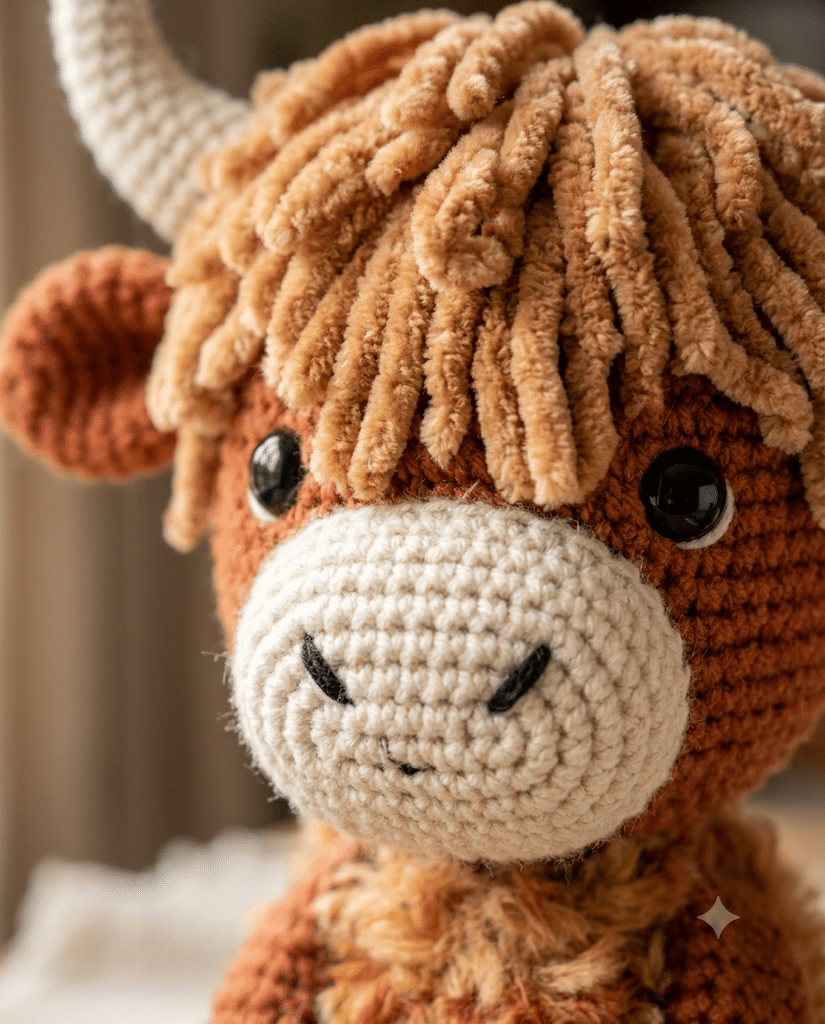
Start with a magic ring and six single crochets. Increase evenly over the next few rounds until your head reaches about 18 stitches around, which gives you a nice round base for the face.
Before you start attaching features, grab a set of 9mm safety eyes. I use this exact size for most of my medium amigurumi animals, and they click into place perfectly every time.
Add a small white muzzle panel using two rows of single crochet, then sew it onto the lower face. Two tiny black nostrils embroidered with a few stitches complete the sweet expression instantly.
Shaping the Body and Legs
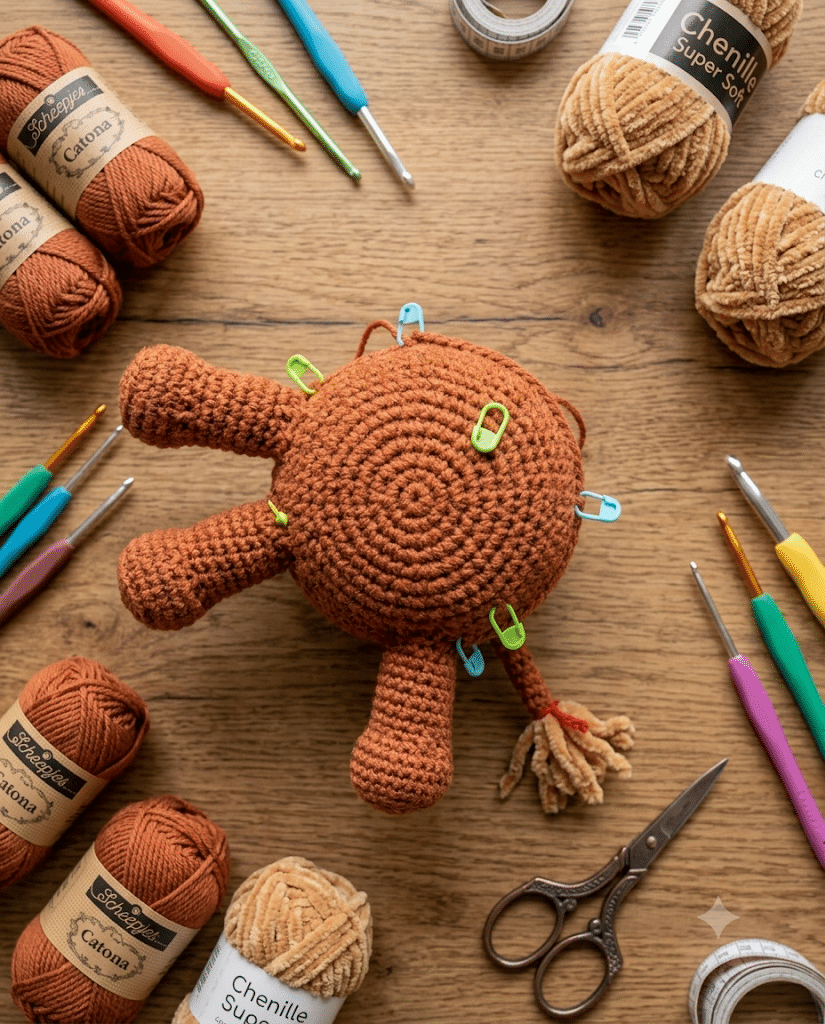
Crochet the body as a slightly larger sphere than the head, working increases and decreases the same way you did for the face. Stuff firmly as you go so your cow holds its shape once finished.
For the legs, work four small tubes in your rust or caramel shade. Keep them short and slightly wide, since highland cows have a stocky, sturdy build rather than long delicate legs.
Adding the Horns and Fringe
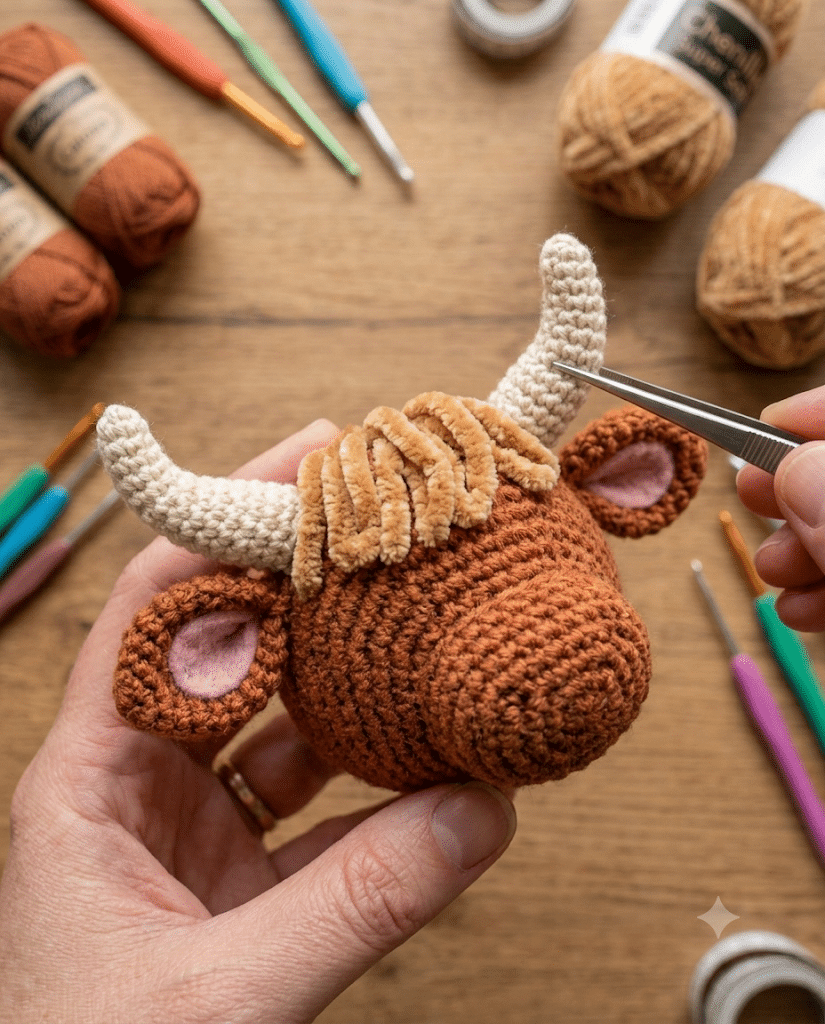
Crochet two small curved horns using cream or off-white yarn, shaping them with a light wire or pipe cleaner inside for that classic curve. Attach them just above where the ears will sit.
Here comes the best part. Cut strands of your fluffy yarn and knot them individually across the forehead and down between the horns, then trim and brush the fringe until it looks perfectly shaggy.
Tips for Fluffy, Adorable Highland Cow Fur
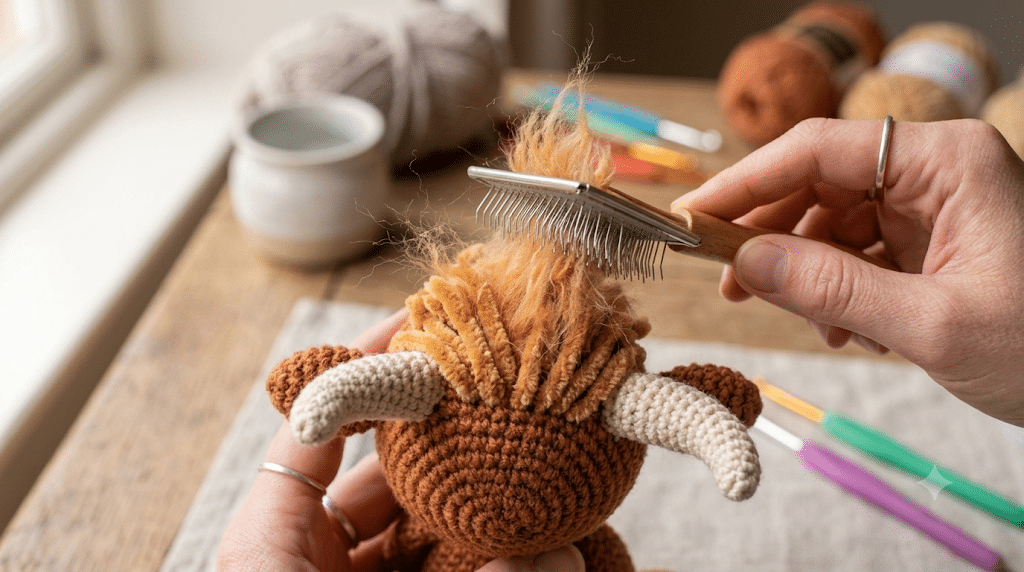
Getting that signature messy fringe right takes a little practice, but a few tricks make it much easier. Trust me on this one, this step transforms your project from cute to absolutely irresistible.
Cut your fringe strands longer than you think you need. It is always easier to trim excess length than to add more once everything is already knotted and attached.
Brushing matters just as much as trimming. A small pet slicker brush works wonders for separating plies and creating that soft, cloud-like texture highland cow amigurumi is known for.
Before you stuff your final pieces, make sure you are using a stuffing that holds its shape without going lumpy over time. I always keep Poly-fil Premium fiberfill on hand because it stays soft and fluffy through every single project I make.
Creative Ways to Gift or Display Your Highland Cow
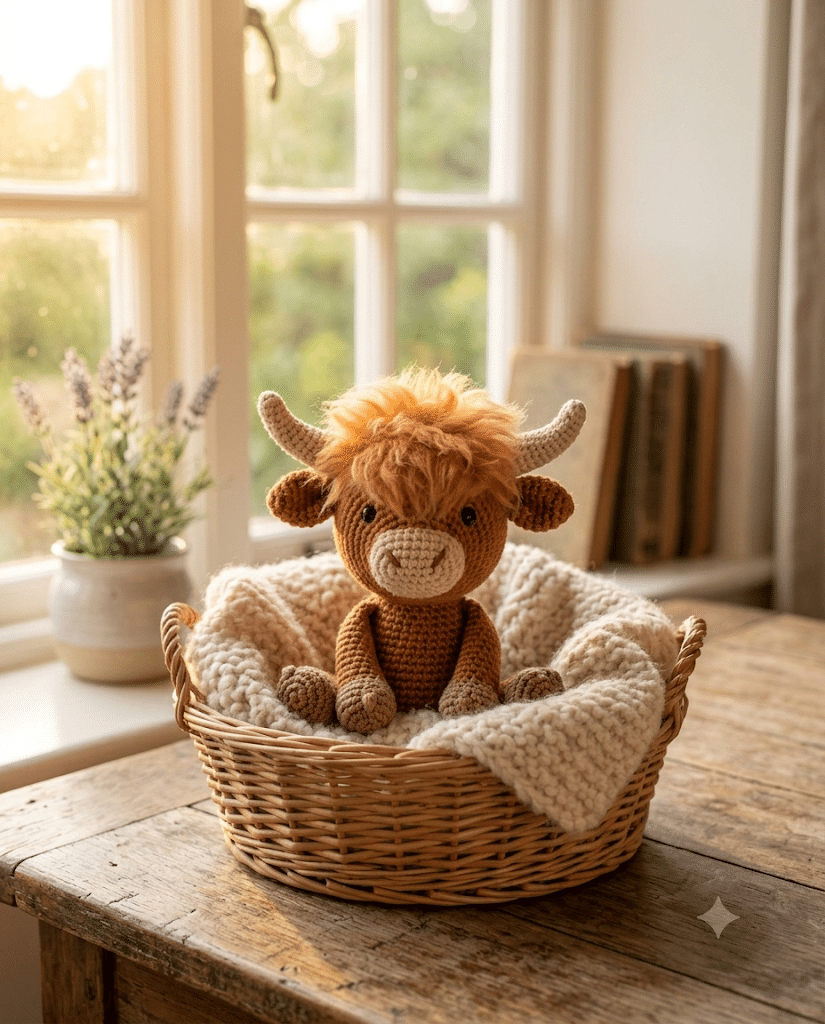
Once your highland cow crochet pattern is finished, you have so many fun options for what to do with it. A finished highland cow makes an adorable shelf companion, nursery decor piece, or handmade gift.
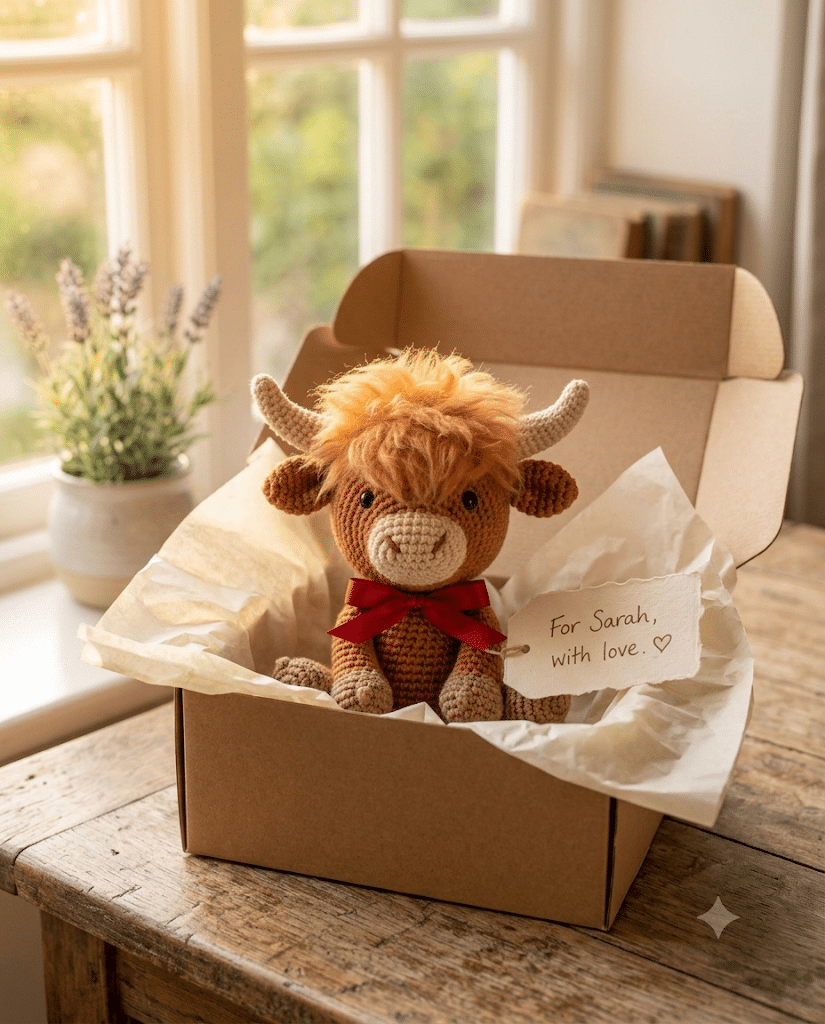
Ready to move on to giving it away? Consider adding a small ribbon around the neck for birthdays, or tucking it into a gift basket alongside a handwritten note for an extra personal touch.
These little cows also do wonderfully as keychain-sized minis if you scale the pattern down. Smaller versions make sweet party favors or stocking stuffers during the holiday season.
Farmhouse and cottagecore decor lovers especially adore this style of amigurumi, so keep that audience in mind if you ever plan on selling your finished pieces.
Frequently Asked Questions About Highland Cow Crochet Pattern
How long does it take to crochet a highland cow?
Most crocheters finish a medium highland cow amigurumi in about 6 to 10 hours, spread across a few sessions. The fringe and horns tend to take the most patience, so budget extra time for those details.
What yarn is best for highland cow amigurumi?
Worsted weight acrylic or cotton blend yarn works best for the body shape, while a fluffy chenille-style yarn creates the signature fringe texture. Rust, caramel, and cream shades give the most realistic highland cow coloring.
Is this highland cow pattern good for beginners?
Yes, this pattern is beginner friendly since it only uses basic single crochet, increases, and decreases. The fringe technique looks impressive but is actually very forgiving for new crocheters.
What size safety eyes work best for a highland cow?
9mm safety eyes work well for a medium-sized highland cow amigurumi, giving the face a sweet, rounded expression. Smaller 6mm eyes work nicely if you are making a mini version.
Can I sell amigurumi I make from this pattern?
Small batch selling of finished items made from free patterns is generally fine, though policies vary by pattern designer. Always double check the specific pattern’s terms before selling finished pieces at markets or online.
Why is my crochet fringe not staying fluffy?
Fringe that flattens usually needs more brushing and trimming to separate the plies fully. A slicker brush and a light trim after brushing keeps that shaggy highland cow texture looking full.
Wrapping Up Your Highland Cow Crochet Pattern
You just learned how to turn a few balls of yarn into the coziest, shaggiest little highland cow amigurumi. From that round fluffy face to the curved horns and messy fringe, this project is full of personality and pure handmade charm.
Whatever you decide to do with your finished highland cow crochet pattern, whether it becomes a gift, a shelf sitter, or your new favorite craft fair item, you should feel proud of what your hands just created.
Save this pin to your crochet board on Pinterest so you can find this pattern anytime!
Looking for more free crochet animal patterns? Visit Yarned Animals for new amigurumi patterns, kawaii plushies and beginner crochet tutorials added every week at yarnedanimals.com