
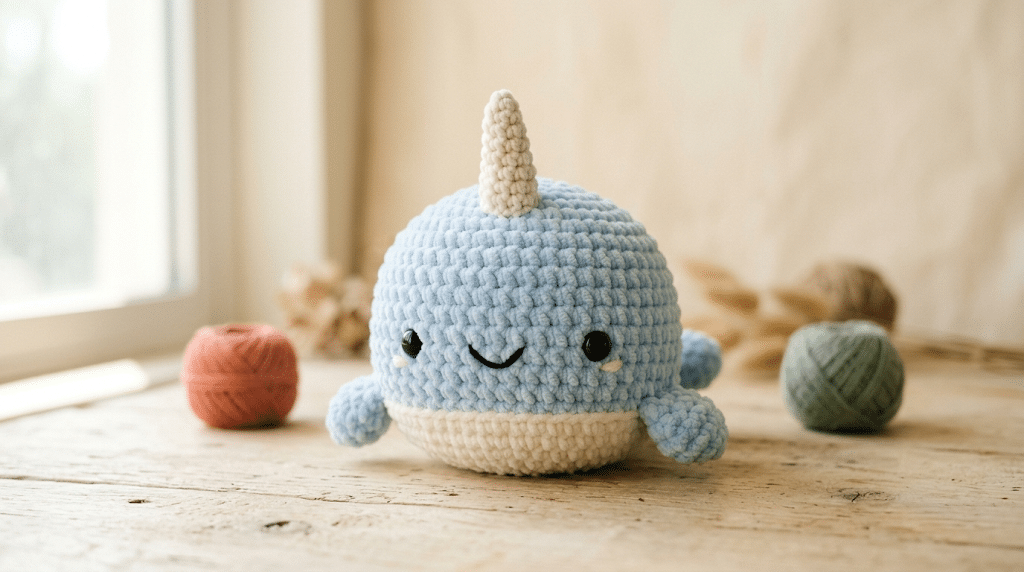
There’s something magical about a tiny narwhal made with soft yarn. With its chubby body, sweet little flippers, and tiny horn, this ocean friend feels like a plushie straight from a storybook.
This crochet narwhal pattern gives you a simple way to create your own kawaii amigurumi narwhal, even if you’re still learning the basics. You’ll discover the materials, helpful techniques, shaping tips, assembly ideas, and easy ways to give your narwhal plenty of personality.
The finished plush makes a lovely handmade gift, nursery decoration, or cute addition to an ocean-themed collection. Before you grab your hook, let’s gather everything you need for a smooth and relaxing project.
Table of Contents
Why This Crochet Narwhal Pattern Is So Adorable
Narwhals already have a naturally cute shape, which makes them perfect for amigurumi. Their rounded bodies give you plenty of room to create a soft plushie without complicated shaping.
This crochet narwhal pattern focuses on simple construction and beginner-friendly techniques. You can work through the project at your own pace and adjust small details to create a narwhal that feels completely yours.
The perfect beginner ocean amigurumi
A narwhal makes a wonderful first ocean-themed project because its body has a simple rounded shape. You don’t need complicated colorwork or advanced texture techniques to make it charming.
Single crochet, increases, decreases, and basic joining handle most of the construction. If you already know those stitches, you have a great starting point.
Don’t worry if your first few rounds look slightly strange. Amigurumi often looks nothing like the finished animal during the early stages.
Give your narwhal a kawaii personality
The face can completely change your finished plushie. Tiny safety eyes create an instantly sweet expression, while a small embroidered smile adds even more charm.
You can also experiment with the placement of the eyes. Eyes positioned slightly lower often create a sleepy expression, while slightly higher eyes can make your narwhal look extra curious.
Tip: Place the eyes temporarily before securing them. This lets you check the expression from several angles.
A sweet handmade gift
A crochet narwhal works beautifully as a birthday gift, baby-shower present, nursery decoration, or handmade surprise.
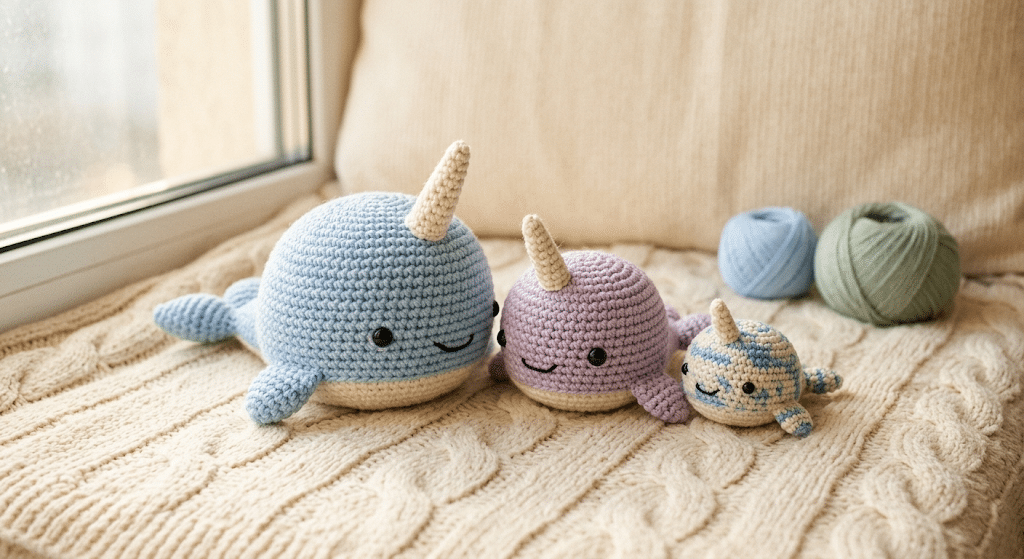
You can also make several narwhals in different colors. Imagine a little family of pastel ocean friends sitting together on a shelf.
For a soft, plush finish, Bernat Blanket yarn can create a wonderfully squishy texture. It also gives handmade animals that cozy look that makes you want to cuddle them immediately.
Now that you know why this little ocean friend is such a fun project, let’s prepare your supplies.
Crochet Narwhal Pattern: Materials and Helpful Tools
Before starting your crochet narwhal pattern, gather everything beside your workspace. Having your tools ready saves you from stopping halfway through a round.
Choose yarn that feels comfortable in your hands. Smooth yarn usually makes stitches easier to see, especially when you’re still building confidence.
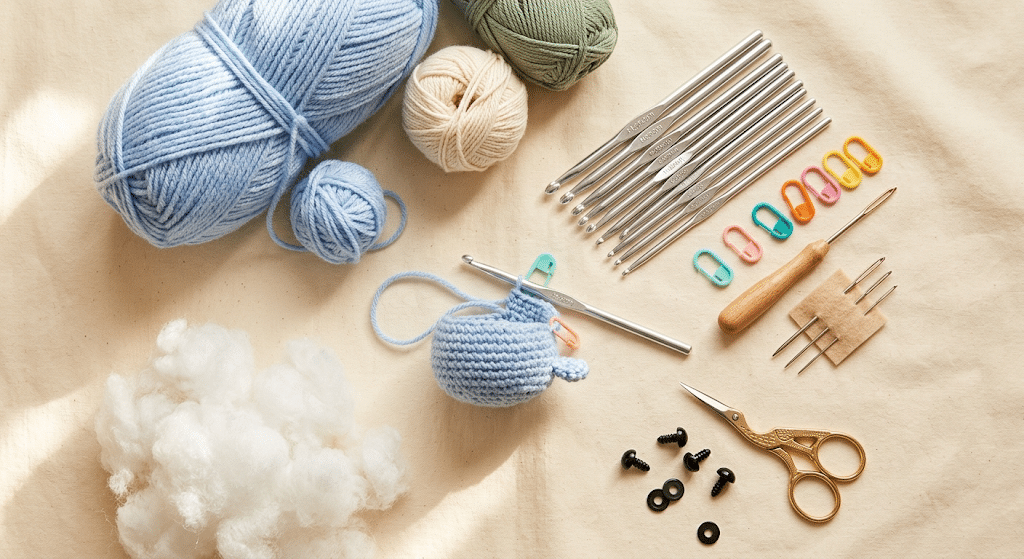
Yarn for a soft amigurumi body
For a classic narwhal, choose a soft blue, gray, cream, or pastel shade. You can also use two colors if you want a contrasting belly or horn.
Paintbox Simply DK yarn works nicely for a smaller, lightweight narwhal. Cotton blends can also give your stitches a neat, defined appearance.
The yarn weight affects the finished size. Thicker yarn creates a larger plushie, while thinner yarn produces a smaller narwhal.
Crochet hook and basic tools
Choose a crochet hook that works well with your yarn while keeping your stitches fairly tight. Amigurumi usually needs a smaller hook than regular crochet fabric.
A Clover Amour crochet hook is a comfortable option when you’re crocheting for longer periods. The ergonomic handle makes it easier to keep working without constantly adjusting your grip.
You’ll also want stitch markers, a yarn needle, and scissors nearby.
Stuffing and safety eyes
Poly-fil Premium fiberfill works well for giving your narwhal a rounded, cuddly shape. Add the stuffing gradually rather than packing everything in at once.
For the eyes, 6mm or 9mm safety eyes can work depending on your finished size. Always choose an eye size that looks balanced with your narwhal.
Important: Safety eyes can pose a choking hazard. If you’re making the plushie for a young child, consider embroidered eyes instead.
Next up, we’ll break the project into ten manageable steps.
How to Crochet a Narwhal in 10 Easy Steps
Here is the fun part! This section breaks the crochet narwhal pattern into simple stages so you can focus on one piece at a time.
You’ll build the main body first, then create the smaller details. Don’t rush the shaping.
Step 1: Start with the magic ring
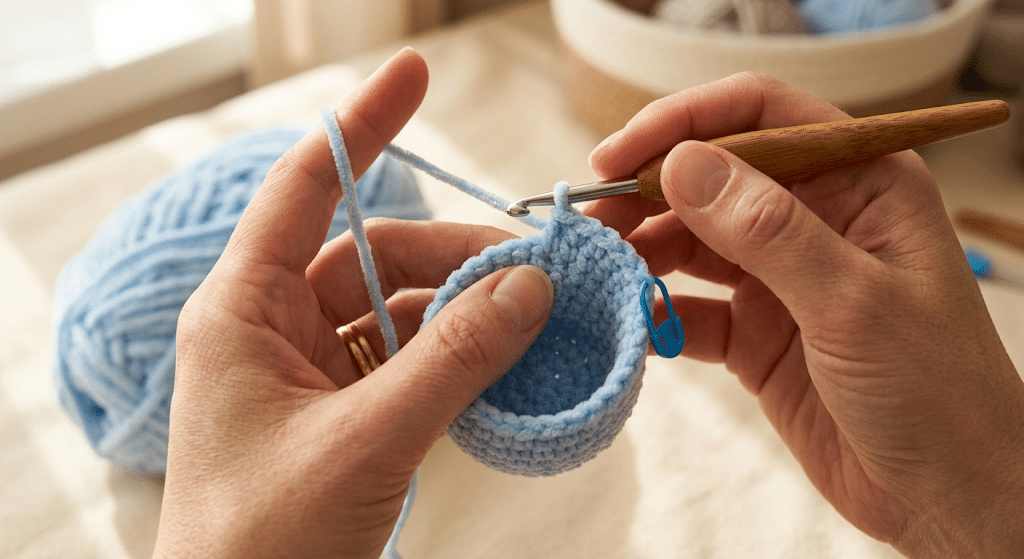
Begin your narwhal body with a magic ring. Work your first stitches into the ring and pull the center closed.
If the magic ring feels awkward, practice it separately with scrap yarn first. Once your fingers remember the movement, it becomes much easier.
Keep your stitches snug but not painfully tight. You still need to insert your hook comfortably into each stitch.
Step 2: Build the rounded body
Continue crocheting in continuous rounds while gradually increasing the shape. The increases create the wide, rounded section that gives your narwhal its plush appearance.
Place a stitch marker at the beginning of each round. This small habit makes counting and checking your progress much easier.
Your body should slowly start looking like a small ball or oval. That is exactly what you want at this stage.
Step 3: Shape the narwhal
Once the body reaches the desired width, continue around without adding as many increases. This creates the fuller middle section.
Keep checking your tension as you work. Uneven tension can make the body look lumpy.
Beginner tip: If you notice small gaps between stitches, your hook may be too large or your tension may be too loose.
Step 4: Begin decreasing
Now you’ll reverse the shaping by working decreases around the body. This gradually closes the plushie.
Add stuffing little by little while the opening remains accessible. This makes it much easier to distribute the fiberfill evenly.
Avoid creating a very hard body. A slightly soft narwhal usually feels more cuddly and natural.
Step 5: Finish stuffing the body
Continue decreasing while adding small amounts of stuffing.
Use your fingers or the back of your crochet hook to gently push fiberfill toward the edges. This helps prevent empty areas around the sides.
The goal is a smooth, rounded body without large dents.
Once the body feels evenly stuffed, finish closing the remaining opening securely.
Step 6: Crochet the flippers
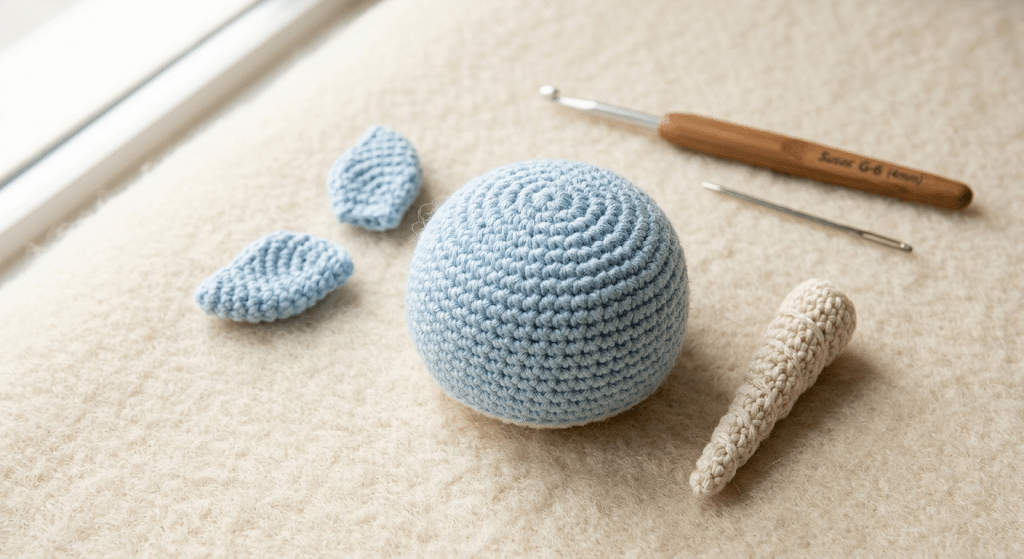
Next, make the two small flippers. These pieces can stay simple because their shape doesn’t need much detail.
Keep both flippers similar in size. If one looks slightly larger, gently adjust your tension or remake the smaller piece.
Before sewing them permanently, pin them against the body and check their position.
Step 7: Make the narwhal horn
The horn is the feature that makes your plushie instantly recognizable.
You can crochet a small tapered horn using cream, white, yellow, or even a pastel rainbow shade. A spiral effect can add extra personality.
Keep the horn proportional to the body. A huge horn can make a small narwhal look unbalanced.
Step 8: Add the face
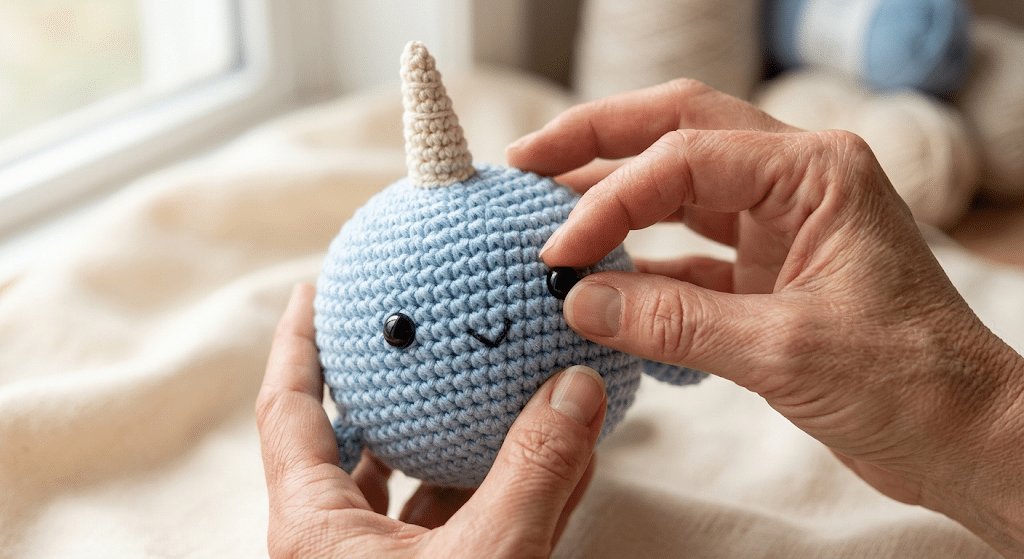
Attach your safety eyes and embroider a tiny mouth if desired.
Take a moment to look at the face before permanently securing everything. Facial placement matters more than you might expect.
If you want an especially kawaii expression, keep the eyes relatively close together.
Step 9: Attach every piece
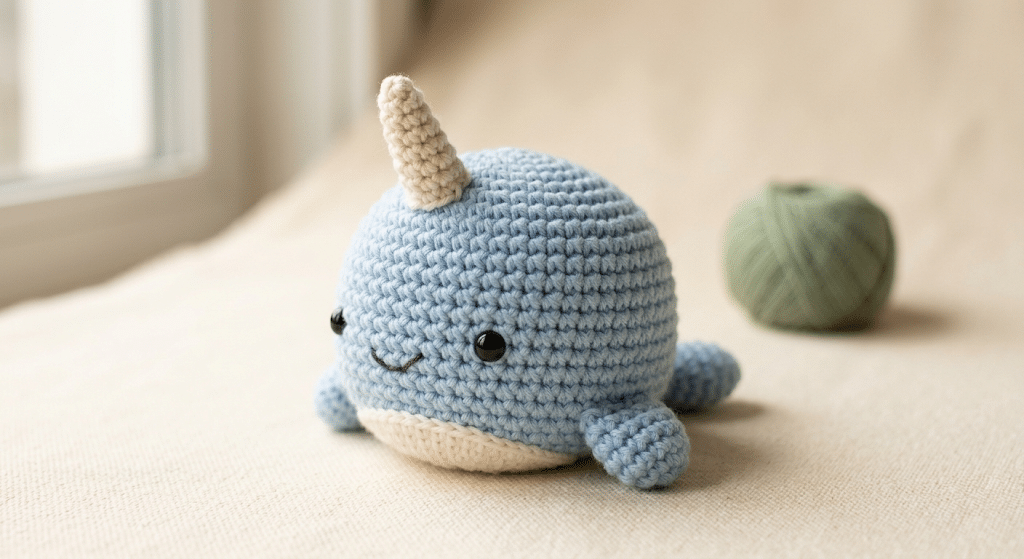
Sew the flippers securely onto the body. Then attach the horn carefully at the top of the head.
Use a yarn needle and matching yarn for neat joins. Take several small stitches through the attachment points instead of relying on one large stitch.
Hide your yarn tails inside the plushie when you finish.
Step 10: Add the finishing touches
Give your narwhal one final inspection.
Check that the horn feels secure, the flippers sit evenly, and the body has a smooth shape. You can also add tiny embroidered details for extra personality.
And there it is — your adorable ocean friend is ready for cuddles!
Easy Tips for a Better Crochet Narwhal
Once you understand the basic construction, a few small techniques can make your crochet narwhal pattern look much cleaner.
Amigurumi doesn’t need to be perfect to look adorable. Still, good tension and careful finishing can make a noticeable difference.
Keep your stitches tight
Tight stitches help prevent stuffing from showing through the fabric. This gives the finished plushie a cleaner appearance.
However, don’t force your hook through extremely tight stitches. If crocheting becomes uncomfortable, slightly loosen your tension.
Stuff gradually
Adding all your stuffing at the end can leave the body uneven.
Instead, add small amounts every few rounds. Rotate the plushie while checking its shape.
Tip: Concentrate stuffing around the edges first, then fill the center.
Use stitch markers consistently
Continuous-round amigurumi can become confusing without a marker.
Move your marker after completing each round. If you lose your place, stop and count before continuing.
Stitch markers are especially helpful when you’re learning how increases and decreases affect the shape.
Take your time with sewing
Neat sewing can turn a homemade plushie into something that looks wonderfully polished.
Position each part before stitching it permanently. Take photos from the front and side if you’re unsure about placement.
A yarn needle set can make this finishing stage much easier, especially when you need to weave ends through a stuffed body.
Fun Ways to Customize Your Crochet Narwhal
The best thing about amigurumi is how easily you can make small changes.
Once you finish your first crochet narwhal pattern, you may want to make another one with a completely different personality.
Try different yarn colors
Traditional ocean-inspired shades are lovely, but you don’t have to stop there.
Try lavender, mint, blush pink, butter yellow, or soft cream. You could even make a rainbow narwhal using small color changes.
For a more natural look, combine blue-gray yarn with a lighter belly.
Create different expressions
Small facial changes can create completely different personalities.
Try embroidered closed eyes for a sleepy narwhal. Add rosy cheeks for a playful look.
You could also make one narwhal with a tiny smile and another with a surprised expression.
Make a narwhal family
Once you know the basic shape, make several sizes.
Use different yarn weights to create a large parent and smaller baby narwhals. Arrange them together as a little ocean family.
This idea also works beautifully for handmade gifts. You can make one larger narwhal for a child and a tiny matching keychain for yourself.
Before you get too carried away making an entire pod, let’s look at some common beginner mistakes.
Common Amigurumi Mistakes and Easy Fixes
Even experienced crocheters occasionally unravel a few rounds. That’s completely normal.
The goal isn’t to avoid every mistake. The goal is to recognize what happened and know how to fix it.
The body has visible gaps
Gaps usually happen because your stitches are too loose or your hook is too large for your yarn.
Try tightening your tension slightly. You can also choose a smaller hook if the fabric still looks too open.
Remember that stuffing should stay inside the stitches without pushing visibly through them.
The narwhal looks lopsided
Check whether you accidentally skipped or added stitches.
Count your stitches at the end of several rounds. If your stitch count changes unexpectedly, go back and locate the mistake.
Don’t panic if the shape looks strange halfway through. Many amigurumi pieces look unusual before stuffing and finishing.
The face looks different than expected
This happens all the time!
Before permanently attaching the eyes, try several positions. Move them closer together, farther apart, higher, or lower.
Take a quick photo from your normal viewing angle. Sometimes the best placement becomes obvious in a picture.
The horn feels unstable
A horn needs a secure attachment because it sticks away from the body.
Use several small stitches around its base. Weave the yarn through the body before trimming the tail.
If the horn still moves, reinforce the attachment from inside the body.
How to Finish and Care for Your Narwhal
Your crochet narwhal pattern project deserves a little finishing care once the crocheting ends.
A few minutes of careful finishing can make your plushie look cleaner and help it stay cute for longer.
Weave in your yarn ends
Use a yarn needle to weave each loose tail securely through nearby stitches.
For stuffed animals, weave the tail in several directions. This helps prevent it from working loose over time.
Trim the excess yarn only after you feel confident that the end stays secure.
Shape the finished plushie
Gently squeeze and rotate the body to distribute the stuffing.
If one side feels flatter, add or reposition a small amount of fiberfill before fully closing the opening.
Avoid aggressively pulling the stitches. Gentle shaping works best.
Keep your narwhal clean
Always check the care instructions for your chosen yarn.
For many handmade amigurumi pieces, gentle surface cleaning works better than rough washing. Avoid harsh scrubbing around embroidered details or safety eyes.
Keep the finished plushie away from heat sources that could distort synthetic fibers.
If you’re giving it to a young child, embroidered facial features provide a safer alternative to detachable safety eyes.
Frequently Asked Questions About Crochet Narwhal Pattern
How long does it take to crochet a narwhal?
A small narwhal can take several hours, depending on your crochet experience, yarn weight, and finishing details. Beginners may need extra time while learning increases, decreases, stuffing, and sewing. Once you become comfortable with amigurumi, you’ll likely work through the body and smaller pieces much faster.
What yarn is best for narwhal amigurumi?
Soft worsted or DK-weight yarn works well for a narwhal. Cotton blends provide clear stitches, while chenille yarn creates an extra-squishy plushie. Choose a yarn that feels comfortable to crochet and matches the finished size you want. Pastel blue, gray, cream, and lavender all create adorable ocean-inspired results.
Is this crochet narwhal pattern good for beginners?
Yes. A narwhal makes a friendly beginner amigurumi project because the main body uses a simple rounded shape. You’ll practice useful skills such as working in continuous rounds, increasing, decreasing, stuffing, and sewing pieces together. If you can make basic single crochet stitches, you have a great foundation.
What size safety eyes should I use for narwhal amigurumi?
For a small or medium narwhal, 6mm or 9mm safety eyes often create a balanced kawaii expression. The best choice depends on your yarn and finished body size. Always position the eyes temporarily before securing them so you can check the proportions and expression.
Can I sell amigurumi I make from this pattern?
If you use a free pattern, check the designer’s specific terms before selling finished items. Some designers allow finished handmade products while asking you to credit the pattern designer. Never assume that selling rights transfer automatically with a free pattern.
How do I make my narwhal extra fluffy?
Chenille-style yarn can give your narwhal a wonderfully plush texture. Work with consistent tension and avoid overstuffing the body. Gentle shaping after stuffing can also help create that rounded, cuddly appearance. A soft yarn paired with a slightly smaller hook can produce a dense plush fabric.
Your Adorable Ocean Friend Is Ready
Making a little ocean creature with your own hands feels surprisingly special. From the first magic ring to the final tiny horn, every stitch adds personality to your handmade narwhal.
With this crochet narwhal pattern, you’ve learned how to approach the rounded body, create the flippers and horn, position the face, stuff the plushie, and finish those little details that make amigurumi feel alive.
Most importantly, don’t worry about making your first narwhal absolutely perfect. Your handmade stitches are what make it special, and every project gives you more confidence.
Now grab your favorite yarn, pick a cheerful color, and enjoy creating your own adorable ocean friend.
Save this pin to your crochet board on Pinterest so you can find this pattern anytime!
Looking for more free crochet animal patterns? Visit Yarned Animals for new amigurumi patterns, kawaii plushies and beginner crochet tutorials added every week at yarnedanimals.com