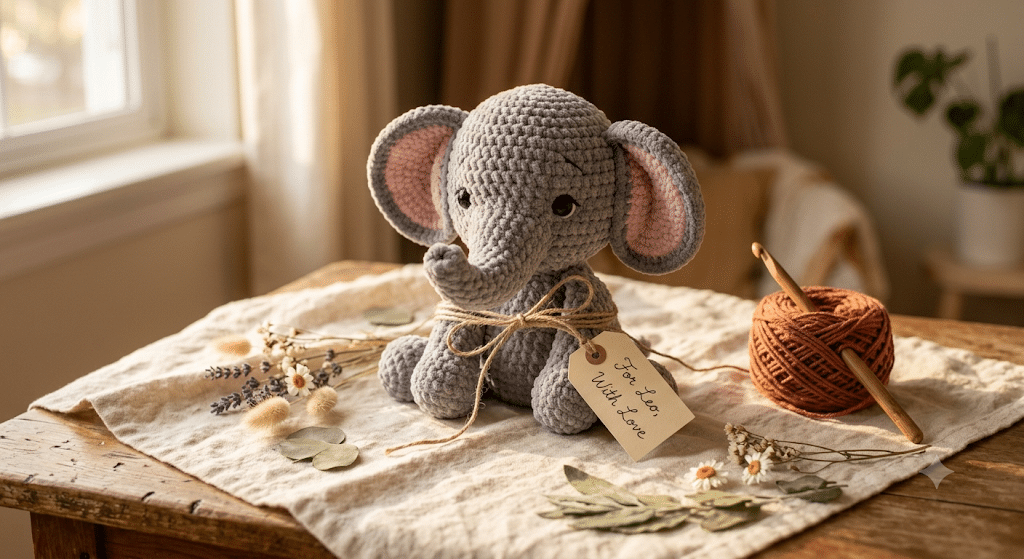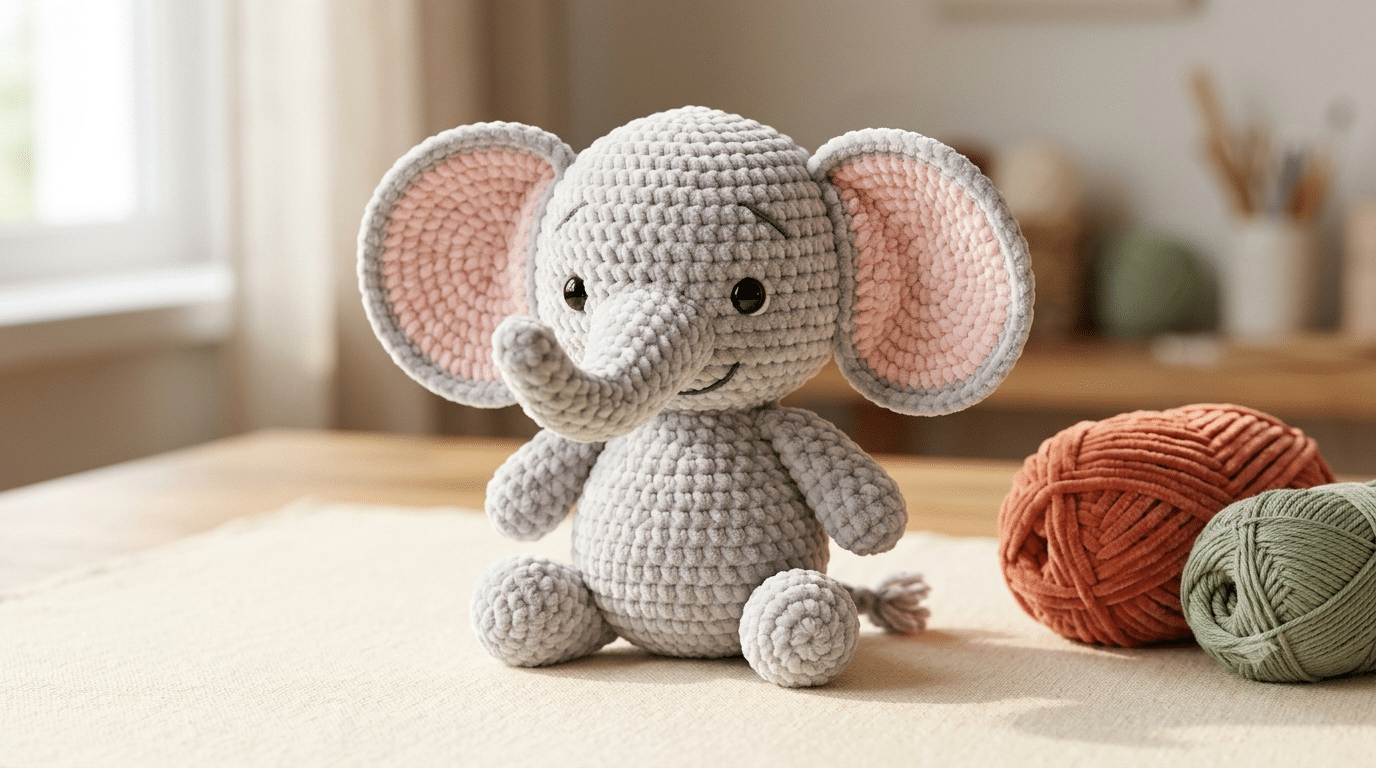
Nothing feels quite as special as finishing a soft little elephant that fits perfectly in your hands. Those floppy ears, tiny trunk, and cuddly shape make elephants one of the most loved amigurumi animals for gifts, nursery décor, and handmade keepsakes. If you’ve been searching for a **crochet elephant pattern free that’s easy to follow, you’re in the right place.
This adorable beginner-friendly guide walks you through every stage of creating your own elephant without feeling overwhelmed. You’ll learn helpful techniques, discover simple shaping tips, and avoid common beginner mistakes. By the end, you’ll have a lovable elephant that’s ready to hug, display, or surprise someone special with. Here is the fun part—let’s start with everything you’ll need before your first stitch.
The soft, velvety texture that makes many plush elephants look extra cuddly comes from Bernat Blanket yarn. It’s my favorite whenever I want an irresistibly squishy finish that’s still easy to crochet.
Table of Contents
Why This Crochet Elephant Pattern Free Is Perfect for Beginners
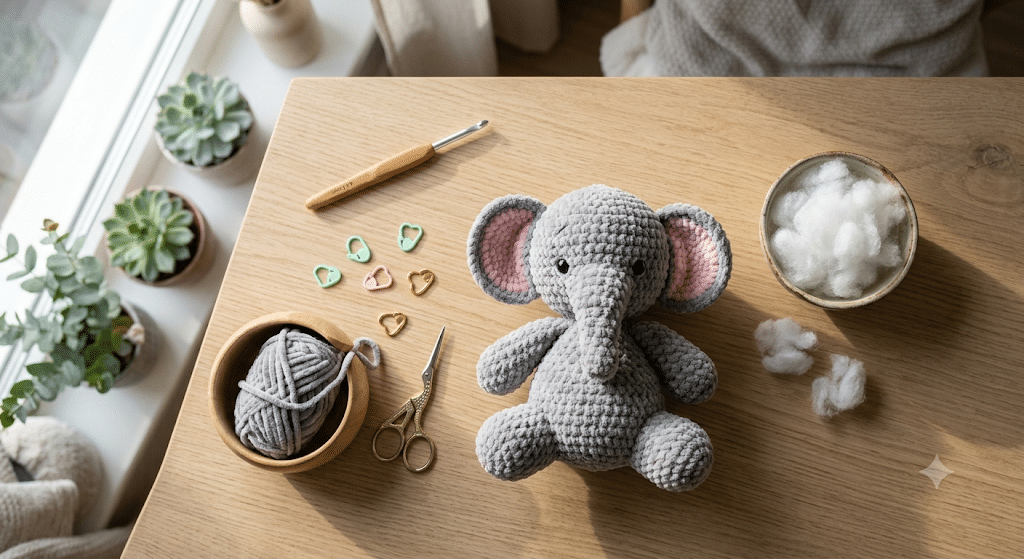
Some amigurumi projects look amazing but can feel intimidating when you’re just learning. An elephant is different because its shape is made from several simple pieces that come together beautifully.
Instead of tackling complicated construction, you’ll build confidence one section at a time. Every finished piece feels like a small victory, making the entire project enjoyable from beginning to end.
Whether you’re making your first stuffed animal or adding another favorite to your collection, this elephant offers the perfect balance between fun and challenge.
A Friendly Project to Build Your Confidence
Many beginners worry about making mistakes. The good news is that elephants naturally have soft, rounded shapes, so tiny imperfections are almost impossible to notice.
If one ear sits slightly differently than the other, it simply adds personality.
The same goes for the trunk and legs. Handmade charm always beats machine perfection.
Learn Useful Amigurumi Skills
As you work through this project, you’ll practice several important crochet techniques you’ll use again and again.
These include:
- Magic ring
- Single crochet stitches
- Increasing evenly
- Invisible decreases
- Simple sewing techniques
- Stuffing evenly
Once you’ve mastered these basics, many other animal patterns will feel much easier.
An Adorable Handmade Gift
Crochet elephants are loved by children and adults alike.
They make thoughtful presents for:
- Baby showers
- Birthday gifts
- Nursery decorations
- Woodland-themed rooms
- Safari collections
- Baby keepsakes
- Holiday surprises
Because they’re timeless, your finished elephant never goes out of style.
Ready to move on? Let’s gather everything before you begin crocheting.
Gather Your Supplies Before Starting Your Crochet Elephant Pattern Free
Having everything nearby makes the entire project much more relaxing. Instead of stopping halfway through to search for supplies, you’ll stay focused and enjoy every stitch.
You don’t need a huge craft room or expensive equipment. A handful of quality materials goes a long way.
Choose Soft Yarn You’ll Love
The yarn you choose changes the entire personality of your elephant.
Popular colors include:
- Soft gray
- Light silver
- Cream
- Dusty blue
- Baby pink
- Lavender
- Sage green
Smooth yarn makes it easier to see your stitches if you’re new to amigurumi.
Pick a Comfortable Crochet Hook
Long crochet sessions should feel relaxing, not tiring.
That’s exactly why I reach for my Clover Amour crochet hook whenever I’m making amigurumi. The comfortable grip keeps my hands happy during longer projects.
Helpful Extras That Make Crocheting Easier
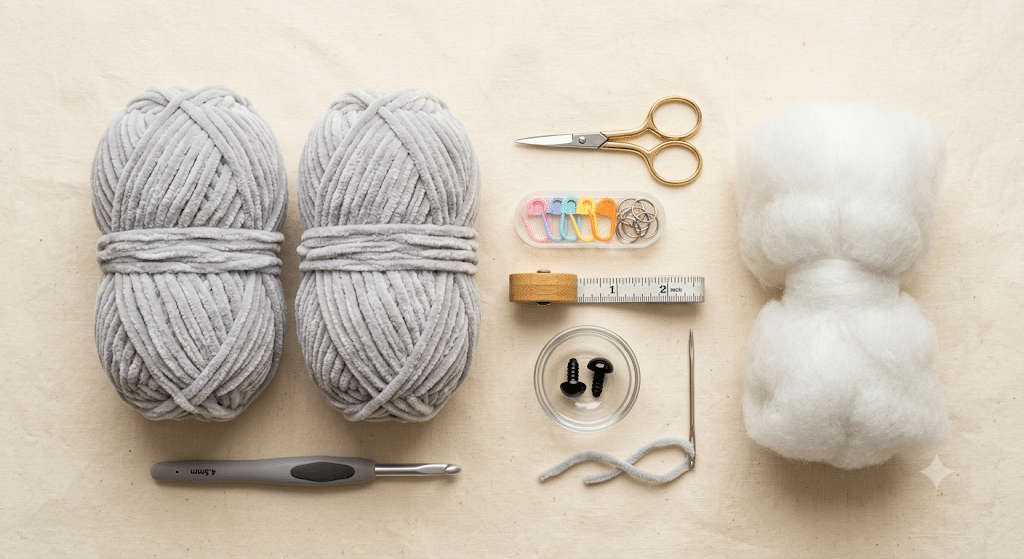
Besides yarn and your hook, a few small tools can make your experience much smoother.
Keep these nearby:
- Stitch markers
- Small scissors
- Measuring tape
- Stuffing
- Yarn needle
- Safety eyes
A tidy workspace also helps you enjoy the creative process without distractions.
Now that you know what you’ll need, it’s time for the most exciting part—bringing your adorable elephant to life one piece at a time.
Crochet Elephant Pattern Free in 10 Adorable Easy Steps
Now that your supplies are ready, it’s time to watch your elephant come to life. Don’t rush through the process. Enjoy each section, because every finished piece brings your little friend closer to completion.
Even if you’re brand new to amigurumi, these simple steps make the project feel manageable and fun.
Step 1: Crochet a Round, Squishy Head
Start with a magic ring and work in continuous rounds to create a smooth, round head. Increase gradually to keep the shape even, then continue crocheting without increases until you’ve reached the desired height.
Pause occasionally to gently shape the fabric with your hands. A smooth, rounded head gives your elephant its irresistibly cute appearance.
Take a moment to count your stitches every few rounds. Catching a mistake early is much easier than unraveling several rows later.
Step 2: Shape the Cute Little Trunk
The trunk is what makes an elephant instantly recognizable.
Begin with a narrow tube, then slowly widen it by adding a few gentle increases. This creates a natural curve that looks playful without needing complicated shaping.
If you’d like your elephant to look curious, lightly bend the trunk upward before attaching it. For a sleepy elephant, let the trunk point gently downward.
Don’t overstuff this section. A softer trunk looks more natural and keeps its gentle curve.
Step 3: Make Those Big Floppy Ears
Large ears give your elephant plenty of personality.
Crochet two matching ear pieces, keeping your stitch tension even. Flat ears are easier to sew and naturally drape against the head.
If you enjoy experimenting, slightly curve the outer edge while stitching them on. This creates extra dimension and gives your elephant an expressive look.
Before attaching both ears permanently, pin them in place first and view your elephant from different angles.
Step 4: Crochet Four Sturdy Legs
Each leg is made almost exactly the same, making this a relaxing part of the project.
Stuff each leg lightly so they stay soft while still helping your elephant sit upright.
Try to keep all four legs equal in size. Consistent shaping gives the finished toy better balance.
After stuffing, gently press the bottoms flat before sewing them onto the body.
Step 5: Create a Soft Rounded Body
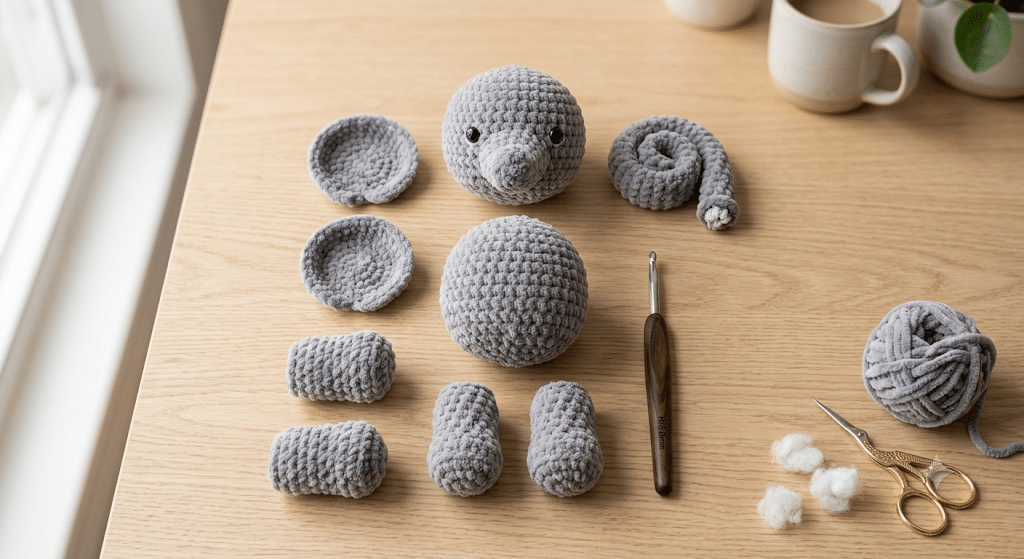
The body is wonderfully simple and satisfying to crochet.
Work smooth rounds with gradual increases before tapering toward the top. Add small amounts of stuffing as you go instead of waiting until the end.
This keeps the body evenly filled without creating hard lumps.
Aim for a cuddly, marshmallow-like softness rather than a tightly packed shape.
Creative Ways to Personalize Your Crochet Elephant Pattern Free
One of the best parts about amigurumi is making every project unique. A few small changes can completely transform your elephant while still following the same basic design.
Whether you’re making gifts or decorating a nursery, adding personal touches makes each elephant feel extra special.
Change the Colors
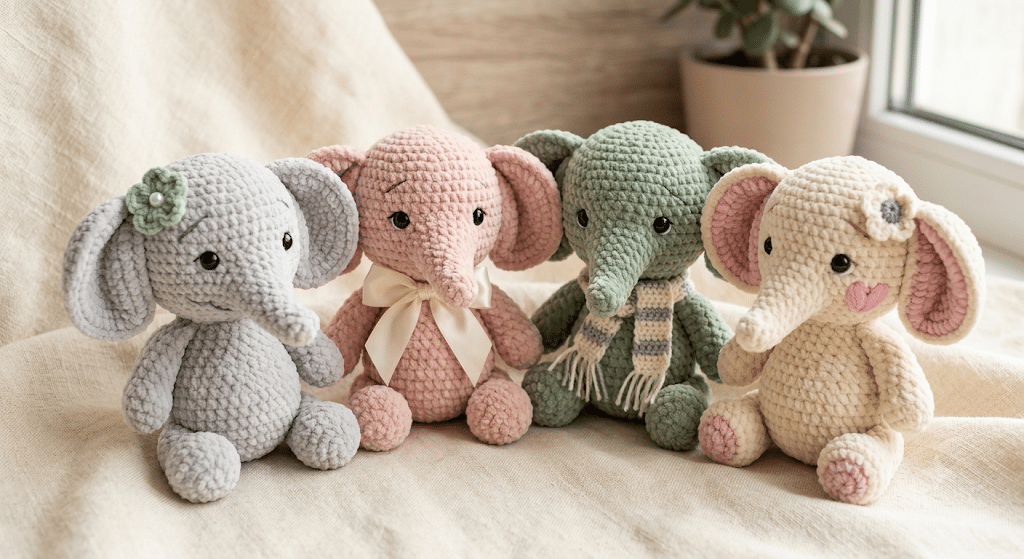
Gray may be the classic choice, but don’t feel limited.
Try colors like:
- Blush pink
- Mint green
- Lavender
- Cream
- Baby blue
- Chocolate brown
- White
- Rainbow pastel
Bright colors create playful toys, while neutral shades look beautiful in modern nurseries.
Add Sweet Accessories
Tiny accessories give your elephant even more character.
Consider adding:
- A tiny bow
- Flower crown
- Little scarf
- Mini sweater
- Birthday hat
- Sleeping cap
- Heart applique
- Small blanket
These details also make each gift feel one of a kind.
Create Different Sizes
Once you’ve finished one elephant, try changing the yarn weight.
A thinner yarn creates a pocket-sized elephant that’s perfect for keychains or desk decorations.
A chunky plush yarn creates a large cuddle toy that’s perfect for little arms.
The overall construction stays nearly the same, making it easy to experiment with different finished sizes.
Now that your elephant is assembled, the final touches will make it truly shine. In the next section, we’ll cover finishing tips, common beginner mistakes to avoid, helpful FAQs, and the perfect way to display or gift your finished elephant.
Finishing Touches for Your Crochet Elephant Pattern Free
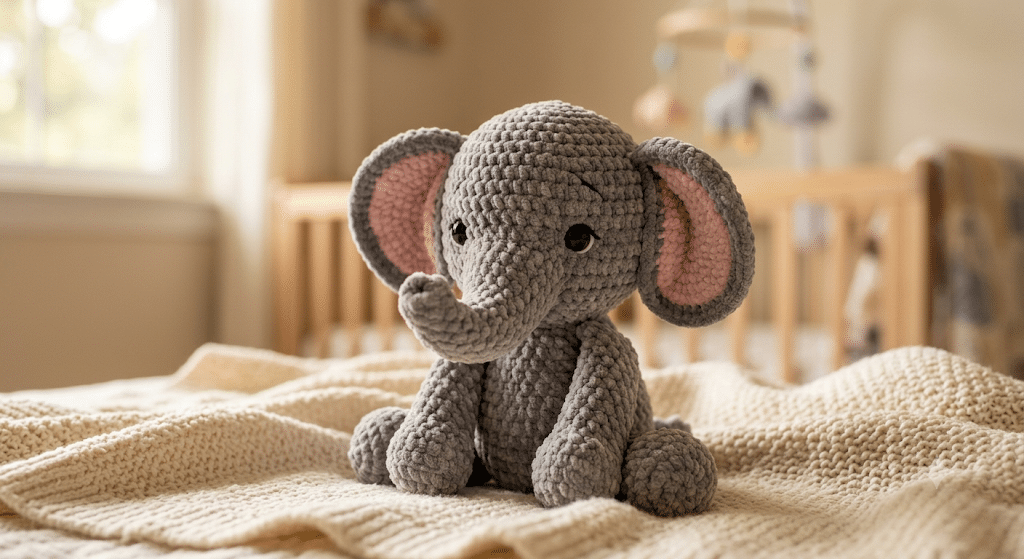
Your elephant is almost ready to meet the world! The finishing details are what transform a collection of crocheted pieces into a lovable handmade friend. Taking a little extra time here will make your project look polished and last for years.
Don’t worry if everything isn’t perfectly symmetrical. Handmade amigurumi has its own charm, and those tiny differences often make your elephant even more adorable.
Weave in Every Yarn Tail Securely
Loose yarn ends can work their way out over time, especially if your elephant becomes a favorite cuddle buddy.
Thread each yarn tail through a yarn needle set and weave it back and forth inside the stuffing before trimming it close. This simple step keeps your stitches secure without creating bulky spots.
Position the Face Before Sewing
Before attaching the trunk, ears, or eyes permanently, pin each piece in place.
Look at your elephant from the front, both sides, and above. Small adjustments can completely change its expression. A slightly higher trunk creates a playful look, while lower ears give a softer, sleepy appearance.
Trust your instincts—the cutest face is often the one that makes you smile.
Give Your Elephant a Gentle Shape
Once everything is sewn together, gently squeeze and shape the body with your hands.
Move the stuffing around if needed so the body feels evenly filled. A soft, rounded elephant looks much cuddlier than one that’s packed too tightly.
Now that you know the finishing secrets, let’s answer some of the most common questions crocheters have before they start.
The last tool I never crochet without is a yarn needle set. It makes sewing pieces together much neater and hiding yarn tails so much easier.
Frequently Asked Questions About Crochet Elephant Pattern Free
How long does it take to crochet an elephant?
A beginner usually finishes a small elephant in 6–10 hours, depending on their pace. If you’re already comfortable with basic amigurumi stitches, you may complete it over a relaxing weekend.
What yarn is best for elephant amigurumi?
Soft acrylic and chenille yarns both work beautifully. Smooth yarn helps beginners see their stitches more clearly, while plush chenille creates an extra cuddly elephant with a velvety finish.
Is this crochet elephant pattern free good for beginners?
Yes! This project focuses on simple shapes, basic increases, and invisible decreases. If you already know how to make a magic ring and single crochet, you’ll have everything you need to complete this elephant.
What size safety eyes should I use?
For a medium-sized elephant, 9mm safety eyes create a balanced, cute expression. Smaller elephants often look best with 6mm eyes, while larger plush versions can use 12mm eyes.
Can I sell elephants made from this pattern?
In most cases, yes. Many free designers allow you to sell finished handmade items in small quantities. Always check the original designer’s terms if you’re following a specific written pattern.
How do I wash a crochet elephant?
Hand washing with cool water and mild soap is the safest option. Gently squeeze out excess water, reshape your elephant, and let it air dry completely before displaying or gifting it.
Every stitch you’ve completed has brought a little bundle of joy to life. From shaping the trunk to attaching those floppy ears, you’ve learned techniques that will help you tackle even more adorable amigurumi projects with confidence.
This crochet elephant pattern free is more than just a fun craft—it’s a chance to create something meaningful with your own hands. Whether your elephant becomes a treasured nursery decoration, a thoughtful handmade gift, or the first animal in a growing collection, you can feel proud of every stitch. Keep practicing, enjoy the process, and don’t be afraid to add your own creative touches along the way.
Save this pin to your crochet board on Pinterest so you can find this pattern anytime!
Looking for more free crochet animal patterns? Visit Yarned Animals for new amigurumi patterns, kawaii plushies and beginner crochet tutorials added every week at yarnedanimals.com