
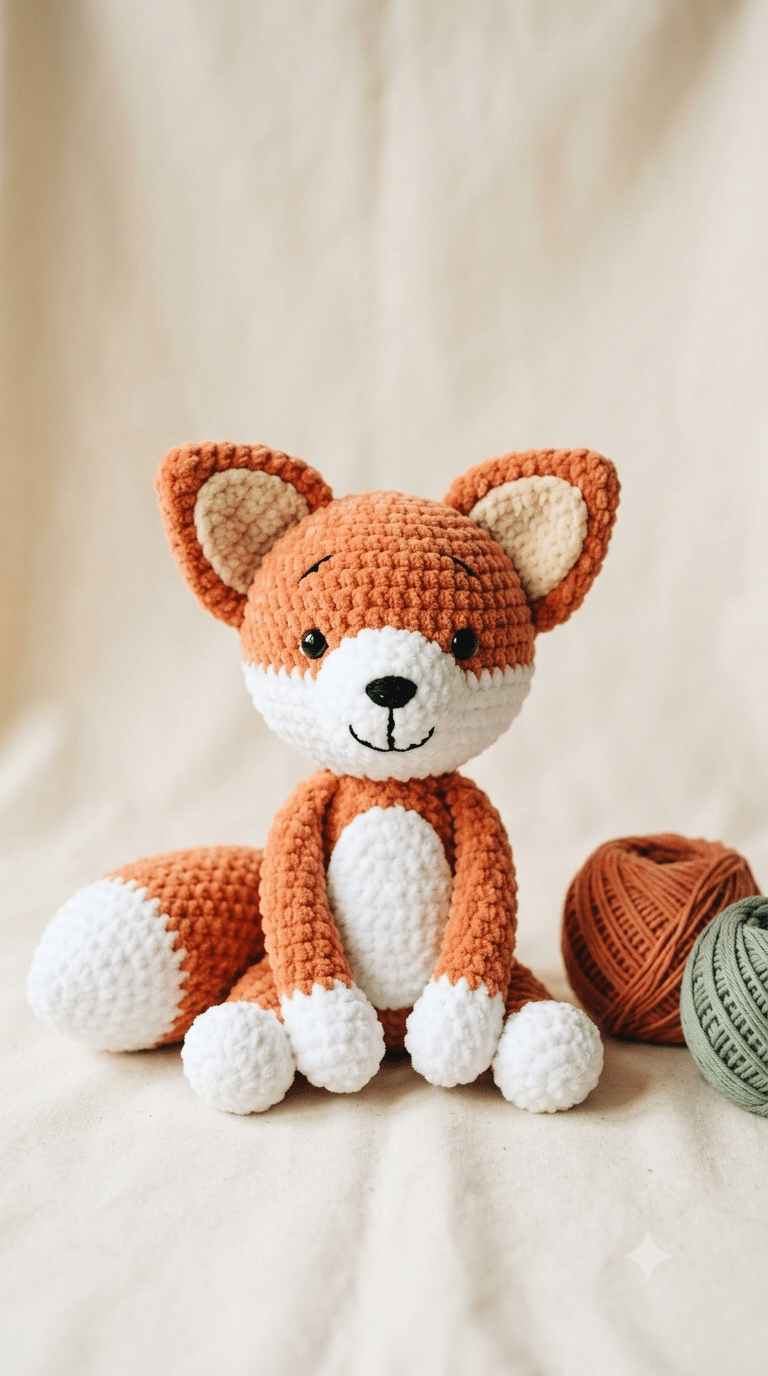
Nothing feels quite as rewarding as placing the final stitch into a handmade fox and watching its sweet little face come to life. A soft tail, pointy ears, and tiny embroidered smile can turn a simple ball of yarn into a woodland friend you’ll treasure for years. If you’ve been dreaming about making your own crochet fox pattern, you’re in exactly the right place.
Whether you’re completely new to amigurumi or already have a few plushies on your crochet shelf, this guide will walk you through every stage with confidence. You’ll discover beginner-friendly techniques, helpful tips, and creative ideas for customizing your fox. By the end, you’ll have a cuddly woodland companion that’s perfect for decorating your home, gifting to someone special, or adding to your growing handmade collection.
One little trick that always helps me create extra-soft plushies is using Bernat Blanket yarn. It gives foxes an irresistibly cuddly chenille texture that’s wonderfully squishy without making the project difficult to crochet.
Now that you know what you’ll be creating, it’s time to gather your inspiration and start stitching.
Table of Contents
Why a Crochet Fox Pattern Is the Perfect Beginner Amigurumi Project
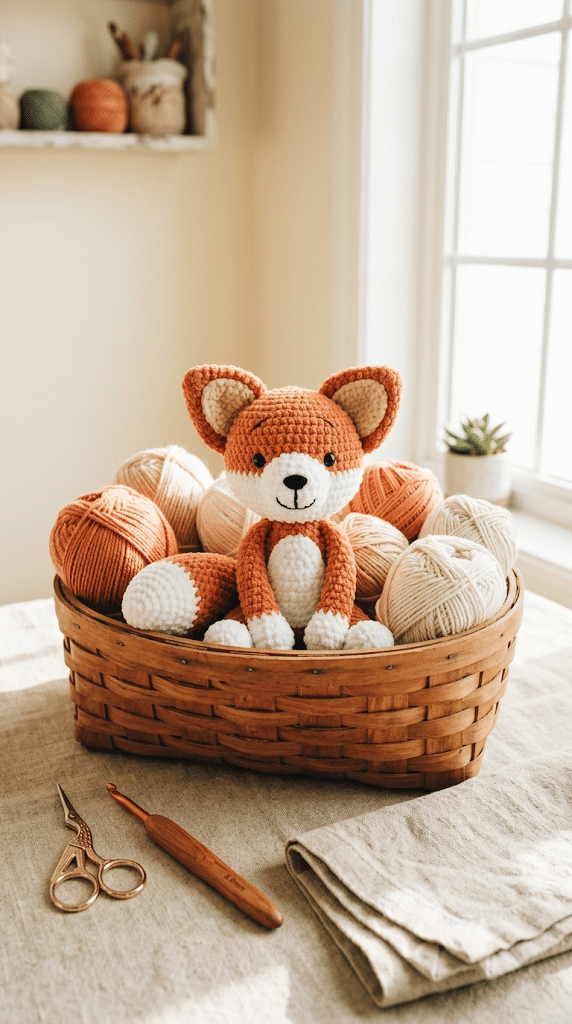
Foxes have a playful charm that makes them one of the most popular woodland animals in crochet. Their bright colors, fluffy tails, and adorable faces instantly capture attention while remaining surprisingly simple to make.
Unlike some amigurumi animals that include complicated shaping, a fox usually starts with basic crochet pieces. You’ll work with simple rounds, easy increases, and gentle decreases that help build confidence as you go.
Even if you’ve never finished an amigurumi before, this project offers plenty of opportunities to practice without feeling overwhelmed.
Simple Shapes Make Learning Easier
Most fox patterns rely on familiar crochet forms.
You’ll usually crochet:
- A round head
- A rounded body
- Four small legs
- Two triangular ears
- One fluffy tail
These pieces are straightforward and repeat many of the same stitches, allowing your hands to become comfortable with the rhythm.
Every completed section feels like a small victory.
A Wonderful Handmade Gift
Few handmade gifts receive as many smiles as an adorable crochet fox.
They’re wonderful for:
- Woodland-themed nurseries
- Baby shower gifts
- Birthday presents
- Holiday decorations
- Desk companions
- Reading nooks
- Crochet market displays
Because foxes appeal to both children and adults, you’ll never struggle to find someone who loves receiving one.
Plenty of Room for Creativity
One of my favorite things about making foxes is how easily you can personalize each one.
Try experimenting with:
- Different orange shades
- Cream or white bellies
- Larger ears
- Tiny scarves
- Little sweaters
- Flower crowns
- Sleepy embroidered eyes
- Blushing cheeks
No two foxes ever have to look exactly alike.
Ready to move on? Before picking up your hook, choosing the right supplies makes every stitch much more enjoyable.
Choosing the Best Supplies for Your Crochet Fox Pattern
The right materials don’t just make your project easier—they also help your finished fox look polished and cuddly.
Thankfully, you don’t need an overflowing craft room to create something beautiful.
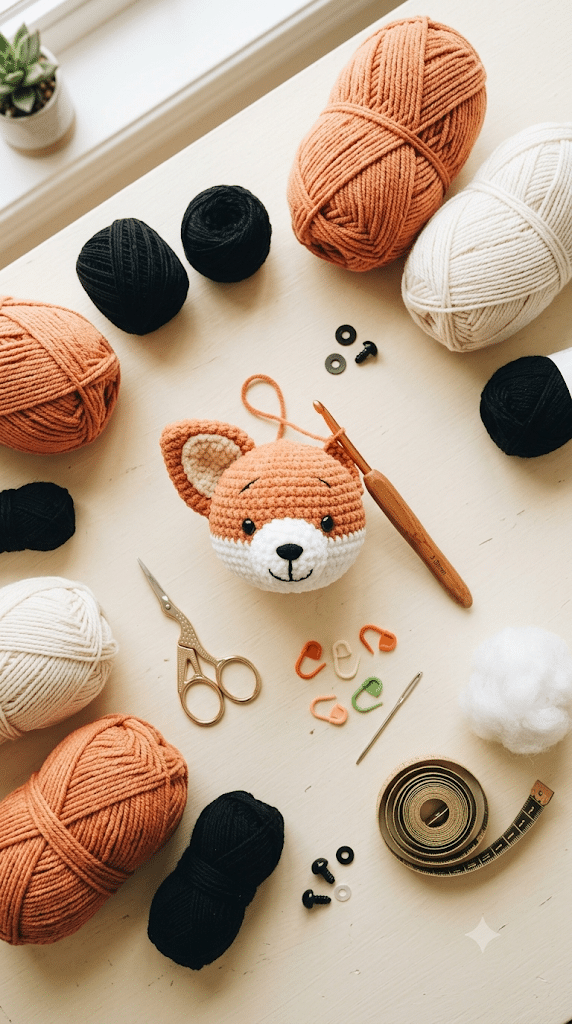
Pick a Yarn That Matches Your Style
Yarn changes the entire personality of your fox.
Smooth cotton creates crisp stitches and neat details.
Chenille yarn produces a soft plush toy that’s irresistible to squeeze.
Acrylic yarn offers a nice balance between durability and affordability.
Popular color choices include:
- Warm orange
- Rust
- Burnt orange
- Cream
- White
- Chocolate brown
- Black
Mixing these colors creates the classic woodland fox appearance everyone recognizes.
Choose the Right Crochet Hook
Comfort matters more than many beginners realize.
Long crochet sessions become much more enjoyable when your hook feels comfortable in your hand.
For this pattern, I always reach for my Clover Amour crochet hook. The soft ergonomic grip makes longer crochet sessions feel much easier, especially when working smaller amigurumi pieces.
Using the correct hook size also helps create tighter stitches, keeping stuffing safely inside your fox.
Helpful Notions You’ll Appreciate
A few simple accessories make assembly smoother.
You’ll likely want:
- Stitch markers
- Scissors
- Yarn needle
- Fiberfill stuffing
- Safety eyes
- Measuring tape
Keeping everything nearby lets you enjoy crocheting without constantly searching for supplies.
Understanding Color Placement
One secret behind realistic foxes is thoughtful color placement.
Most designs include:
- Orange head and body
- Cream muzzle
- Cream chest
- White tail tip
- Black nose
- Small black paws
These simple contrasts help each feature stand out beautifully.
Think About Finished Size
Your yarn choice determines how large your fox becomes.
A smaller fox works wonderfully as a keychain or desk decoration.
A medium-sized fox makes an adorable shelf display.
Large plush foxes become cozy bedtime companions that children love hugging.
Choosing your preferred size before you begin makes the entire project feel more intentional.
Here is the fun part—once your supplies are ready, you’ll start building your fox one piece at a time, and that’s where the real magic begins.
Building Your Crochet Fox Pattern in 10 Easy Steps
Now that your supplies are ready, it’s time to transform a few balls of yarn into an adorable woodland friend. Don’t worry about making every stitch perfect. Amigurumi has plenty of personality, and those tiny handmade details make each fox unique.
Take your time, enjoy the process, and celebrate each completed piece.
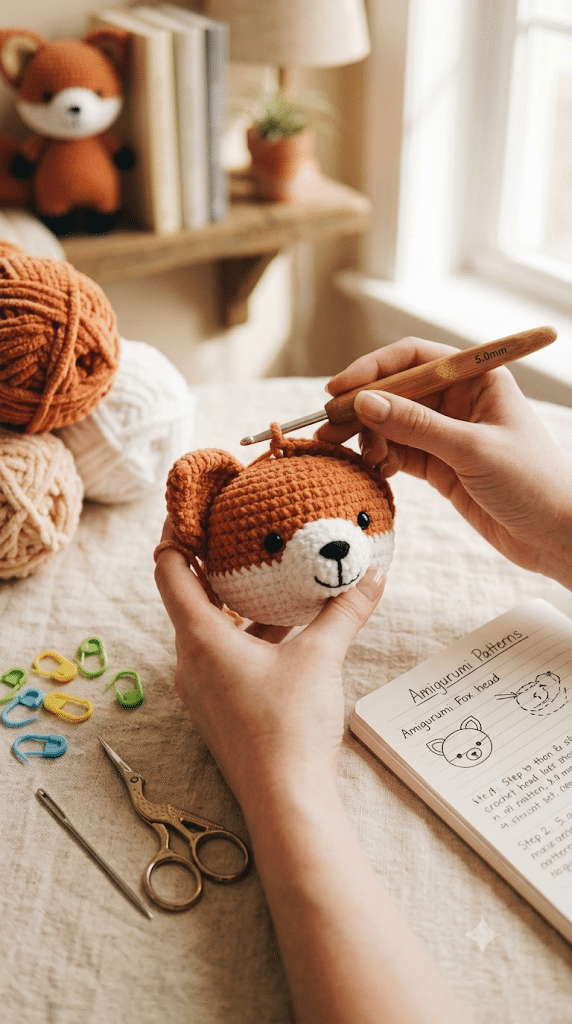
Step 1: Crochet a Round, Even Head
The head sets the personality of your fox.
Begin with a magic ring and work in continuous rounds. Increase gradually to create a smooth sphere instead of a pointed shape. Keep your stitches snug so the stuffing won’t peek through later.
Pause every few rounds to compare both sides. A balanced shape now makes adding the facial features much easier.
Step 2: Shape the Cute Fox Muzzle
A fox’s muzzle gives it that unmistakable woodland look.
Many beginners worry about this step, but it is usually just a smaller oval or rounded section attached to the front of the head. Stuff it lightly so it keeps its shape without becoming bulky.
After attaching it, embroider a tiny black nose and a simple smile. Those little details instantly bring your fox to life.
Step 3: Make Pointed Ears
Fox ears are one of the easiest features to crochet.
Work two matching triangles and fold the base slightly before sewing them onto the head. This creates a natural curve that makes the ears stand upright.
Place them evenly on both sides. Before sewing permanently, pin them in place and view your fox from different angles to check the symmetry.
Step 4: Crochet a Soft Rounded Body
The body is wonderfully simple.
Use steady increases and decreases to create a rounded shape that pairs nicely with the larger head. Add stuffing gradually instead of all at once. This keeps the body smooth and prevents lumpy spots.
A slightly chubby body gives your fox an extra cuddly appearance.
Step 5: Create Four Matching Legs
Small legs are easier than they look.
Crochet four identical pieces using the same stitch count and length. Matching legs help your fox sit evenly when finished.
Before attaching them, arrange all four on the body. Tiny adjustments in placement can completely change your fox’s pose.
Step 6: Make the Signature Fluffy Tail
No crochet fox pattern feels complete without a beautiful tail.
The tail is often the most recognizable feature. Crochet it slightly longer than you think you’ll need, tapering toward the tip before changing to white or cream for the classic fox finish.
A gentle curve gives the tail a playful look.
Step 7: Attach the Head Securely
Now your fox really starts to come together.
Position the head carefully before sewing. Stitch around the entire neck using small, tight stitches for a secure connection.
Take a moment to check that the head faces straight forward before tightening the final stitches.
Step 8: Add the Facial Features
This is where your fox develops its personality.
Attach the safety eyes evenly, leaving enough space between them for a friendly expression. Embroider small eyebrows, eyelashes, or tiny blush accents if you enjoy extra kawaii details.
Even subtle changes can create completely different expressions.
Step 9: Sew on the Tail and Ears
Once every piece is finished, assemble your fox.
Attach the tail slightly off-center rather than perfectly straight. This gives your fox a relaxed, natural pose.
Double-check that both ears match in height before securing the final stitches.
Step 10: Add the Final Finishing Touches
The last few details make a huge difference.
Brush away loose yarn fibers, weave in every yarn end securely, and gently reshape the stuffing with your hands. Straighten the ears, fluff the tail, and smooth the body until everything looks balanced.
Step back and admire your work—you’ve created an adorable handmade fox!
Ready to move on? Once your fox is finished, a few simple tricks can make it look even more professional.
Tips to Make Your Crochet Fox Pattern Look Extra Cute
The difference between a good amigurumi and one that makes people say “Wow!” often comes down to the finishing touches. These little details don’t take much time, yet they completely transform the final result.
Balance the Face Before Sewing
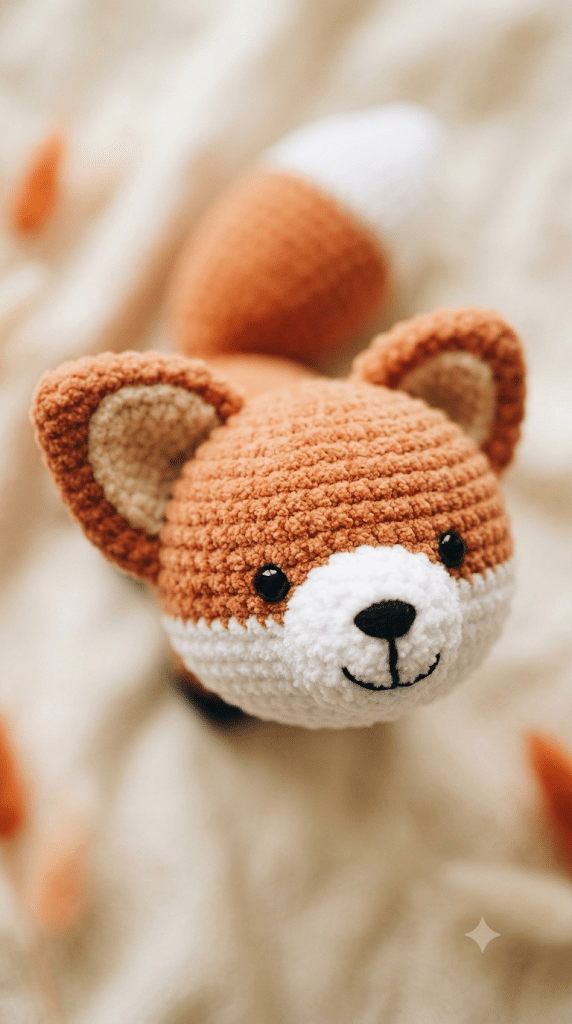
Always place the eyes, muzzle, and ears temporarily before attaching anything permanently.
Looking at your fox from the front, side, and top helps you catch uneven placement early. A few millimeters can make a surprising difference in the overall expression.
Stuff Firmly but Gently
Too much stuffing stretches the stitches.
Too little stuffing makes the fox floppy.
Add small amounts at a time, shaping the body with your fingers as you go. This creates a smooth, rounded finish without visible bumps.
Hide Every Yarn End
Loose yarn tails can distract from an otherwise beautiful project.
Weave each end through several stitches inside the body before trimming it. This keeps your fox durable enough for years of cuddles, display, or gifting.
Add Tiny Accessories
Small accessories give every fox its own personality.
Consider adding:
- A tiny scarf
- A miniature bow
- A flower crown
- A little mushroom
- A leaf accessory
- A tiny backpack
- A small acorn
These simple additions make your fox feel one of a kind.
Experiment With Color Variations
Classic orange is timeless, but don’t stop there.
Try making:
- White Arctic foxes
- Gray woodland foxes
- Pastel pink foxes
- Sage green fantasy foxes
- Lavender kawaii foxes
- Golden autumn foxes
Changing the colors keeps every project exciting and lets your creativity shine.
Here is the fun part—once you’ve mastered one fox, you’ll discover that creating a whole woodland family feels even more rewarding.
Creative Ways to Personalize Your Crochet Fox Pattern
Now that you’ve finished your fox, you can have even more fun by adding your own creative touches. Personalizing an amigurumi is one of the best parts of crocheting because every little detail makes your project feel truly unique.
Whether you’re making a keepsake for yourself or a thoughtful handmade gift, these ideas will help your fox stand out.
Dress Your Fox for Every Season
Tiny accessories can completely change the look of your finished fox.
For autumn, crochet a miniature scarf in warm shades like mustard, burgundy, or forest green.
Winter foxes look adorable wearing a tiny beanie with a fluffy pom-pom.
Spring designs can feature flower crowns or pastel bows.
Summer foxes look cheerful with a little sun hat or even a tiny beach bag.
Changing only one accessory lets you create an entire seasonal collection without changing the main pattern.
Create Different Fox Expressions
The face gives your fox its personality.
Try experimenting with:
- Sleepy embroidered eyes
- Happy smiling eyes
- Curious raised eyebrows
- Tiny blush cheeks
- Small embroidered freckles
- A heart-shaped nose
- Closed smiling eyes
Even moving the eyes slightly closer together or farther apart creates a completely different expression.
Turn Your Fox Into a Gift
A handmade fox is a thoughtful present for almost any occasion.
Consider making one for:
- Baby showers
- Children’s birthdays
- Woodland nursery décor
- Christmas stockings
- Valentine’s Day
- Teacher appreciation gifts
- Book lovers who enjoy cozy reading companions
Adding a handwritten tag with the recipient’s name makes your gift even more memorable.
Now that you know how to customize your fox, let’s answer some of the questions beginners ask most often.
Frequently Asked Questions About Crochet Fox Pattern
How long does it take to crochet a fox?
Most beginners finish a crochet fox pattern in six to ten hours, depending on the size and yarn they choose. More experienced crocheters may complete one in a weekend, while beginners often enjoy spreading the project over several relaxing evenings.
What yarn is best for fox amigurumi?
Soft chenille yarn creates a cuddly plush fox, while cotton yarn gives cleaner stitch definition and crisp details. Acrylic yarn is another great option if you want an affordable, durable toy that’s easy to wash and holds its shape well.
Is this crochet fox pattern good for beginners?
Yes. This pattern uses simple amigurumi techniques like crocheting in continuous rounds, increasing, decreasing, and sewing basic pieces together. If you’ve already practiced the magic ring and single crochet, you’ll have everything you need to complete this adorable woodland friend.
What size safety eyes should I use?
For most medium-sized foxes, 9mm safety eyes create a balanced, cute expression.
Before you attach them, grab a set of 9mm safety eyes. I use this exact size for most of my medium amigurumi animals because they create a friendly expression without overpowering the face.
If you’re making a miniature fox, choose smaller eyes, while larger plush foxes may look better with bigger sizes.
Can I sell foxes made from this pattern?
In most cases, yes. Many designers allow you to sell finished handmade items in small quantities, although you should always check the individual pattern’s licensing terms. It’s also a thoughtful gesture to credit the original designer whenever their pattern requests it.
How do I keep my fox looking fluffy?
Store your fox away from direct sunlight and gently reshape it with your hands after washing. Spot cleaning is usually enough for decorative plushies, while machine-washable yarns make children’s toys easier to maintain.
Why You’ll Love Making More Woodland Amigurumi
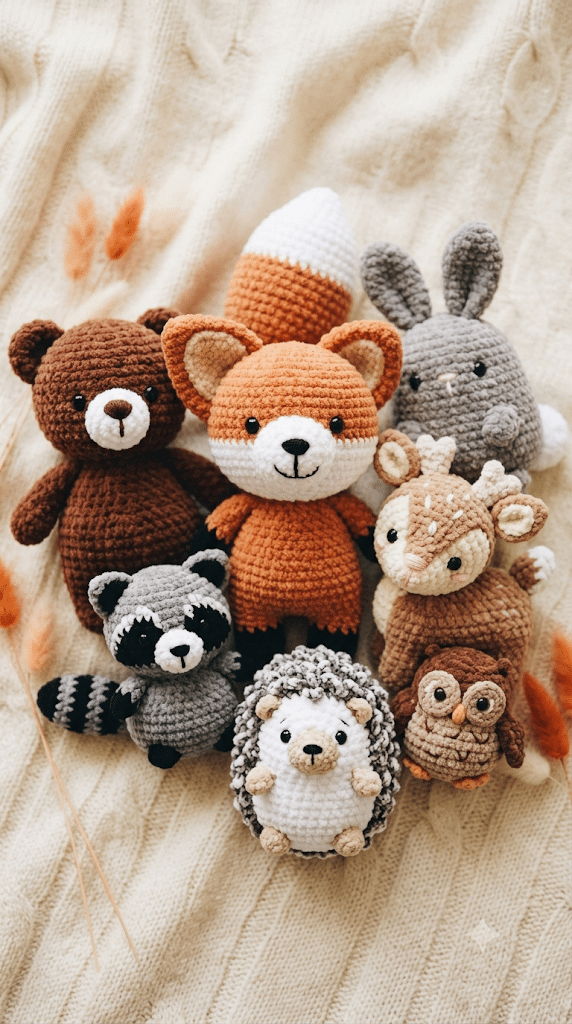
After finishing your first fox, it’s hard to stop at just one.
The same skills you’ve learned—crocheting in rounds, shaping with increases and decreases, stuffing evenly, and assembling small pieces—can be used for countless woodland animals.
A fox pairs beautifully with:
- Bears
- Raccoons
- Deer
- Owls
- Hedgehogs
- Rabbits
- Squirrels
Before long, you’ll have an entire handmade woodland collection that looks charming on a nursery shelf, a cozy reading corner, or your favorite craft display.
Each new project also builds your confidence. You’ll notice your stitches becoming neater, your sewing more precise, and your finishing techniques improving with every animal you create.
Trust me on this one—once you complete your first fox, you’ll already be thinking about which woodland friend to crochet next.
Conclusion
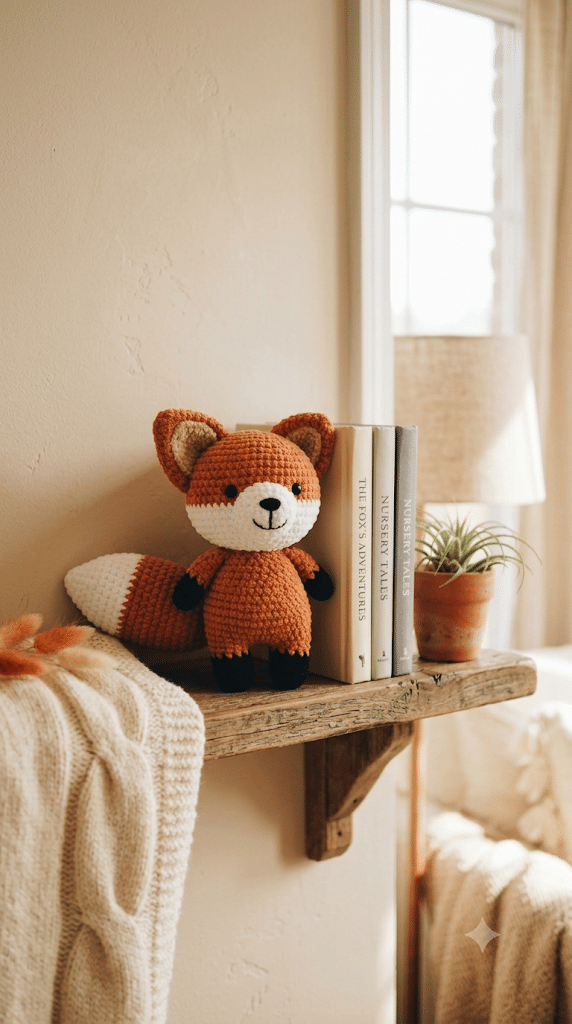
Finishing your own crochet fox pattern is about more than creating a cute plushie—it’s about enjoying every stitch and watching a simple bundle of yarn transform into a charming woodland friend. Along the way, you’ve learned how to choose the right supplies, shape each piece, assemble your fox with confidence, and add creative details that make it uniquely yours.
Whether your finished fox becomes a thoughtful handmade gift, a cozy nursery decoration, or the first member of an entire woodland collection, you can be proud of every stitch you’ve made. Keep experimenting with colors, accessories, and expressions, because every new project helps you grow your crochet skills while bringing even more handmade joy into your home.
The best part is that your crochet fox pattern can become a treasured keepsake that lasts for years and reminds you of the creativity and care you put into making it.
Save this pin to your crochet board on Pinterest so you can find this pattern anytime!
Looking for more free crochet animal patterns? Visit Yarned Animals for new amigurumi patterns, kawaii plushies and beginner crochet tutorials added every week at yarnedanimals.com