
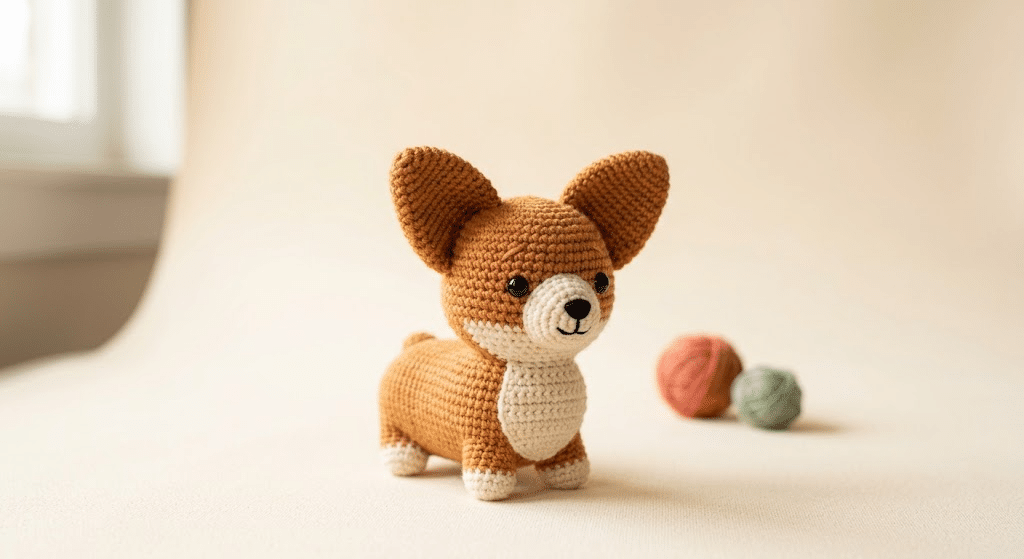
There is something ridiculously cute about a tiny corgi with a chunky body, little legs, and those enormous upright ears. A crochet corgi pattern lets you turn that lovable personality into a soft handmade friend you can keep, gift, or display.
This beginner-friendly tutorial walks you through the process from choosing your yarn to adding the final details. You’ll learn how to shape a chubby corgi body, create the signature ears, attach the legs, and give your pup an adorable face without complicated techniques.
The finished amigurumi makes a sweet desk buddy, handmade gift, or kawaii addition to your animal collection. You can also change the colors to create different corgi-inspired looks.
Grab your hook and yarn, because this little pup is ready to come to life!
Table of Contents
Why This Crochet Corgi Pattern Is So Adorable
Corgis have a wonderfully recognizable shape, which makes them especially fun to recreate with yarn. Their short legs, long body, pointed ears, and fluffy-looking coat translate beautifully into a cute amigurumi design.
The best part is that you don’t need advanced crochet skills to make something charming. Once you understand the basic shapes, you can build the puppy piece by piece and watch the personality appear.
The magic is in the proportions
A corgi amigurumi looks cutest when you exaggerate its natural features. Give the body a rounded shape, keep the legs short, and make the ears slightly oversized.
The head should feel substantial compared with the legs. This creates the classic kawaii look that makes handmade crochet animals so irresistible.
You can also make the muzzle slightly wider than the forehead. That small detail gives your puppy a softer expression.
Choose colors that feel like a real corgi
Traditional corgis often have warm tan, cream, white, and reddish-brown coloring. These shades work beautifully with amigurumi yarn.
For a classic look, try a warm caramel or reddish-brown body with a cream muzzle and white chest. A darker brown shade can add tiny details around the nose or eyes.
If you prefer something more playful, pastel peach, soft cream, or golden yellow can create a completely different personality.
Make your crochet corgi your own
One of the sweetest things about handmade amigurumi is that small changes create a totally different character.
Try adding a tiny tongue, changing the ear angle, embroidering sleepy eyes, or giving your puppy a little scarf. You can even make several corgis in different colors for a miniature collection.
Now that you know what makes this design so cute, let’s gather the supplies you’ll use.
Crochet Corgi Pattern Materials and Basic Skills
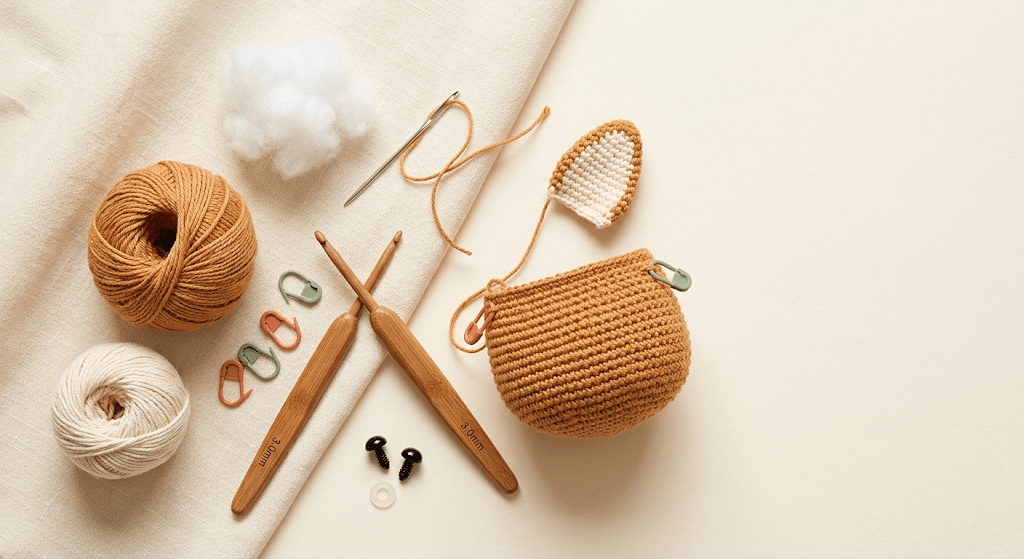
You don’t need a giant craft collection for this project. A few reliable supplies will help you work comfortably and keep the finished puppy looking neat.
Choose yarn according to the size and texture you want. Smooth yarn makes stitches easy to see, while plush yarn creates a softer, cuddly finish.
For beginners, Paintbox Simply DK yarn offers a manageable texture that makes shaping easier to follow. If you want an extra squishy finish, you can experiment with a plush yarn after you feel comfortable with the basic construction.
Pick a comfortable crochet hook
Your hook size should match your yarn and help you create tight stitches. Amigurumi usually needs a fairly firm fabric because you don’t want stuffing showing through the stitches.
For long crochet sessions, I often reach for a Clover Amour crochet hook because the soft handle feels comfortable while working through many rounds.
Choose a hook that feels natural in your hand. Comfort matters when you’re making lots of small pieces.
Prepare your amigurumi essentials
You’ll also want stuffing, a yarn needle, stitch markers, and safety eyes if you plan to use them.
Poly-fil Premium fiberfill works nicely for amigurumi because you can add it gradually and shape the body as you go.
You’ll use a yarn needle to sew the ears, legs, and other pieces onto the body. Stitch markers can help you keep track of your rounds, especially when working in continuous spirals.
Know the basic crochet techniques
This project works best if you already know a few beginner stitches and techniques.
You’ll want to feel comfortable with:
- Magic ring
- Single crochet
- Increasing
- Decreasing
- Slip stitch
- Working in continuous rounds
- Sewing crochet pieces together
- Weaving in yarn ends
You don’t need complicated lace techniques or advanced colorwork. The focus stays on simple shapes and careful assembly.
Before you get into the first pieces, remember one important tip: keep your stitches tight and consistent. That single habit can make your finished amigurumi look much cleaner.
How to Make This Crochet Corgi Pattern Step by Step
Here is the fun part! You’ll build your puppy from several simple crochet shapes.
Rather than rushing through the rounds, focus on keeping your tension even. Small pieces can feel fiddly at first, but they become much easier after a few rounds.
Step 1: Crochet the main head
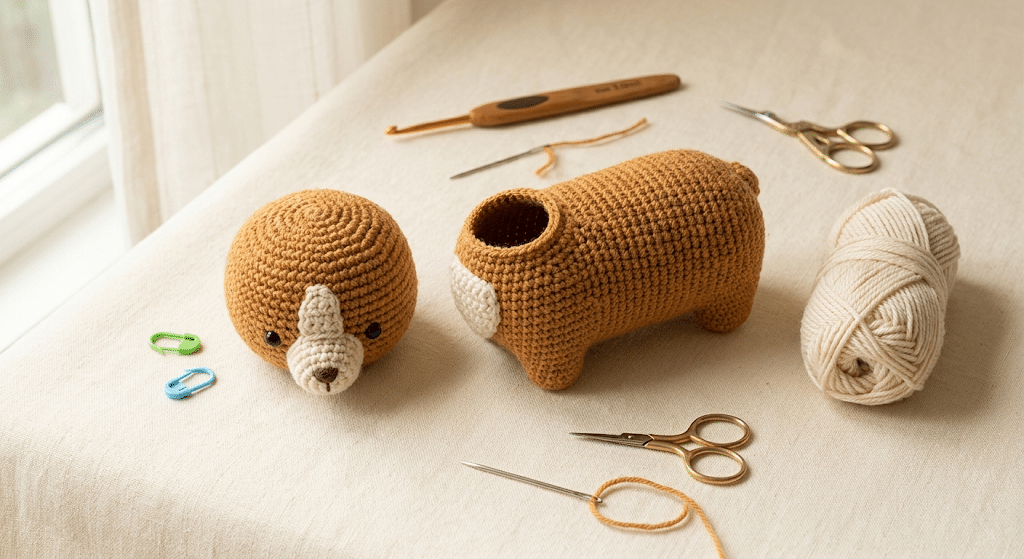
Start with your main corgi color and work the head in continuous rounds.
Begin with a magic ring and build outward using single crochet stitches. Increase gradually so the shape expands into a rounded ball rather than a flat circle.
Once the head reaches its widest point, continue working without increases for several rounds. This gives the face enough height and creates room for the eyes and muzzle.
Begin decreasing near the top of the head. Add small amounts of stuffing as the opening becomes smaller.
Don’t overstuff the head. A slightly soft head allows you to shape the face and gives the finished puppy a cuddly appearance.
Close the opening neatly and leave enough yarn for securing the end.
Step 2: Shape the chubby body
The body follows a similar construction but should feel longer and wider than the head.
Start with your main color and create the base using single crochet rounds. Add increases gradually until you reach the widest part.
Continue working even rounds to create the long, rounded corgi shape.
This is where you can adjust the personality of your amigurumi. A slightly wider body creates a very chunky kawaii puppy, while a narrower body gives a more realistic silhouette.
Add stuffing little by little. Use your fingers to push the filling toward the sides and bottom.
When the body feels evenly filled, decrease toward the top and close the opening.
Step 3: Crochet the famous corgi ears
The ears are one of the most important parts of your puppy.
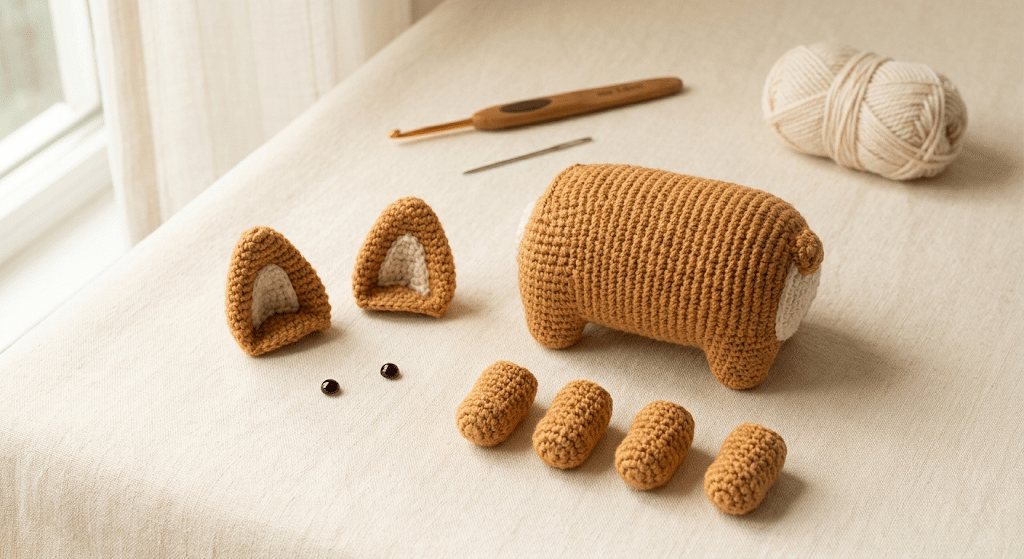
Corgi ears should stand upright and have a slightly triangular shape. Start each ear at the wider bottom section and gradually reduce the width as you crochet upward.
You can use your main body color for the outside and add a small cream or pink section inside if you want more detail.
Keep the ears firm but not completely rigid. You want them to stand up while still looking soft.
Once both ears are complete, compare them side by side before sewing them onto the head.
Check their height and angle before attaching them. Symmetry makes a huge difference in the finished face.
Step 4: Create the tiny legs
Now it’s time to give your puppy those adorable little corgi legs.
Crochet four short cylindrical pieces using your main color. Keep the legs compact because long legs can make the finished animal look less like a corgi.
Shape each leg with a rounded bottom and slightly narrower upper section.
Add a small amount of stuffing before closing each piece. Avoid packing the filling too tightly because the legs need to remain soft.
You can use a darker shade for tiny paws if you want additional contrast.
Place all four legs beside the body before sewing them on. This makes it easier to check whether they sit at similar heights.
Step 5: Add the cream chest and muzzle
Color blocking creates much of the corgi’s recognizable appearance.
Use cream or white yarn for the muzzle and chest area. You can crochet the muzzle as a small oval piece and sew it onto the front of the head.
For the chest, create a small rounded or oval patch that sits underneath the head and extends slightly onto the front of the body.
Keep these pieces simple. You don’t need perfect symmetry because handmade texture adds charm.
If your puppy has a reddish-brown body, a warm cream accent usually creates beautiful contrast.
Step 6: Add the safety eyes
Position the eyes after placing the muzzle loosely against the face.
For a medium-sized puppy, 9mm safety eyes can create a sweet balance between the head and facial features.
Before permanently securing them, test several positions. Move the eyes slightly closer together for a baby-like expression or slightly farther apart for a more relaxed look.
Once you love the expression, secure the eyes according to their instructions.
Step 7: Embroider the nose and expression
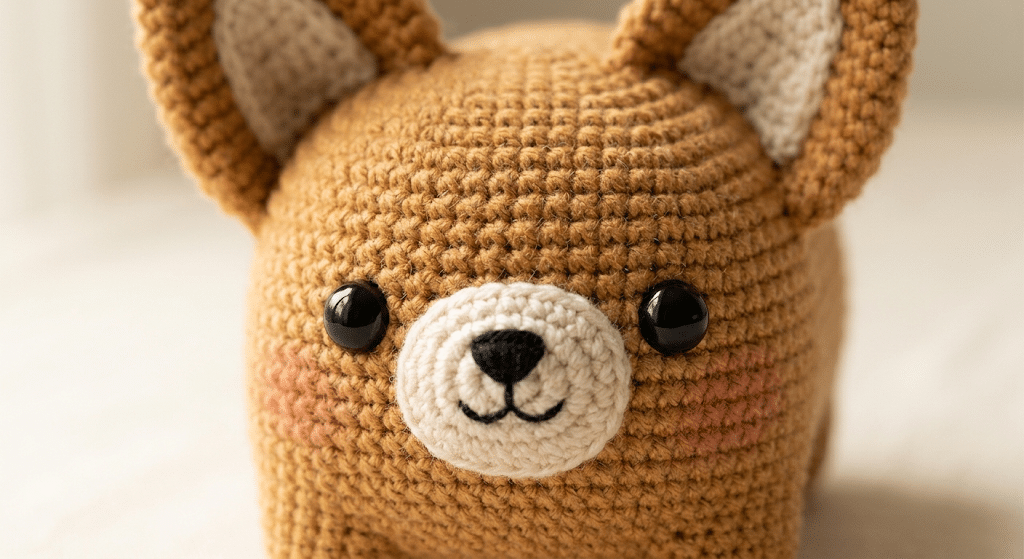
The nose can completely change your corgi’s personality.
Use black yarn or embroidery thread to create a small triangular nose above the muzzle. Keep your stitches close together so the nose looks smooth.
Add a tiny curved mouth underneath if you want a smiling puppy.
For extra cuteness, you can embroider tiny blush marks on the cheeks using a soft pink yarn.
Don’t worry about making every stitch perfectly identical. A little handmade character makes each amigurumi unique.
Step 8: Attach the ears and legs
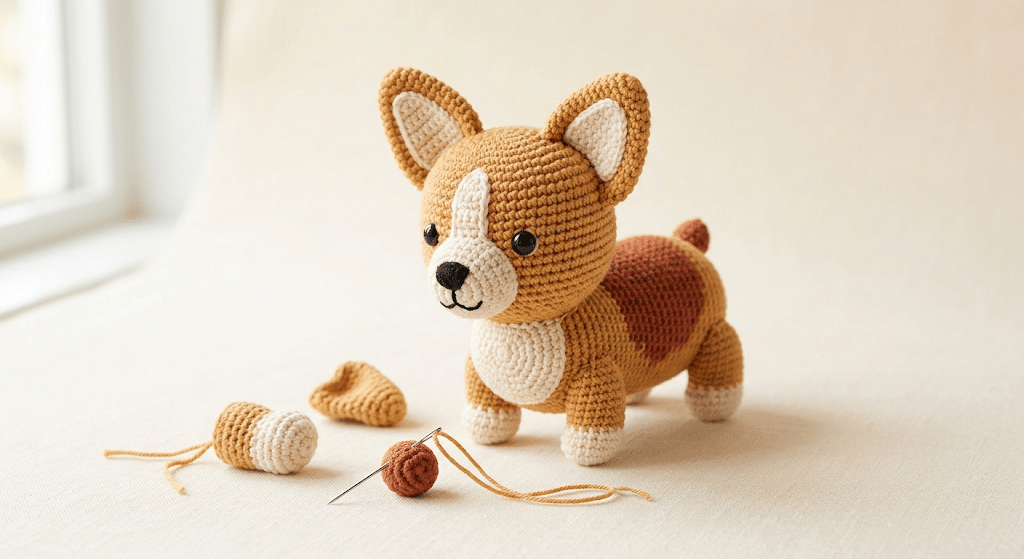
Now you can assemble your puppy.
Place the ears near the top sides of the head. Pin them temporarily if needed and look at the puppy from the front.
Then sew each ear securely using matching yarn and a yarn needle.
Next, attach the four legs to the body. Position the front legs slightly toward the chest and the back legs closer to the rear.
Take your time with this step. Assembly often makes the biggest difference between an okay-looking amigurumi and one that feels polished.
Step 9: Add the final corgi details
Look at your puppy from every angle.
Check the ear placement, facial expression, leg position, and body shape. You can gently adjust the stuffing before closing any loose areas.
Consider adding a tiny tail if you want one. A small crocheted nub works well without distracting from the long body.
You can also add a miniature collar using yarn or another safe decorative detail.
If you plan to give your amigurumi to a young child, avoid loose decorative parts that could create a choking hazard.
Step 10: Give your finished puppy a final shaping
Your final shaping session is like giving your crochet corgi a little spa treatment.
Use your fingers to gently smooth the body and redistribute stuffing. Make sure the puppy can sit comfortably if you designed it as a sitting amigurumi.
Check that the legs touch the surface evenly. If one leg sits higher, carefully adjust the stuffing or sewing position.
Finally, weave in every loose yarn end securely.
Take a step back and admire your work. That tiny ball of yarn has officially become a corgi!
Easy Tips for a Better Crochet Corgi Pattern
Even simple amigurumi can become frustrating when the shape doesn’t look right. A few small techniques can save you time and help your puppy look much more polished.
The key is to slow down during shaping and assembly.
Keep your amigurumi stitches tight
Loose stitches can create visible gaps between the loops. Those gaps may expose the stuffing inside your puppy.
Try using a slightly smaller hook if your stitches naturally become loose.
Your fabric should feel firm without becoming uncomfortable to crochet.
Stuff gradually instead of all at once
Many beginners make the mistake of filling the entire body before finishing the crochet piece.
Instead, add small amounts of stuffing every few rounds. Push the filling gently into corners and curves.
This approach gives you much more control over the shape.
A well-stuffed body should feel full but still have some softness when squeezed.
Use stitch markers consistently
Continuous crochet rounds can become difficult to track, especially when you pause your project.
Place a stitch marker at the beginning of each round. Move it upward as you continue.
This simple habit helps prevent accidental increases or decreases.
If your stitch count starts looking strange, stop and check before continuing. Fixing a mistake early usually takes much less time.
Take a photo before final assembly
Here is a little trick that can help you spot problems.
Place all your finished pieces together without sewing them. Take a quick photo from the front.
Photos often reveal uneven ears or poorly positioned legs that you might not notice while holding the pieces.
Adjust everything until the silhouette looks balanced.
Make Your Crochet Corgi Extra Cute With Personal Details
Your puppy doesn’t have to look exactly like every other handmade corgi.
Personal touches can turn a basic amigurumi into a character with its own personality.
Try different corgi color combinations
Classic colors are always adorable, but you can have fun experimenting.
Try:
- Reddish brown with cream
- Golden tan with white
- Caramel with ivory
- Warm brown with a cream face
- Soft peach with white
- Honey yellow with beige
If you are making several puppies, assign each one a different color combination.
Add a tiny handmade accessory
A small accessory can make your corgi look ready for a photoshoot.
Try a tiny scarf, bow, collar, or miniature bandana.
Keep accessories removable when possible, especially if the toy will become a gift.
For a seasonal version, you could create a little winter scarf or a tiny festive bow.
Create different facial expressions
You can make sleepy eyes, happy eyes, surprised eyes, or a simple embroidered expression.
Changing the eye position by just a few millimeters can completely alter the personality.
This makes it fun to create a whole family of crochet puppies.
Troubleshooting Common Crochet Corgi Problems
Even experienced crocheters occasionally end up with a lopsided ear or a body that looks more like a potato than a puppy.
Don’t panic. Amigurumi is very forgiving.
Why does my corgi look too round?
Your body may need more even rounds before you start decreasing.
If the shape looks like a ball instead of a longer corgi body, add a few rounds without increases.
You can also gently reshape the stuffing from the inside.
Why are my ears floppy?
Loose stitches or insufficient structure can make the ears collapse.
Try tightening your tension or adding a small amount of extra yarn inside the ear.
You can also crochet the ear with slightly smaller stitches.
Why does my puppy look uneven?
Uneven assembly usually causes this problem.
Place both ears and all four legs before sewing. Compare their positions from the front and side.
Small differences are normal in handmade crochet, but careful placement can improve symmetry.
Why can I see the stuffing?
Your stitches are probably too loose.
Try a smaller hook or tighter tension. You can also add stuffing more gradually so you don’t stretch the stitches outward.
Remember that the goal is a firm crochet fabric with no obvious gaps.
Where to Find More Crochet Inspiration
Once you finish one corgi, you may suddenly want an entire collection of crochet dogs.
That’s one of the best things about amigurumi. A basic construction can inspire dozens of new characters.
For general dog breed information and inspiration, you can explore the American Kennel Club’s Pembroke Welsh Corgi information.
For yarn inspiration, you can also browse Lion Brand’s official yarn collection and compare textures before starting your next project.
Build a handmade dog collection
Once you understand the basic head, body, ear, and leg shapes, you can adapt the proportions for other breeds.
Try creating a dachshund with a longer body, a pug with a wider face, or a floppy-eared spaniel.
The same basic crochet skills can take you surprisingly far.
Turn your corgi into a thoughtful gift
Handmade animals make wonderful gifts because they carry a personal touch.
A crochet puppy can become a birthday present, baby-room decoration, desk companion, or little keepsake.
You can customize the colors to match someone’s favorite dog.
That extra thought can make a simple handmade gift feel incredibly special.
Frequently Asked Questions About Crochet Corgi Pattern
How long does it take to crochet a corgi?
A beginner may need several hours to complete a crochet corgi, depending on yarn, hook size, and experience. Experienced crocheters can often work much faster. Assembly also takes time because you need to sew the ears, legs, muzzle, and other pieces securely.
What yarn is best for a crochet corgi?
Smooth DK or worsted-weight yarn works especially well for beginners because you can clearly see your stitches. Paintbox Simply DK yarn creates a neat finish, while plush yarn can create a softer, cuddly appearance. Choose a yarn that lets you maintain firm, consistent stitches.
Is a crochet corgi pattern good for beginners?
Yes, especially if you already know single crochet, increases, decreases, and basic sewing. The project uses simple rounded shapes rather than complicated stitch patterns. Beginners should work slowly and use stitch markers to keep track of continuous rounds.
What size safety eyes should I use for corgi amigurumi?
For a medium-sized amigurumi, 9mm safety eyes can create a balanced kawaii expression. Smaller projects may look better with 6mm eyes, while larger designs can handle 12mm eyes. Always check the finished head size before permanently positioning the eyes.
How do I make crochet corgi ears stand up?
Keep the ear stitches fairly tight and avoid overstuffing them. You can also make the ear slightly thicker or add a small amount of yarn inside for extra structure. Carefully sewing the ears close to the top of the head also helps them maintain an upright position.
Can I sell amigurumi I make from this pattern?
If you use a pattern with terms that allow finished items to be sold, you can generally sell your handmade creations. Always check the specific pattern’s copyright and selling terms first. When selling handmade items, describe them accurately and avoid presenting someone else’s pattern as your own.
Final Thoughts on Your Crochet Corgi Pattern
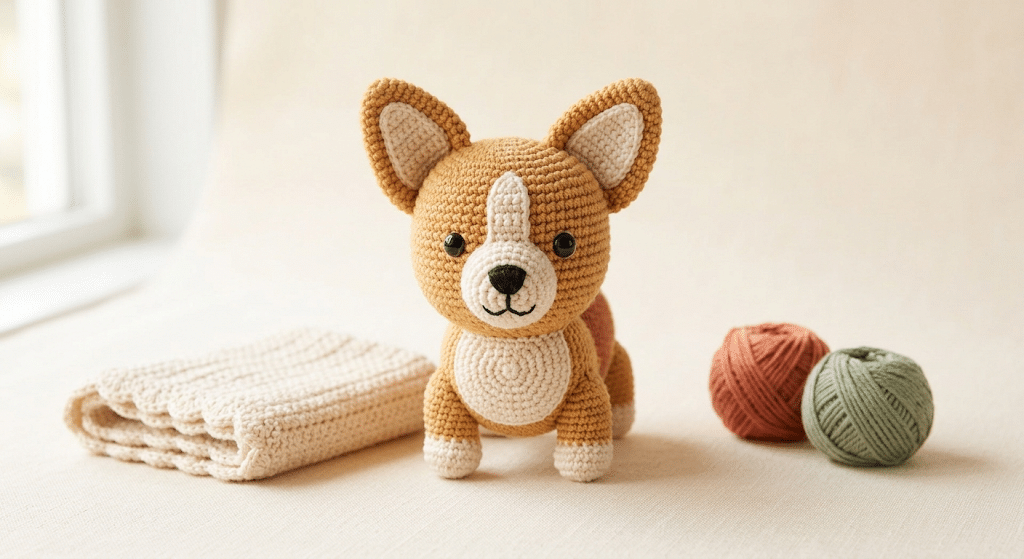
Creating a tiny puppy from yarn is such a rewarding project. You start with a few simple crochet shapes, then slowly add the ears, face, legs, and personality until your little corgi seems ready to wag its tail.
The beauty of a crochet corgi pattern is that you can make it completely yours. Change the colors, adjust the expression, add a tiny accessory, or create an entire family of different corgis.
Most importantly, don’t worry about making your first puppy perfect. Every finished amigurumi teaches you something new, and your handmade stitches are part of what makes the finished gift special.
Save this pin to your crochet board on Pinterest so you can find this pattern anytime!
Looking for more free crochet animal patterns? Visit Yarned Animals for new amigurumi patterns, kawaii plushies and beginner crochet tutorials added every week at yarnedanimals.com