
Table of Contents
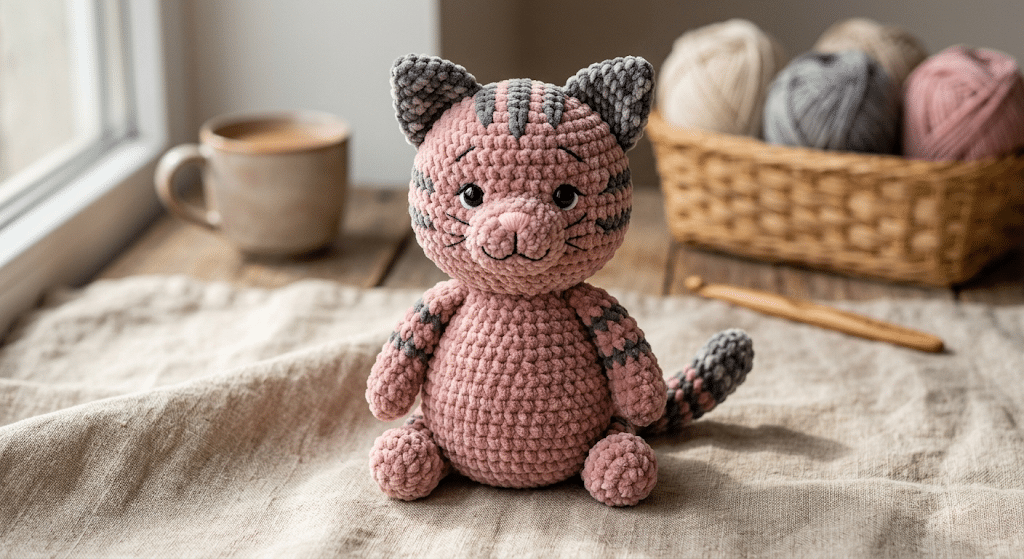
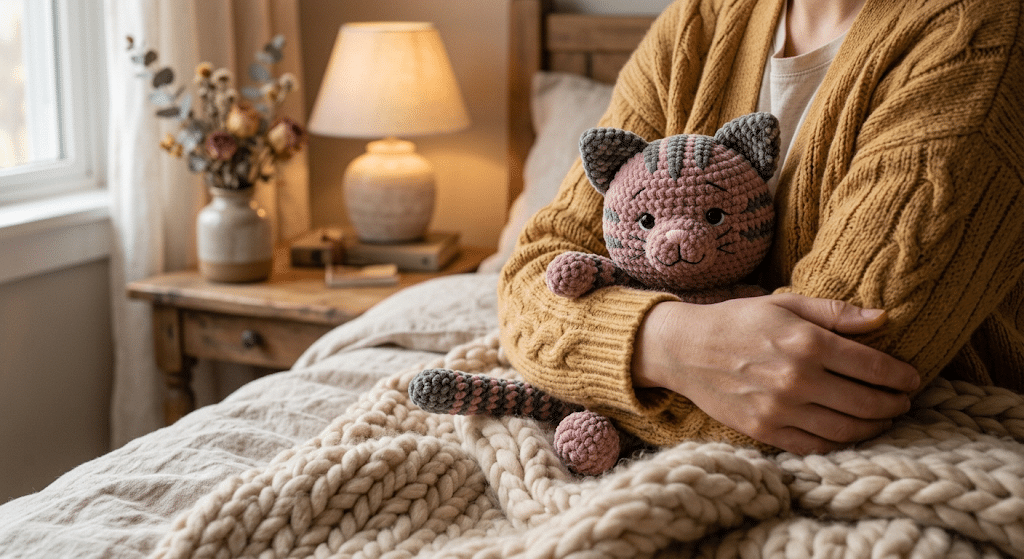
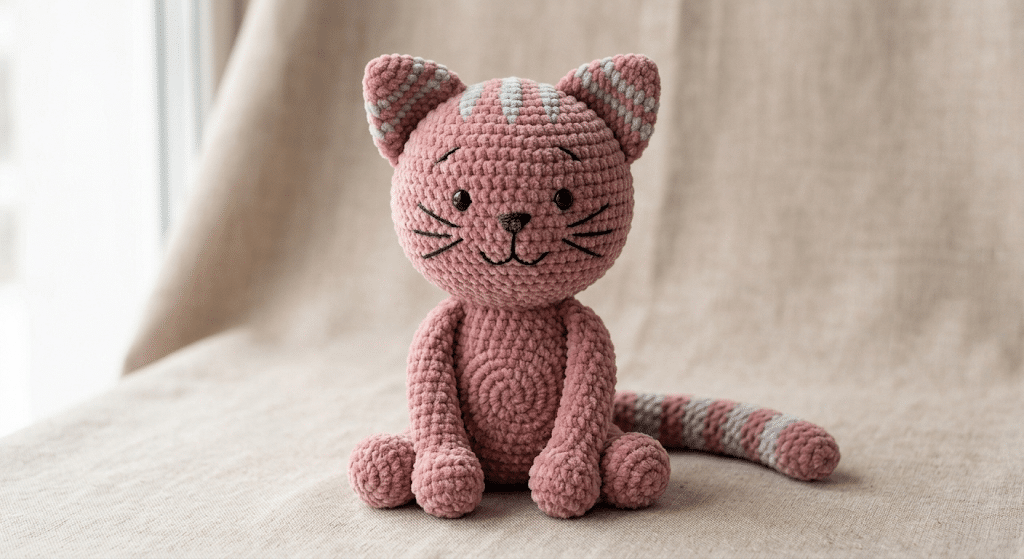
There’s something irresistible about a squishy, softly-striped cat plushie small enough to tuck under an arm at bedtime. This dusty-rose kitty, with its gray tabby-striped ears and tail, is exactly that kind of project — cozy, a little whimsical, and satisfying to build piece by piece.
This pattern sits at an intermediate level. None of the individual stitches are tricky, but the head shaping involves a long, detailed stitch count, and the striped tail means juggling two colors across many rounds. If you’ve crocheted amigurumi before, you’ll move through this comfortably. If this is your first one, don’t worry — every round is spelled out so you always know exactly where you are.
You’ll crochet seven pieces separately (body, head, two legs, two ears, two arms, a tail, and three little stripes), then assemble them with simple sewing at the end.
Materials
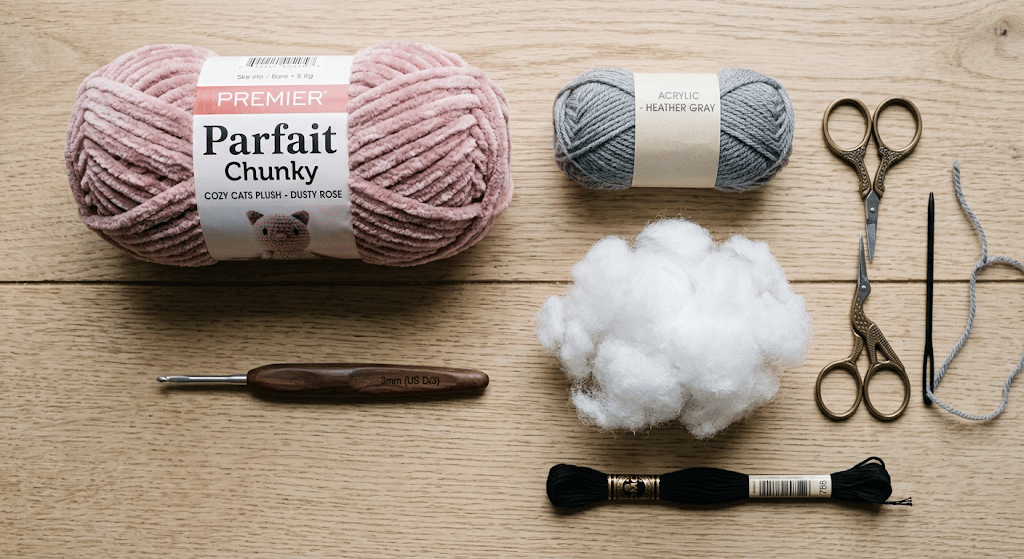
- Worsted-weight plush or velvet yarn (something like YarnArt Dolce works well) — about 1.5 skeins in your main color; the sample uses dusty rose
- A small amount of contrasting yarn (gray in the sample) for the ears, tail stripes, and head stripes
- A 3mm (US D-3) crochet hook
- Polyester fiberfill
- A stitch marker
- A yarn or tapestry needle
- Black embroidery floss (or thin black yarn) for the face
- Scissors
Abbreviations (US terms)
| Abbreviation | Meaning |
|---|---|
| ch | chain |
| dec | decrease (invisible decrease) |
| inc | increase (2 sc in the same stitch) |
| MR | magic ring |
| sc | single crochet |
| st(s) | stitch(es) |
| BLO | back loop only |
Before You Begin
- Everything is worked in continuous spiral rounds — no joining or turning unless a step tells you to.
- On the head’s first round, you’ll see a “3-increase,” meaning three single crochets worked into one stitch. It’s called out right where it happens.
- Gauge doesn’t need to be exact — just crochet tightly enough that stuffing won’t peek through.
- Stitch counts are given in parentheses at the end of each round, e.g. (24).
- A few rounds on the body and legs are worked in the back loop only (BLO), which leaves a visible ridge — useful later as a guide for shaping and sewing.
- The tail and the head stripes swap between main and contrast color partway through, so read ahead before starting those pieces.
The Pieces
Body
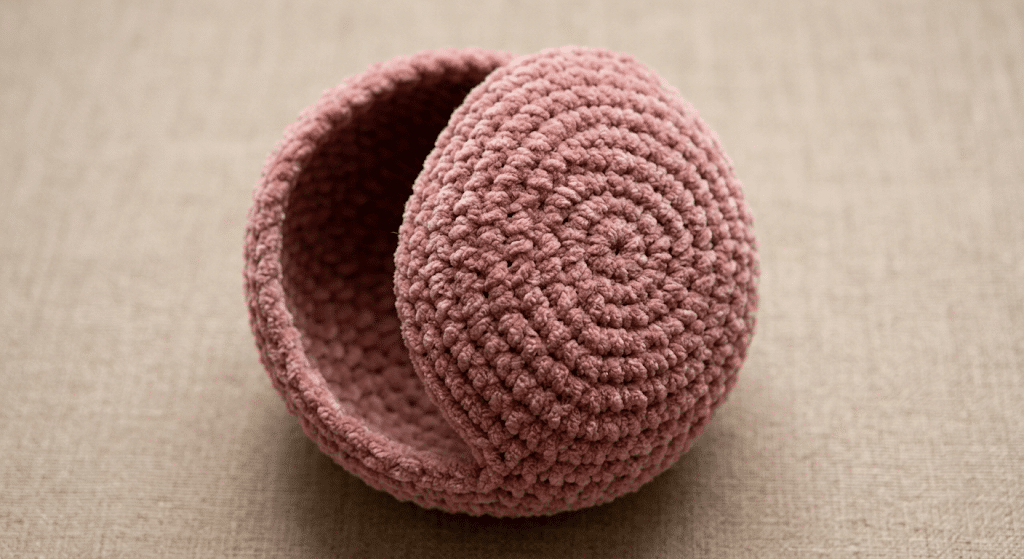
Ch 12.
- Rnd 1: (inc, 9 sc, inc) ×2 around — 26 sts
- Rnd 2: (2 inc, 4 sc, inc, 4 sc, 2 inc) ×2 around — 36 sts
- Rnd 3: (sc, inc, 3 sc, inc, 6 sc, inc, 3 sc, inc, sc) ×2 around — 44 sts
- Rnd 4: sc around, in BLO — 44 sts
- Rnds 5–17: sc around, plain — 44 sts (13 rounds)
- Rnd 18: (2 sc, dec, 3 sc, dec, 6 sc, dec, 3 sc, dec) ×2 around — 36 sts
- Rnd 19: sc, 2 dec, sc, dec, dec, 2 sc, dec, sc, sc, 2 dec, sc, dec, dec, 2 sc, dec, sc, dec — 24 sts
Fasten off, leaving an opening for stuffing (unless you’ve stuffed as you went).
Head
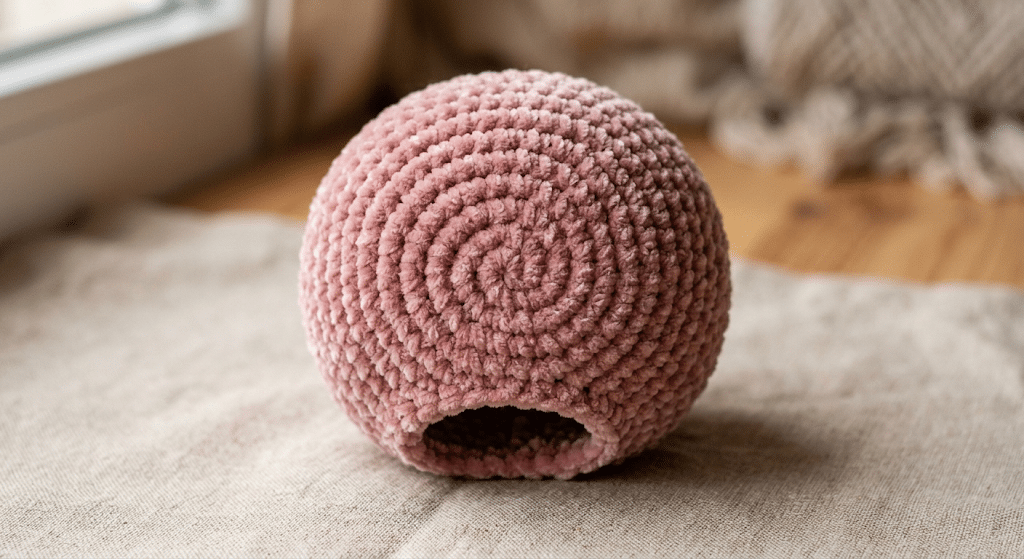
Ch 7.
- Rnd 1: 5 sc, (3 sc in same st), 4 sc, inc — 14 sts
- Rnd 2: inc, 4 sc, (inc ×3), 4 sc, 2 inc — 20 sts
- Rnd 3: inc, 6 sc, (inc ×4), 6 sc, 3 inc — 28 sts
- Rnd 4: (inc, 8 sc, inc, sc, 2 inc, sc) ×2 around — 36 sts
- Rnd 5: (inc, 10 sc, inc, sc, inc, 2 sc, inc, sc) ×2 around — 44 sts
- Rnd 6: sc around — 44 sts
- Rnd 7: inc, 12 sc, inc, (2 sc ×3), inc, 12 sc, inc, (2 sc ×3) — 52 sts
- Rnd 8: sc around — 52 sts
- Rnd 9: 2 sc, inc, 10 sc, inc, (2 sc ×5), inc, 10 sc, inc, (2 sc ×4), inc — 64 sts
- Rnd 10: sc around — 64 sts
- Rnd 11: 2 sc, inc, 15 sc, inc, (3 sc ×4), inc, 15 sc, inc, 3 sc, (inc ×3), sc — 74 sts
- Rnds 12–18: sc around, plain — 74 sts (7 rounds)
- Rnd 19: sc, dec, 15 sc, dec, (3 sc ×4), dec, 15 sc, dec, 3 sc, (dec ×3), 2 sc — 64 sts
- Rnd 20: sc around — 64 sts
- Rnd 21: dec, (2 sc ×4), dec, 10 sc, dec, (2 sc ×5), dec, 10 sc, dec, 2 sc — 52 sts
- Rnd 22: sc around — 52 sts
- Rnd 23: 2 sc, (dec ×3), 12 sc, dec, (2 sc ×3), dec, 12 sc, dec — 44 sts
- Rnd 24: sc around — 44 sts
- Rnd 25: sc, dec, 2 sc, dec, sc, dec, 10 sc, dec, sc, dec, 2 sc, dec, sc, dec, 10 sc, dec — 36 sts
- Rnd 26: sc around — 36 sts
- Rnd 27: sc, 2 dec, sc, dec, dec, 2 sc, dec, sc, sc, 2 dec, sc, dec, dec, 2 sc, dec, sc, dec — 24 sts
- Rnd 28: sc around — 24 sts
Stuff firmly before closing so the head keeps a smooth, round shape. Fasten off, leaving an opening to attach it to the body.
Legs (make 2)
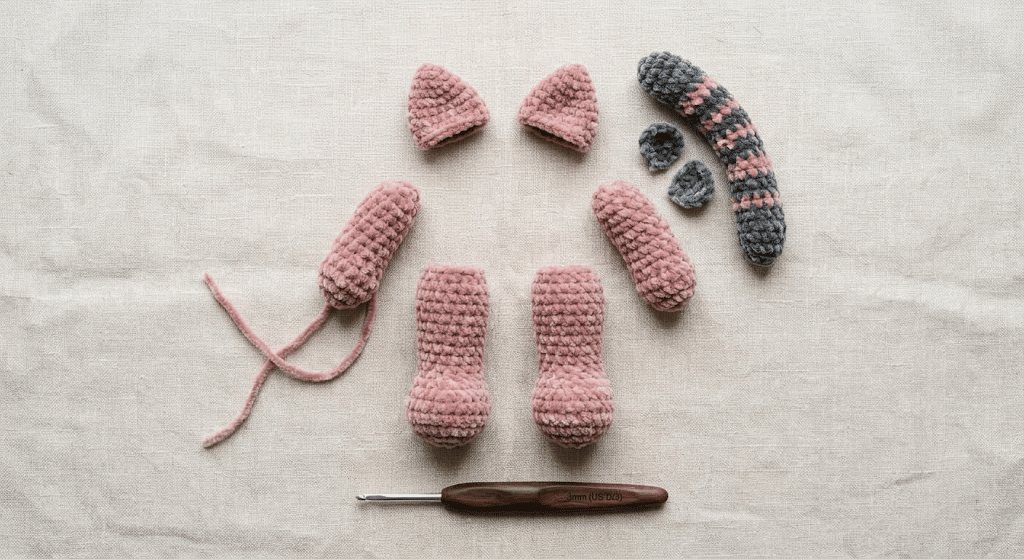
- Rnd 1: 6 sc in MR — 6 sts
- Rnd 2: inc around — 12 sts
- Rnd 3: (sc, inc) ×6 around — 18 sts (switch to main color here)
- Rnd 4: (2 sc, inc) ×6 around — 24 sts
- Rnd 5: sc around, in BLO — 24 sts
- Rnds 6–10: sc around, plain — 24 sts (5 rounds)
Stuff lightly, close, fasten off, weave in the end.
Ears (make 2)
- Rnd 1: 5 sc in MR
- Rnd 2: inc around — 10 sts
- Rnd 3: sc around — 10 sts
- Rnd 4: (sc, inc) ×5 around — 15 sts
- Rnd 5: (2 sc, inc) ×5 around — 20 sts
- Rnd 6: sc around — 20 sts
- Rnd 7: (3 sc, inc) ×5 around — 25 sts
Fasten off with a long tail for sewing. Leave unstuffed — flatten before attaching.
Arms (make 2)
- Rnd 1: 6 sc in MR — 6 sts
- Rnd 2: inc around — 12 sts
- Rnd 3: (sc, inc) ×6 around — 18 sts
- Rnds 4–8: sc around, plain — 18 sts (5 rounds)
Stuff lightly, close, and fasten off with a long tail for sewing.
Tail
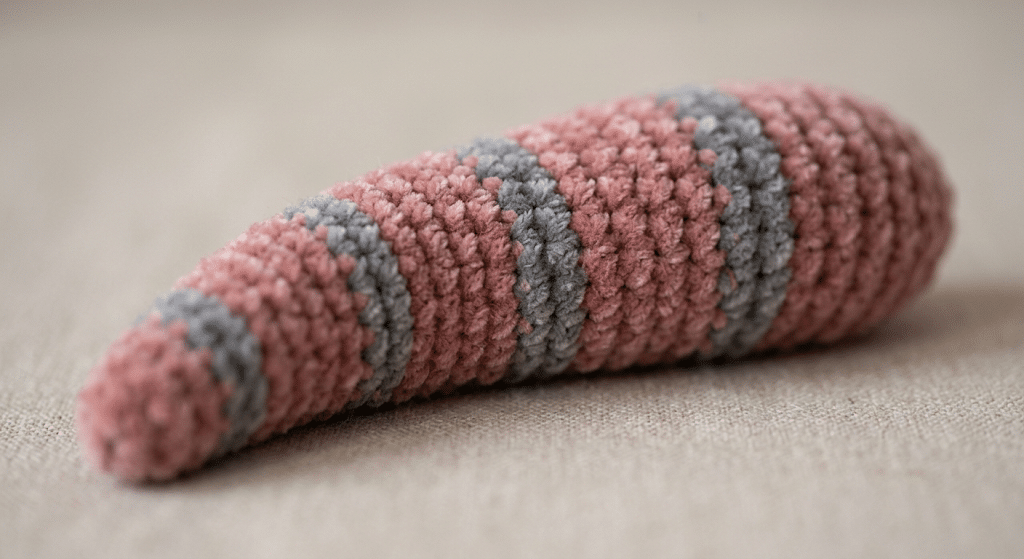
Start in contrast color.
- Rnd 1: 5 sc in MR — 5 sts
- Rnd 2: inc around — 10 sts
- Rnd 3: (sc, inc) ×5 around — 15 sts
- Rnds 4–6: sc around, contrast color (3 rounds)
- Switch to main color
- Rnds 7–13: sc around, main color (7 rounds)
- Switch to contrast color
- Rnds 14–18: sc around, contrast color (5 rounds)
- Switch to main color
- Rnds 19–25: sc around, main color (7 rounds)
- Switch to contrast color
- Rnds 26–30: sc around, contrast color (5 rounds)
- Switch to main color
- Rnds 31–34: sc around, main color (4 rounds)
Stuff lightly as you go for a soft, floppy tail. Fasten off and weave in the end.
Head Stripes (make 3)
Worked flat, in contrast color.
Ch 15. Starting in the 2nd chain from the hook: inc, then sc across to the last chain, then 3 sc in the final chain.
Fasten off with a long tail for sewing.
Assembly
- Sew each leg to the body, lining it up between body rounds 4–10.
- Sew each arm to the body, between body rounds 11–17.
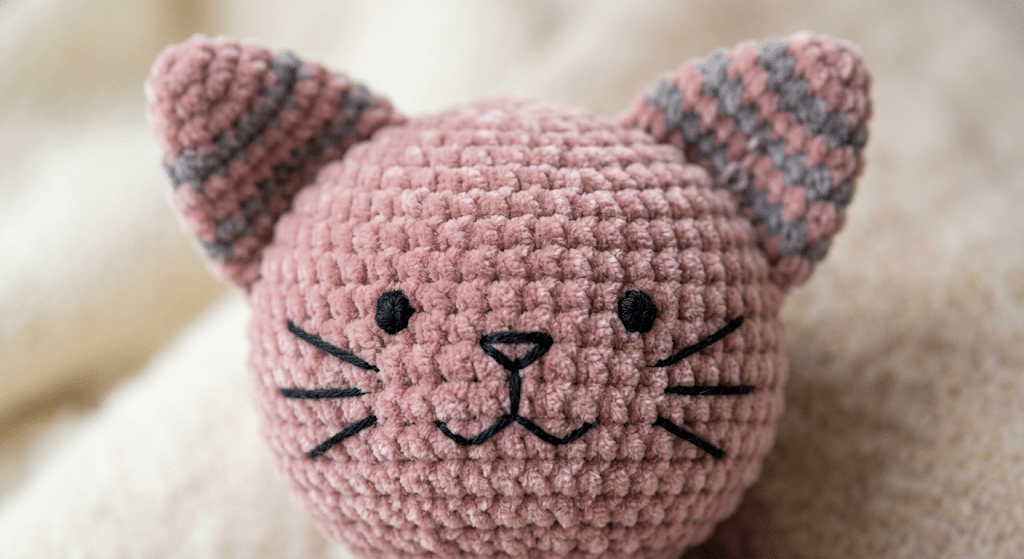
- Embroider the eyes, nose, and whiskers onto the front of the head with black floss.
- Sew the ears to the top of the head, evenly spaced.
- Sew the three contrast stripes down the center of the head, between the ears.
- Attach the head to the body, adjusting the tilt until you like how the kitty sits.
- Sew the striped tail securely to the back of the body.
- Weave in every remaining end.
Tips for a Cleaner Finish
- Keep tension snug. Plush yarn hides a lot, but loose stitches will let stuffing show through — especially around the head, where the fabric stretches most.
- Use the invisible decrease. For every “dec,” go into the front loops of the next two stitches and pull through both, rather than a standard decrease — it keeps the surface smooth instead of leaving a ridge.
- Don’t overstuff. Firm enough to hold shape, but stop before the stitches start to gap or the fabric feels hard.
- Stick with worsted-weight plush yarn if substituting. A thinner or stiffer yarn will change both the size and the soft texture that makes this pattern work.
- Sew from the inside out. Small, close stitches worked from the inside of the seam outward hide the join almost completely once the piece settles.
Wrapping Up
A few rounds, two colors of yarn, and you’ve got a genuinely charming little cat. This one makes a sweet gift for a baby shower or birthday — or just a treat to keep for yourself.