
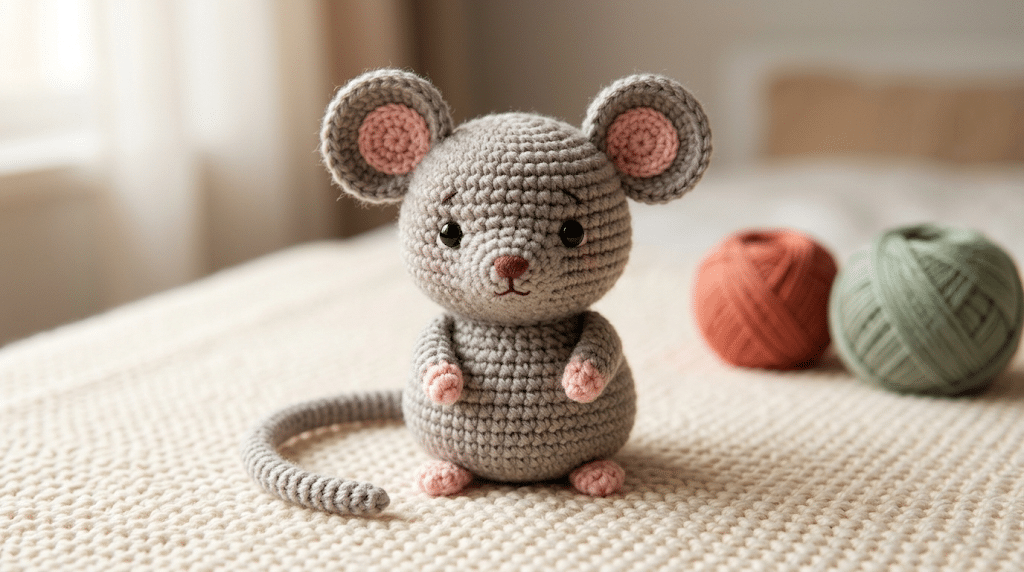
There is something irresistibly sweet about a tiny crochet mouse with round ears, a little nose, and a curly tail. One small ball of yarn can quickly become a pocket-sized friend that feels full of personality.
This crochet mouse pattern gives you a simple way to create your own cute amigurumi mouse without feeling overwhelmed. You will learn how to shape the body, add those signature mouse ears, create a tiny snout, and finish your project with charming details.
The design works beautifully as a handmade gift, nursery decoration, desk companion, or kawaii crochet collection piece. You can also change the colors to create your own little mouse family.
Before you pick up your hook, let’s gather everything you need and make this project feel wonderfully simple.
Table of Contents
Why This Crochet Mouse Pattern Is So Cute and Beginner-Friendly
A mouse might look complicated at first because of its tiny features. Thankfully, amigurumi shapes rely on a few repeatable techniques that become much easier after your first few rounds.
This design keeps the overall shape simple. You will build a rounded body, shape a slightly pointed face, and add separate ears and a tail.
The result has that classic kawaii amigurumi look. A slightly oversized head, tiny feet, round ears, and small facial details instantly make the mouse adorable.
A small project with a big personality
One reason I love making crochet mice is their size. You can finish a small mouse without committing to a huge weekend project.
They also make wonderful handmade gifts. A finished mouse can fit inside a gift basket, sit beside a plant, decorate a bookshelf, or become a sweet little birthday surprise.
For beginners, smaller projects also provide useful practice. You get to work with increases, decreases, stuffing, shaping, and simple sewing without dealing with a large finished piece.
Simple stitches keep the project approachable
You mainly need familiar amigurumi techniques such as a magic ring, single crochet, increase, and decrease.
If pattern abbreviations make you nervous, keep a quick reference nearby. The Craft Yarn Council provides a useful guide to common crochet abbreviations, including sc for single crochet, inc for increase, and dec for decrease.
You do not need advanced crochet skills to make this little character. Take each section one step at a time.
Choose a color that matches your personality
Traditional mouse colors include gray, cream, taupe, and soft brown. However, amigurumi gives you plenty of freedom.
Try dusty pink for a sweet nursery mouse. Choose cream and caramel for a cozy woodland look.
You could even make a tiny white mouse with a pastel pink nose for a magical kawaii style.
For a smooth beginner-friendly finish, I often reach for Paintbox Simply DK yarn when teaching projects like this because the stitches are easy to see.
Crochet Mouse Pattern Materials and Easy Preparation
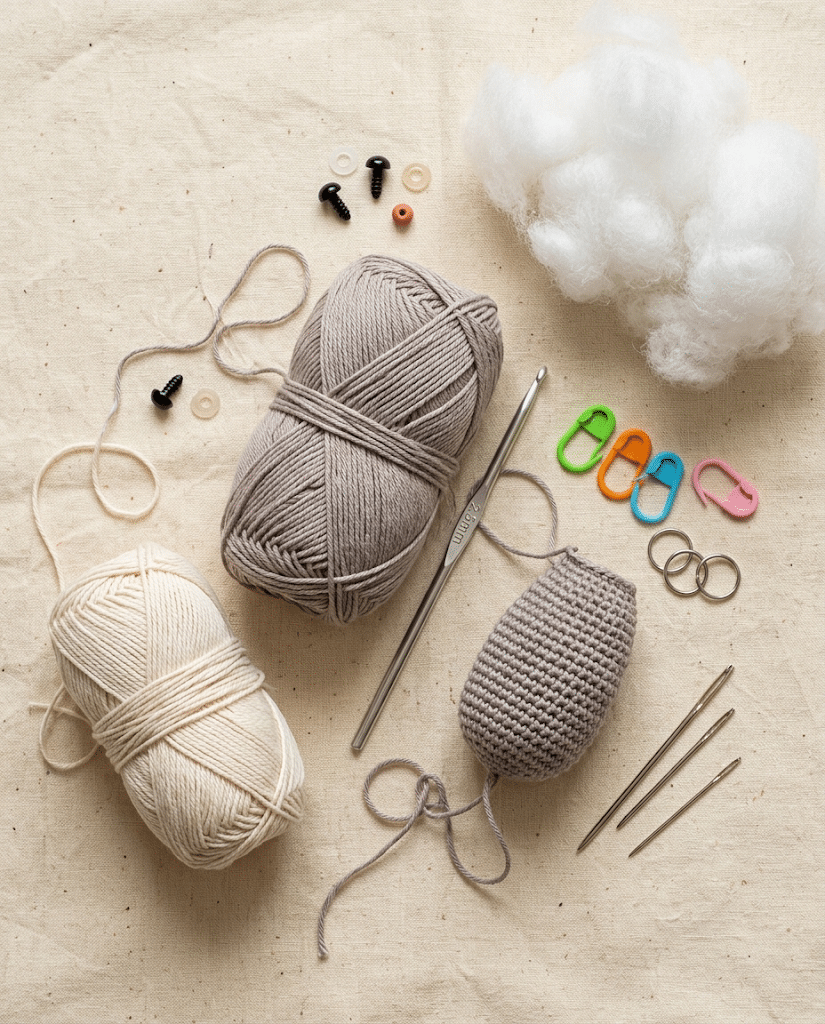
Now that you know how approachable this project can be, let’s prepare your supplies.
You do not need a huge craft collection. A few basic tools can take you from your first stitch to a finished amigurumi mouse.
Choose yarn that gives you clear stitch definition. Smooth yarn usually makes it easier to see where your hook needs to go, especially when you are learning increases and decreases.
Pick the right yarn and hook combination
For a small crochet mouse, a smooth DK-weight yarn works beautifully. You want enough structure to create a firm shape while keeping the finished toy soft.
Use a crochet hook that creates tight stitches. Amigurumi should not have large gaps because stuffing can show through the fabric.
Your tension matters more than matching a specific hook size. If your stitches look loose, try a smaller hook.
Prepare stuffing and facial details
You will need soft fiberfill for the body. Add stuffing gradually rather than filling the entire body at once.
This helps you control the shape. Too much stuffing can stretch your stitches, while too little can leave the mouse looking flat.
Poly-fil Premium fiberfill works well for creating a soft, rounded amigurumi shape.
You will also need safety eyes and a small amount of yarn for the nose. For this mouse, 6mm or 9mm safety eyes can create different expressions depending on the finished size.
Keep your tools organized
A stitch marker makes continuous rounds much easier to follow. You can also use a yarn needle for attaching the ears, tail, and other pieces.
Before beginning, place everything within easy reach. It sounds simple, but organized supplies make crochet sessions much more relaxing.
If you enjoy longer crochet sessions, a Clover Amour crochet hook can also feel comfortable in your hand because its handle is designed for an easy grip.
Crochet Mouse Pattern: 10 Easy Steps to Build Your Amigurumi
Here is the fun part. Your little mouse starts taking shape now.
The pattern follows the basic construction used in many amigurumi animals. You create the body first, then add the smaller pieces and facial details.
Remember that tight, even stitches create the neatest finish. If your tension changes during the project, do not worry. Small handmade differences are part of the charm.
Step 1: Start the amigurumi body
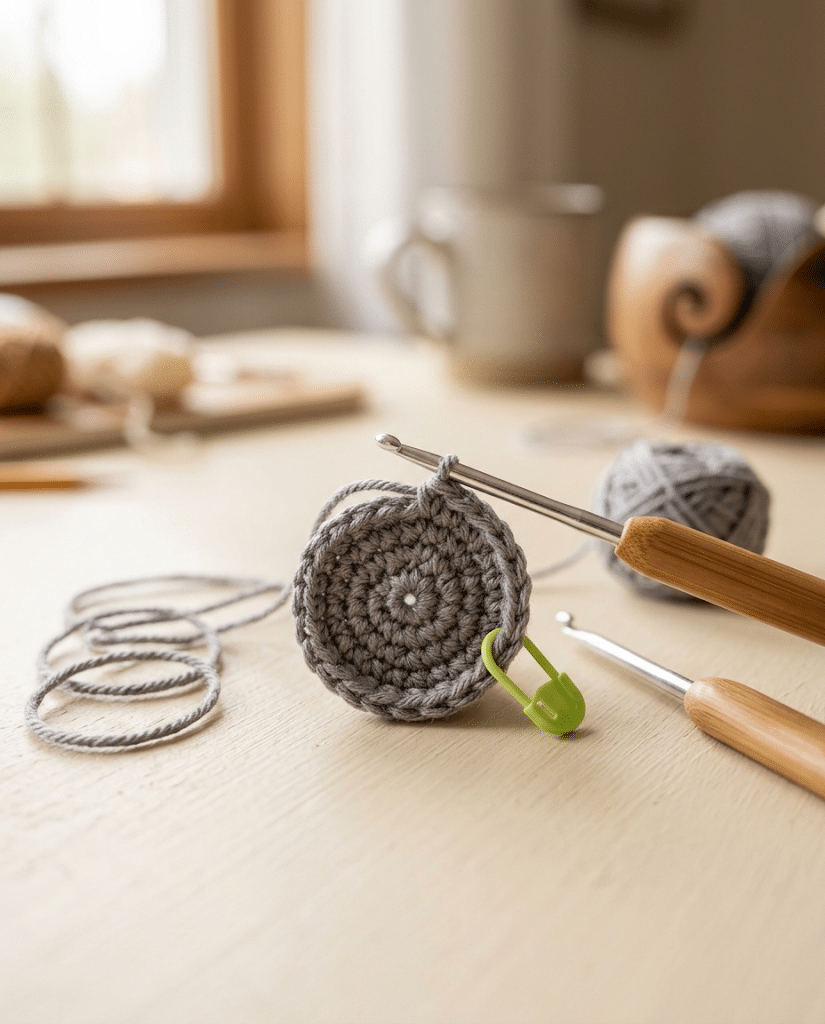
Begin with a magic ring using your main yarn color.
Work single crochet stitches into the ring and gently pull it closed. This creates the rounded starting point for your mouse.
As you continue, use increases to expand the shape. Keep your stitches snug without pulling your yarn so tightly that your hook becomes difficult to move.
Place your stitch marker at the beginning of each round. This small habit can save you from losing your place later.
Step 2: Shape the rounded body
Continue crocheting around the growing circle.
Your increases gradually create a rounded body instead of a flat disk. Once the widest part develops, continue with even rounds to build the mouse’s height.
Try placing a little stuffing inside once the opening becomes large enough. This helps you see whether your shape feels balanced.
Do not completely fill the body yet. You still need room to shape the upper section.
Step 3: Create the cute mouse head
The head and body can form one continuous shape, which reduces the amount of sewing required.
Begin decreasing gradually toward the top. Keep checking the shape as you work.
The goal is a softly rounded head rather than a perfectly spherical shape. A slightly tapered face gives your mouse a more recognizable silhouette.
Add stuffing in small amounts as you close the opening. Use the blunt end of your yarn needle to gently distribute fiberfill into small spaces.
Step 4: Shape the tiny mouse snout
The face is where your mouse really starts to develop personality.
Keep the front of the head slightly narrower. This creates a sweet little muzzle where you can later attach the nose.
Avoid overstuffing this area. A little softness helps create the gentle shape that makes kawaii amigurumi so charming.
If your mouse looks too round, add a little less stuffing near the face. If the snout looks too flat, add a small amount before closing the head.
Step 5: Crochet the round mouse ears
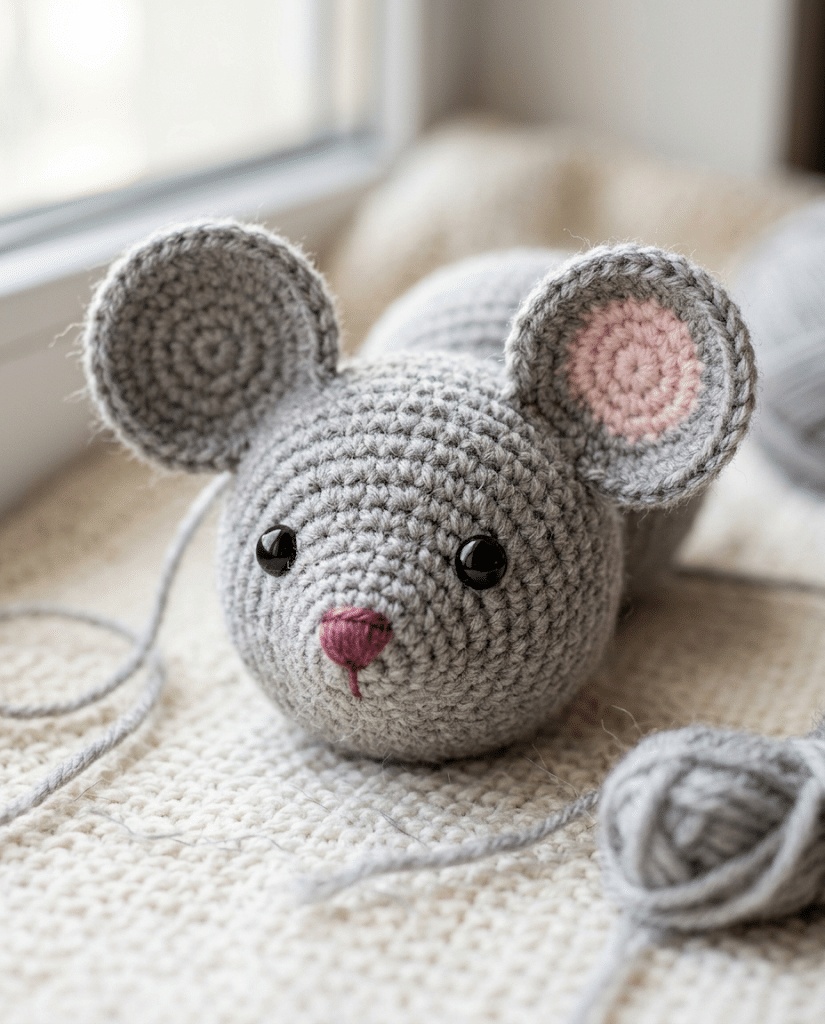
Next, make two small circular ears.
Start each ear with a magic ring and work outward with increases. Keep the edges smooth and even.
You can make the ears entirely from the main color. For extra character, add a smaller inner-ear section in pink, cream, or a slightly darker shade.
When attaching the ears, place them slightly toward the back of the head. This creates a more natural mouse silhouette.
Pin both ears before sewing them permanently. Step back and look at the face from several angles.
Step 6: Add tiny feet or paws
Small feet give your crochet mouse a cute standing shape.
Create two compact paw pieces using your main yarn. Keep them firm enough to support the body without making them too bulky.
Position the paws near the bottom of the body. Make sure both sides sit at a similar height.
You can stitch them securely with your yarn needle. Take a few extra passes through the attachment points so the pieces stay firmly in place.
Step 7: Make the mouse tail
A mouse needs a tail, and this tiny detail adds so much personality.
Create a narrow crocheted tail or a simple yarn tail depending on the style you prefer.
For a playful look, let the tail curve gently to one side. You can shape it by adjusting your tension or lightly positioning it during sewing.
Attach the tail at the back of the body. Keep the attachment secure but avoid pulling so tightly that the body becomes distorted.
Step 8: Attach the safety eyes
Now your mouse gets its expression.
Position the safety eyes evenly on the face. Before securing them, hold them against the crochet and check the placement from the front.
Move them slightly closer together for a sweet expression. Place them a little farther apart for a more curious look.
For a larger mouse, 9mm safety eyes can create a bold kawaii appearance. For a tiny mouse, 6mm eyes may look more balanced.
Always consider the intended recipient when using safety eyes. For very young children, embroidered facial features can be a safer alternative.
Step 9: Embroider the nose and tiny details
Use a small amount of contrasting yarn to embroider the nose.
A tiny triangular or rounded nose works beautifully. Keep the stitches close together so the nose looks neat.
You can also add a subtle mouth using a few embroidery stitches. Small details make a surprisingly large difference.
If you want rosy cheeks, use a tiny amount of blush or a soft yarn detail. Keep the face simple because the minimalist expression is part of the kawaii style.
Step 10: Finish, shape, and admire your mouse
Once every piece feels secure, weave in your loose ends.
Give your mouse a gentle squeeze and check its shape. Adjust the stuffing if one side looks fuller than the other.
Look at the ears, eyes, paws, and tail from different angles. A tiny adjustment can make your finished amigurumi look much more polished.
Then comes the best moment: hold your finished mouse in your hands.
You made it from yarn and a crochet hook. That little accomplishment deserves a smile.
Helpful Tips for a Neat Crochet Mouse Amigurumi
Before you start another mouse, take a moment to learn a few tricks that can make your next project even easier.
Amigurumi rewards patience. You do not need perfect stitches from the beginning.
Instead, focus on maintaining consistent tension and checking your shape regularly.
Keep your stuffing smooth and even
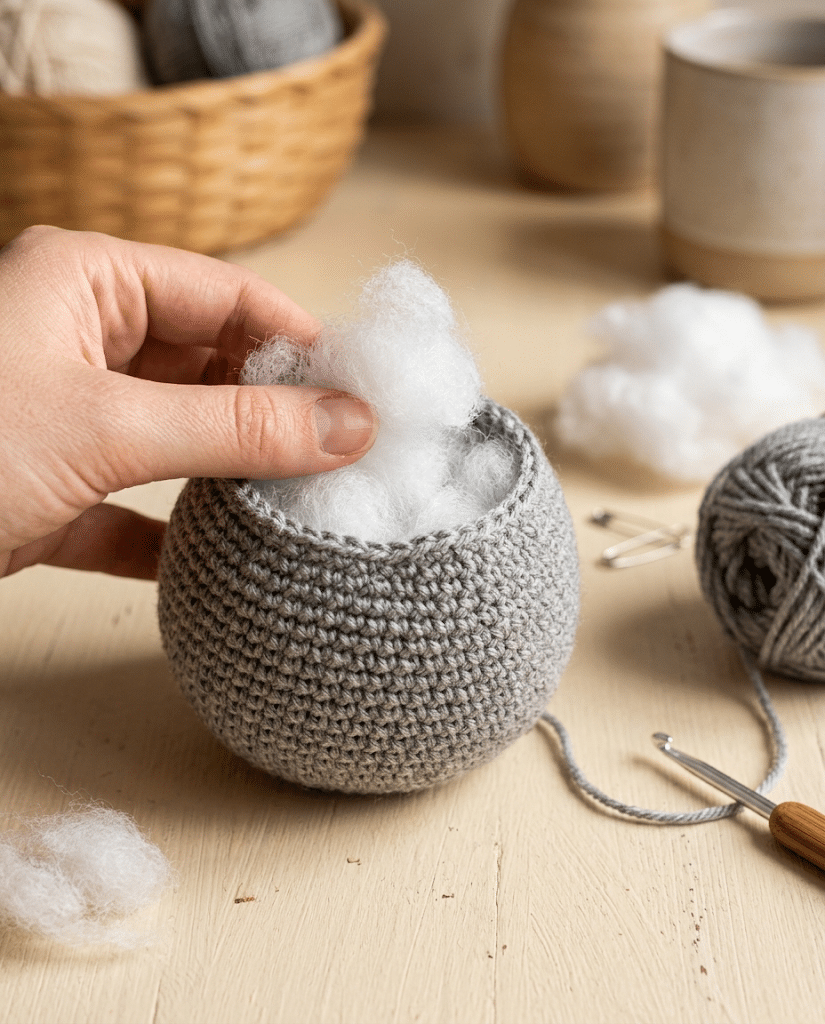
Stuffing can dramatically change the appearance of your crochet mouse.
Add small pieces instead of pushing in one large handful. This gives you much better control.
Use your fingers to distribute the fiberfill around the head and body. Check the silhouette as you go.
If you notice visible gaps between stitches, remove a little stuffing or switch to a smaller hook on your next attempt.
Use invisible decreases for cleaner shaping
A regular decrease can sometimes leave visible lines on an amigurumi surface.
An invisible decrease creates a smoother transition and works especially well around the face.
Practice the technique on a small scrap piece first if it feels unfamiliar.
You will quickly notice how much cleaner your shaping can look.
Count your stitches regularly
Even if you dislike counting, checking your work saves time.
One missed increase can change the entire shape of the head. One extra stitch can make an ear sit differently.
If something suddenly looks uneven, stop and check your previous round.
You do not have to undo half your project immediately. First, inspect your stitch placement and compare both sides.
Give your mouse a unique personality
Once you understand the basic construction, experiment.
Make one mouse with oversized ears. Make another with a long curly tail.
Try different colors, tiny scarves, embroidered flowers, or miniature accessories.
You can also create a whole family with different personalities. A gray mouse could be the sleepy one, while a cream mouse becomes the adventurous friend.
That is one of the best things about handmade crochet. Your finished piece does not need to look exactly like anyone else’s.
Cute Ways to Use Your Finished Crochet Mouse
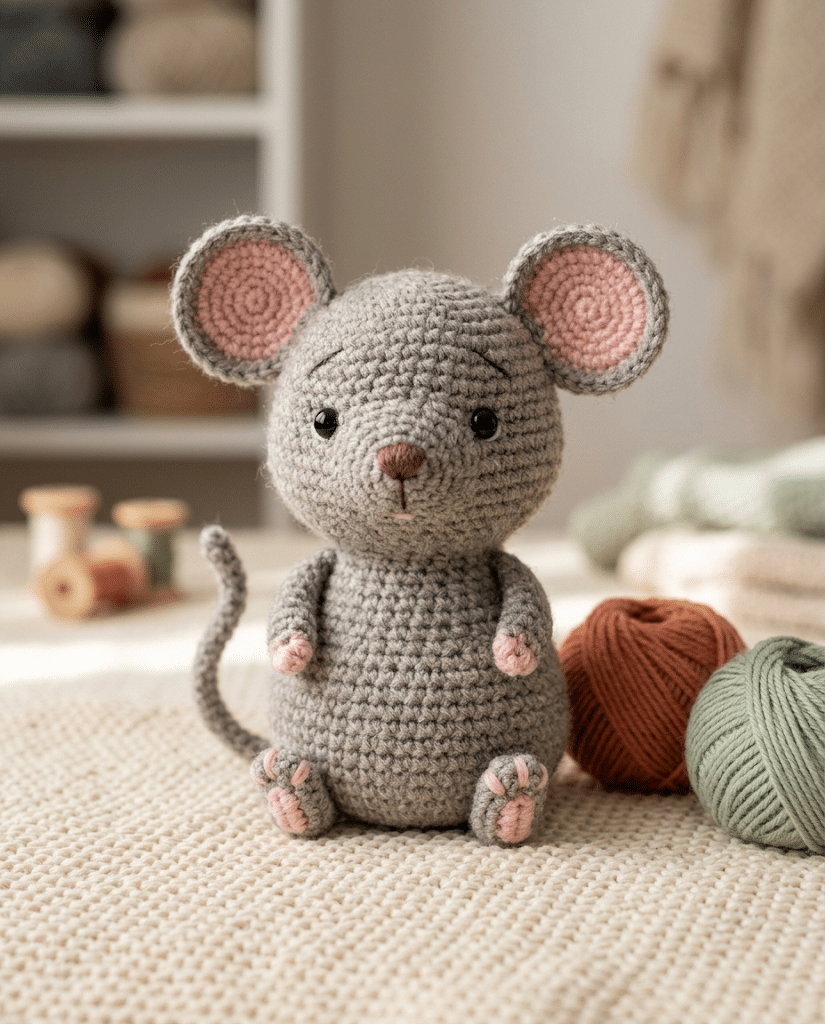
Your finished mouse does not have to sit in a craft basket.
This little amigurumi makes a charming decoration and an easy handmade gift.
Because the project is relatively small, you can also create several versions for different occasions.
Make a sweet handmade gift
A crochet mouse makes a thoughtful present for someone who loves handmade items.
Add it to a birthday gift basket, place it beside a greeting card, or package it with other cozy handmade goodies.
You can personalize the colors around the recipient’s favorite shades.
For an especially cute presentation, place your finished mouse inside a small gift box with tissue paper.
Create a woodland animal collection
Mouse designs pair beautifully with other crochet animals.
Create a small woodland shelf featuring mice, rabbits, squirrels, hedgehogs, and bears.
Use similar yarn colors across the collection so the animals feel like they belong together.
This can become a fun long-term crochet project. Each new animal adds another character to your handmade display.
Turn your mouse into seasonal decor
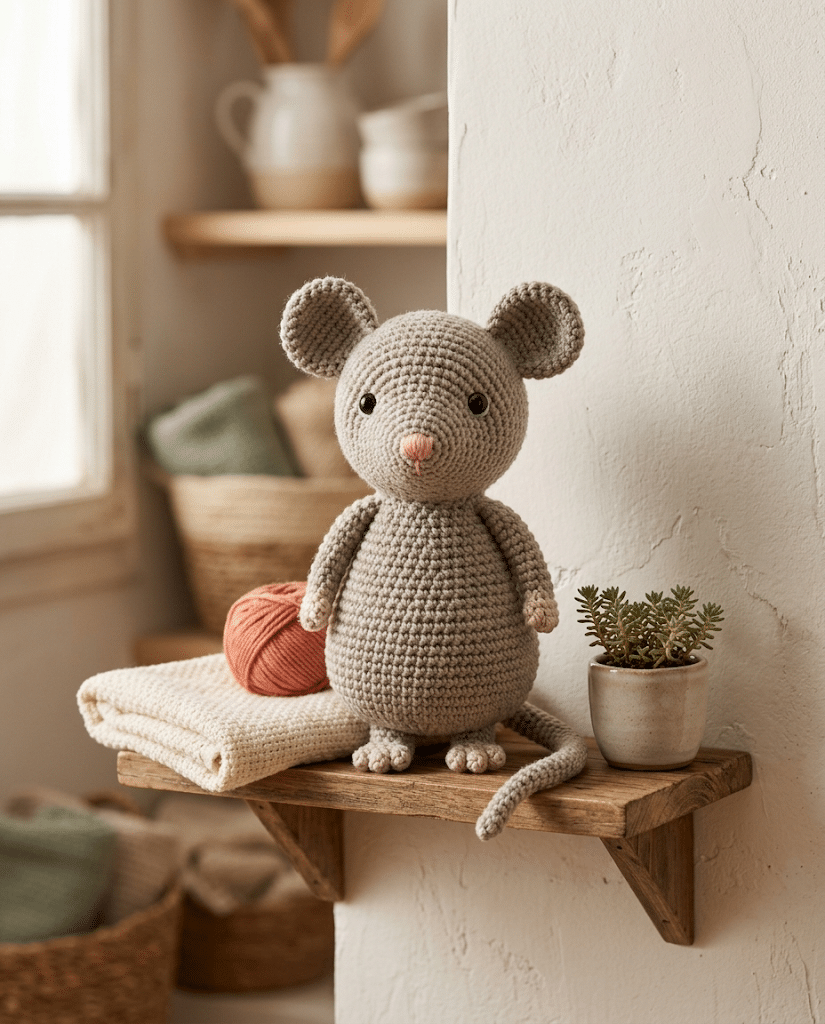
Change the colors to match the season.
A cream mouse with pastel accessories works beautifully for spring. A warm brown mouse can create a cozy autumn feeling.
For Halloween, use charcoal gray with orange details. For Christmas, add a tiny red scarf or festive accessory.
The basic shape remains the same while your styling changes completely.
Common Crochet Mouse Problems and Simple Fixes
Even experienced crocheters occasionally end up with an oddly shaped amigurumi.
Do not panic if your first attempt looks different from your expectations.
Most problems have simple causes, and each one teaches you something useful for your next project.
Why does my mouse look too loose?
Loose stitches are one of the most common amigurumi problems.
If you can clearly see the stuffing through the crochet fabric, your tension may be too loose.
Try using a smaller hook. Keep your stitches firm while still allowing the yarn to move comfortably.
Remember that you should never struggle painfully with your hook. Comfortable tension matters too.
Why does my head look lumpy?
Uneven stuffing often creates lumps.
Add fiberfill gradually and spread it throughout the shape instead of concentrating it in one area.
Your increases and decreases also affect the silhouette. If your head looks uneven, check whether you accidentally skipped or added stitches.
Why do the ears look crooked?
This usually happens during assembly rather than crocheting.
Before sewing the ears permanently, pin both pieces in place.
Look directly at the face and check their height and angle. Then look from above and from the side.
Small adjustments at this stage can make the finished mouse look much more balanced.
Why does my mouse look different from the example?
That is completely normal.
Yarn thickness, hook size, tension, stuffing, and even the placement of facial features can change the finished appearance.
Instead of chasing an identical result, focus on the basic proportions.
Your mouse should have a recognizable head, body, ears, eyes, nose, paws, and tail. After that, your handmade personality can shine through.
Frequently Asked Questions About Crochet Mouse Pattern
How long does it take to crochet a mouse?
A small amigurumi mouse can often be completed in a few focused crochet sessions. Beginners may need extra time while learning the magic ring, increases, decreases, and assembly. Experienced crocheters can usually move faster because the shaping becomes familiar.
What yarn is best for a crochet mouse?
Smooth DK-weight yarn works well for a small crochet mouse because it shows stitch definition clearly. Choose a yarn that creates firm stitches with your chosen hook. Paintbox Simply DK yarn can work nicely for a neat, colorful amigurumi finish.
Is this crochet mouse pattern good for beginners?
Yes. The basic construction uses common amigurumi techniques such as single crochet, increases, decreases, stuffing, and simple sewing. If you are new to crochet, work slowly and use a stitch marker. You can also practice the magic ring and invisible decrease before starting the full project.
What size safety eyes should I use for a crochet mouse?
For a small mouse, 6mm safety eyes can create a delicate expression, while 9mm eyes give a larger kawaii look. Choose the size based on your finished mouse rather than following one universal measurement. For young children, consider embroidered eyes instead of safety eyes.
Can I sell amigurumi I make from this pattern?
If you create your own finished mouse from this tutorial, you can generally sell your handmade finished item, but you should not copy, redistribute, or sell the written tutorial itself. Always check the specific terms attached to any pattern you use and credit designers when required.
How can I make my crochet mouse bigger?
You can make a larger mouse by using thicker yarn and an appropriately larger hook. Keep your stitches tight enough that stuffing does not show. You can also enlarge individual features, such as the ears and tail, so the proportions remain balanced.
Final Thoughts on This Adorable Crochet Mouse Pattern
Making a tiny animal from a strand of yarn feels almost magical.
You started with simple stitches, and now you have a little mouse with personality, soft curves, round ears, and a sweet face.
The biggest lesson is not perfection. It is learning to trust your hands and enjoy the process.
Whether your first mouse becomes a gift, decoration, desk companion, or the beginning of a whole amigurumi collection, you have created something completely handmade.
I hope this crochet mouse pattern gives you that wonderful feeling of finishing a project and thinking, “I actually made this!”
Save this pin to your crochet board on Pinterest so you can find this pattern anytime!
Looking for more free crochet animal patterns? Visit Yarned Animals for new amigurumi patterns, kawaii plushies and beginner crochet tutorials added every week at yarnedanimals.com