
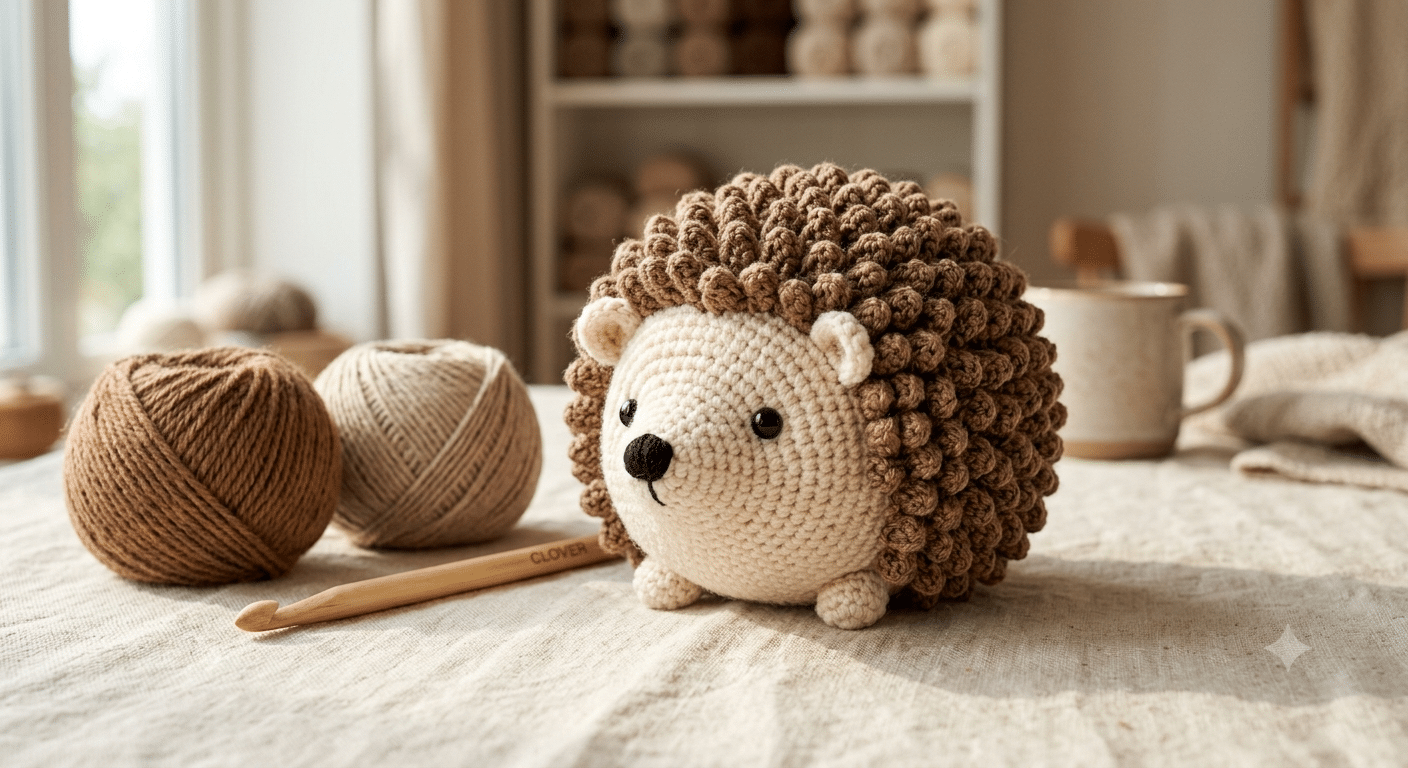
There is something extra special about finishing a tiny woodland animal that fits perfectly in the palm of your hand. Those sweet little faces, soft round bodies, and playful details make every stitch feel rewarding. A crochet hedgehog pattern is one of the most satisfying beginner projects because it combines simple amigurumi shaping with a fun textured back that makes your finished hedgehog look irresistibly realistic.
This adorable project is perfect if you want to make a thoughtful handmade gift, decorate your crochet room, or simply enjoy learning a new technique without feeling overwhelmed. The unique spiky texture looks impressive, but it is surprisingly easy once you understand the basics. Grab your favorite yarn, get comfortable, and let’s create a cuddly little hedgehog you’ll be proud to display.
One little tool I never crochet without is my Clover Amour crochet hook. The soft grip keeps my hands comfortable during longer projects, especially when working textured stitches.
Table of Contents
Why This Crochet Hedgehog Pattern Is Perfect for Beginners
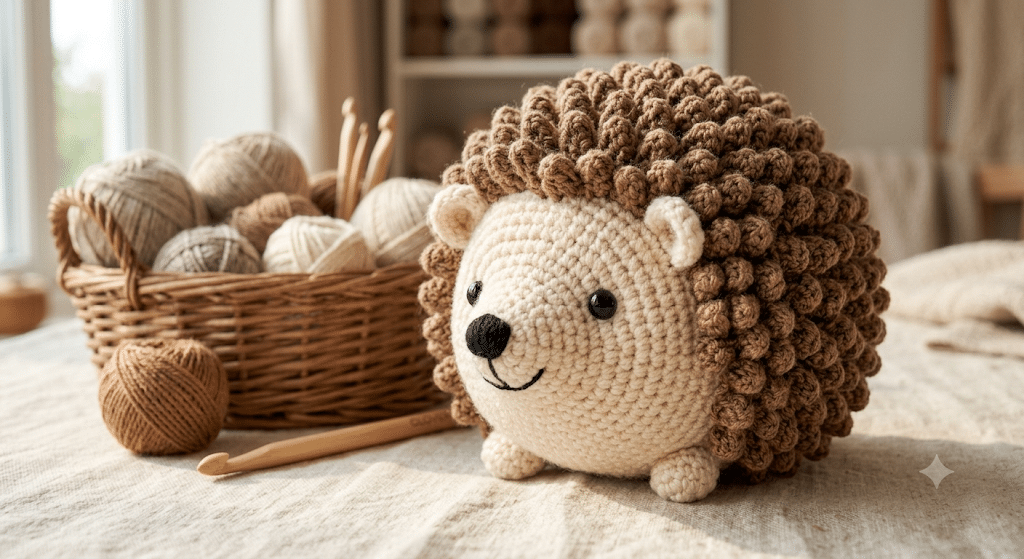
Many crocheters believe textured amigurumi are difficult, but this little hedgehog proves otherwise. The body uses the same simple crochet techniques found in many beginner-friendly projects. Once you finish the smooth tummy and face, you’ll add the signature spikes using an easy repeating texture.
Instead of worrying about complicated shaping, you can enjoy watching your hedgehog come to life one round at a time. Every new section builds naturally on the previous one, making the project relaxing instead of stressful.
Another reason beginners love this design is that mistakes are easy to fix. Since the textured stitches naturally hide small imperfections, your finished hedgehog still looks wonderful even if every spike isn’t perfectly identical.
Before long, you’ll notice your confidence growing with every completed round.
A Wonderful First Textured Amigurumi
Many first-time crocheters start with smooth plush animals before trying texture. A hedgehog offers the perfect introduction because only part of the body uses textured stitches.
This means you can practice something new while still enjoying familiar crochet techniques.
The result looks far more advanced than the skills required.
Small Enough to Finish Quickly
Large crochet animals sometimes take several days to complete.
A small woodland hedgehog usually works up much faster, making it ideal for weekend crafting sessions.
Finishing a project quickly helps beginners stay motivated and excited to start another cute animal.
Every Hedgehog Has Its Own Personality
One of the best parts about this crochet hedgehog pattern is how easily you can customize it.
Tiny embroidered smiles create different expressions.
Rounder bodies make younger-looking hedgehogs.
Larger noses add a playful cartoon appearance.
Changing yarn colors instantly transforms the overall personality without changing the pattern itself.
Now that you know why this project is beginner-friendly, let’s choose the best materials to make your hedgehog look soft and adorable.
Choosing the Best Yarn for a Crochet Hedgehog Pattern
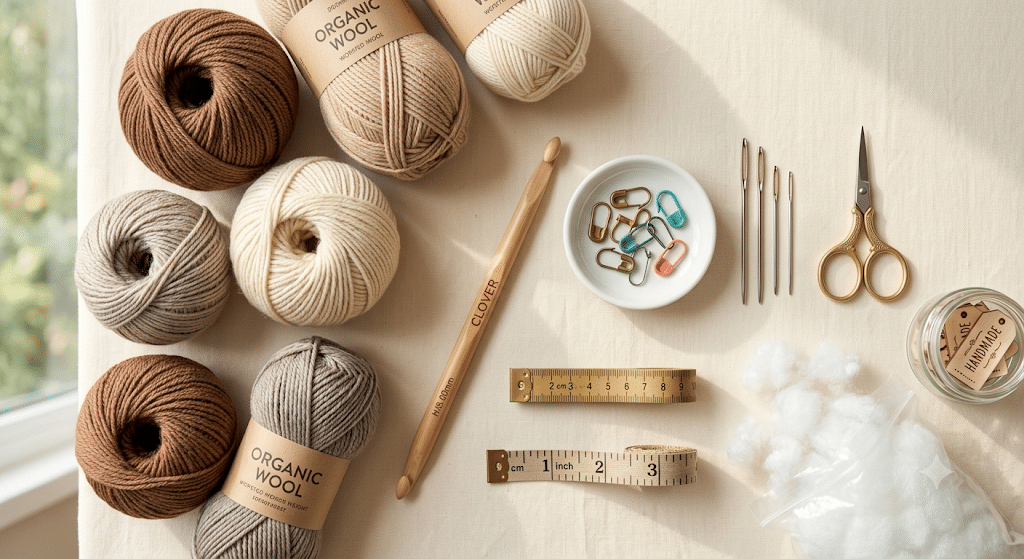
Yarn makes a huge difference in how your finished hedgehog feels. Soft fibers create a cuddly toy, while textured yarn adds extra realism.
Fortunately, you don’t need expensive supplies to achieve beautiful results.
Many beginners enjoy working with Paintbox Simply DK yarn because the stitches stay clearly visible while learning new techniques. The smooth finish also makes counting rounds much easier.
For the face, choose a warm cream, beige, or light tan shade.
For the spiky back, darker browns create lovely contrast and help every textured stitch stand out.
Soft Colors Look More Natural
Real hedgehogs have earthy colors that blend beautifully together.
Try combinations such as:
- Warm brown with cream
- Chocolate brown with beige
- Taupe and oatmeal
- Soft gray and ivory
These gentle color combinations give your finished amigurumi a cozy woodland appearance.
Smooth Yarn Helps You Learn Faster
Beginners often think fluffy yarn hides mistakes.
In reality, smooth yarn makes stitches much easier to identify.
That means less frustration and more enjoyable crochet sessions.
Once you feel confident, you can experiment with plush yarn for an even cuddlier finish.
Don’t Forget the Stuffing
A firmly stuffed body helps your hedgehog keep its adorable rounded shape.
Too little stuffing makes the toy floppy.
Too much can stretch your stitches.
I always use Poly-fil Premium fiberfill because it creates smooth, even shaping without leaving lumpy spots inside the finished animal.
Crochet Hedgehog Pattern: 10 Easy Steps to Make Your Adorable Hedgehog
Here is the fun part! Your hedgehog starts as a few simple shapes before transforming into a charming woodland friend. Take your time with each step, enjoy the process, and remember that every stitch brings your little creation to life.
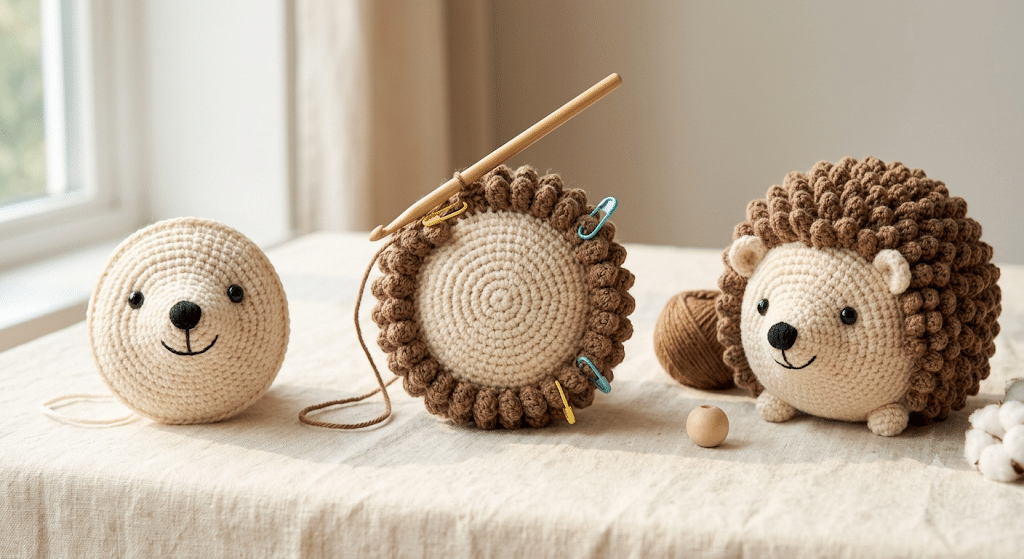
Step 1: Crochet a Round Nose and Face
Begin with the nose using your lighter yarn color. Work in continuous rounds to create a small rounded shape that gradually widens into the face.
Keep your stitches even and consistent. This helps the face look smooth and makes attaching the safety eyes much easier later.
Stuff the nose lightly before closing the opening. A gentle amount of stuffing keeps the face firm while maintaining its cute rounded shape.
Step 2: Shape the Head
Continue building the head by increasing gradually until it reaches the desired width.
The rounded head gives your hedgehog its friendly expression. Don’t rush this stage. Smooth shaping makes the finished toy look much more polished.
Pause occasionally to check that your stitches remain even all the way around.
Step 3: Add the Signature Spiky Texture
This is the detail that makes this crochet hedgehog pattern so much fun.
Instead of creating individual spikes, you’ll crochet a repeating textured stitch across the back. The texture naturally resembles soft hedgehog quills while remaining cuddly enough for hugs.
Keep the textured rows consistent. Even if they aren’t perfectly identical, they’ll blend together beautifully once the body is complete.
Trust me on this one—this section always looks better than you expect.
Step 4: Crochet the Round Body
After the textured back is complete, continue crocheting the lower body using smooth stitches.
Work evenly around while gradually shaping a soft, rounded belly.
Add small amounts of stuffing every few rounds instead of waiting until the end. This creates a much smoother finish.
Step 5: Make Four Tiny Legs
Each leg works up surprisingly quickly.
Keep them short and slightly rounded so your hedgehog can sit upright without tipping forward.
Don’t worry if every leg isn’t identical. Tiny handmade differences give your amigurumi extra character.
Step 6: Crochet Small Rounded Ears
The ears only require a few simple rounds.
Attach them evenly on each side of the head just behind the eyes.
A slight forward tilt makes your hedgehog look curious and playful.
Step 7: Create a Cute Little Nose
A tiny embroidered nose adds lots of personality.
Use dark brown or black yarn to create a neat triangular shape.
Small details like this make a huge difference to the finished expression.
Step 8: Attach the Eyes Carefully
Position your 9mm safety eyes before completely closing the head.
Leave enough space between them to create a sweet, gentle expression.
Tiny adjustments here completely change your hedgehog’s personality, so don’t be afraid to experiment before securing them permanently.
Step 9: Assemble Your Hedgehog
Now that all the pieces are ready, begin sewing them together.
Attach the head first, followed by the legs and ears.
Use a yarn needle and small stitches that disappear into the fabric.
Take your time during assembly. Careful placement creates a professional-looking finish.
Step 10: Add the Final Details
The finishing touches bring everything together.
Embroider tiny eyebrows if you’d like a curious expression.
Add rosy cheeks using a little fabric-safe blush or embroidery thread.
Give your finished hedgehog a gentle squeeze to distribute the stuffing evenly before making any final adjustments.
Ready to move on? Next, let’s discover the little tricks that make your hedgehog look even cuter.
Simple Tips That Make Your Crochet Hedgehog Pattern Look Professional
You don’t need years of crochet experience to create an amigurumi that looks polished. A few small habits can completely transform your finished hedgehog.
Keep Your Tension Consistent
Even stitches help the stuffing stay hidden and create a smoother shape.
If your stitches begin to loosen, simply slow down for a few rounds until your rhythm returns.
Consistency matters far more than speed.
Stuff a Little at a Time
Many beginners wait until the end before adding stuffing.
Instead, add small handfuls throughout the project.
This prevents lumps and helps maintain a perfectly rounded body.
Take Time During Assembly
Most of the personality appears when attaching the features.
Pin the ears and legs in place before sewing.
Look at your hedgehog from every angle to make sure everything feels balanced.
Small adjustments often make a surprisingly big difference.
Now that your hedgehog is assembled, let’s explore fun ways to personalize it so every one feels completely unique.
One supply I always keep nearby is a Yarn needle set. It makes sewing tiny amigurumi pieces together much easier and gives cleaner, nearly invisible seams.
Creative Ways to Personalize Your Crochet Hedgehog Pattern
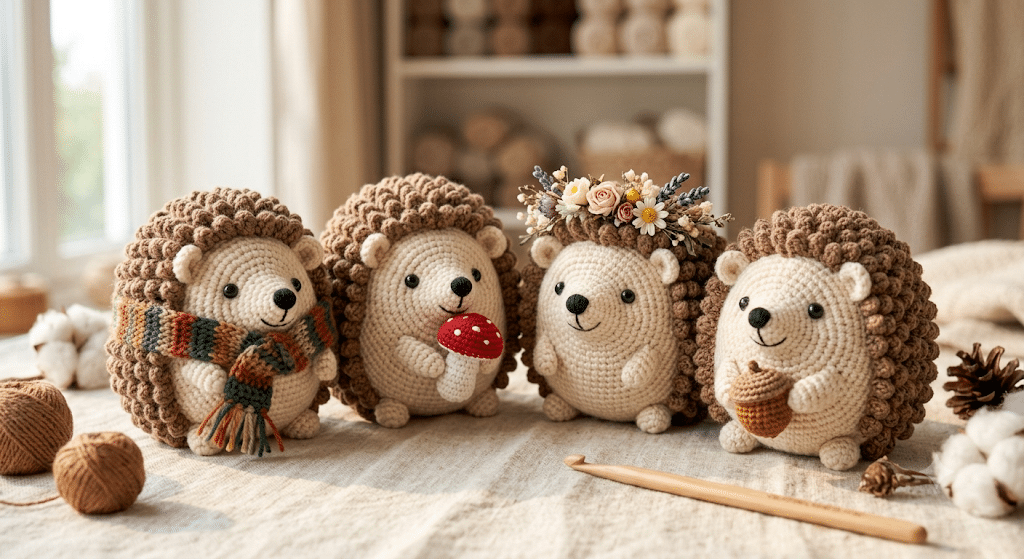
Now that your adorable hedgehog is assembled, it’s time to make it truly your own. One of my favorite things about this crochet hedgehog pattern is how easy it is to customize. Small changes can completely transform your finished amigurumi without changing the overall design.
Whether you’re making a thoughtful handmade gift or adding another woodland friend to your collection, these ideas will help your hedgehog stand out.
Try Different Woodland Color Palettes
Classic brown and cream always look charming, but don’t stop there.
Experiment with warm autumn shades like caramel, chestnut, mocha, or soft gray. A light oatmeal face paired with a rich chocolate back creates beautiful contrast while keeping a realistic woodland feel.
If you love kawaii amigurumi, pastel colors are just as adorable. Soft pink, dusty lavender, sage green, or pale blue can turn your hedgehog into a whimsical plushie that’s perfect for a nursery or crochet display.
Add Tiny Accessories
Accessories instantly give your hedgehog extra personality.
Some fun ideas include:
- A tiny crochet mushroom
- A miniature scarf
- A little flower crown
- A small leaf sewn onto the back
- A cute acorn accessory
- A tiny backpack
- A bow tie or ribbon
These little details make every hedgehog feel unique without adding much extra work.
Create an Entire Woodland Collection
Once you’ve finished one hedgehog, it becomes hard to stop.
Pair it with other woodland animals like foxes, owls, rabbits, squirrels, or raccoons to create a charming forest-themed collection.
These matching amigurumi also make wonderful nursery decorations, seasonal displays, or thoughtful handmade gifts for family and friends.
Now that your hedgehog has its own personality, let’s avoid a few common mistakes that many beginners experience.
Common Crochet Hedgehog Pattern Mistakes and How to Fix Them
Every crocheter makes mistakes, especially while learning something new. The good news is that almost every issue has a simple solution.
Knowing what to watch for will save you time and help your finished hedgehog look even better.
Uneven Spiky Texture
The textured back is the signature feature of this project.
If some sections look flatter than others, your stitch tension probably changed while crocheting.
Slow down for a few rounds and focus on making each textured stitch the same height. After stuffing, the texture usually becomes much more even.
Loose Stitches Showing Stuffing
If white stuffing peeks through your stitches, don’t worry.
This usually means your tension is slightly loose or your hook is a little too large.
Switching to a smaller hook size often solves the problem immediately while creating a firmer fabric.
Crooked Face Placement
Sometimes the nose or eyes look slightly off-center after assembly.
Before sewing permanently, use stitch markers or sewing pins to hold every piece in place.
Then step back and look at your hedgehog from the front.
Tiny adjustments before sewing create a much more balanced appearance.
Overstuffing the Body
A very firm body may stretch your stitches and distort the textured back.
Instead of packing stuffing tightly into one area, distribute it evenly throughout the body.
The goal is a soft, rounded hedgehog that keeps its shape while still feeling wonderfully squishy.
Forgetting to Count Rounds
It is surprisingly easy to lose track while enjoying a relaxing crochet session.
Keeping a stitch marker at the beginning of each round makes counting much easier and prevents uneven shaping.
Before we get into caring for your finished hedgehog, remember that small imperfections are part of handmade charm. Every finished amigurumi tells its own story.
How to Care for Your Finished Crochet Hedgehog
Your handmade hedgehog deserves a little care so it stays soft and adorable for years.
Luckily, amigurumi are easy to maintain with a few simple habits.
Keep Dust Away
Display your hedgehog on a clean shelf or inside a glass cabinet if possible.
A soft makeup brush works wonderfully for removing dust from the textured stitches without damaging the yarn.
Spot Clean When Needed
If your hedgehog gets a small stain, gently dab the area using cool water and mild soap.
Avoid soaking the entire toy unless the yarn label specifically recommends machine washing.
Always let it air dry completely before displaying it again.
Store It Properly
If you’re putting seasonal decorations away, store your hedgehog in a clean fabric bag or storage box.
Keeping it away from direct sunlight helps preserve the yarn color and prevents fading over time.
One item I always recommend keeping in your crochet kit is a set of Stitch markers. They make counting rounds much easier, especially when working textured amigurumi like this little hedgehog.
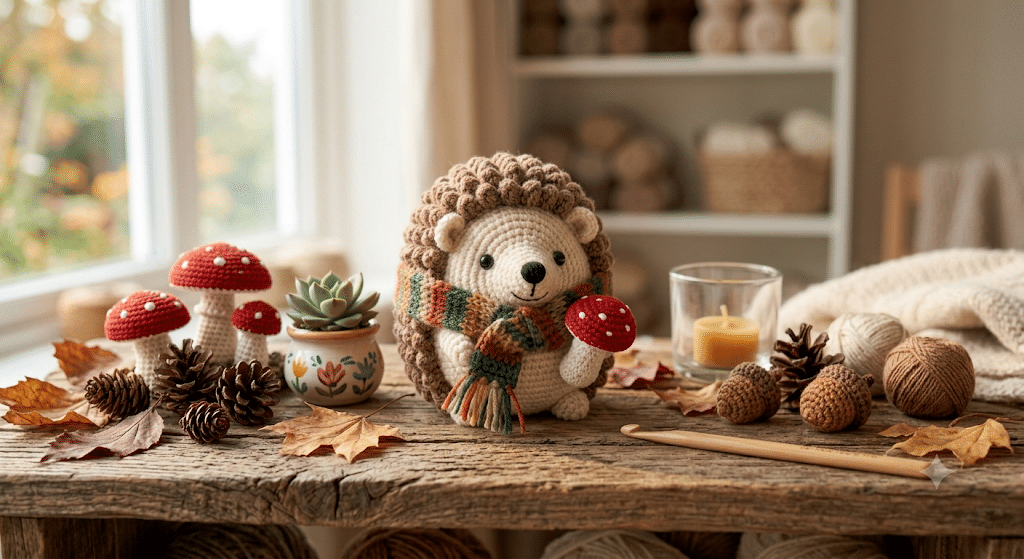
Your adorable woodland friend is now complete, and it’s ready to brighten a shelf, become a heartfelt handmade gift, or join your growing amigurumi collection.
Frequently Asked Questions About Crochet Hedgehog Pattern
How long does it take to crochet a hedgehog?
Most beginners can finish this crochet hedgehog pattern in one relaxing weekend. If you’re completely new to amigurumi, expect to spend around 6–10 hours spread over a few sessions. As your confidence grows, you’ll likely complete future hedgehogs much faster.
Is this crochet hedgehog pattern good for beginners?
Yes! This project is designed with beginners in mind. The body uses simple amigurumi techniques, and the textured back repeats an easy stitch pattern that becomes comfortable after a few rounds. It’s a wonderful first textured crochet project.
What yarn is best for a crochet hedgehog pattern?
Smooth yarns such as Paintbox Simply DK yarn or Red Heart Soft yarn work beautifully because they make stitches easy to see while learning. If you prefer a super cuddly plushie, you can also experiment with chenille yarn once you’re comfortable with the pattern.
What size safety eyes should I use?
For a medium-sized hedgehog, 9mm safety eyes create a sweet, balanced expression. Smaller hedgehogs often look best with 6mm safety eyes, while larger plushies can use 12mm safety eyes for a more playful appearance.
Can I sell hedgehogs made from this pattern?
In most cases, yes. Many crochet designers allow you to sell finished handmade items while asking that you do not copy, redistribute, or resell the written pattern itself. Always check the designer’s terms before selling your finished amigurumi.
How do I make the spikes look more realistic?
The secret is keeping your textured stitches consistent rather than making them overly tight. Using two complementary shades of brown also adds depth and creates a beautiful natural hedgehog appearance.
Your Cute Woodland Friend Is Ready to Shine
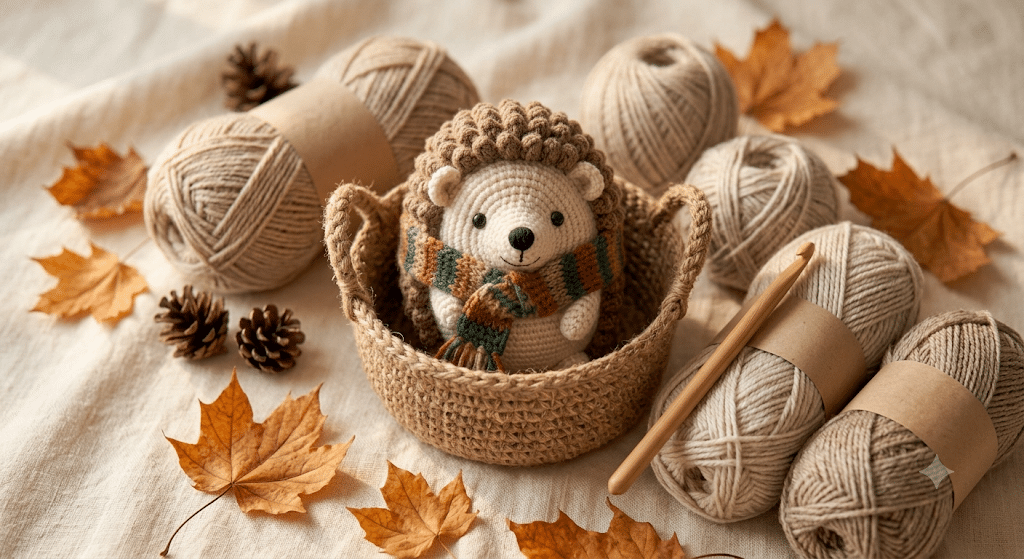
There is something incredibly rewarding about finishing your very own crochet hedgehog pattern. What started as a few simple stitches has become a charming woodland companion with a soft round body, an adorable little face, and a wonderfully textured back that makes it truly special.
Even better, you’ve learned techniques that will help you tackle many future amigurumi projects with confidence. Every finished hedgehog becomes a reminder of how much your crochet skills continue to grow, one stitch at a time. Whether you keep it for yourself or wrap it as a heartfelt handmade gift, this little creation is sure to bring plenty of smiles.
Save this pin to your crochet board on Pinterest so you can find this pattern anytime!
Looking for more free crochet animal patterns? Visit Yarned Animals for new amigurumi patterns, kawaii plushies and beginner crochet tutorials added every week at yarnedanimals.com