
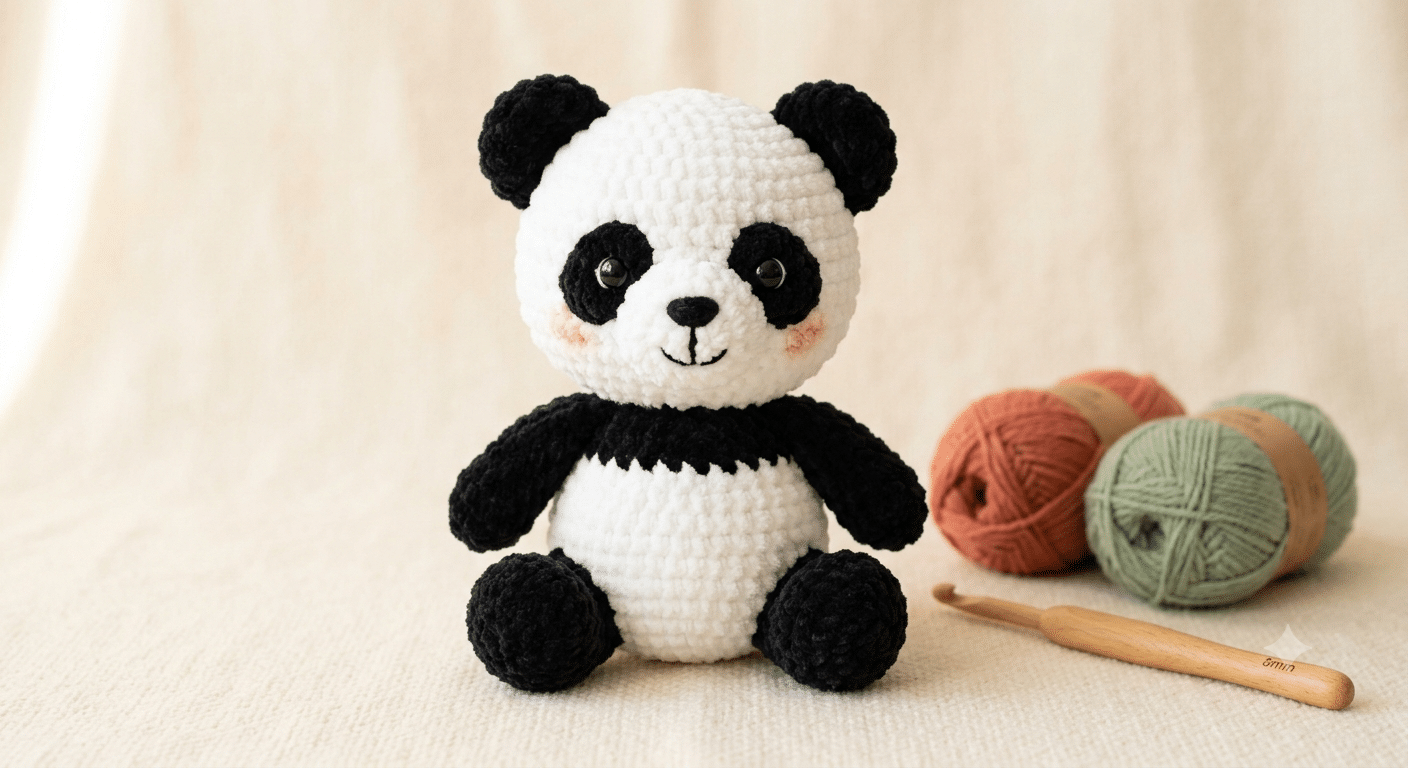
Few handmade projects feel as rewarding as finishing a cuddly panda with your own crochet hook. That first glimpse of tiny ears, sweet little eyes, and a soft round belly makes every stitch worthwhile. If you’ve been searching for a **crochet panda pattern that’s beginner-friendly and irresistibly cute, you’re in the perfect place.
This lovable amigurumi project is simple enough for new crocheters while still being fun for experienced makers. You’ll learn helpful tips, easy shaping techniques, and ways to customize your panda with your favorite colors and accessories. Before long, you’ll have an adorable plush friend that’s perfect for gifts, nursery décor, or adding to your growing amigurumi collection.
One little tool I never crochet without is my Clover Amour crochet hook. The soft grip feels comfortable during long crafting sessions and helps keep every stitch smooth and even.
Now that you’re excited to begin, let’s gather everything you need before making your panda come to life.
Table of Contents
Why This Crochet Panda Pattern Is Perfect for Beginners
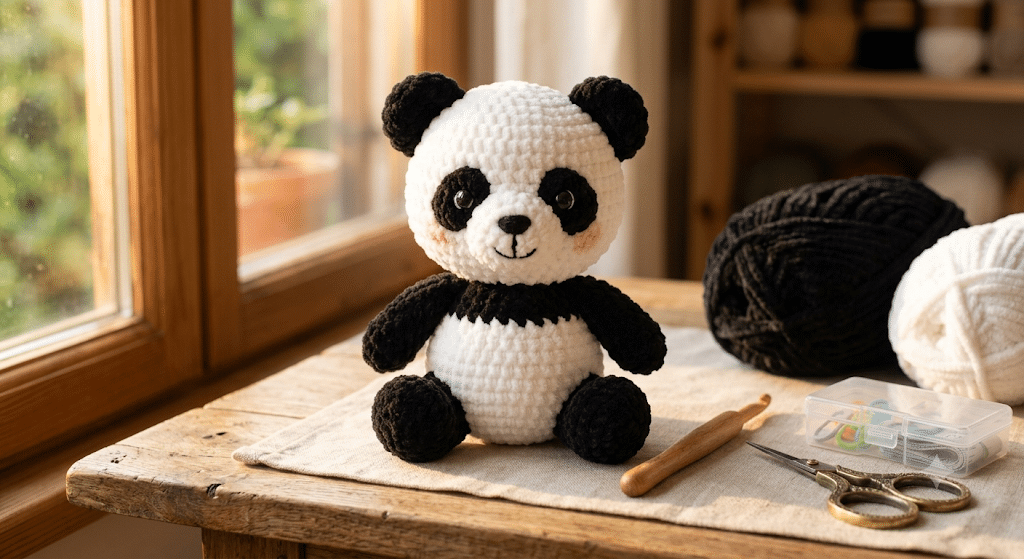
A panda might look detailed at first glance, but you’ll quickly discover that it uses simple shapes you may already know. Most of the body comes from easy rounds that gradually increase and decrease, making this project approachable even if you’ve only finished one or two amigurumi before.
Instead of worrying about complicated techniques, you’ll focus on building confidence with every round. The black ears, eye patches, and arms create the classic panda look without adding unnecessary difficulty.
The finished toy also works wonderfully as a thoughtful handmade gift. Children adore its soft appearance, while adults often display pandas on shelves, desks, or craft rooms.
Learn Basic Amigurumi Skills Naturally
One reason this project feels beginner-friendly is that each section teaches a useful crochet skill.
As you make the body, you’ll practice crocheting in continuous rounds. The head introduces gentle shaping, while the small ears help you become comfortable sewing separate pieces together.
These same techniques appear in countless other animal patterns, making this panda an excellent learning project.
The Panda Comes Together Faster Than You Expect
Large blankets and sweaters can take weeks to finish.
A small panda amigurumi usually comes together over a relaxing weekend. Many crocheters finish the body in one evening and spend the next day adding the charming little details.
That quick progress keeps motivation high and makes the project feel rewarding from start to finish.
Endless Ways to Personalize Your Panda
The classic black-and-white panda always looks adorable, but you can easily add your own creative touch.
Try ideas like:
- A tiny red scarf
- A pastel bow
- Embroidered rosy cheeks
- A miniature bamboo leaf
- A little backpack
- A sleepy embroidered face
- Tiny overalls
- A birthday party hat
These simple additions turn every panda into a one-of-a-kind handmade friend.
Ready to move on? Choosing the right supplies makes the entire project smoother and much more enjoyable.
Best Materials for a Soft and Cuddly Crochet Panda Pattern
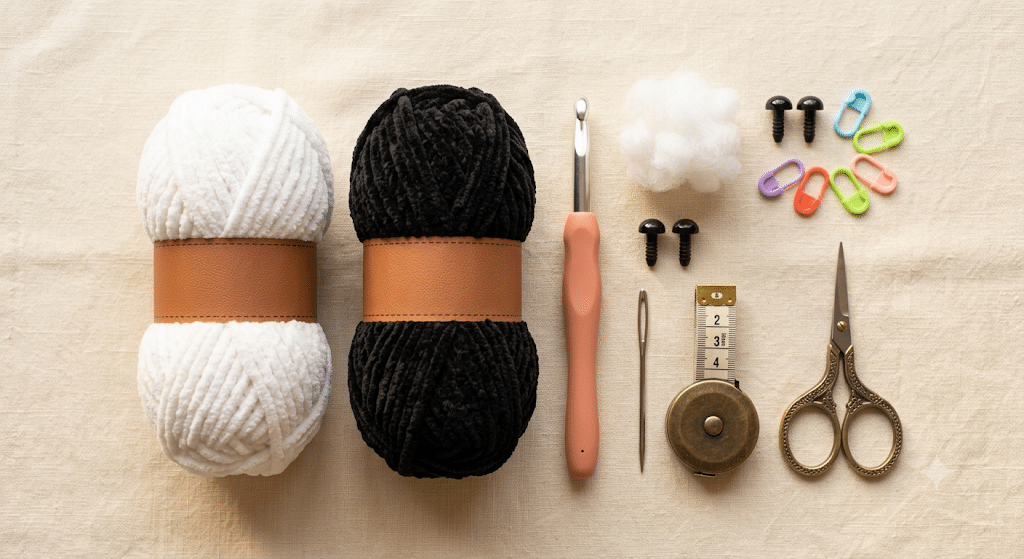
The materials you choose can completely change how your finished panda feels. Soft yarn creates a plush toy that begs for hugs, while sturdy stuffing helps your panda keep its adorable round shape for years.
Beginners sometimes think expensive supplies are necessary, but that’s rarely true. A few reliable materials make a much bigger difference than buying every crochet accessory available.
Choose the Right Yarn
Smooth yarn makes it easier to see every stitch, especially if you’re still learning.
Many beginners love Paintbox Simply DK yarn because it creates crisp stitches and comes in beautiful shades of black and white.
If your goal is an extra fluffy panda, a chenille-style yarn also creates an irresistibly soft finish.
Pick the Perfect Safety Eyes
Safety eyes bring your panda to life.
For medium-sized amigurumi, 9mm safety eyes usually create balanced proportions without overwhelming the face.
Place them before closing the head so you can adjust the expression until it feels just right.
A cheerful face often comes from tiny changes in eye placement rather than complicated embroidery.
Stuffing Makes a Huge Difference
Many beginners accidentally underfill their amigurumi.
Firm stuffing helps the panda sit upright and keeps the head from becoming floppy over time.
I always reach for Poly-fil Premium fiberfill because it stays light, soft, and keeps its shape even after lots of hugs.
Small Tools Save Time
A few simple accessories make crocheting much easier.
Helpful tools include:
- Stitch markers for tracking rounds
- Small embroidery scissors
- Measuring tape
- Yarn needle set for sewing pieces together
- Row counter if you lose your place easily
Trust me on this one—keeping your workspace organized makes the entire project far more relaxing.
Now that your supplies are ready, it’s time for the fun part: turning simple stitches into an adorable panda friend.
Crochet Panda Pattern in 10 Easy Steps
Here is the fun part! Your panda begins as a few simple crocheted pieces before transforming into an irresistibly cuddly friend. Take your time with each step, and remember that every stitch helps you improve your crochet skills.
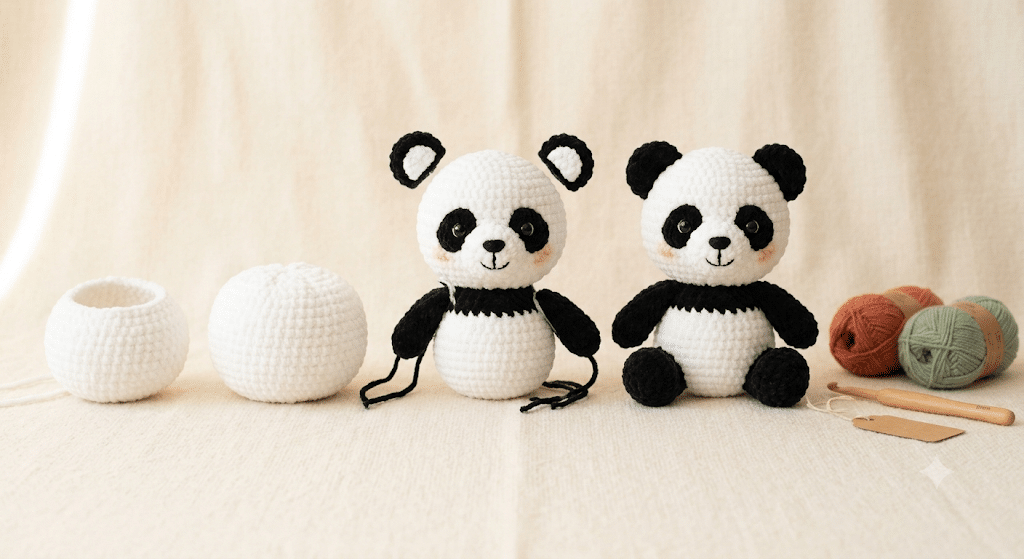
Step 1: Crochet a Round Head
Start with the head because it sets the personality of your panda. Work in continuous rounds, increasing gradually until you reach the desired width.
Keep your stitches even and count each round carefully. A smooth, symmetrical head makes the finished toy look polished.
Don’t stuff it yet. Waiting until you’ve attached the safety eyes gives you more flexibility when adjusting the face.
Step 2: Make a Chubby Body
The body follows a similar shape but stays slightly smaller than the head.
Increase slowly to create a rounded tummy, then work several even rounds before decreasing toward the bottom.
As you stuff the body, press the filling into every corner instead of adding one large handful. Firm, even stuffing helps your panda sit upright.
Step 3: Crochet Four Little Legs
The legs are small, simple cylinders that work up quickly.
Try to make all four the same length. Even tiny differences become noticeable once everything is assembled.
Before fastening off each leg, compare it with the previous one to keep the proportions balanced.
Step 4: Create Rounded Arms
The arms should be slightly slimmer than the legs.
Leave a long yarn tail for sewing, and lightly stuff only the upper portion. This keeps the arms soft and flexible while helping them rest naturally against the body.
Step 5: Add Tiny Panda Ears
The ears are one of the cutest parts of the project.
Crochet two matching semicircles, then fold each one gently before sewing. That small fold creates the rounded shape pandas are famous for.
Place the ears evenly on top of the head before stitching them permanently.
Step 6: Make the Signature Eye Patches
Without the eye patches, your panda won’t have its classic appearance.
Crochet or cut two matching black ovals and position them carefully before attaching the safety eyes.
Take a moment to view the face from different angles. Small adjustments make a surprisingly big difference.
Step 7: Stitch a Sweet Little Nose
A tiny embroidered nose instantly gives your panda character.
Use black yarn to create a small triangle or oval, then add a short vertical stitch underneath.
If you like expressive amigurumi, add a tiny curved smile for extra charm.
Step 8: Assemble the Pieces
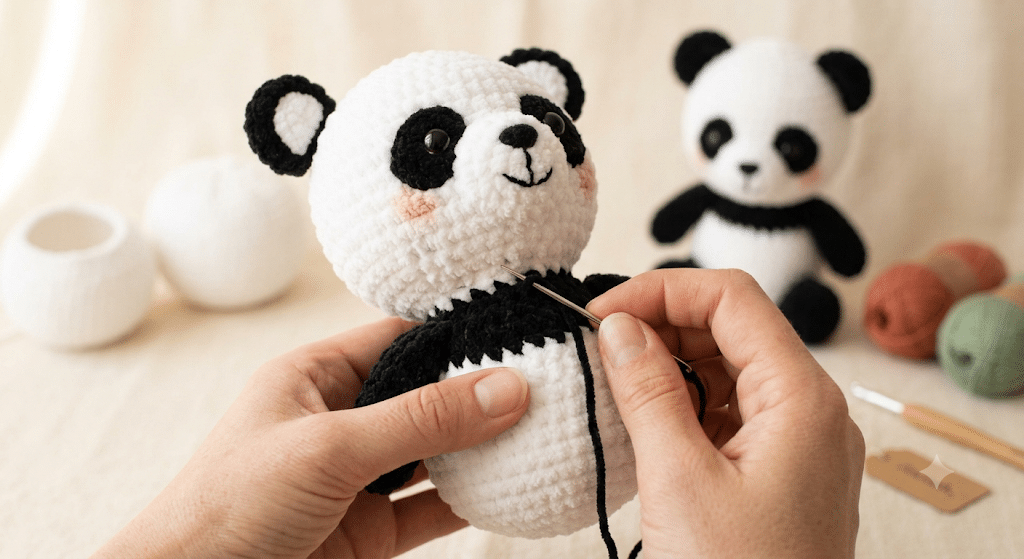
Now your panda finally starts coming together.
Pin each piece in place before sewing. This simple habit helps you check the proportions and prevents uneven placement.
Attach the head first, followed by the arms, legs, and ears.
Step back occasionally to make sure everything looks balanced before tightening the stitches.
Step 9: Add the Final Details
This is where your creativity shines.
You might embroider tiny eyebrows, blush cheeks, or a little belly button.
A miniature bamboo leaf or colorful scarf also makes your panda feel unique without adding much work.
Step 10: Give Your Panda a Final Shape
Before celebrating, gently squeeze and shape the stuffing with your hands.
Massage the filling toward any flat areas until the head and body look perfectly rounded.
Once you’re happy with the shape, weave in every loose yarn end securely so your panda stays sturdy through years of cuddles.
Now that your panda is finished, let’s make it even more adorable with a few fun custom touches.
Creative Ways to Make Your Crochet Panda Pattern Unique
One of my favorite things about this crochet panda pattern is how easy it is to personalize. Even tiny changes can make your panda look completely different from anyone else’s.
Whether you’re making a nursery gift, a birthday surprise, or adding another plush friend to your own collection, these ideas let your creativity shine.
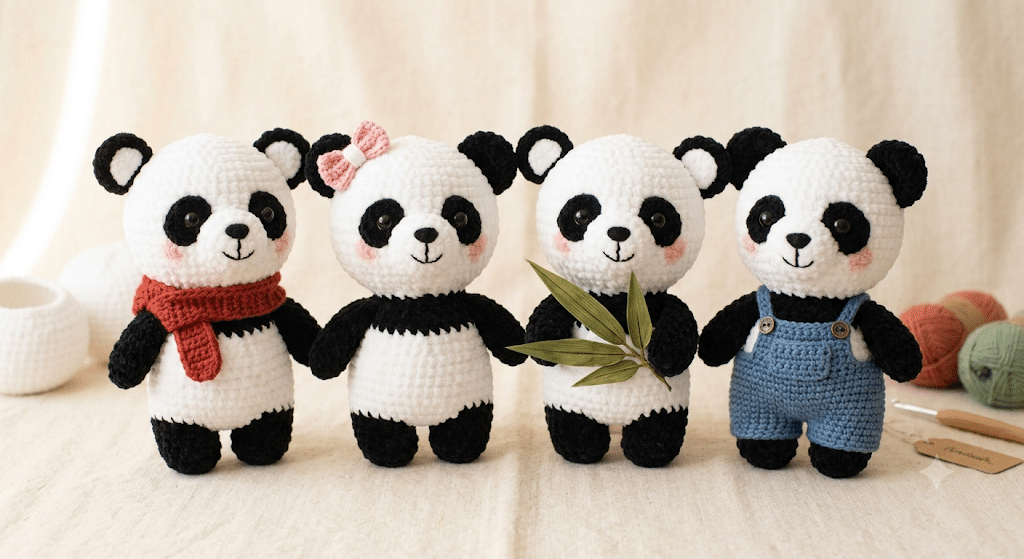
Dress Your Panda for Every Season
Simple accessories instantly change your panda’s personality.
Some adorable ideas include:
- Cozy winter scarf
- Tiny knitted hat
- Flower crown
- Denim-style overalls
- Small backpack
- Holiday sweater
- Raincoat with boots
- Birthday party hat
Because the base pattern stays the same, you can create a whole family of pandas without starting from scratch.
Play with Color Variations
Classic black and white never goes out of style.
Still, experimenting with gentle colors creates fun results.
Try:
- Cream and chocolate brown
- Soft gray and white
- Pastel pink panda
- Lavender panda
- Mint green panda
- Baby blue panda
- Beige vintage-style panda
These playful versions are especially popular for baby showers and nursery decorations.
Add Tiny Handmade Accessories
Small props make your finished panda even more memorable.
Consider crocheting:
- Bamboo stalk
- Heart pillow
- Mini blanket
- Sleeping pillow
- Little basket
- Tiny book
- Cupcake
- Balloon
Children love imaginative toys with accessories, while collectors enjoy displaying themed amigurumi on shelves.
Ready to move on? Every crocheter makes mistakes at first, so knowing what to avoid can save plenty of time and frustration.
Common Mistakes to Avoid with Your Crochet Panda Pattern
Every crocheter has moments where a project doesn’t turn out exactly as planned. The good news is that most problems are easy to prevent once you know what to watch for. These simple tips will help your crochet panda pattern look polished from the first stitch to the final assembly.
Count Every Round
Losing track of your stitches is one of the most common beginner mistakes.
Place a stitch marker at the beginning of each round and move it as you go. This small habit keeps your increases and decreases in the right place, helping your panda stay perfectly symmetrical.
If you discover an extra or missing stitch, fix it right away instead of hoping it will disappear later.
Stuff Firmly but Evenly
A floppy panda usually needs more stuffing, not tighter stitches.
Add small amounts of filling at a time and gently push it into the corners using the back of your crochet hook or a blunt tool. Even stuffing creates a smooth, rounded shape without noticeable lumps.
Avoid overstuffing the head, though. Too much filling can stretch the stitches and allow the stuffing to peek through.
Assemble Before Sewing
It can be tempting to sew each piece on as soon as it’s finished.
Instead, pin the ears, arms, and legs in place first. Viewing the panda from the front, sides, and back lets you adjust the positioning before making it permanent.
This extra minute often makes the difference between a cute panda and an adorable one.
Now that you know the common pitfalls, you’re ready to finish your project with confidence.
Frequently Asked Questions About Crochet Panda Pattern
How long does it take to crochet a panda?
Most beginners finish this project in 8–12 hours, depending on their crochet speed. Experienced crocheters can often complete it over a relaxing weekend. Taking your time usually produces neater stitches and a more polished finished panda.
What yarn is best for panda amigurumi?
Smooth acrylic or cotton blends work beautifully because the stitches are easy to see. If you want an extra cuddly plush, Bernat Blanket yarn creates a wonderfully soft chenille texture that feels perfect for hugging.
Is this crochet panda pattern good for beginners?
Yes! This project mainly uses basic amigurumi techniques like crocheting in continuous rounds, increasing, decreasing, and sewing simple pieces together. If you’ve completed one or two beginner projects, you’ll likely feel comfortable making this panda.
What size safety eyes should I use?
For a medium-sized panda, 9mm safety eyes create balanced proportions and a sweet expression. If you’re making a smaller version, 6mm eyes may look better, while larger plushies can use 12mm eyes.
Can I sell pandas made from this pattern?
In most cases, yes. Handmade finished toys are commonly sold at local craft fairs, online marketplaces, and gift shops. However, if you’re following another designer’s written pattern, always check their individual selling policy before offering finished items for sale.
How do I keep my panda looking neat?
Weave in every yarn end securely and shape the stuffing before closing the final opening. Spot clean the finished toy when needed and avoid rough machine washing to help it stay soft and cuddly for years.
Your Adorable Panda Is Ready to Cuddle
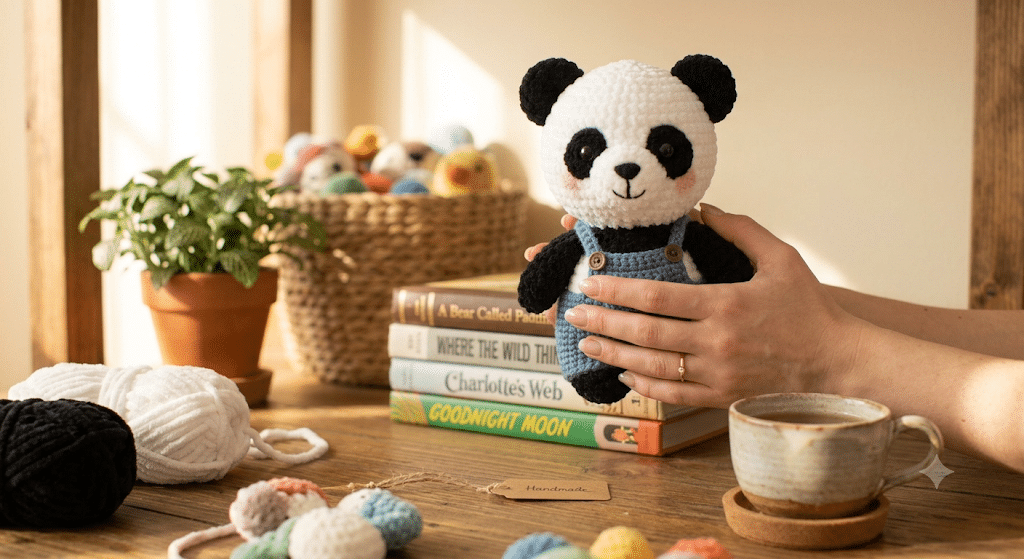
There is something truly special about finishing your very first crochet panda pattern. What started as simple stitches has become a soft, lovable friend made entirely by your hands. Along the way, you’ve practiced essential amigurumi techniques, learned how to shape each piece, and discovered creative ways to personalize your panda with fun accessories and colors.
Whether your finished panda becomes a heartfelt handmade gift, a nursery decoration, or the newest member of your amigurumi collection, you can feel proud of every stitch you made. Keep experimenting with new yarns, expressions, and tiny details—the more you crochet, the more your confidence will grow, and every project will become even more enjoyable.
Save this pin to your crochet board on Pinterest so you can find this pattern anytime!
Looking for more free crochet animal patterns? Visit Yarned Animals for new amigurumi patterns, kawaii plushies and beginner crochet tutorials added every week at yarnedanimals.com