
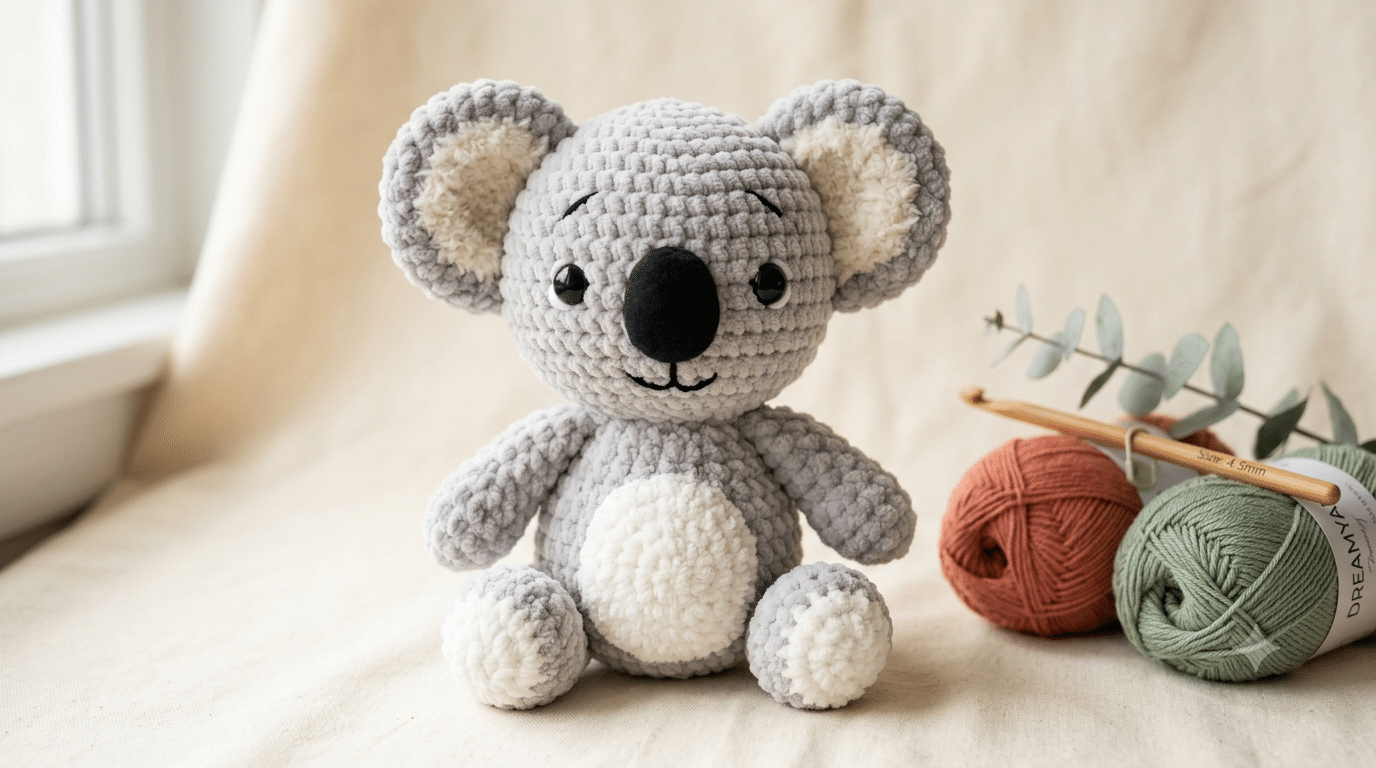
There’s something extra special about finishing a handmade amigurumi and seeing its sweet little face smile back at you. A cuddly koala brings that feeling to life with its fluffy ears, round nose, and cozy charm. Whether you’re making a thoughtful gift, decorating a nursery, or adding another adorable plushie to your collection, a **crochet koala pattern is a wonderful project to enjoy.
This beginner-friendly guide walks you through every stage of creating an irresistibly cute koala. You’ll discover helpful tips, easy techniques, and simple ways to customize your finished friend. Along the way, you’ll build confidence while practicing the stitches that appear in many amigurumi projects. Before you start, I always like having a Clover Amour crochet hook nearby because the soft grip keeps long crochet sessions comfortable.
Now that you have everything ready, it’s time to bring your little eucalyptus-loving friend to life.
Table of Contents
Why This Crochet Koala Pattern Is Perfect for Beginners
Koalas may look detailed, but they’re surprisingly simple to crochet when you break the project into small steps. This design focuses on basic shapes that come together into an adorable finished toy.
The rounded head, chubby body, and oversized ears all use beginner-friendly techniques. You’ll repeat the same stitches often, helping your hands build muscle memory while you crochet.
Mistakes are easy to fix because each piece is worked separately before assembly. That means you can practice until you’re happy with every part.
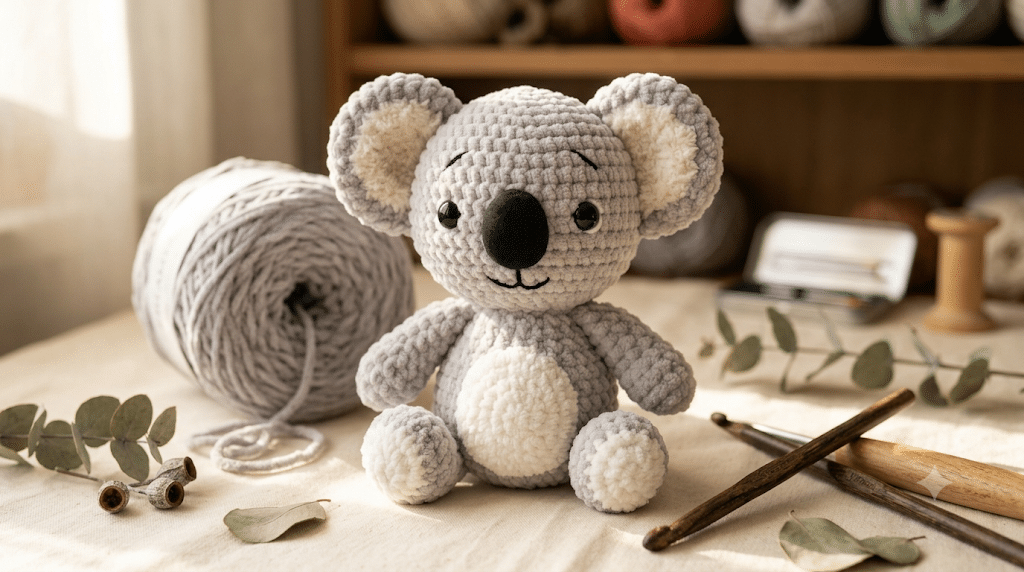
Learn Basic Amigurumi Skills
This project helps you practice:
- Magic ring
- Single crochet
- Increasing
- Decreasing
- Working in continuous rounds
- Simple sewing and assembly
These are the foundation skills you’ll use in almost every amigurumi koala, teddy bear, bunny, or woodland animal.
Small Pieces Build Confidence
Instead of tackling one huge project, you’ll crochet several small sections:
- Head
- Body
- Ears
- Arms
- Legs
- Nose
Finishing one piece at a time creates a wonderful sense of progress and keeps the project fun.
Customize Every Koala
One of the best parts of using a crochet koala pattern is making it uniquely yours.
Try changing:
- Ear size
- Body colors
- Safety eye size
- Embroidered smile
- Tiny accessories like bows, scarves, or flowers
No two koalas ever need to look exactly alike.
Gather Materials for Your Crochet Koala Pattern
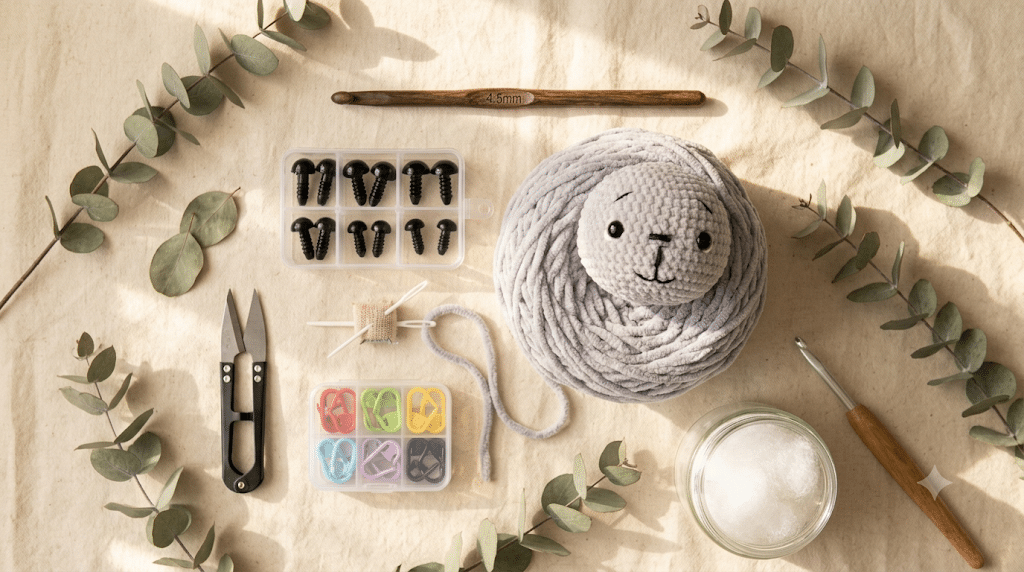
Having everything ready before your first stitch makes the entire project smoother and more relaxing.
Choose soft yarn that creates a cuddly finish while keeping the stitches easy to see.
Paintbox Simply DK yarn works beautifully for crisp stitch definition, while Bernat Blanket yarn creates an irresistibly plush koala with a chenille texture that children love to cuddle.
Suggested product: Bernat Blanket yarn
Suggested Colors
Classic koalas look adorable in:
- Soft grey
- Light grey
- White
- Cream
- Charcoal
- Black for the nose
For something playful, try:
- Dusty pink
- Sage green
- Lavender
- Beige
- Baby blue
Pastel colors give your finished plushie an extra kawaii look.
Helpful Tools
Besides yarn, you’ll want:
- Crochet hook
- Fiberfill stuffing
- Yarn needle
- Stitch markers
- Safety eyes
- Small scissors
Keeping everything within reach helps you stay focused and enjoy every stitch.
Choosing the Right Safety Eyes
Eye size changes the personality of your koala.
Small eyes create a sleepy woodland look.
Larger eyes make the plushie feel extra cute and expressive.
Many medium-sized koalas look wonderful with 9mm safety eyes, creating that classic kawaii expression without overpowering the face.
Crochet Koala Pattern in 10 Easy Steps
Here comes the fun part! Breaking the project into manageable stages makes the entire process feel simple and enjoyable.
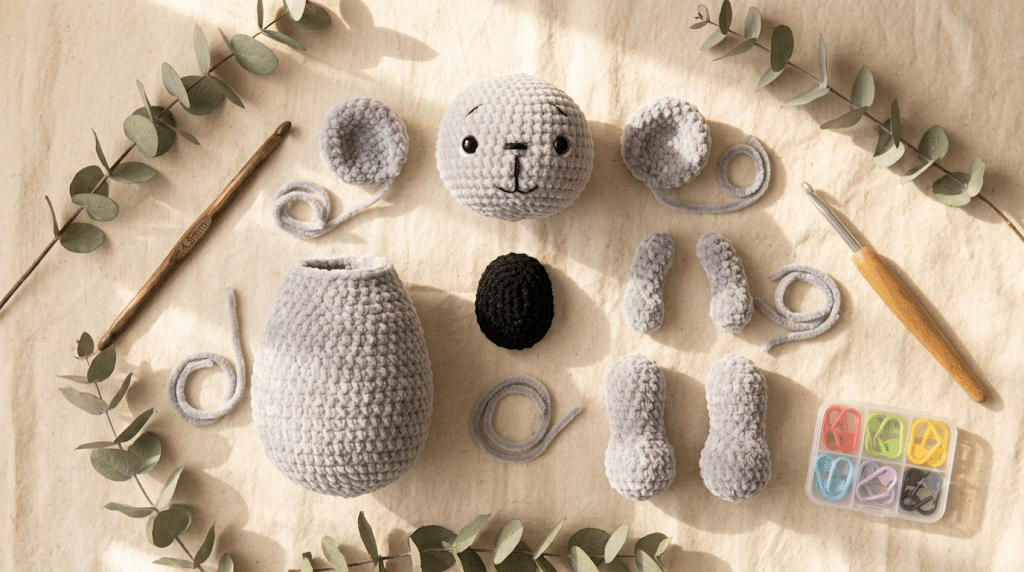
Step 1: Crochet the Round Head
Begin with the head because it becomes the centerpiece of your koala.
Increase evenly until you reach the desired width.
Continue working straight rounds before shaping the top with gradual decreases.
Stuff lightly as you go to maintain a smooth shape.
Step 2: Make the Chubby Body
The body should feel slightly smaller than the head.
This gives your koala that lovable oversized-head appearance that makes amigurumi so charming.
Add stuffing gradually instead of all at once to prevent lumps.
Step 3: Create Large Fluffy Ears
Koalas are famous for their fuzzy ears.
Crochet two matching circles before adding contrasting inner ear sections if desired.
Sew them securely onto each side of the head, making sure both sit evenly.
Step 4: Crochet Tiny Arms
Keep the arms slightly curved.
A gentle bend helps them hug the body naturally once attached.
Light stuffing is enough since bulky arms can become difficult to sew neatly.
Step 5: Make Sturdy Legs
The legs support your finished plushie if you want it sitting upright.
Shape them evenly so your koala balances comfortably on display.
Step 6: Crochet the Sweet Oval Nose
The nose is one of the most recognizable features of a koala. A slightly raised oval shape gives your finished amigurumi an authentic look while keeping the expression soft and friendly.
Use black or dark charcoal yarn for a classic appearance. If you prefer a softer style, dark brown works beautifully too.
Before sewing the nose in place, pin it to the face first. Looking at your koala from different angles helps you find the perfect position.
A centered nose instantly makes your crochet koala pattern come to life.
Step 7: Attach the Facial Features
Now it’s time to give your koala its adorable personality.
Place the safety eyes evenly on each side of the nose. Keeping them level creates a balanced expression that looks cute from every angle.
Before securing everything, step back and look at your project from a short distance. Tiny adjustments can make a surprisingly big difference.
If you enjoy adding extra details, embroider:
- Tiny eyebrows
- A small smiling mouth
- Rosy cheeks with pink yarn
- Little eyelashes
These simple touches create a unique handmade character.
Step 8: Sew the Body Together
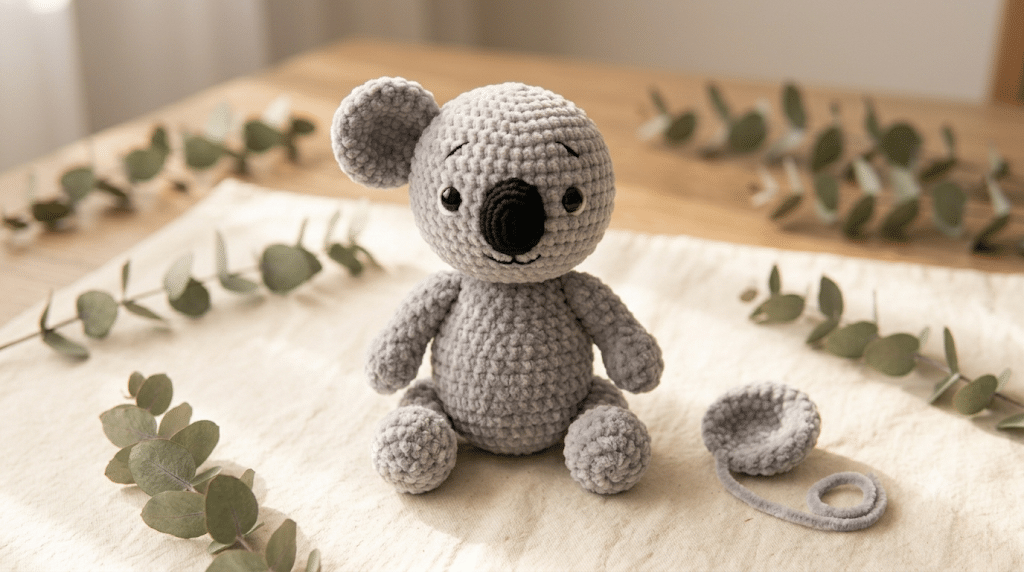
This is where all your hard work starts coming together.
Attach the head firmly to the body using matching yarn. Sew slowly around the neck so it feels sturdy enough for cuddles and display.
Next, attach:
- Arms
- Legs
- Ears
- Tail, if your design includes one
Keep checking that both sides stay symmetrical as you work.
Trust me on this one—a little patience during assembly makes your finished koala look much more polished.
Step 9: Stuff for a Soft, Cuddly Finish
Good stuffing transforms a nice amigurumi into one that feels wonderfully squishy.
Instead of pushing in one large handful, add small pieces of filling gradually.
This keeps the shape smooth and prevents noticeable lumps.
For the softest results, I always reach for Poly-fil Premium fiberfill. It stays fluffy without making the stitches stretch too much, giving your koala a cuddly finish that holds its shape beautifully.
Pay extra attention to:
- The cheeks
- Top of the head
- Bottom of the body
- Ends of the arms and legs
Each section should feel full but still soft enough to squeeze.
Step 10: Add the Final Cute Details
Your koala is already adorable, but a few finishing touches make it unforgettable.
Try adding:
- A tiny eucalyptus leaf
- Small flower crown
- Mini scarf
- Little bow tie
- Pocket with a tiny heart
- Embroidered paw details
These accessories only take a few minutes but add lots of personality.
Once everything is attached securely, give your koala one final fluff and enjoy your finished handmade friend.
Tips for Making Your Crochet Koala Look Professional
A few simple habits can dramatically improve the finished appearance of your crochet koala pattern.
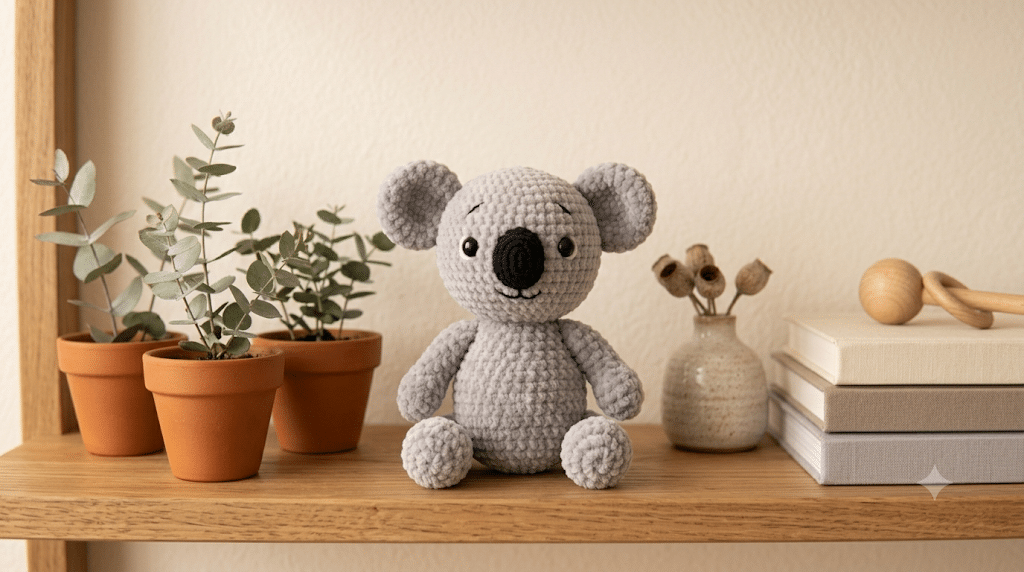
Keep Your Tension Consistent
Even stitches create a smooth, rounded fabric that hides the stuffing inside.
If your stitches become tighter halfway through, pause for a moment and relax your grip before continuing.
Consistent tension is one of the biggest differences between beginner and polished-looking amigurumi.
Pin Before Sewing
Never rush straight into attaching pieces.
Use sewing pins to position the:
- Ears
- Arms
- Legs
- Nose
View your koala from the front, sides, and top before sewing permanently.
This extra step saves time and helps everything stay balanced.
Stuff a Little at a Time
Adding stuffing gradually keeps every section evenly filled.
It also prevents stretched stitches and awkward bumps.
A gently rounded shape always looks softer and more professional than an overstuffed one.
Fun Ways to Customize Your Crochet Koala Pattern
One of the best things about making amigurumi is adding your own creative twist.
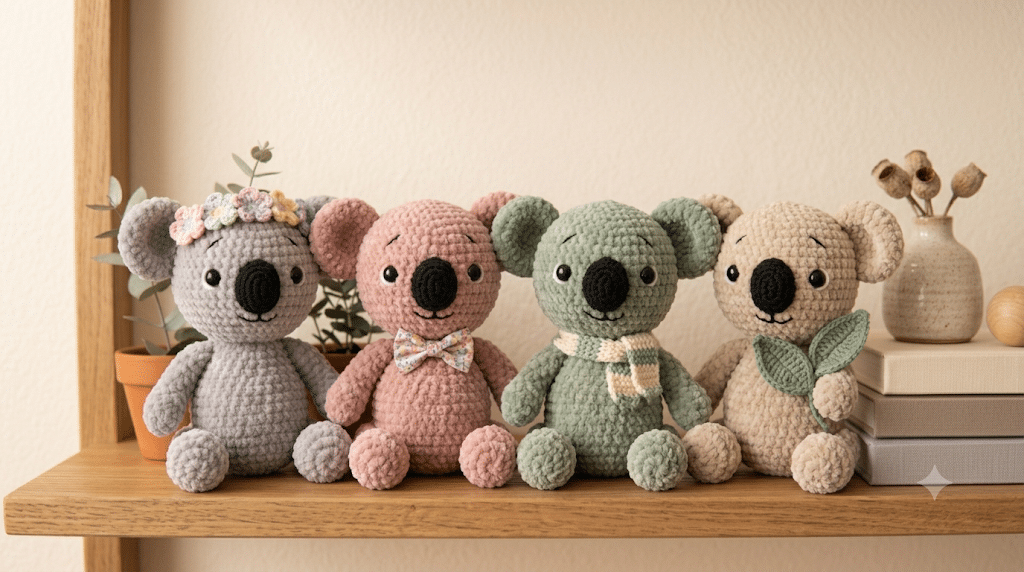
Create Seasonal Koalas
Celebrate every season with different accessories.
Ideas include:
- Santa hat for Christmas
- Bunny ears for Easter
- Tiny pumpkin for autumn
- Flower crown for spring
- Beach hat for summer
These little details make wonderful holiday decorations and thoughtful gifts.
Experiment With Different Yarn
Changing your yarn completely transforms the finished look.
Try:
- Smooth cotton for crisp stitches
- Plush chenille for extra cuddles
- Velvet yarn for luxury texture
- Speckled yarn for playful color variation
Each choice gives your koala its own unique personality.
Make a Whole Koala Family
Once you’ve finished one, it’s hard to stop.
Create:
- Baby koala
- Mama koala
- Papa koala
- Sleeping koala
- Mini keychain koala
Displaying several together creates an adorable handmade collection that everyone will admire.
Caring for Your Crochet Koala Pattern
Your handmade koala deserves a little care so it stays soft, cuddly, and beautiful for years to come. Whether it sits on a nursery shelf, joins a child’s toy collection, or becomes a heartfelt gift, a few simple habits will help protect all your hard work.
Keep Your Koala Looking Fresh
Dust can settle into plush yarn over time. Give your koala a gentle shake or use a soft lint roller every few weeks to keep it looking clean.
If you display several amigurumi together, rotate their positions occasionally. This helps prevent one side from fading if it sits in direct sunlight.
Wash With Care
Most amigurumi are happiest with gentle hand washing.
Fill a bowl with cool water and a small amount of mild detergent. Lightly squeeze the toy without twisting or wringing it.
Rinse thoroughly, then press it between clean towels to remove extra water.
Let your koala air dry naturally. Avoid high heat, which can damage some yarn fibers and stuffing.
Store It Safely
If you pack away seasonal decorations or gifts, store your koala in a breathable cotton bag or storage bin.
Avoid compressing it under heavy items, since that can flatten the stuffing over time.
A little extra care helps your handmade friend stay just as adorable as the day you finished it.
Creative Gift Ideas for Your Crochet Koala Pattern
One of the best parts of making a crochet koala pattern is sharing it with someone special. Handmade gifts always carry a little extra love because every stitch represents your time and care.
A Sweet Baby Shower Gift
Soft, smiling koalas make wonderful nursery decorations.
Pair your finished plushie with:
- A handmade baby blanket
- A children’s storybook
- A personalized gift tag
New parents will treasure a thoughtful handmade keepsake.
A Birthday Surprise
A crochet koala makes a memorable birthday gift for children, teens, and even adults who love cute collectibles.
Choose the recipient’s favorite colors to make the gift feel even more personal.
A Cozy Desk Companion
Not every amigurumi has to live on a shelf.
Small koalas look adorable beside a computer monitor, on a craft table, or in a reading nook.
They add warmth and personality to any space while reminding you of the joy of making something by hand.
Frequently Asked Questions About Crochet Koala Pattern
How long does it take to crochet a koala?
Most beginners finish a crochet koala over a weekend, usually in 8 to 12 hours. Experienced crocheters may complete one much faster. Working a little each day makes the project relaxing and enjoyable without feeling rushed.
Is this crochet koala pattern good for beginners?
Yes. This project uses simple amigurumi techniques like single crochet, increases, decreases, and sewing separate pieces together. If you’ve completed one or two small plushies before, you’ll feel comfortable making this koala.
What yarn works best for a crochet koala?
For a medium-sized koala, 9mm safety eyes usually create the perfect balance. Smaller koalas often look best with 6mm eyes, while larger plushies can use 12mm eyes for a bold kawaii expression.
Can I sell koalas made from this pattern?
In many cases, yes. Most independent designers allow you to sell finished handmade items in small quantities, although you should always check the individual pattern’s terms of use. Avoid copying or redistributing the written pattern itself.
How can I make my koala look fluffier?
Choosing a plush yarn is the easiest way to create a fluffy finish. You can also gently brush certain yarns with a soft pet brush after crocheting to add a fuzzy texture. Test a small hidden area first to make sure you like the effect.
Your Adorable Koala Is Ready!
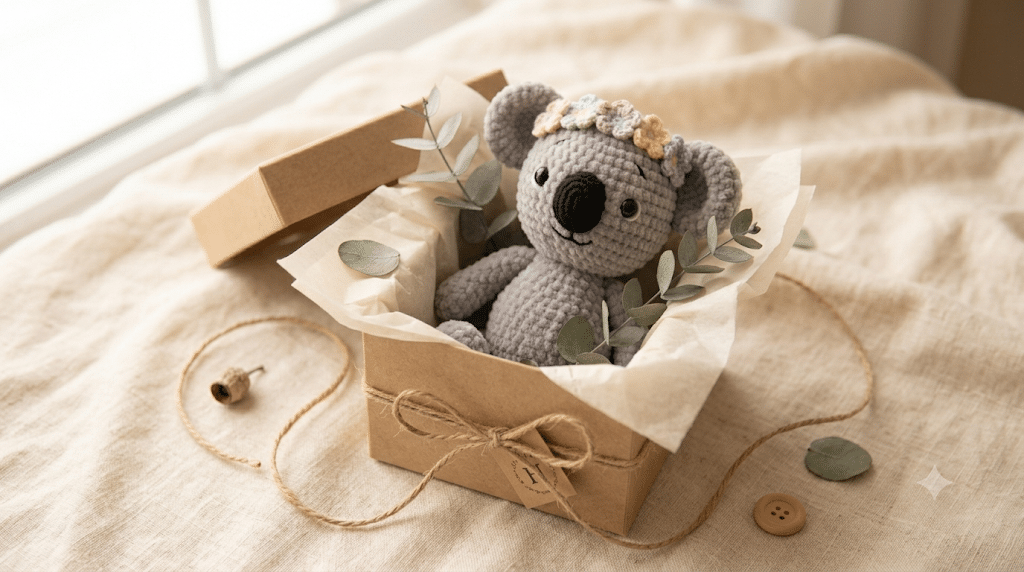
Congratulations—you’ve created a cuddly little friend full of personality and handmade charm. From crocheting the basic shapes to assembling the final details, you’ve learned techniques that will help you tackle many future amigurumi projects with confidence.
Every finished crochet koala pattern becomes more than just a toy. It becomes a thoughtful gift, a treasured keepsake, or a cheerful decoration that brings smiles for years to come. Keep experimenting with colors, accessories, and yarn textures to make every koala uniquely yours.
Save this pin to your crochet board on Pinterest so you can find this pattern anytime!
Looking for more free crochet animal patterns? Visit Yarned Animals for new amigurumi patterns, kawaii plushies and beginner crochet tutorials added every week at yarnedanimals.com