
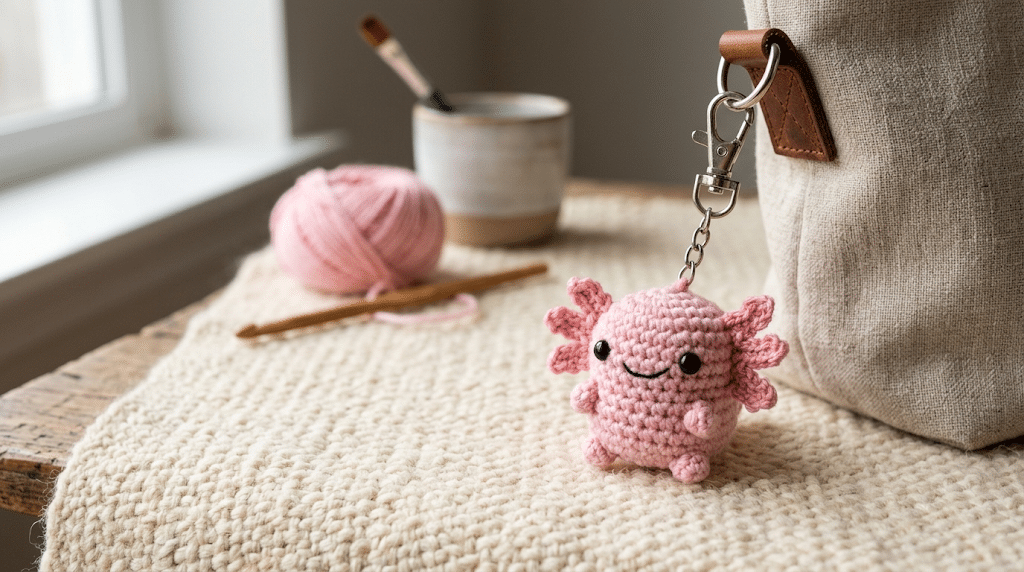
There is something extra special about a tiny handmade charm dangling from your favorite bag. A crochet axolotl keychain turns a few simple stitches into a pocket-sized friend that feels completely personal.
This mini amigurumi makes a sweet backpack decoration, purse charm, handmade gift, or cute little desk companion. Its rounded body, tiny legs, cheerful face, and frilly gills create that irresistible axolotl look without needing a complicated design.
You can keep your colors soft and pastel, or choose bright shades for a more playful finish. The small size also makes this project perfect when you want a quick crochet win.
This guide walks you through the materials, construction, shaping, finishing, and keychain attachment in 10 beginner-friendly steps. Grab your hook and yarn, and let’s make your tiny axolotl friend.
Table of Contents
Why This Crochet Axolotl Keychain Makes Such a Cute Project
Small amigurumi projects have a special charm. You can finish them quickly, experiment with colors, and turn them into useful little accessories.
An axolotl works especially well as a miniature crochet project because its recognizable features remain adorable even at a small size. The rounded body gives you a simple base, while the gills add the colorful detail that makes the animal instantly recognizable.
A perfect beginner amigurumi project
If you are new to crochet, this project gives you plenty of practice without creating a huge commitment. You will work with familiar techniques such as single crochet, increases, decreases, stuffing, and simple embroidery.
The key is to keep your tension consistent. Small stitches help the stuffing stay inside and give your finished charm a neat appearance.
You do not need advanced shaping skills. Take your time, count your stitches carefully, and use a stitch marker whenever you need help tracking your rounds.
Why the mini size is so satisfying
A miniature project feels rewarding because you can see progress quickly. Instead of spending days building a large plushie, you can watch your tiny animal take shape over a few focused sessions.
A finished charm also gives you more ways to enjoy your crochet. Attach it to a backpack, purse, pencil case, crochet tote, or set of keys.
Tip: Keep a small container beside your workspace for safety eyes, stitch markers, and tiny finished pieces. It prevents those little supplies from disappearing.
A handmade gift with personality
A handmade axolotl charm can make a thoughtful gift for someone who loves cute animals, crochet, or colorful accessories.
You can personalize the project by choosing the recipient’s favorite color. Soft pink creates a classic axolotl appearance, while lavender, mint, peach, yellow, and cream create completely different personalities.
You could even make several charms in different colors and give them as a tiny collection.
For smooth crochet sessions, I like using a Clover Amour crochet hook because the comfortable grip makes small projects easier to hold for longer periods.
Crochet Axolotl Keychain Materials and Simple Preparation
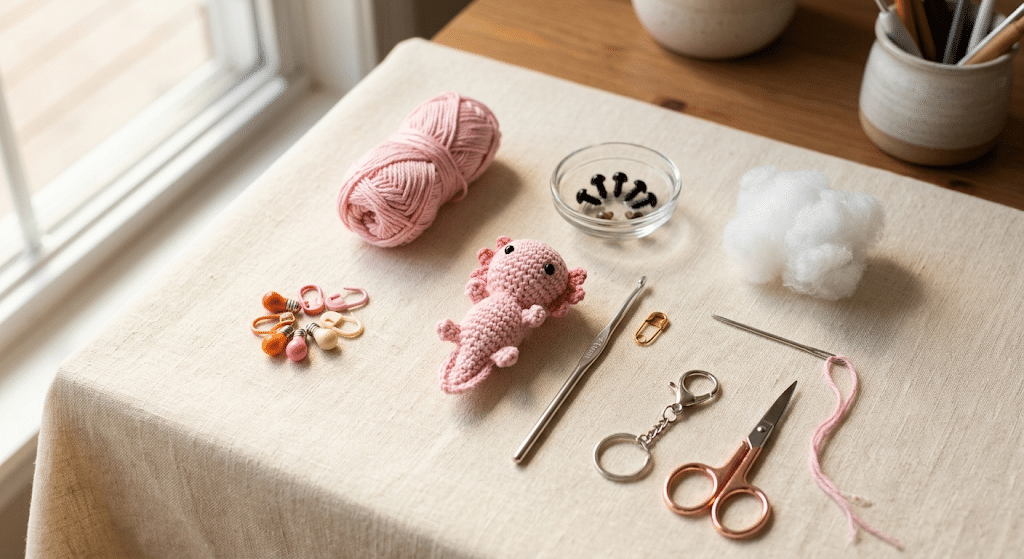
Before starting, gather everything you need in one place. A small project uses fewer materials than a large amigurumi, but the finishing details matter.
Choose yarn that creates firm stitches. A smooth yarn makes your tiny animal easier to shape and helps the facial details stand out.
Choose yarn for a soft miniature finish
For this project, Paintbox Simply DK yarn works beautifully when you want a lightweight and colorful axolotl.
You can use one main shade for the body and another shade for the gills. Matching the gills to a lighter or darker version of the body can create a lovely layered effect.
If you prefer a very soft plush appearance, you can experiment with Bernat Blanket yarn. However, thicker yarn makes the finished charm larger, so adjust your hook size and expectations accordingly.
Your yarn choice affects the final size. Smaller yarn creates a more delicate bag charm, while thicker yarn creates a chunkier miniature plushie.
Gather the small finishing supplies
You will also need stuffing, a crochet hook, safety eyes, a yarn needle, and something suitable for turning the finished piece into a keychain.
Poly-fil Premium fiberfill works well for small amigurumi because you can add tiny amounts gradually while shaping the body.
Keep your stuffing light at first. Overstuffing can stretch your stitches and make the body lose its rounded shape.
A 9mm safety eye can work nicely for a medium miniature axolotl. For an especially tiny version, smaller eyes may look more proportional.
Prepare your workspace
Good preparation makes small crochet projects much easier.
Place your yarn, hook, stuffing, needle, stitch marker, scissors, eyes, and keychain hardware within easy reach. You do not want to stop halfway through shaping because you cannot find one tiny supply.
Make sure your working area has good lighting. Small stitches can become difficult to see when the yarn and hook are close together.
Before moving forward, decide whether your finished charm will be a traditional pink axolotl or a fun custom color.
How to Crochet the Axolotl Body in 10 Easy Steps
Now that your supplies are ready, it is time for the fun part. The body follows a simple rounded amigurumi shape.
The most important thing here is consistency. Small crochet pieces can change shape quickly when your tension changes.
Step 1: Start the miniature body
Begin your axolotl with a small magic ring. Work your first round of single crochet into the ring and keep the stitches snug.
If you find magic rings difficult, practice the motion with scrap yarn before starting the actual body.
Keep your starting tail long enough to weave in later. A secure beginning gives your finished piece a cleaner shape.
Step 2: Build the rounded shape
Continue crocheting in continuous rounds while gradually increasing your stitches.
The increases expand the circle and create the rounded lower portion of your axolotl. Try not to pull the stitches excessively tight.
Use a stitch marker to identify the beginning of each round. This simple habit can save you from losing your place.
Step 3: Create the body height
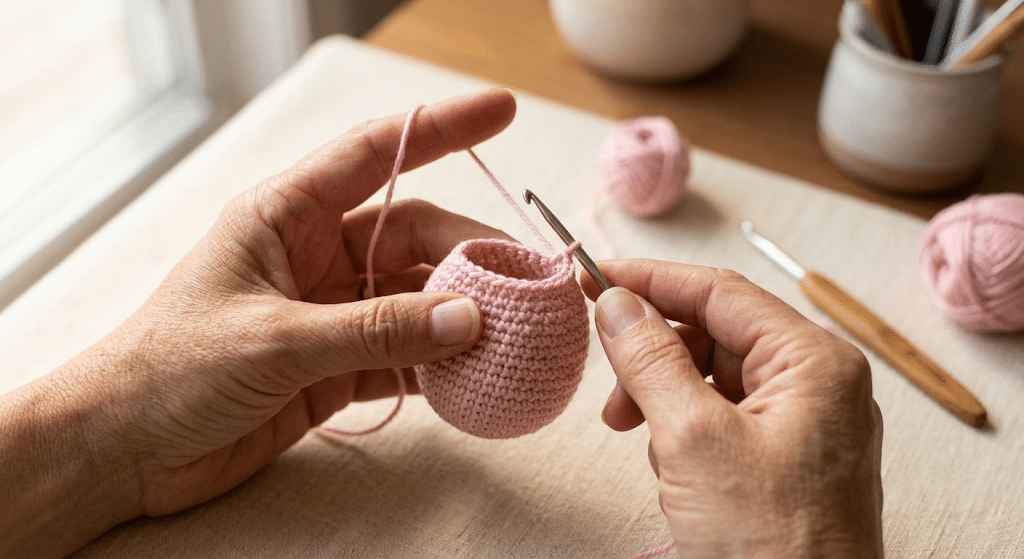
Once the body reaches its widest point, work several rounds without increasing.
These even rounds create the little axolotl’s height. Keep checking the shape as you crochet.
You want a soft oval body, rather than a completely flat circle or an extremely tall tube.
If your piece looks too narrow, check your tension before changing the pattern. Tight stitches can make small amigurumi look much smaller.
Step 4: Add the first stuffing
Add a small amount of fiberfill while the opening remains wide.
Push the stuffing gently toward the sides. This helps maintain the rounded shape without creating hard lumps.
Do not fill the body completely yet. Leaving room makes the next shaping rounds easier.
Step 5: Shape the upper body
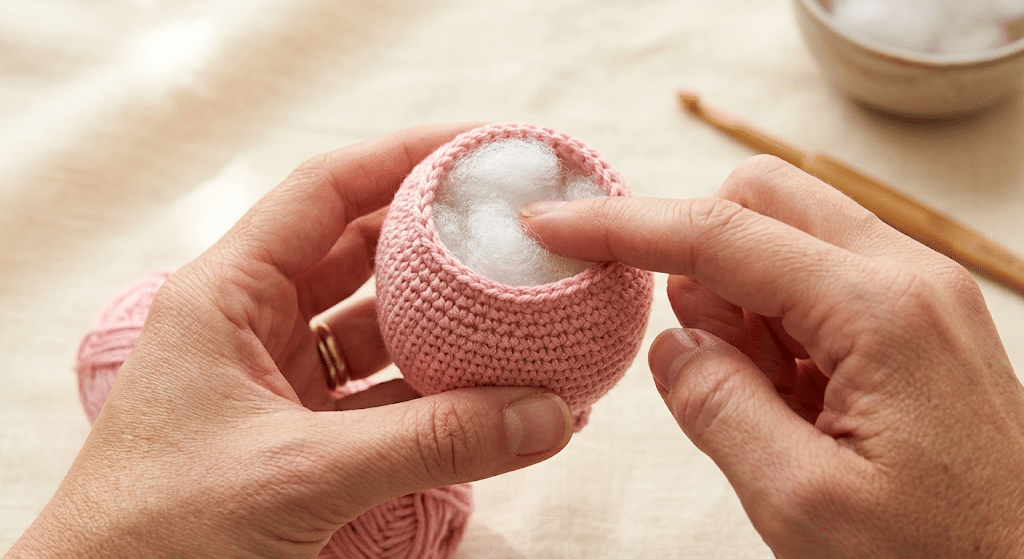
Continue with your decrease rounds to bring the top of the body inward.
Decrease gradually rather than pulling the opening closed too quickly. A gentle taper gives your axolotl a cute rounded head.
Add a little more stuffing as you go. Stop occasionally and squeeze the body between your fingers.
You want a firm but squishy texture.
Step 6: Close the body neatly
When the opening becomes small, add the final stuffing.
Use your yarn needle to close the remaining stitches securely. Pull the yarn carefully so the top gathers without creating a large visible bump.
Weave the yarn through the body before trimming it.
A neat closure matters because your keychain will move around frequently. Secure finishing helps prevent the body from loosening.
Step 7: Crochet the tiny legs
Next, create four small legs using your chosen body or contrasting yarn.
Keep the legs short and rounded. You want them to look like tiny little feet rather than long animal legs.
Attach two legs near the lower front and two toward the back.
Try to keep their placement symmetrical. You can temporarily pin each leg in place before sewing it permanently.
Step 8: Add the axolotl gills
The gills are the feature that gives this little creature its personality.
Create small frilled pieces using your accent yarn. You can make simple pointed or slightly wavy shapes that fan outward from each side of the head.
Sew the gills securely behind the head area. Space them evenly so the face remains visible.
Tip: Slightly brighter gills can make the face pop beautifully in photographs.
Step 9: Add the face
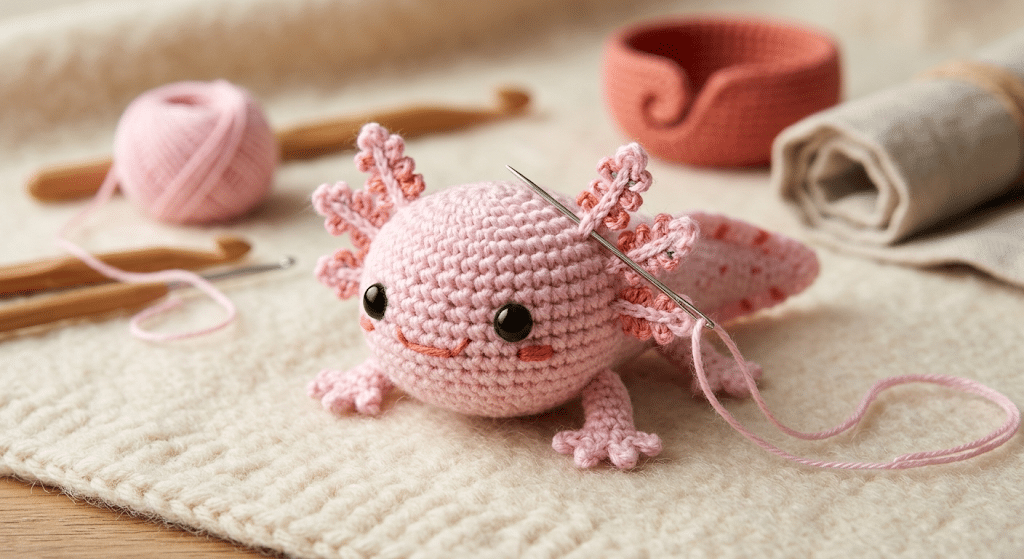
Attach the safety eyes once you are happy with their placement.
Place them evenly on the front of the head. Before pushing them into place, hold them against the crochet and check the expression.
Add a tiny embroidered mouth with black yarn if you want a smiling expression.
You can also add small blush details using embroidery or carefully chosen yarn.
The face transforms the shape immediately. This is usually the moment when your tiny axolotl starts looking like a real character.
Step 10: Turn it into a bag charm
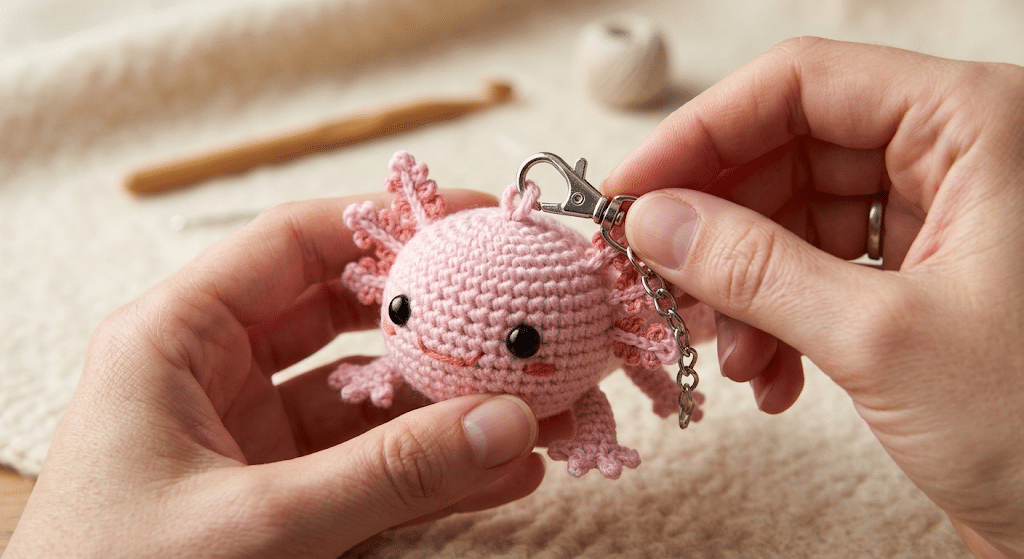
Finally, attach your keychain hardware securely to the top of the body.
Use a strong sewing connection through the crochet fabric rather than attaching hardware only to a loose yarn strand.
Check the attachment by gently pulling it before putting the charm on your bag.
Your finished piece is now ready to become a mini axolotl bag charm, backpack decoration, or handmade gift.
How to Make Your Mini Axolotl Look Extra Adorable
The basic shape already looks cute, but small finishing choices can completely change the personality of your amigurumi.
When you work at miniature scale, tiny details become more noticeable. A slight change in eye placement can make the character look sleepy, surprised, playful, or cheerful.
Experiment with pastel axolotl colors
Pink remains a classic choice, but you have plenty of options.
Try lavender, peach, mint green, pale yellow, cream, or soft coral for different personalities. You can also use one color for the body and another for the gills.
Pastel colors work especially well for kawaii accessories because they create a soft handmade appearance.
For a more unusual design, make the body one color and use rainbow shades for the gills.
Create different facial expressions
Eye placement changes the entire look.
Place the eyes slightly closer together for a baby-like expression. Move them slightly farther apart for a more playful appearance.
A tiny embroidered smile adds another layer of personality. You can even experiment with a sleepy expression using small curved embroidery lines.
Take a photo before permanently securing facial pieces. Sometimes an expression looks different through a camera lens than it does in your hand.
Give the gills more texture
The gills are your chance to make the project stand out.
Instead of making completely flat pieces, slightly curl the yarn as you sew the gills into place. This gives them a gentle three-dimensional appearance.
You can also layer two shades of yarn for a more decorative look.
Keep the gills securely attached because the finished charm will experience more movement than a shelf decoration.
Common Crochet Axolotl Keychain Mistakes and Easy Fixes
Small amigurumi can feel surprisingly tricky. Tiny mistakes become easier to notice because the project itself is small.
The good news is that most problems have simple solutions.
The body looks too loose
Loose stitches can create visible gaps where the stuffing shows through.
Try using a smaller hook with your chosen yarn. Keep your tension firm but comfortable.
You should not need to squeeze the hook through every stitch. Aim for controlled stitches that close the fabric without making crocheting painful.
The axolotl looks uneven
Uneven shaping often comes from missed or extra increases.
Count your stitches at the end of each round. A stitch marker can help you identify the start of the round and prevent accidental drifting.
If one side looks larger than the other, check your leg and gill placement before assuming the body itself has a problem.
The face looks different from the example
That is completely normal.
Amigurumi faces depend heavily on eye spacing and individual tension. Your axolotl can have its own personality.
Before permanently attaching the eyes, move them around slightly and compare different positions.
Trust me on this one: spending an extra minute arranging the face can make your finished charm much cuter.
The stuffing creates bumps
Add stuffing in tiny portions instead of one large handful.
Use the back of your crochet hook or a stuffing tool to gently push fiberfill into empty corners.
Rotate the body while shaping it. This helps you notice uneven areas before you close the final opening.
Turning Your Crochet Axolotl Keychain Into a Handmade Gift
A tiny crochet animal can become much more meaningful when you personalize the presentation.
You do not need expensive packaging. Simple handmade details often feel more thoughtful.
Make a matching charm set
Create two or three axolotls in different colors.
A pink and lavender pair would make a sweet friendship gift. A collection of pastel colors could work beautifully as small party favors.
You can also make one charm for yourself and another for someone special.
Add it to a handmade gift basket
A mini charm works nicely alongside other small handmade items.
Pair it with a crochet accessory, handmade card, or small craft gift. The axolotl becomes an unexpected little surprise.
This idea works particularly well for birthdays, craft-loving friends, and anyone who enjoys cute bag accessories.
Personalize the color
Color personalization makes a simple gift feel much more intentional.
Choose a shade that matches the recipient’s favorite color, school colors, backpack, or everyday style.
You can even create a tiny themed collection for someone who loves ocean-inspired creatures.
If you enjoy experimenting with different yarn textures, Lion Brand Comfy Cotton yarn can give your small projects a soft cotton feel with a clean stitch definition.
How to Attach and Care for Your Mini Bag Charm
Your crochet animal will probably experience more wear than an amigurumi that stays on a shelf.
It may rub against clothing, swing from a backpack, or get squeezed inside a purse. A little extra care during finishing can make a big difference.
Secure the keychain hardware
Sew through several sturdy stitches when attaching the hardware.
Do not rely on a single strand of yarn. Create several passes with your yarn needle and pull each pass securely.
Once attached, gently test the hardware before using the charm.
If the connection feels loose, reinforce it before attaching the charm to your bag.
Keep the charm clean
Small crochet accessories can collect dust quickly.
For light cleaning, gently brush away surface dust with your fingers or a soft cloth.
Avoid soaking the finished piece unless your yarn and attached components can safely handle washing.
If your charm becomes damp, allow it to dry completely before storing it.
Store it carefully
If you are not using your charm for a while, keep it somewhere dry and clean.
Avoid crushing the gills under heavy objects. Their delicate shape can flatten when stored under pressure.
A small fabric pouch can protect miniature amigurumi between uses.
Frequently Asked Questions About Crochet Axolotl Keychain
How long does it take to crochet an axolotl keychain?
A small axolotl charm can take a few hours depending on your crochet speed, yarn thickness, and experience. Beginners may need extra time for counting, shaping, sewing, and attaching the facial details. Once you become comfortable with miniature amigurumi, you can often finish one much faster.
What yarn is best for a crochet axolotl keychain?
A smooth DK-weight yarn works well for a miniature charm because it keeps the stitches defined and the finished piece lightweight. Cotton or cotton-blend yarn can also create crisp details. For a fluffy look, thicker chenille yarn works, but remember that it will make the finished axolotl larger.
Is a crochet axolotl keychain good for beginners?
Yes, this project can work well for beginners who know basic single crochet. You will practice increases, decreases, stuffing, sewing, and simple embroidery. The small size also makes it less intimidating than a large amigurumi project. Use stitch markers and count your rounds carefully while shaping the body.
What size safety eyes should I use for an axolotl bag charm?
The best eye size depends on your finished charm size. 9mm safety eyes work nicely for a medium miniature axolotl, while smaller eyes can suit tiny versions. Always place the eyes temporarily before securing them. This lets you adjust the expression and spacing.
Can I sell axolotl keychains I make from this pattern?
You can generally sell finished handmade items when the pattern allows commercial use, but you should check the specific designer’s terms before selling. Never sell, redistribute, or claim the written pattern itself as your own. When selling handmade crochet pieces, clearly describe them as handmade items.
How do I make a crochet axolotl keychain stronger?
Use firm stitches, secure the stuffing, and reinforce the keychain attachment with several passes of yarn. Pay special attention to the connection point because it receives the most movement. Secure all loose ends carefully, and test the hardware with a gentle pull before using your finished charm.
Final Tips for Your Crochet Axolotl Keychain
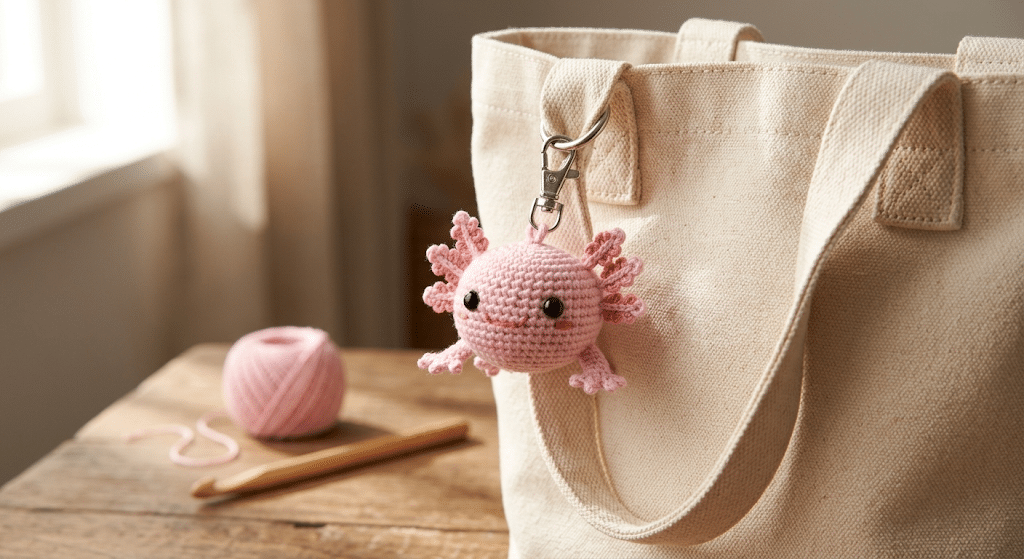
You have everything you need to turn a small amount of yarn into a seriously cute accessory.
The biggest lesson with miniature amigurumi is to slow down when the details matter. Count your stitches, check your shaping, and spend a little extra time positioning the eyes and gills.
If your first attempt does not look perfect, keep going. Your second charm will usually feel easier because your hands already understand the movements.
A crochet axolotl keychain also gives you endless opportunities to experiment. Try different colors, facial expressions, gill combinations, and sizes until you create a character that feels uniquely yours.
The best part comes when you clip your finished little axolotl onto your favorite bag and realize that you made it yourself. That tiny handmade detail can bring a surprising amount of joy every time you see it.
For small projects like this, I also like keeping a yarn needle set nearby because sewing the legs, gills, face, and hardware becomes much easier when you have the right needle size.
Save this pin to your crochet board on Pinterest so you can find this pattern anytime!
Looking for more free crochet animal patterns? Visit Yarned Animals for new amigurumi patterns, kawaii plushies and beginner crochet tutorials added every week at yarnedanimals.com