
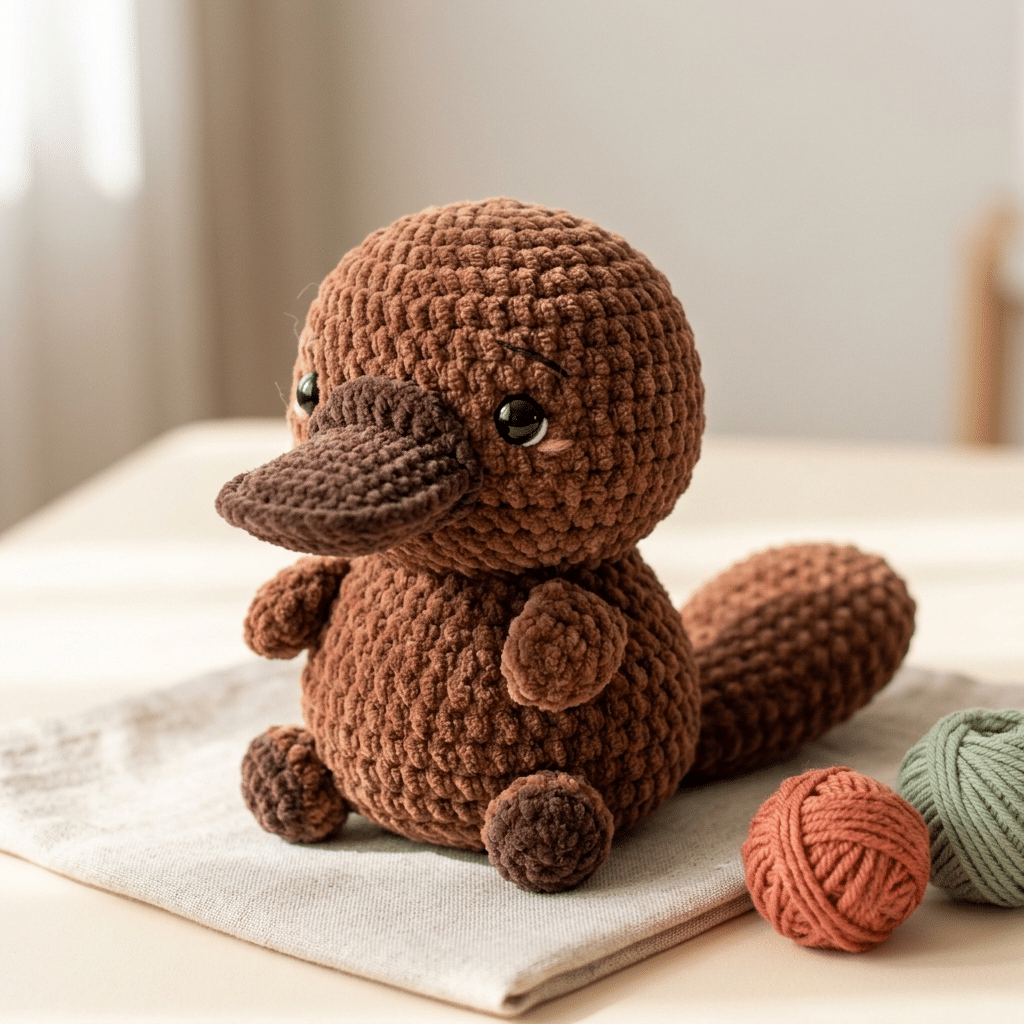
There is something wonderfully silly about a tiny platypus with a round bill, soft body, and little webbed feet. This crochet platypus pattern turns that unusual animal into a cute handmade friend you can proudly display, gift, or tuck into a cozy corner.
You do not need advanced crochet skills to enjoy this project. The rounded shapes and simple details make this a fun choice for beginners who want to try something a little different from the usual bears and bunnies.
You will learn how to shape the body, create the signature bill, add adorable feet, and finish your platypus with charming details. If you love quirky amigurumi, this project brings plenty of personality without making the process feel overwhelming.
Grab your hook and yarn, and let’s make this little Australian-inspired friend together.
Table of Contents
Why This Crochet Platypus Pattern Is So Much Fun
Platypuses have one of the most recognizable silhouettes in the animal world. Their flat bill, compact body, short legs, and broad tail give you several cute details to recreate with yarn.
This project works especially well when you want something that feels different from standard amigurumi animals. A finished platypus makes a fun shelf decoration, handmade gift, nursery accent, or cute companion for an animal-loving friend.
The best part comes from combining simple crocheted shapes. You can make the body rounded and squishy, then add the bill, feet, tail, and tiny facial features afterward.
What makes a platypus amigurumi unique
The bill instantly gives your amigurumi its character. A slightly oversized bill creates a kawaii appearance and makes the finished animal easy to recognize.
The tail adds another fun opportunity. Instead of making it extremely realistic, keep it slightly rounded and plush for a softer handmade look.
A great project for beginners
You can approach this project one small section at a time. Beginners can focus on maintaining even tension and creating smooth rounded shapes.
Do not worry about making every stitch perfect. Small handmade differences often give amigurumi its charm.
A sweet handmade gift idea
A finished platypus makes an unusual gift for someone who loves wildlife, cute animals, or handmade crafts. It also works beautifully as a small birthday surprise.
For an extra-soft finish, I like Bernat Blanket yarn when teaching plush amigurumi projects. Its chenille texture gives the finished animal a wonderfully cuddly feel.
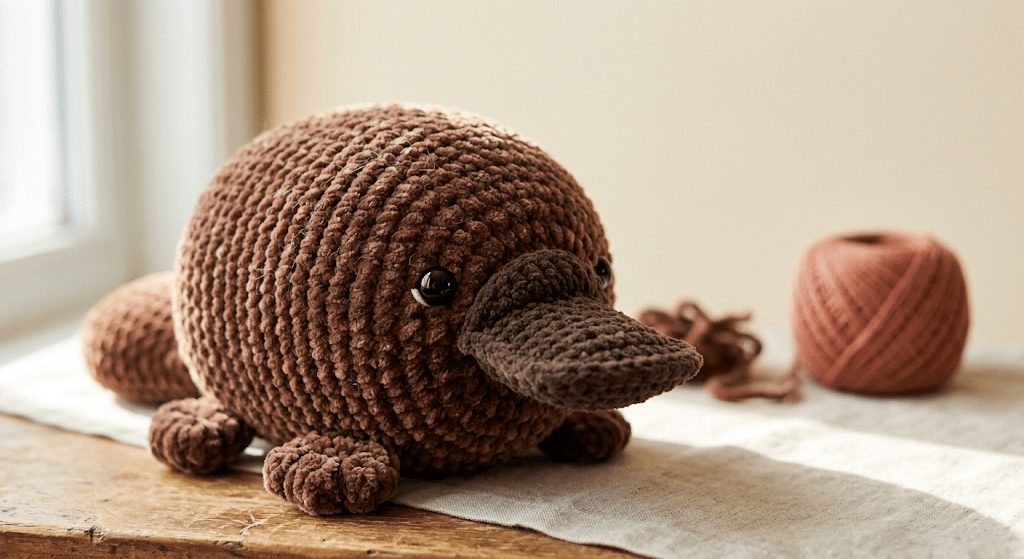
Crochet Platypus Pattern Materials and Preparation
Before starting your crochet platypus pattern, prepare your workspace so everything stays within easy reach. A tidy setup makes small amigurumi projects much more relaxing.
Choose yarn that feels comfortable through your fingers. Medium-weight yarn works nicely for a larger plush, while lighter yarn creates a smaller decorative platypus.
Your hook size should match your yarn while creating a firm fabric with minimal gaps. Amigurumi usually looks best when stuffing cannot easily show through the stitches.
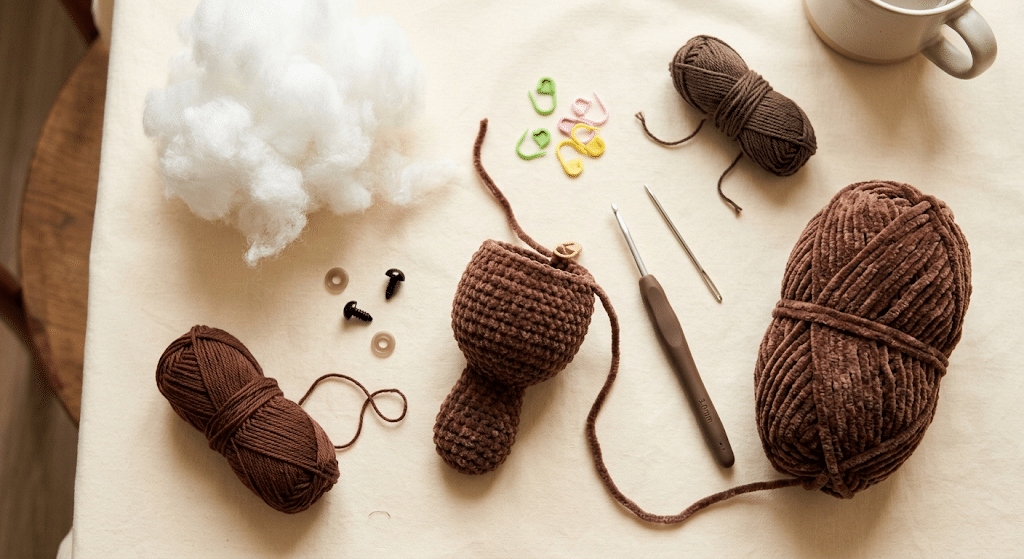
Choose your yarn carefully
A warm brown or chocolate shade creates a classic platypus appearance. You can also experiment with taupe, caramel, gray-brown, or even a playful pastel color.
For a softer cotton-style finish, Lion Brand Comfy Cotton yarn works beautifully for smaller amigurumi animals.
Keep your stuffing under control
Add stuffing gradually rather than filling the body all at once. This gives you better control over the shape.
Stuff firmly but gently. You want a plush body that holds its shape without stretching the stitches.
Prepare your small tools
Keep your stitch markers, yarn needle, and stuffing nearby. These simple tools make assembly much easier.
Stitch markers help you keep track of rounds, especially when you are working continuously around the body.
How to Crochet the Platypus Body Step by Step
Now that you have everything ready, here is the fun part: building the main shape.
The body creates the foundation for your platypus. Aim for a rounded, slightly elongated shape rather than a perfect sphere.
If your stitches feel tight, take a short break between sections. Relaxed hands usually create more consistent tension.
Step 1: Start the main body
Begin with your chosen brown yarn and work the first rounded section. Keep your stitches firm and even as you build outward.
The opening should stay small enough that your stuffing remains secure later.
Step 2: Shape the rounded torso
Continue working around the body while gradually increasing its width. Imagine creating a small oval rather than a tall ball.
Check the shape regularly in your hands. Your finished body should look plump from every angle.
Step 3: Add the stuffing gradually
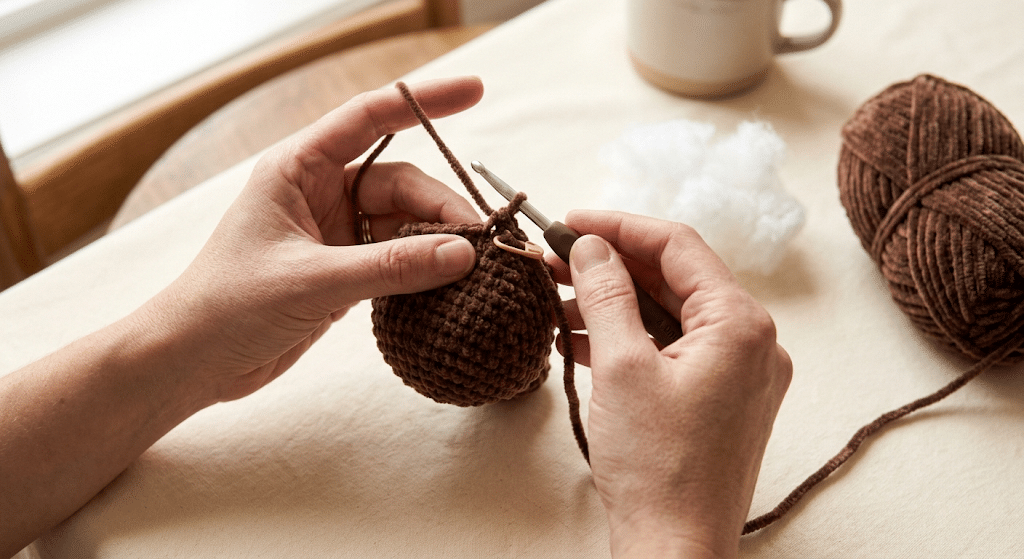
Once the body reaches a comfortable size, begin adding small amounts of fiberfill.
Use your fingers to push stuffing gently into the corners. Small additions create a smoother shape than one large handful.
Step 4: Close the body neatly
As the body narrows, add your final stuffing before closing the opening completely.
Use your yarn needle to weave the remaining yarn through the final stitches. Pull gently until the opening closes.
You should now have a soft, rounded platypus body ready for its character-making details.
How to Make the Cute Platypus Face
The face gives your amigurumi its personality. This is where a simple brown shape starts looking like a tiny platypus.
The eyes should sit evenly across the face, while the bill sits lower and slightly forward.
Step 5: Position the safety eyes
Choose a safety-eye size that suits your finished animal. For a medium plush, 9mm safety eyes can create a sweet balance between the eyes and bill.
Before securing them permanently, hold them against the face and experiment with their placement.
Move them slightly closer together for a younger kawaii expression. A little extra spacing creates a more curious look.
Step 6: Crochet the signature bill
The bill is the most recognizable part of your platypus. Use a dark brown, black, or warm charcoal shade.
Create a small, flat oval shape with slightly rounded edges. Keep it wider than it is tall for that classic platypus silhouette.
Attach the bill securely beneath the eyes. Make sure it sits centered before weaving in the yarn ends.
Step 7: Add a tiny expression
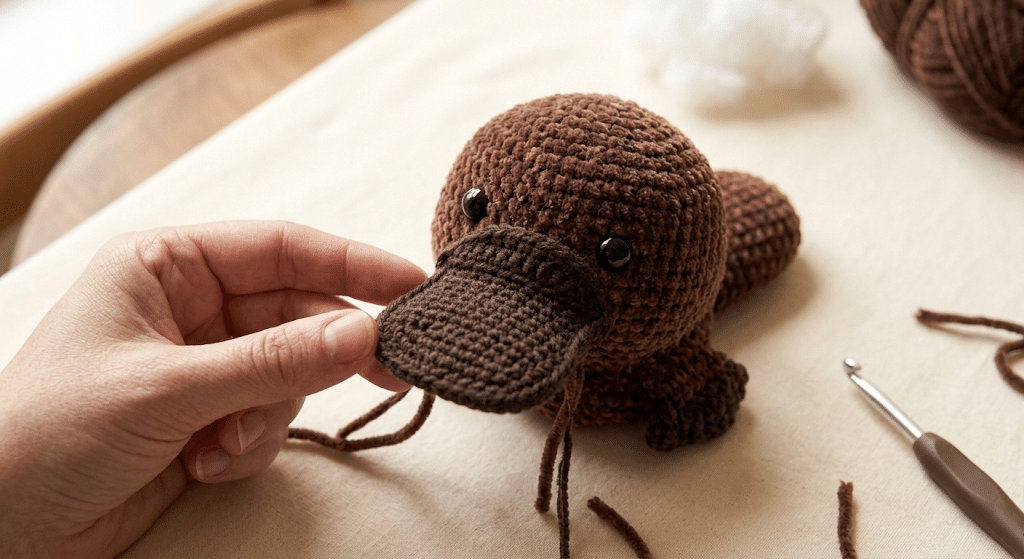
You can keep the face simple because the bill already creates plenty of personality.
A tiny embroidered smile can work beautifully if you want an extra cheerful expression. Keep the embroidery subtle so the bill remains the main feature.
How to Crochet the Feet and Tail
Ready to move on? The smaller pieces bring the whole animal together.
Platypus feet and tails have distinctive shapes, but you do not need to recreate every anatomical detail. A simplified kawaii version looks much better for a soft amigurumi.
Step 8: Create the little feet
Crochet four small rounded feet using the same body color. Keep them short and slightly flattened.
For a cute sitting pose, position the front feet closer to the bill and place the back feet lower along the sides.
Sew each foot firmly to the body. Test the placement before making your final stitches.
Step 9: Make the broad tail
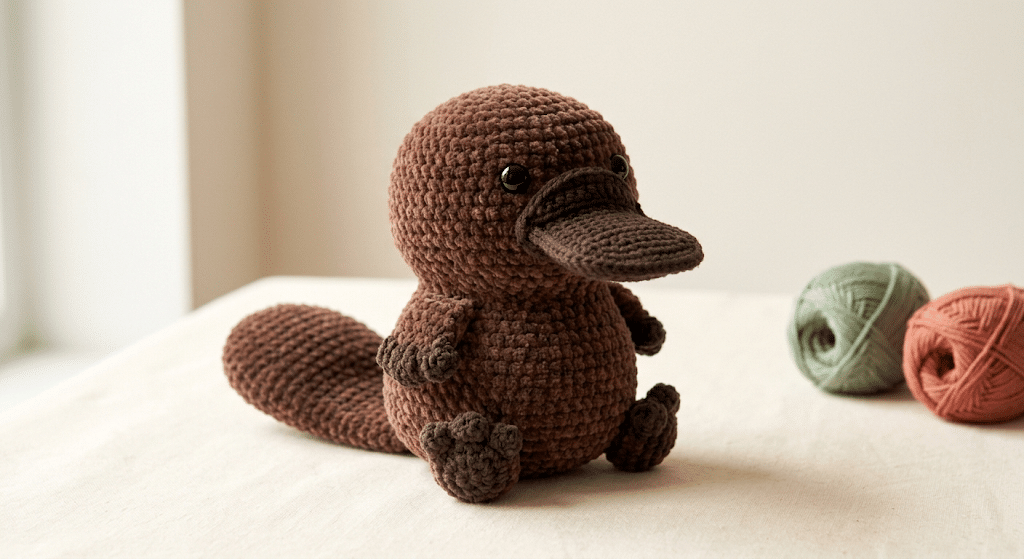
The tail should look wider and flatter than the feet. A slightly oval shape works wonderfully for a plush interpretation.
Use darker brown yarn if you want extra contrast. You can also use the same body color for a softer monochromatic appearance.
Attach the tail at the back of the body and angle it slightly downward. This gives your finished platypus a natural sitting pose.
Finishing Your Crochet Platypus Pattern
Your little platypus is almost finished. This final stage focuses on shaping, securing loose ends, and giving your creation that polished handmade appearance.
Before trimming anything, inspect every attachment point. Gently tug each part to make sure nothing feels loose.
Step 10: Assemble and shape everything
Check the eyes, bill, feet, and tail from the front and side. Small adjustments can make a surprisingly big difference.
Use a yarn needle to hide every remaining yarn end inside the body. Trim only after you feel confident that each end sits securely.
Finally, gently squeeze the body into your preferred shape.
Your finished crochet platypus pattern should feel soft, balanced, and wonderfully squishy.
Give your platypus extra personality
You can customize your amigurumi with a few simple changes.
Try adding tiny embroidered details, changing the bill color, or using contrasting yarn for the feet. You could even make several platypuses in different colors for a playful collection.
Make different sizes
Changing yarn weight and hook size lets you create different versions without completely changing the design concept.
A smaller version works nicely as a bag charm or desk decoration. A larger version can become a cuddly plush gift.
Check the final shape
Place your platypus on a flat surface and check whether it sits comfortably.
If it tips forward, gently adjust the stuffing or reposition the feet. A few small shaping adjustments can make your finished amigurumi look much more polished.
Easy Tips for Better Platypus Amigurumi
Before you finish, there are a few techniques that can make your project smoother.
Amigurumi becomes easier when you focus on consistency rather than speed. Keep your tension steady, check your shape often, and do not rush the assembly.
Keep your stitches tight
Loose stitches can create visible gaps around the stuffing. A slightly firm tension usually gives you a cleaner plush surface.
If you notice large spaces appearing, try a smaller hook.
Stuff in small amounts
Adding stuffing gradually helps prevent lumpy areas. Rotate the body as you work so you can see how evenly it fills.
Do not overstuff the final rounds. Too much pressure can stretch the stitches and distort your shape.
Use markers for round counting
Stitch markers can save you from losing your place during repetitive rounds.
Move the marker after each completed round and pause whenever your stitch count feels uncertain.
Take your time with assembly
The sewing stage deserves patience. Hold each piece against the body before attaching it permanently.
This simple habit helps you avoid crooked feet or an off-center tail.
For longer crochet sessions, I often prefer a Clover Amour crochet hook because its comfortable grip makes repetitive stitching feel easier.
Creative Ways to Customize Your Platypus
One reason amigurumi feels so rewarding is that you can make the finished animal completely yours.
Once you understand the basic shapes, you can experiment with colors, expressions, sizes, and accessories.
Try different color combinations
Traditional brown looks adorable, but you can have fun with alternatives.
Try cream with caramel details, warm gray with a charcoal bill, or soft pastel colors for a more kawaii appearance.
Create a sleepy platypus
For a sleepy expression, place the eyes slightly lower and use embroidered eyelids.
A tiny blush detail can also create an especially cute finish.
Make a whole platypus family
Create one large adult and several smaller versions. Different yarn weights can naturally produce different sizes.
This makes a sweet handmade display for a nursery, craft shelf, or animal-themed room.
Turn it into a handmade gift
Add a small handmade tag or ribbon to your finished plush. A personalized color choice makes the gift feel even more special.
Your finished creation can become a birthday gift, baby-shower decoration, wildlife-themed present, or simply a thoughtful surprise.
Common Crochet Platypus Pattern Mistakes to Avoid
Even simple amigurumi can have a few tricky moments. Luckily, most problems have easy solutions.
The biggest secret is to slow down whenever something looks uneven. Fixing a small issue early usually takes less time than correcting it after assembly.
The body looks too lumpy
Uneven stuffing often causes bumps. Remove a little stuffing and redistribute it with your fingers.
You can also gently roll the body between your palms to soften the shape.
The bill looks too large
The bill should stand out, but it should not completely cover the face.
If yours looks oversized, remake it slightly shorter or narrower. A balanced bill usually creates the cutest expression.
The feet look uneven
Do not sew the feet immediately after crocheting them.
Place all four pieces around the body first. Compare their height and spacing before attaching them.
The platypus keeps falling over
Check the position of the feet and tail.
A slightly lower tail can help support the body. You can also adjust the stuffing inside the lower section to improve balance.
Frequently Asked Questions About Crochet Platypus Pattern
How long does it take to crochet a platypus?
A small platypus amigurumi can take several hours, depending on your crochet experience, yarn weight, and finishing speed. Beginners may need longer because assembly takes practice. Experienced crocheters can often work through the rounded pieces more quickly. Give yourself plenty of time for shaping and sewing.
What yarn is best for a crochet platypus?
Soft acrylic, cotton blends, and chenille yarn can all work well for a platypus. Cotton creates clear stitches and defined shapes, while chenille creates a softer plush texture. Choose yarn that feels comfortable with your hook and creates a firm fabric without large gaps.
Is this platypus pattern good for beginners?
Yes, a simplified platypus makes a friendly beginner project. Most of the design uses basic rounded shapes rather than complicated textures. The face and assembly require the most attention. If you already know basic crochet techniques, you can work through the project at a comfortable pace.
What size safety eyes should I use?
For a medium-sized platypus, 9mm safety eyes create a cute proportion. Smaller 6mm eyes suit tiny versions, while 12mm eyes work better for larger plush animals. Always consider your finished body size before choosing the eyes. Position them first so you can test the expression.
Can I sell amigurumi I make from this pattern?
You can usually sell finished handmade items made from a pattern when the designer’s terms allow it. Always check the specific pattern’s copyright and selling guidelines. Never sell, repost, or distribute the written pattern itself. Your handmade finished piece and the original instructions are separate things.
How do I make my platypus extra cuddly?
Chenille-style yarn can give your finished plush an especially soft texture. Firm but flexible stuffing also helps maintain a cuddly shape. Avoid overstuffing because excessive pressure can make the fabric stretch. Gentle shaping at the end can make your platypus feel softer and look more polished.
Final Thoughts on This Crochet Platypus Pattern
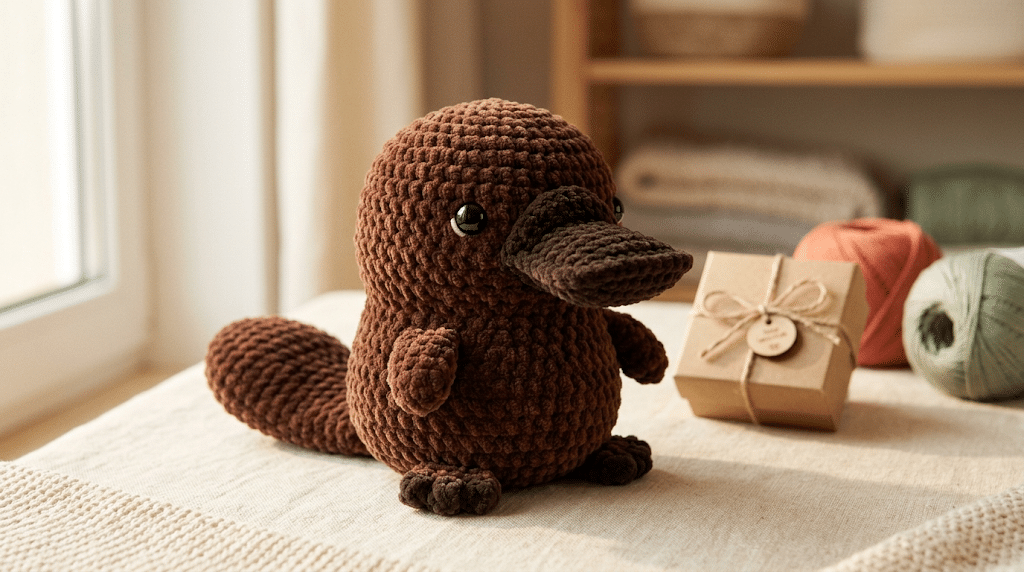
Making an unusual animal from yarn feels extra rewarding because every little detail brings personality to life. The round body, funny bill, tiny feet, and broad tail make this crochet platypus pattern a memorable project for your handmade collection.
You have learned how to build the body, shape the face, create the signature bill, attach the feet and tail, and finish your plush neatly.
Most importantly, you now have a quirky project that lets you practice simple amigurumi techniques while creating something genuinely special. Imagine the smile when someone receives a tiny handmade platypus made especially for them.
For beginners, every completed piece is a little confidence boost. For experienced crocheters, this project gives you plenty of room to experiment with colors, sizes, and expressions.
Save this pin to your crochet board on Pinterest so you can find this pattern anytime!
Looking for more free crochet animal patterns? Visit Yarned Animals for new amigurumi patterns, kawaii plushies and beginner crochet tutorials added every week at yarnedanimals.com