
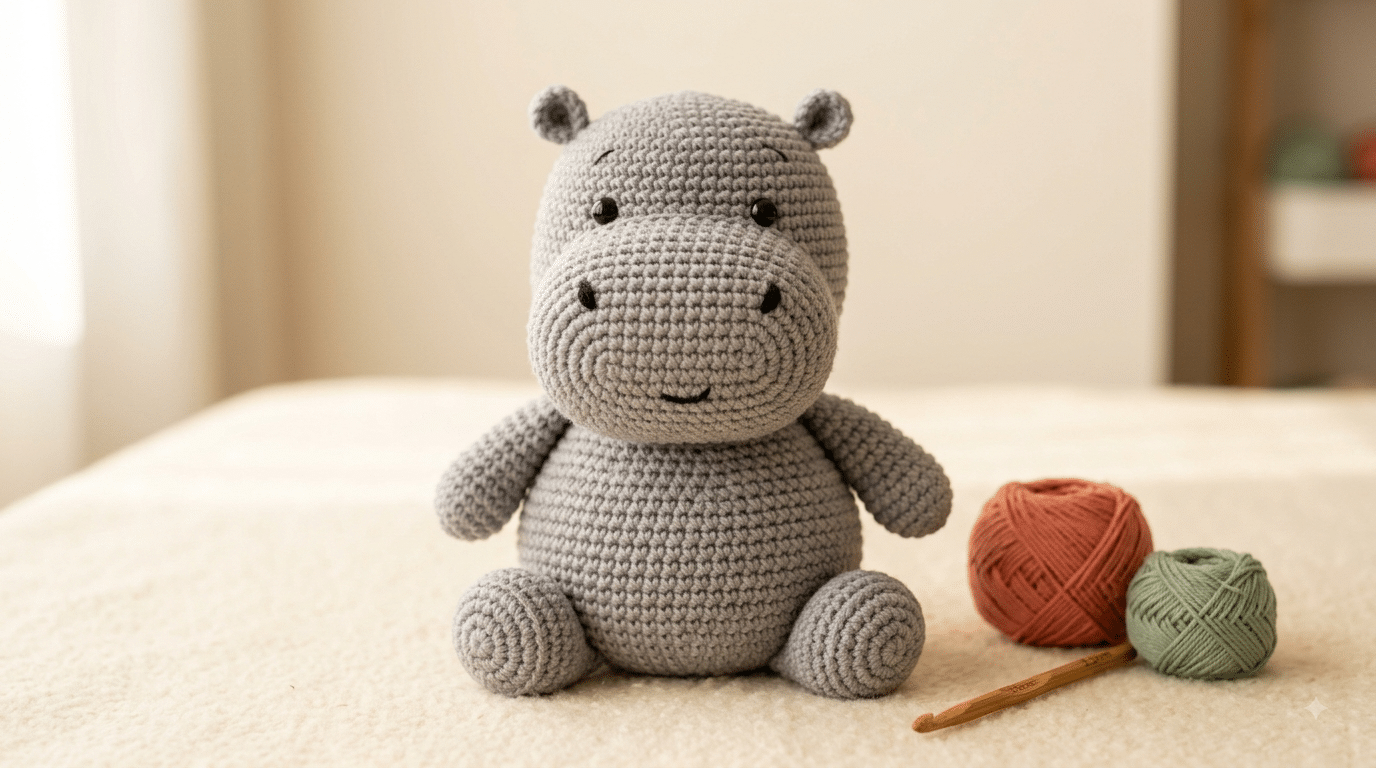
There is something ridiculously cute about a tiny, round hippo sitting in your hand. With its chunky body, little ears, wide muzzle, and sweet expression, a crocheted hippo feels like the perfect cozy companion.
This crochet hippo pattern turns that adorable idea into a simple amigurumi project you can actually finish. The round body uses beginner-friendly shaping, while the small details give your finished hippo plenty of personality.
You’ll learn how to build the body, shape the face, add the ears, attach the legs, and finish your plushie neatly. The pattern also includes helpful tips for stuffing, embroidery, color choices, and creating that irresistibly chubby look.
Grab your yarn and hook, because this little hippo is ready to come to life!
Table of Contents
Why This Crochet Hippo Pattern Is So Beginner-Friendly
The best beginner projects often have simple shapes. That makes this crochet hippo pattern especially fun if you are still building confidence with amigurumi.
A hippo naturally has a rounded body. You do not need complicated shaping to create its chunky silhouette. Instead, you build a smooth crocheted sphere and add a few easy pieces.
The finished animal looks much more detailed than the actual construction feels. That is one of my favorite things about crochet animals.
The pattern also gives you room to experiment. You can make your hippo soft gray, warm taupe, dusty pink, or even a playful pastel shade.
The round body does most of the work
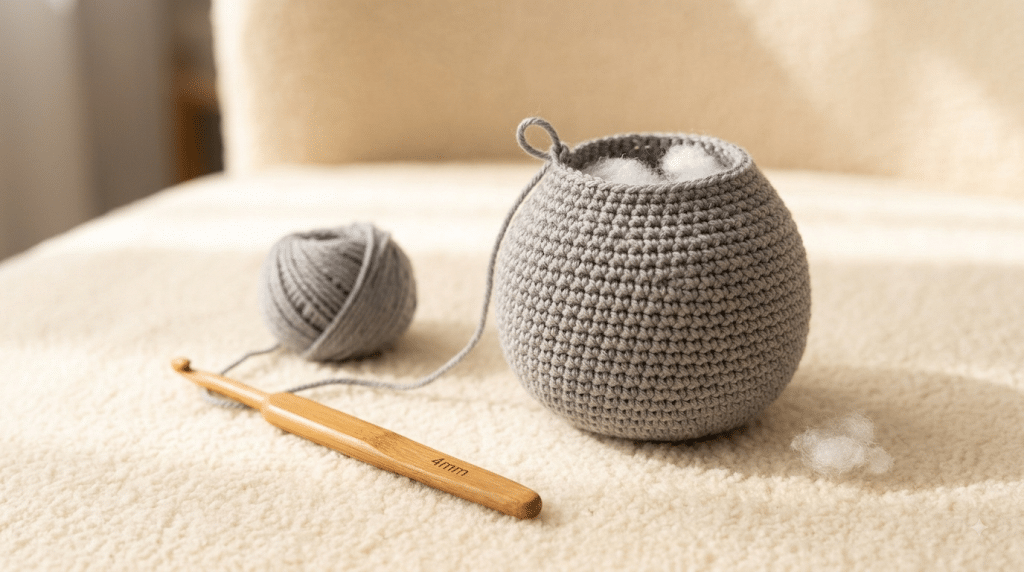
The main body starts with a magic ring and grows through regular increases. After reaching the widest point, you work several even rounds before decreasing.
This creates the classic chubby amigurumi body. It also makes the project easier to understand because the shaping feels predictable.
Keep your stitches fairly tight. You want the stuffing to stay inside without showing through the fabric.
If you prefer an extra fluffy finish, Bernat Blanket yarn gives amigurumi a soft chenille appearance that looks wonderfully cuddly.
Simple pieces create the hippo personality
You only need a handful of separate pieces. The ears, legs, muzzle, and tail each use simple rounded shapes.
That means you can practice small amigurumi components without tackling complicated techniques.
The muzzle makes the biggest visual difference. A wide oval shape immediately gives your crochet animal that recognizable hippo face.
Small details also matter. Tiny embroidered nostrils and simple black eyes can completely change the expression.
You can easily customize your finished hippo
This project works beautifully with different yarn colors and textures.
Try medium gray for a classic hippo. Use dusty lavender for something whimsical, or choose soft brown for a warm woodland-inspired look.
You can also make the body slightly wider. A few extra rounds can create an even squishier plushie.
Just keep the proportions consistent between the body and smaller pieces. That keeps your finished animal balanced and cute.
Crochet Hippo Pattern Materials and Simple Preparation
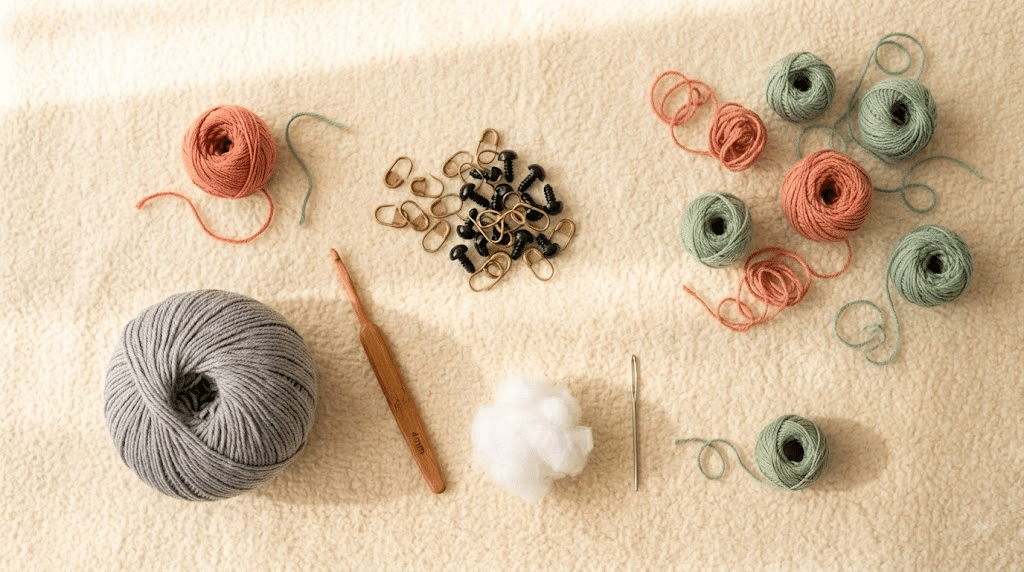
Before you start your crochet hippo pattern, gather everything beside you. Having your tools ready saves time and makes the project feel much more relaxed.
You do not need a huge supply collection. A small amount of yarn, stuffing, a hook, and a few finishing tools can take you surprisingly far.
Choose your yarn first. Then pick a hook that creates firm stitches without making your hands uncomfortable.
For a beginner-friendly version, DK yarn creates a manageable size with clear stitches. Chunkier yarn creates a larger, softer hippo.
Choose yarn that shows your stitches
Paintbox Simply DK yarn works nicely for a small amigurumi style. Its DK weight gives you enough structure to see your shaping clearly.
The yarn listing describes it as DK weight and lists a 4 mm crochet hook as a standard pairing.
For this hippo, choose one main color. Add a slightly darker shade if you want subtle details.
You can also use the same color for every piece. That creates a clean, classic look.
Pick a comfortable crochet hook
A comfortable hook makes a big difference when you are working several rounds.
The Clover Amour range includes ergonomic grips designed for comfortable handling. Clover also lists sizes from 2 mm through 15 mm in the Amour range.
For DK yarn, start around the 3 mm to 4 mm range. Adjust the hook if your stitches feel too loose.
Your fabric should feel firm enough that stuffing cannot easily escape.
Prepare your stuffing and finishing tools
Poly-fil Premium fiberfill works well for creating a plump body. Add stuffing gradually instead of filling the entire body at once.
You will also want a yarn needle for sewing the pieces together.
Keep stitch markers nearby. They make it much easier to identify the beginning of each round.
For the face, use 9mm safety eyes for a medium-sized hippo. Embroidery can replace safety eyes if you prefer a softer handmade look.
10 Easy Steps to Make Your Crochet Hippo
Now that your supplies are ready, here is the fun part.
This crochet hippo pattern follows a simple amigurumi construction. You will build the main body first, then create the smaller pieces.
Use US crochet terms throughout the project.
The basic stitches include single crochet, increase, and invisible decrease. If you know how to work a magic ring, you already have a great starting point.
Step 1: Create the magic ring
Start your hippo body with a magic ring.
Work a small circle of single crochet stitches inside the ring. Pull the starting tail gently to close the center.
Place a stitch marker into the first stitch of the round. This makes your round structure easier to follow.
If the magic ring feels tricky, practice it separately with scrap yarn first.
Do not worry if your first attempt looks uneven. Your stuffing and later rounds will help create the final shape.
Step 2: Build the rounded body
Continue working increases around the circle.
Each increase adds width to the body. Keep your increases spaced evenly so the circle remains smooth.
As your rounds grow, the piece will begin looking like a shallow bowl.
This is exactly what you want.
Keep checking your tension as you crochet. Loose stitches can create visible gaps once you add stuffing.
Step 3: Work the middle rounds
Once the body reaches its widest point, stop increasing.
Work several rounds without increases or decreases. These even rounds create the hippo’s chunky middle.
This part feels wonderfully simple because you can settle into a steady rhythm.
Use your stitch marker to keep track of where each round begins.
The body should gradually look more three-dimensional as it grows.
Step 4: Begin decreasing the body
Start decreasing evenly around the body.
The opening will slowly become smaller as the shape turns into a rounded ball.
Do not close the opening completely yet.
You need enough room to add your stuffing comfortably.
Keep your decreases neat and firm. An invisible decrease gives the finished surface a smoother appearance.
Step 5: Stuff your chubby hippo
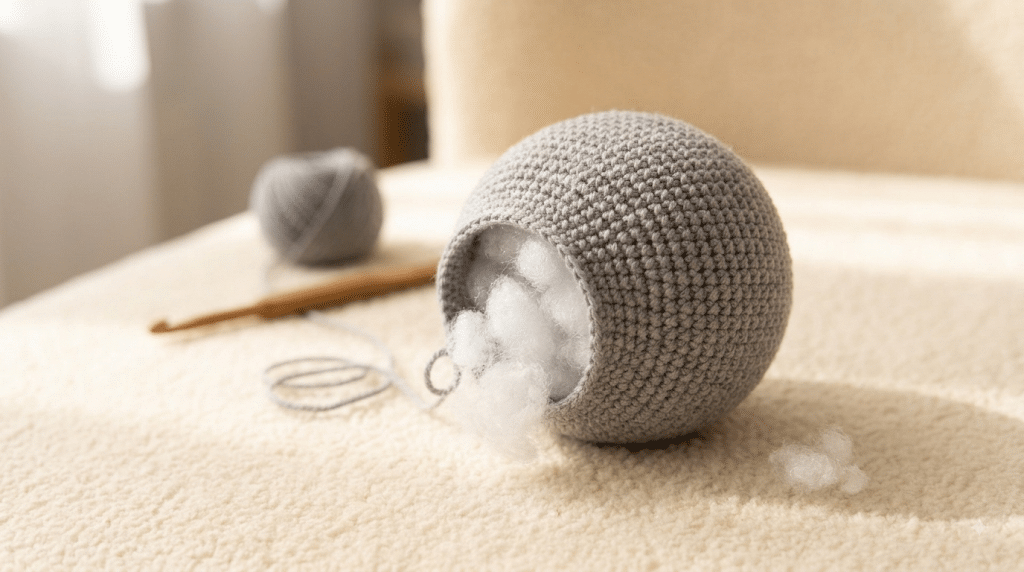
Here is where your little animal really starts to look alive.
Add small amounts of fiberfill through the opening. Push the stuffing toward the sides first.
Then fill the center.
Your goal is a firm but squishy body. Avoid packing the stuffing so tightly that the stitches stretch apart.
Check the shape from several angles as you work.
Add more stuffing to any area that looks flat.
Step 6: Finish the body
Continue decreasing until only a small opening remains.
Add one final bit of stuffing if needed.
Close the opening carefully and weave the yarn tail inside the body.
Take your time with this step. A neat finish helps your hippo look polished.
Give the body a gentle squeeze afterward.
You should have a round, plump shape that sits nicely in your hand.
Step 7: Crochet the hippo ears
Make two small rounded ears.
Each ear can begin as a tiny circle. Add a few rounds before finishing the shape.
You want the ears slightly curved rather than completely flat.
Leave a long yarn tail on each ear. You will use it to attach them to the head.
Position the ears near the upper sides of the head.
Sew them securely while checking the placement from the front.
Step 8: Shape the muzzle and face
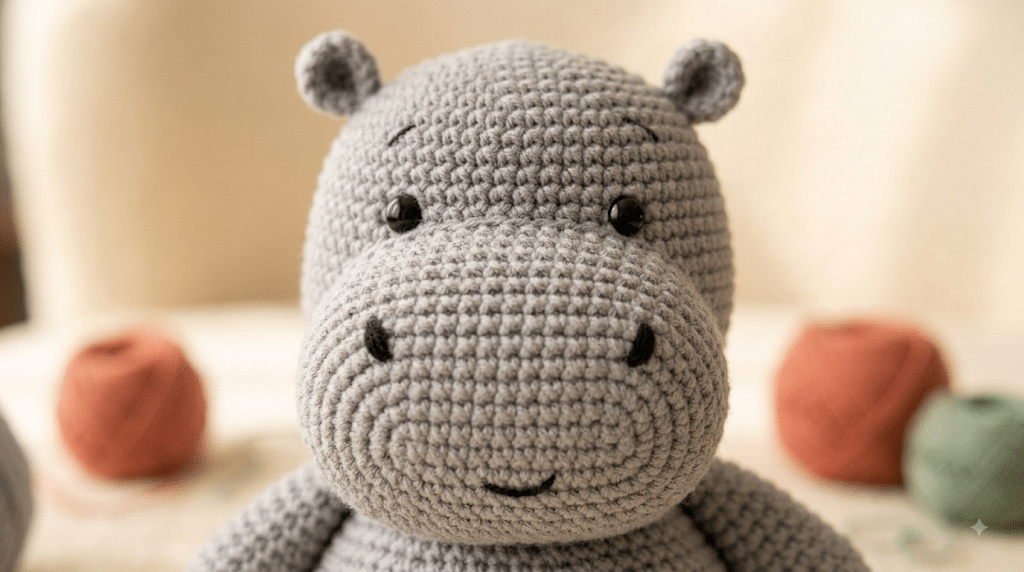
The muzzle gives your hippo its signature expression.
Crochet a small oval using your main color or a slightly lighter shade.
Sew it onto the lower front portion of the head.
Place the eyes above the muzzle with even spacing.
Then add two tiny embroidered nostrils.
A simple curved mouth can create a sweet expression, while a straight mouth gives your hippo a more sleepy look.
Step 9: Add the legs and tiny tail
Make four short legs using rounded tube shapes.
Keep them slightly smaller than you might expect. Chunky little legs make the hippo look especially adorable.
Attach two legs toward the front and two toward the back.
Check that the body can sit upright before sewing everything permanently.
Finish with a tiny tail at the back.
The tail does not need much detail. A small curved crochet piece works beautifully.
Step 10: Give your hippo its final personality
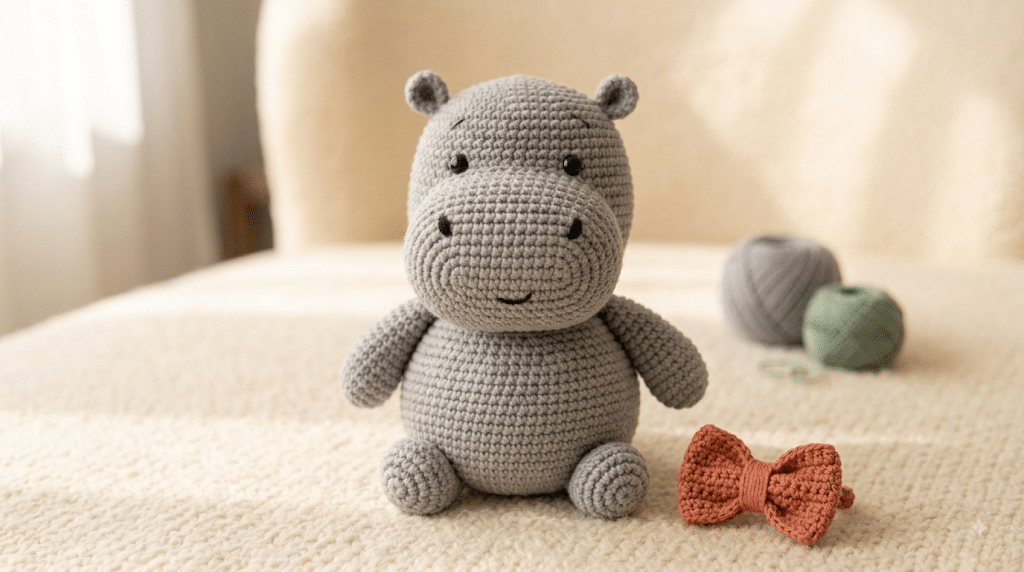
Now step back and look at your finished amigurumi.
Check the eyes, ears, muzzle, legs, and overall balance.
If one piece looks slightly crooked, gently reposition it before securing the yarn tails.
You can also add tiny embroidered eyebrows or cheek details.
Keep the decorations simple.
The charm of this crochet hippo pattern comes from its soft shape and friendly expression.
How to Make Your Crochet Hippo Extra Chubby and Cute
The chubby-animal trend works perfectly for hippos. Their naturally rounded shape already lends itself to an oversized, cuddly appearance.
The trick involves more than simply adding stuffing.
You want the body, head, legs, and facial features to work together. Small changes can make your finished animal look dramatically different.
Use balanced proportions
A large body with tiny feet creates an adorable plushie effect.
Keep the legs short and slightly chunky. Avoid making them too long.
The head can blend into the body instead of looking completely separate. This gives your hippo a soft, rounded silhouette.
You can also make the muzzle slightly oversized.
That creates the classic kawaii amigurumi appearance many crocheters love.
Keep your stuffing firm but flexible
Stuffing changes the final shape more than many beginners expect.
Too little stuffing creates a floppy animal. Too much stuffing stretches your stitches.
Add fiberfill in small handfuls.
Use your fingers or the blunt end of a crochet hook to gently move stuffing into corners.
The body should feel full while still having some softness.
Make the face simple
You do not need complicated embroidery to make your hippo expressive.
Two small eyes, two nostrils, and a tiny mouth can be enough.
Try placing the eyes slightly lower than usual for a sleepy expression.
Move them a little higher for a more playful look.
Before permanently attaching anything, place the pieces temporarily and check the expression.
Easy Color Ideas for Your Crochet Hippo
Your crochet hippo pattern does not need to stay traditional.
Hippos look adorable in soft neutral colors, but amigurumi gives you plenty of freedom.
If you are making a gift, think about the recipient’s favorite colors.
A personalized color palette can make a simple handmade animal feel extra special.
Classic soft gray
A warm gray hippo gives you the most recognizable look.
Pair it with black eyes and a slightly darker gray muzzle.
This version feels natural and timeless.
It also works beautifully for nursery decor.
Dusty pink or lavender
Soft pink turns the hippo into a sweet kawaii character.
Lavender creates a more whimsical look.
For either option, keep the facial details dark so they remain easy to see.
You could even add a tiny pastel flower beside one ear.
Chocolate brown and cream
A warm brown body creates a cozy woodland feel.
Use cream for the muzzle and inner ears.
This combination looks especially lovely with soft chenille yarn.
It also makes a wonderful handmade birthday gift.
Common Crochet Hippo Mistakes and Easy Fixes
Even simple amigurumi can create a few frustrating moments.
The good news is that most problems have easy solutions.
Do not immediately unravel several rounds when something looks wrong.
First, identify whether the issue comes from tension, stuffing, shaping, or placement.
The body has visible gaps
Your stitches may be too loose.
Try using a smaller hook.
You can also focus on maintaining consistent tension throughout the rounds.
If you are using bulky yarn, choose a hook that keeps the fabric dense.
The hippo looks lumpy
Uneven stuffing often causes lumps.
Remove a little stuffing and redistribute it.
Push fiberfill toward the edges before adding more to the center.
A few minutes of shaping can make the body look dramatically smoother.
The face looks uneven
This usually comes from eye or muzzle placement.
Before sewing, place the pieces on the head.
Take a quick photo from the front.
The camera often reveals uneven placement more clearly than your eyes do.
Then adjust everything before securing the pieces.
Frequently Asked Questions About Crochet Hippo Pattern
How long does it take to crochet a hippo?
A small hippo amigurumi can take several hours, depending on your crochet experience and yarn thickness.
Beginners may need more time while learning shaping and assembly. Experienced crocheters can often work through the body more quickly.
Give yourself plenty of time for sewing and facial details. Those finishing steps can make the biggest difference.
What yarn is best for hippo amigurumi?
DK acrylic yarn works well when you want clearly defined stitches and easy shaping.
Chenille yarn creates a softer, plushier finish. Bernat Blanket yarn can give your finished hippo a cozy texture.
Choose yarn based on the look you want and your comfort level. For your first project, a smooth yarn can make stitches easier to see.
Is this crochet hippo pattern good for beginners?
Yes, especially if you already know basic single crochet.
The rounded body uses straightforward increases and decreases. The separate ears, legs, and muzzle also use simple shapes.
Beginners should focus on consistent tension rather than perfect speed. Your first amigurumi does not need to look flawless.
What size safety eyes should I use for a hippo?
9mm safety eyes work well for a medium-sized chubby hippo.
You can choose smaller eyes for a more delicate expression. Larger eyes create a more exaggerated kawaii appearance.
Always consider the finished size of your animal before choosing the eyes. Embroidered eyes provide another option for projects where safety eyes are not suitable.
Can I sell hippos I make from this pattern?
You can generally sell handmade finished items you create from your own crochet work, but you should check the specific pattern’s terms.
Do not sell or redistribute the written pattern itself.
If you sell your finished hippos, consider adding your own handmade label and product photography. Always follow the copyright terms attached to any pattern you use.
Final Tips for Your Crochet Hippo Pattern
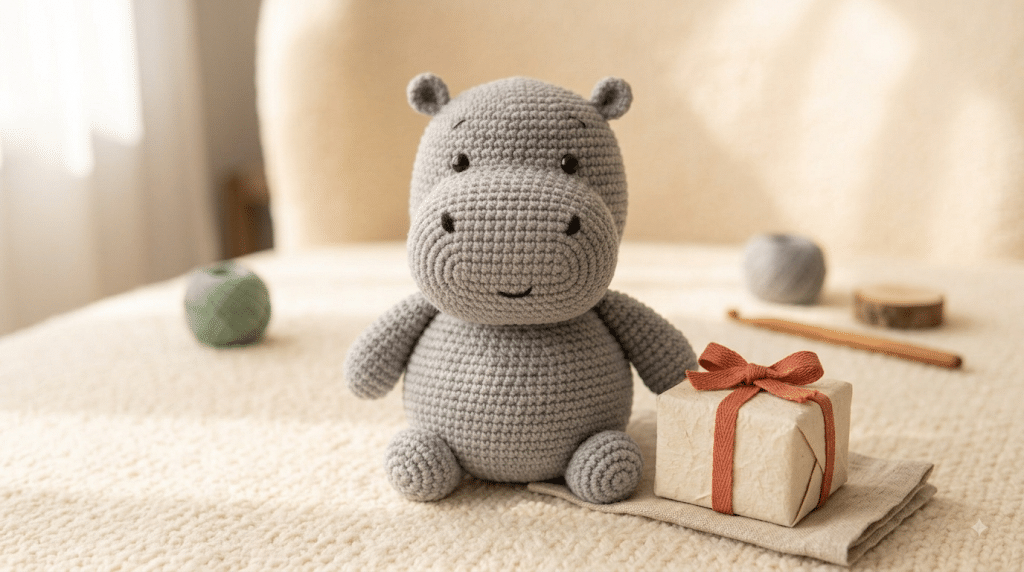
Before you finish your crochet hippo pattern, take a moment to inspect every seam.
Check that the legs feel secure. Make sure the eyes sit firmly, and weave every loose yarn end safely into the project.
This is also a great time to add your own creative touch.
You could give your hippo a tiny flower, bow, scarf, or embroidered heart. A small accessory can turn the same basic pattern into a completely different character.
If you are making your hippo as a gift, think about adding a little personality to match the recipient.
A sleepy lavender hippo could become a bedtime buddy. A tiny gray hippo could make a sweet nursery decoration.
For beginners, remember that consistency matters more than perfection.
Your stitches may look different from someone else’s. Your stuffing may create a slightly different shape.
That is part of the charm of handmade crochet.
If you want to explore ergonomic crochet tools further, Clover’s official Amour information explains the grip design and available sizes. Clover Amour crochet hook information
You can also browse Paintbox Simply DK details if you want to compare yarn weight and hook guidance. Paintbox Simply DK yarn details
For the finishing touch, I like using 9mm safety eyes when I want a friendly medium-sized face.
Why This Chubby Hippo Makes a Wonderful Handmade Gift
A handmade hippo has something a store-bought plushie cannot quite match.
You choose the yarn. You shape the body. You position the face. Every tiny decision becomes part of the finished gift.
That makes this crochet hippo pattern especially lovely for birthdays, baby showers, nursery decorations, and handmade gift baskets.
You can also make several hippos in different colors.
Imagine a little family of gray, pink, lavender, and brown hippos sitting together on a shelf.
They would make an adorable handmade collection.
The project also works well as a confidence-building crochet piece.
Once you understand the rounded body, you can use similar shaping ideas for other amigurumi animals.
That is one reason I love chubby crochet animals so much.
They look complicated, but their basic shapes often remain surprisingly simple.
Conclusion
Your new little hippo is proof that adorable amigurumi does not need complicated shaping.
With a rounded body, simple legs, tiny ears, and an expressive muzzle, you can create a plushie that feels full of personality.
This crochet hippo pattern gives beginners a comfortable way to practice increases, decreases, stuffing, sewing, and facial details.
Most importantly, enjoy the process.
Your finished hippo does not need to look exactly like anyone else’s. Handmade crochet becomes special because your hands give every piece its own character.
Whether you keep your hippo, gift it to someone special, or make a whole chubby collection, you should feel proud of what you created.
Save this pin to your crochet board on Pinterest so you can find this pattern anytime!
Looking for more free crochet animal patterns? Visit Yarned Animals for new amigurumi patterns, kawaii plushies and beginner crochet tutorials added every week at yarnedanimals.com