
Table of Contents
Why You’ll Love This Crochet Monkey Pattern Free
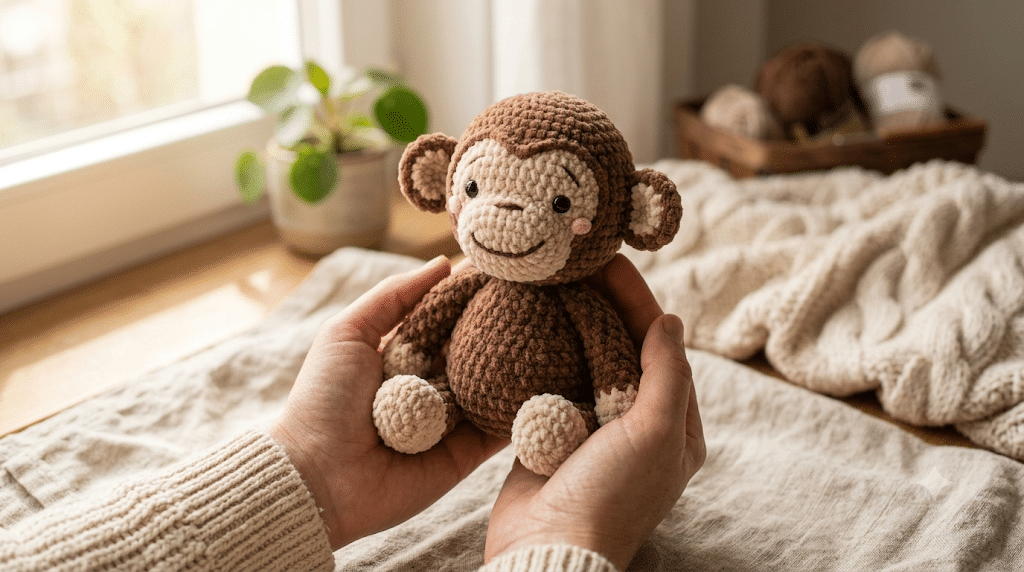
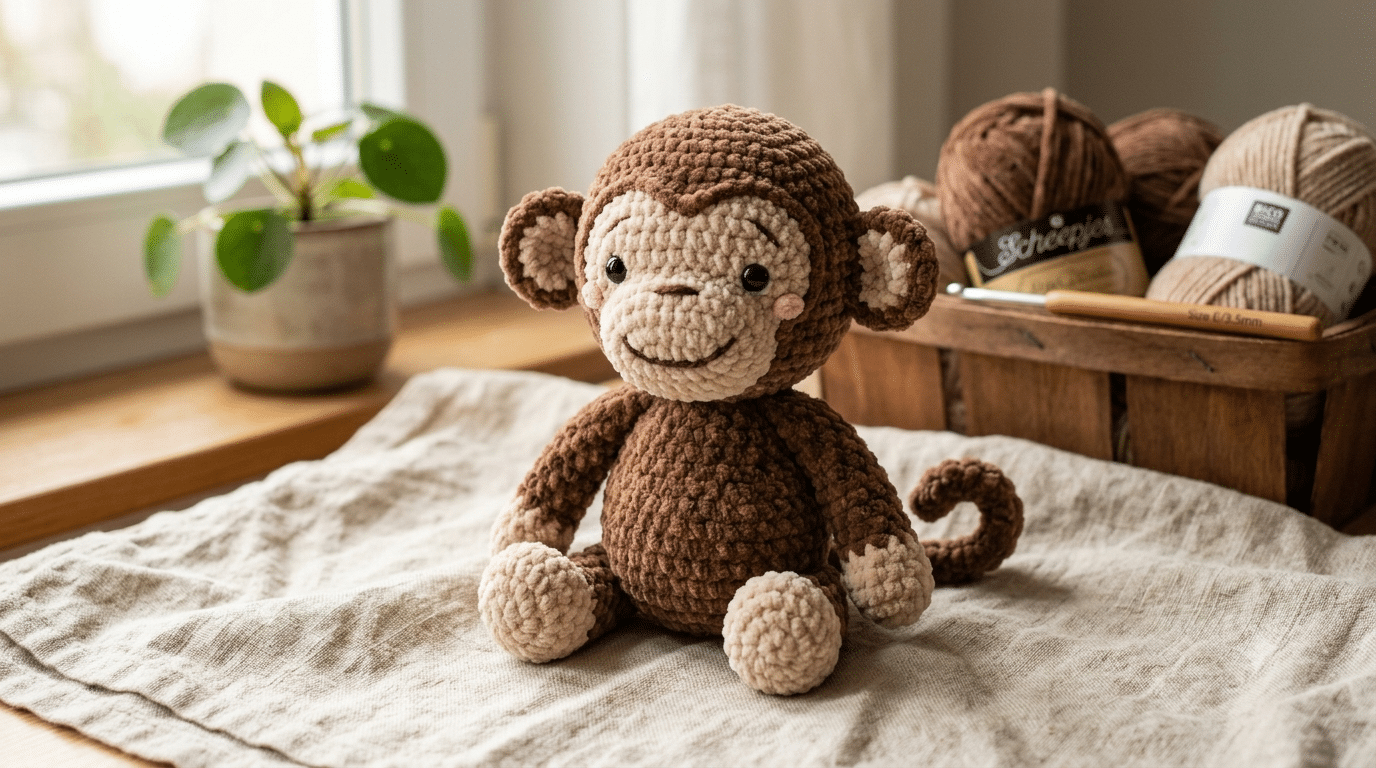
There is something special about finishing a handmade monkey and seeing its cheerful little smile come to life. A soft amigurumi monkey quickly becomes a favorite gift for babies, children, and anyone who loves cute handmade toys. Every stitch adds personality, making your project feel unique from the very beginning.
This **crochet monkey pattern free tutorial keeps everything beginner-friendly while creating a lovable plush that looks impressive when finished. You’ll learn how to shape the head and body, attach the arms and legs, create adorable ears, and add the sweet facial details that make your monkey impossible to resist.
One thing that always gives my plushies an extra cozy look is Bernat Blanket yarn. It creates wonderfully soft stitches and makes finished amigurumi feel incredibly cuddly without adding extra difficulty.
Whether this is your very first amigurumi or your twentieth, you’ll find plenty of helpful tips along the way. By the time you finish, you’ll have a handmade monkey that’s perfect for gifting, decorating a nursery, or adding to your growing collection of crochet animals.
Now that you know what you’re creating, let’s gather everything you need before making your first stitch.
Crochet Monkey Pattern Free Materials You’ll Need
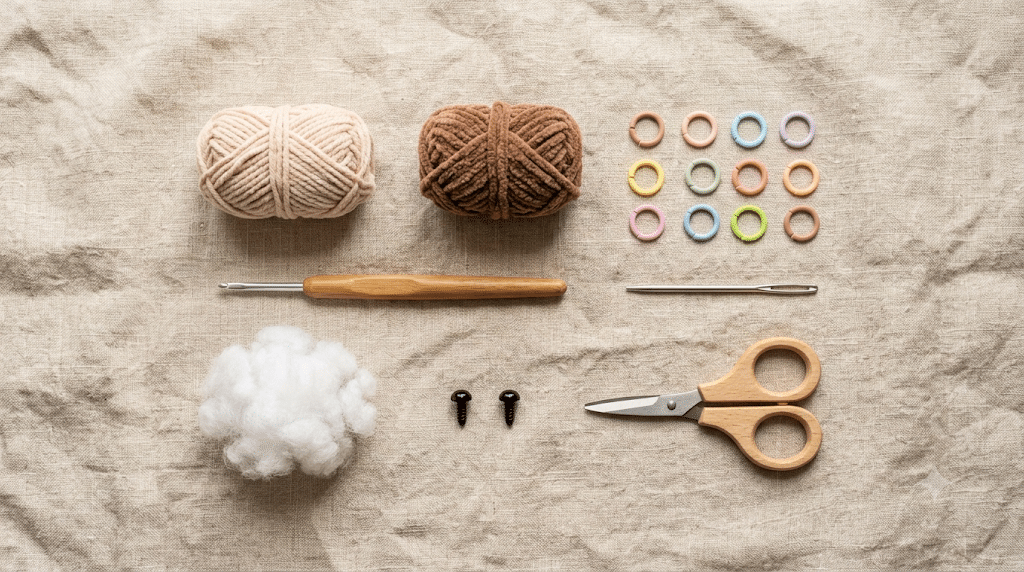
Starting with the right supplies makes every crochet project much more enjoyable. The good news is that this monkey doesn’t require anything unusual. Most of these items are already in a beginner’s crochet basket.
Choose soft yarn that creates clear, even stitches. Cotton yarn produces excellent stitch definition, while chenille yarn creates an irresistibly fluffy monkey that’s perfect for cuddling.
Pick the Best Yarn
The yarn you choose changes the entire personality of your monkey.
Great beginner choices include:
- Paintbox Simply DK yarn for crisp stitch definition
- Lion Brand Comfy Cotton yarn for a lightweight plush
- Soft brown shades for the body
- Cream or beige yarn for the muzzle and tummy
- Small amounts of black embroidery thread for the smile
Lighter colors help beginners see each stitch more easily, while darker shades give your monkey a classic jungle appearance.
Choose the Right Hook
Your hook should match the yarn weight while creating tight stitches.
A slightly smaller hook than the yarn label recommends helps prevent stuffing from showing through the fabric. Tight stitches also help your monkey hold its shape after lots of hugs.
Comfort matters during longer crochet sessions. A smooth ergonomic hook keeps your hands relaxed while making dozens of rounds.
Gather the Finishing Supplies
Before you begin, collect the small finishing items that bring your monkey to life.
Helpful supplies include:
- Stitch markers
- Scissors
- Polyester stuffing
- Yarn needle
- Safety eyes
- Measuring tape
Keeping everything nearby lets you enjoy the creative process without stopping to search for tools halfway through the project.
Ready to move on? Next comes the fun part—learning the simple step-by-step process that transforms a few balls of yarn into an adorable monkey friend.
10 Easy Steps to Crochet an Adorable Monkey
Don’t worry if you’ve never made an amigurumi before. Every cute monkey starts with simple shapes, and you’ll build confidence as you complete each section.
Step 1: Crochet the Head
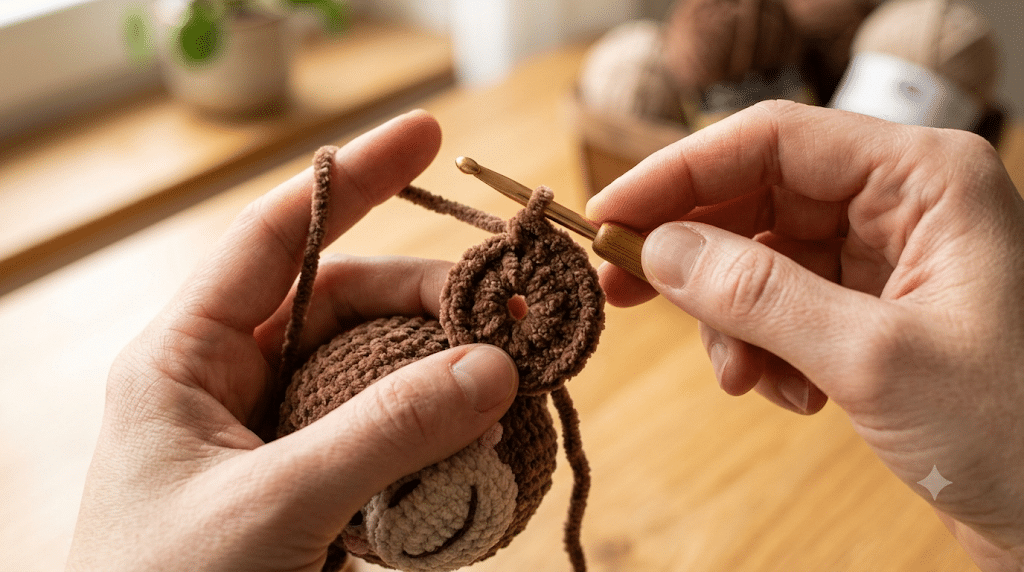
Begin with a magic ring and work in continuous rounds.
Increase evenly to create a smooth sphere. As the head grows, you’ll notice your stitches forming a neat bowl shape.
Stuff the head firmly near the end of this section. Consistent stuffing helps the finished monkey keep its rounded face without becoming lumpy.
Step 2: Make the Body
The body uses many of the same techniques as the head.
Start small, increase gradually, then crochet several rounds without increasing to create the tummy. Finish by decreasing toward the neck.
Keep checking that your stuffing stays evenly distributed. A balanced body helps your monkey sit upright much more easily.
Step 3: Crochet the Arms and Legs
Small tubes become surprisingly expressive once attached.
Make two matching arms and two matching legs using identical stitch counts. Slightly lighter stuffing keeps them flexible, allowing the finished monkey to sit, wave, or hug tiny accessories.
Trust me on this one—taking a few extra minutes to make each limb the same length creates a much more polished finished toy.
Crochet Monkey Pattern Free Finishing Steps That Bring Your Monkey to Life
Now that your head, body, arms, and legs are ready, it’s time for the most exciting part. These finishing touches transform simple crochet pieces into a monkey full of personality. Don’t rush this stage—small details make a huge difference.
Step 4: Crochet the Cute Ears
A monkey’s ears are one of its most recognizable features. Crochet two matching circles or soft ovals, depending on the style you prefer.
Before sewing them on, pin each ear in place with stitch markers. Look at your monkey from the front and both sides to make sure they sit evenly.
A few small adjustments can completely change your monkey’s expression. Higher ears create a playful look, while slightly lower ears give your monkey a calmer personality.
Step 5: Create the Muzzle
The muzzle gives your monkey its sweet little face.
Crochet a small oval using a lighter yarn color such as cream or beige. Lightly stuff it so it keeps a soft rounded shape without sticking out too far.
Position the muzzle between the eyes, then stitch it securely with small, even stitches. Once attached, your monkey will instantly start looking like the finished character you imagined.
Step 6: Add the Tail
No monkey feels complete without a long, playful tail.
You can make a straight tail, a slightly curved one, or a curly spiral for extra charm. A spiral tail looks especially cute on kawaii amigurumi.
Sew the tail firmly to the lower back of the body. Make several passes with your yarn needle so it stays attached during play or display.
Here is the fun part—hold your monkey upright after attaching the tail. You’ll immediately see how much balance and personality this simple piece adds.
Step 7: Attach the Arms and Legs
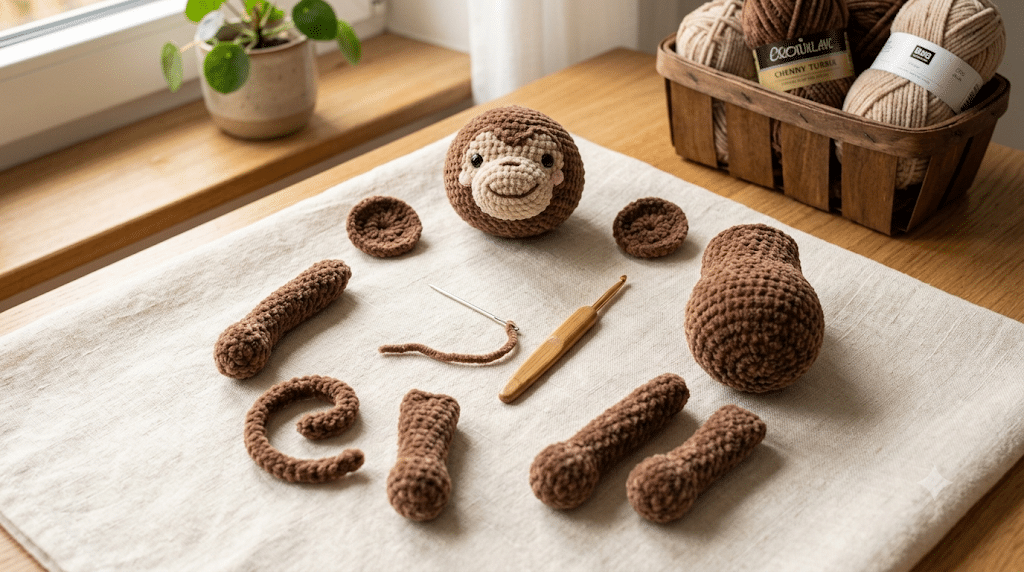
Assembly may seem intimidating, but taking your time leads to beautiful results.
Lay every piece on the body before sewing anything permanently. Check that:
- Both arms sit at the same height.
- Both legs are evenly spaced.
- The monkey can sit comfortably.
- Everything looks balanced from every angle.
Use long strands of matching yarn for sewing. Pull each stitch firmly, but avoid tightening so much that the body loses its shape.
Step 8: Add the Face
The face turns your project into a lovable friend.
Before inserting the eyes, experiment with different placements. Even moving them one stitch higher or lower changes the expression completely.
For most medium-sized monkeys, 9mm safety eyes create a friendly, balanced look that isn’t too large or too small.
Embroider a tiny smile beneath the muzzle using black embroidery thread. If you like kawaii designs, add small blush cheeks with pink yarn or fabric-safe blush.
Step 9: Check Every Stitch
Before calling your monkey finished, inspect the entire project carefully.
Look for:
- Loose yarn ends
- Small holes between stitches
- Uneven stuffing
- Crooked ears
- Loose limbs
- Gaps around the neck
Fixing these little details now gives your finished monkey a polished, handmade quality that you’ll be proud to display or gift.
Step 10: Enjoy Your Finished Monkey
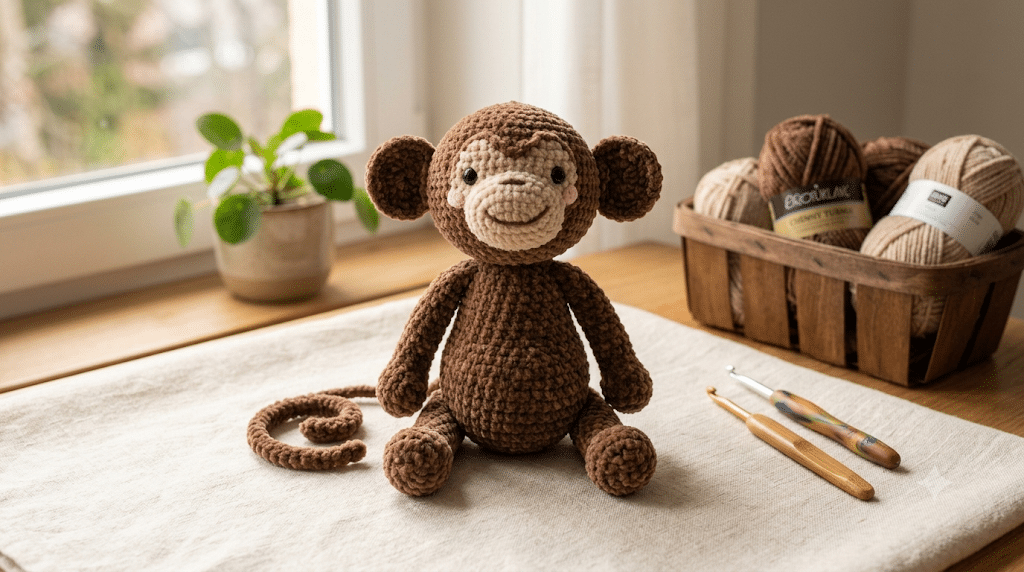
Congratulations—you’ve created an adorable handmade monkey!
Take a few photos while the yarn still looks perfectly fluffy. Natural daylight near a window makes amigurumi colors appear soft and vibrant.
Many crocheters enjoy making a second monkey right away using different colors. Try light brown, chocolate, gray, cream, or even pastel shades for a fun nursery decoration.
Now that your first monkey is complete, let’s make it even better with a few helpful tips I’ve learned over the years.
Beginner Tips for the Best Crochet Monkey Pattern Free Results
Every crocheter improves with practice, but a few simple tricks can help your monkey look amazing from the very first attempt.
Count Every Round
Losing track of stitches happens to everyone.
Using stitch markers at the beginning of each round keeps your work accurate and prevents uneven shaping. This tiny habit saves a lot of frustration later.
Stuff Gradually
Don’t wait until the very end to add stuffing.
Instead, add small amounts as each piece grows. This creates a smoother shape and prevents large lumps from forming inside your amigurumi.
Fluff the stuffing with your fingers before placing it inside. Even stuffing creates soft curves instead of hard bumps.
Sew Before You Knot
Always pin your pieces in place before sewing permanently.
Take a moment to view your monkey from every angle. A few minutes of careful positioning can dramatically improve the finished appearance.
Keep Your Stitches Tight
Amigurumi looks best when the stuffing stays hidden.
If you notice gaps between stitches, try using a slightly smaller crochet hook or maintaining more consistent yarn tension throughout your project.
Practice Facial Placement
The eyes, muzzle, and smile create your monkey’s personality.
Don’t hesitate to experiment before attaching everything permanently. Tiny adjustments often make the biggest visual difference.
Next up, we’ll answer the most common questions crocheters ask about making a crochet monkey, then wrap up with a few final tips to celebrate your finished project.
Frequently Asked Questions About Crochet Monkey Pattern Free
How long does it take to crochet a monkey?
Most beginners finish a crochet monkey pattern free project in 6–10 hours, depending on the size and yarn they choose. Experienced crocheters may complete one in a single afternoon. Taking your time with assembly and facial details usually creates the best results.
What yarn is best for monkey amigurumi?
Soft yarn with good stitch definition works beautifully for amigurumi. Paintbox Simply DK yarn is an excellent choice if you want crisp stitches and a classic handmade look. If you prefer an extra cuddly monkey, a chenille-style yarn creates a plush, velvety finish that’s perfect for hugging.
Is this crochet monkey pattern good for beginners?
Yes! This pattern uses simple amigurumi techniques like the magic ring, single crochet, increases, and decreases. If you’ve already practiced those basic stitches, you can confidently make this monkey by following the steps one at a time. Even complete beginners can achieve great results with a little patience.
What size safety eyes should I use?
For a medium-sized monkey, 9mm safety eyes usually create the cutest proportions. If you’re making a smaller monkey, 6mm safety eyes work well. Larger plush monkeys often look best with 12mm safety eyes. Always check the eye placement before securing them permanently.
Can I sell monkeys made from this pattern?
In most cases, yes. Handmade items created from a free crochet pattern can usually be sold at local craft fairs, online marketplaces, or gift shops. It’s always a good idea to credit the original pattern designer if they request it and avoid copying or redistributing the written instructions.
How do I wash a crochet monkey?
Hand washing is the safest option for most amigurumi. Use cool water with a gentle detergent, rinse carefully, and press out excess water with a towel. Allow your monkey to air dry completely before displaying or gifting it. This helps the stuffing keep its shape and protects the stitches.
Your Adorable Crochet Monkey Is Ready to Meet the World
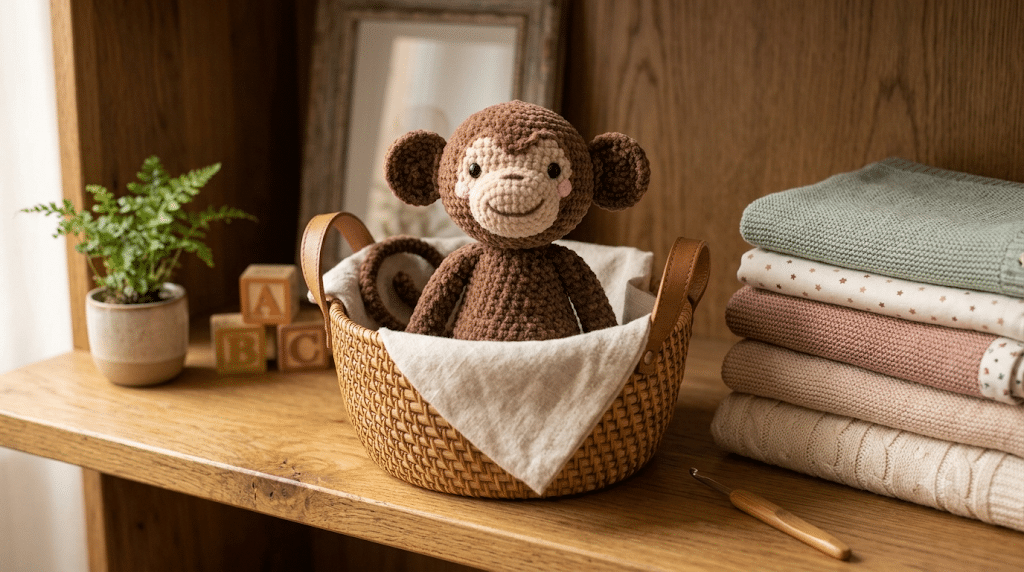
You started with a ball of yarn and a hook, and now you’ve created a handmade friend full of charm and personality. From shaping the head and body to stitching on the tiny ears and smiling face, every step helped bring your monkey to life. As you practice these techniques, each new project will become even smoother and more enjoyable.
One tool I never crochet without is my Clover Amour crochet hook. The comfortable grip makes longer crafting sessions much easier, especially when working on detailed amigurumi projects.
Whether you keep your finished monkey on a shelf, tuck it into a nursery, or wrap it as a heartfelt gift, you can feel proud knowing you made something truly special with your own hands. Every stitch tells a story, and your crochet monkey pattern free project is sure to bring smiles for years to come.
Save this pin to your crochet board on Pinterest so you can find this pattern anytime!
Looking for more free crochet animal patterns? Visit Yarned Animals for new amigurumi patterns, kawaii plushies and beginner crochet tutorials added every week at yarnedanimals.com