
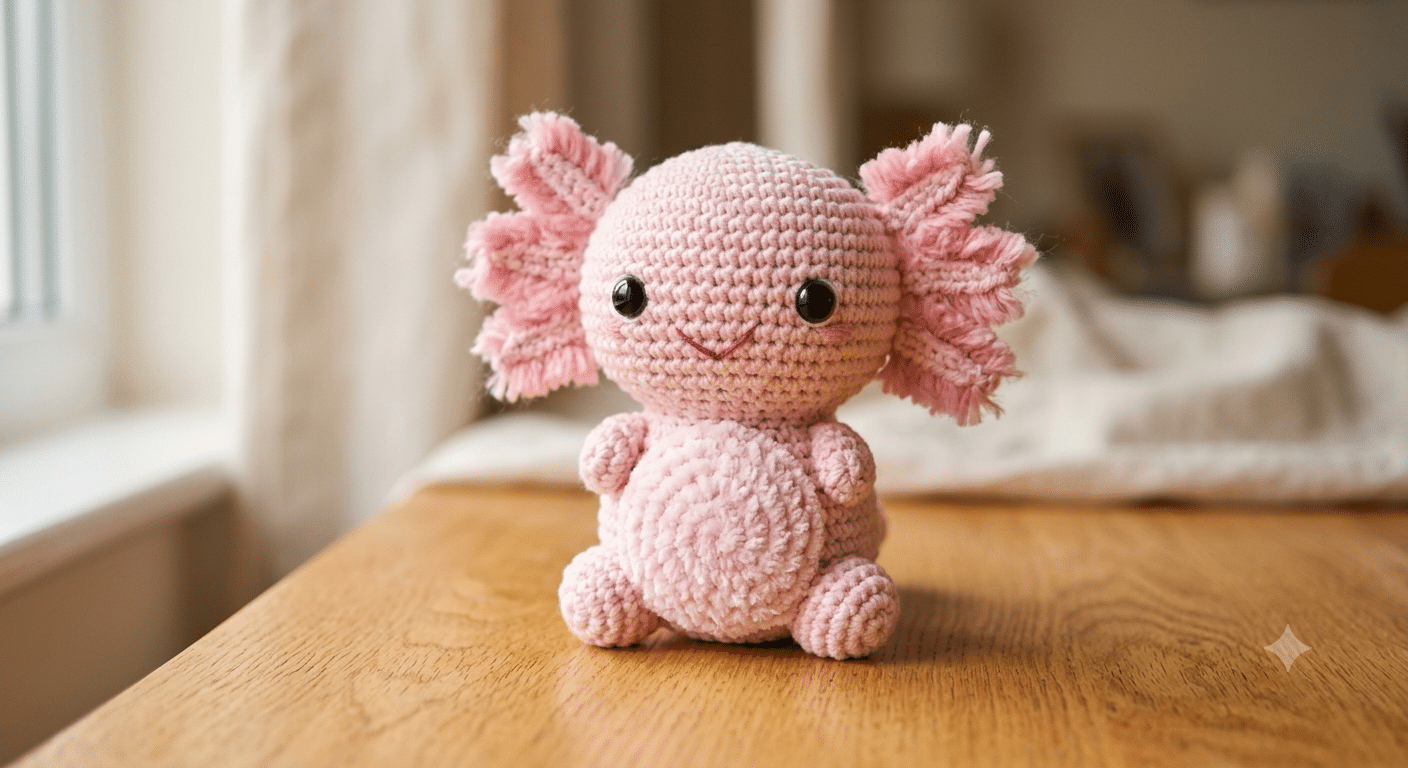
There is something magical about turning a ball of yarn into a squishy little axolotl with a wobbly smile. You picked the perfect project because this crochet axolotl pattern is one of the easiest amigurumi animals you can make, even if you have never finished a project before. By the end of this post you will have a full step-by-step pattern, a materials list, and enough confidence to make a whole tank of these fringy pink friends. Ready to turn a skein of yarn into the cutest creature in your craft basket? Let’s get your hook moving.
Table of Contents
Why This Crochet Axolotl Pattern Is Perfect for Beginners
Axolotls have a simple, rounded body shape with almost no tricky increases or decreases. That makes this crochet axolotl pattern one of the most forgiving amigurumi projects for anyone just starting out.
You only need to know two stitches to finish this whole project: single crochet and slip stitch. There is no color changing mid-round and no complicated shaping, which means your stitch count stays easy to track.
The gills are the star of the look, and they are made from simple little loops instead of fussy embroidery. Trust me on this one — once you finish your first gill, the rest go by so fast you will want to make a second axolotl right away.
For your very first stitches, grab a soft, forgiving yarn like Lion Brand Comfy Cotton yarn. It has just enough stretch to hide uneven tension while you are still learning your rhythm.
This project also teaches you the core skills you will use in almost every future amigurumi pattern: working in a spiral, stuffing evenly, and closing up a piece neatly. Once you master this axolotl, you will be ready for frogs, bunnies, and every other creature on your crochet wish list.
What You’ll Need Before You Start Your Crochet Axolotl Pattern
Before you dive into the stitches, let’s get your supplies sorted. Now that you know why this pattern works so well for beginners, gathering the right materials will make the process even smoother.
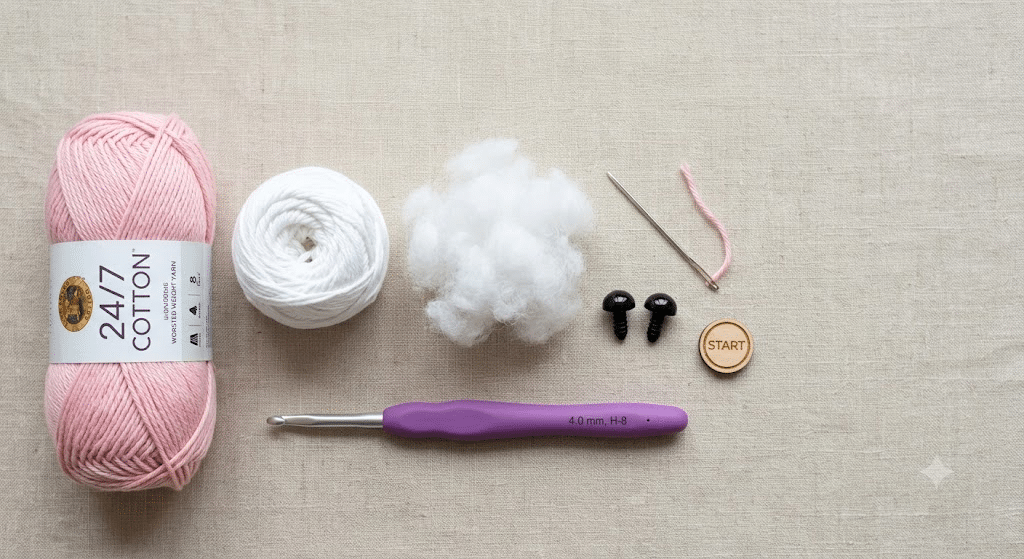
Yarn and Hook Essentials
You will need worsted weight yarn in your main axolotl color (pink, lavender, or blue all look adorable) and a small amount of white or cream for the belly and gills. A 3.5mm or 4mm crochet hook works best for tight, even stitches that keep the stuffing from peeking through.
Many crocheters swear by an ergonomic hook for long amigurumi sessions. I always reach for my Clover Amour crochet hook because the soft grip keeps my hand from cramping halfway through a project.
Stuffing and Safety Eyes
Poly-fil Premium fiberfill gives your axolotl that plump, huggable shape without going lumpy over time. Stuff firmly but gently, adding small pieces at a time instead of one giant handful.
For the eyes, 6mm safety eyes are the perfect size for a medium amigurumi axolotl. Before you attach them permanently, always test the placement by holding the eyes against the head with your fingers first.
A yarn needle and stitch markers round out your toolkit. Here is the fun part — once your supplies are ready, there is nothing standing between you and your first finished axolotl.
How to Crochet an Axolotl Amigurumi Step by Step
This is where your crochet axolotl pattern really comes together. Work each piece in a continuous spiral, using a stitch marker to track the start of every round.
Step 1: Crochet the Head and Body
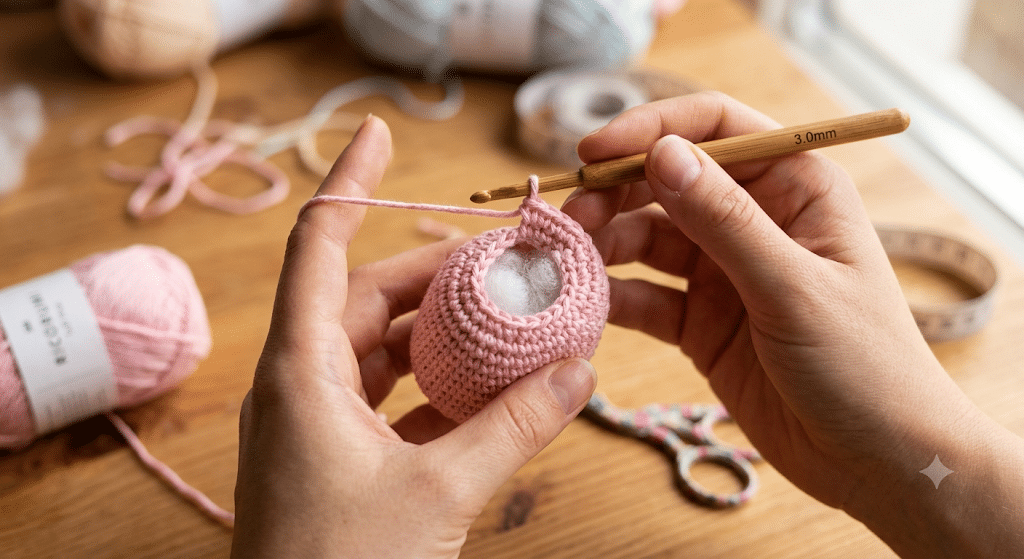
Start with a magic ring and 6 single crochets into it. Increase every stitch on round two to reach 12, then increase every other stitch on round three to reach 18 stitches total.
Continue increasing in this gentle pattern until your body reaches about 30 stitches around, then crochet even rounds without increasing until the body reaches your desired length. This slow, steady shaping is what gives your amigurumi axolotl its soft, rounded belly.
When the body reaches the right size, begin decreasing gradually over several rounds. Stuff the body firmly as you go, adding a little extra fiberfill right before you close the final round.
Step 2: Crochet the Legs and Tail
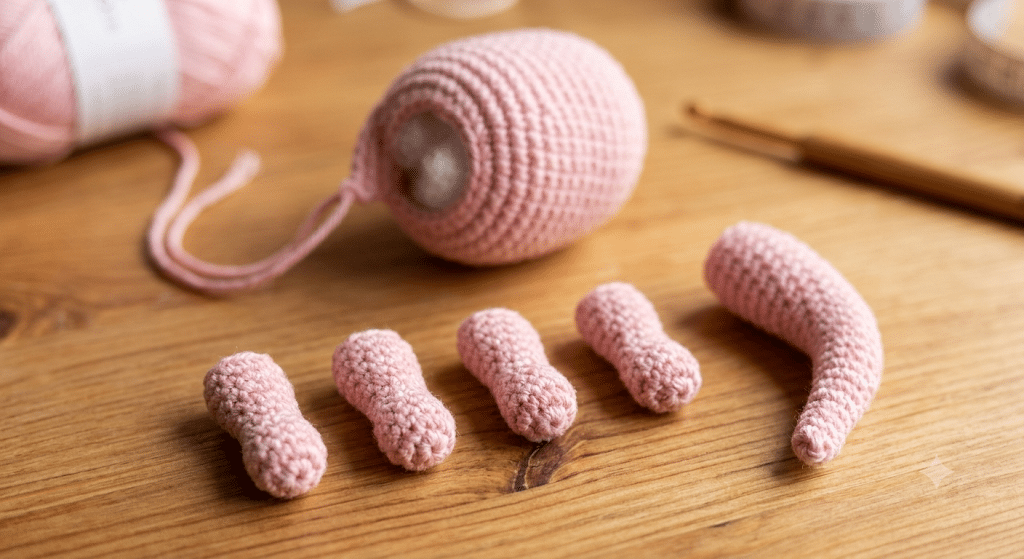
Axolotls have four short, stubby legs and a long tapered tail, and all three pieces use the same basic technique. Start each leg with a magic ring of 6 stitches, increase to 9, then crochet a few even rounds before stuffing lightly and closing.
The tail starts wider at the base and decreases gradually toward the tip. Leave the tail unstuffed for the last inch or two so it has a natural, floppy curve instead of standing stiff.
Attach all four legs evenly around the lower body using your yarn needle. Ready to move on? Once your legs and tail are secured, your axolotl already starts looking like itself.
Step 3: Add the Gills and Face
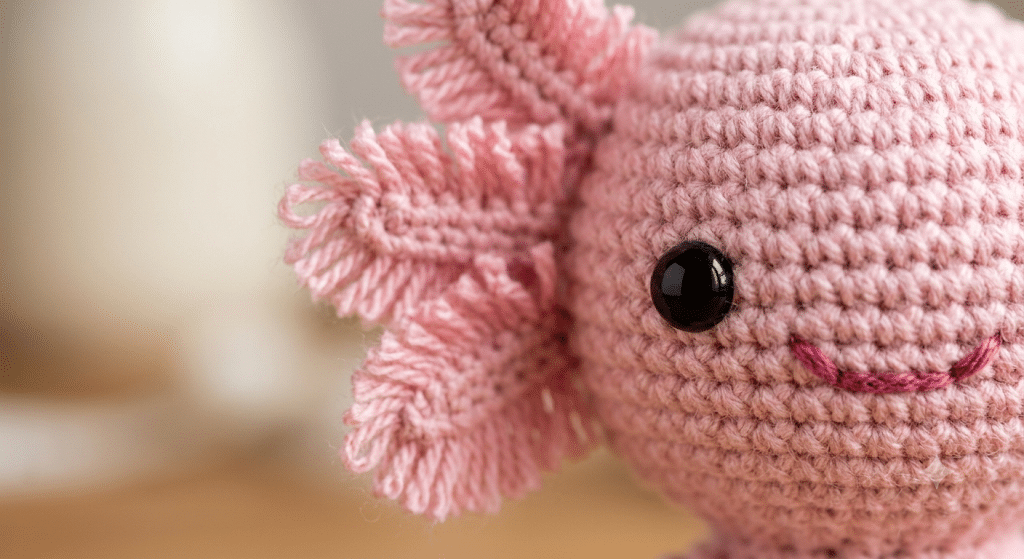
The feathery gills are what make this amigurumi axolotl instantly recognizable. Crochet three small chains on each side of the head, then work extra stitches into each chain to create a fringed, feathery texture.
For the face, attach your 6mm safety eyes with plenty of space between them for that classic wide-eyed axolotl expression. Embroider a small, gentle smile underneath using a contrasting strand of yarn and simple straight stitches.
Before we get into that last little detail, take a moment to admire how far you have come. A few rounds of single crochet have turned into a genuine little creature with its own personality.
Tips to Make Your Axolotl Plushie Look Extra Adorable
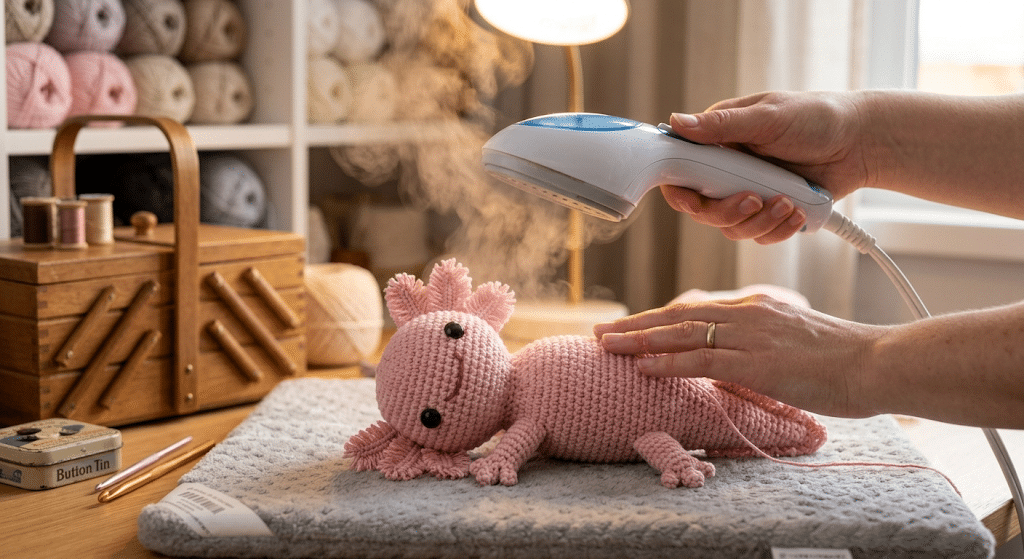
Small details make the biggest difference in amigurumi, and this crochet axolotl pattern is no exception. A few extra minutes of finishing work will take your plushie from cute to absolutely irresistible.
Blocking your pieces lightly before assembly helps even out any uneven tension from your early rounds. Simply steam the pieces from a short distance and let them cool flat before stuffing.
Pin your gills, legs, and tail in place before sewing anything permanently. This lets you step back, check the proportions, and adjust placement so your axolotl looks balanced from every angle.
Use a lighter shade of pink or white yarn for the belly panel to mimic the soft underside of a real axolotl. You can either crochet this as a separate flat piece and sew it on, or simply switch colors partway through the body rounds.
If you want your axolotl to have that glossy, aquarium-fresh look, a soft chenille-style yarn adds wonderful texture to the finished piece. Bernat Blanket yarn gives amigurumi a plush, almost velvety finish that feels amazing to squeeze.
Weave in every yarn tail carefully and trim them close to the surface so nothing pokes through the stitches later. A tidy finish is what separates a homemade plushie from a truly professional-looking amigurumi axolotl.
Creative Ways to Customize Your Amigurumi Axolotl
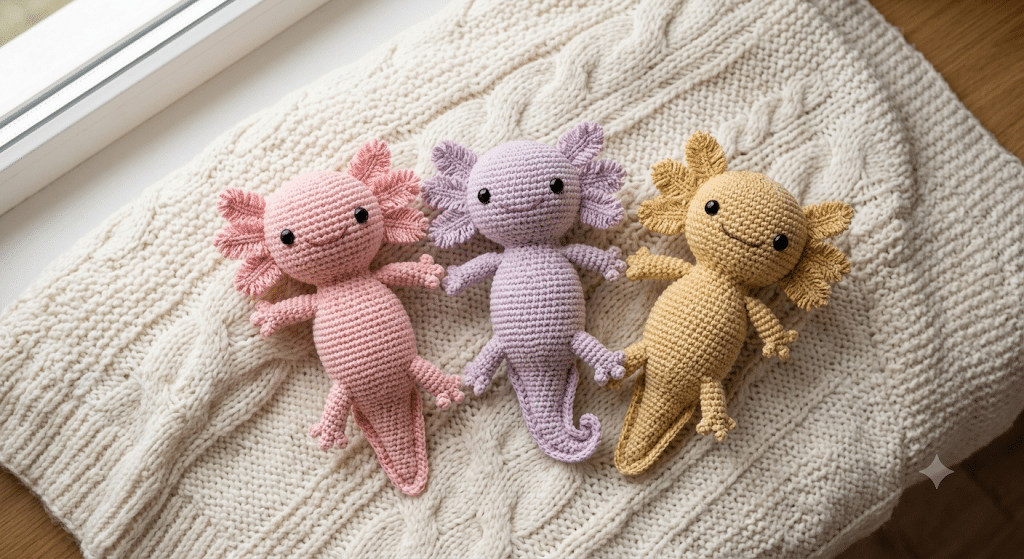
Once you have made one axolotl, you will probably want to make a dozen more in every color imaginable. Real axolotls come in pink, black, gold, and speckled patterns, so there is no wrong color choice for your own version.
Try adding tiny crocheted flowers or a bow behind one gill for a girly, gift-ready touch. A miniature crown or bandana also turns a simple axolotl into a fun character gift for a specific person in your life.
For sensory play or a slightly different texture, swap your main yarn for a soft bouclé or eyelash yarn on just the gills. This creates extra movement and texture that catches the light beautifully in photos.
If you are making these to sell or gift in bulk, consider working up a tiny keychain-sized axolotl using the same shaping in miniature. It uses far less yarn and stuffing while still following the exact same crochet axolotl pattern logic you just learned.
Frequently Asked Questions About Crochet Axolotl Pattern
How long does it take to crochet an axolotl?
Most beginners finish this crochet axolotl pattern in about four to six hours, spread across a few crafting sessions. Once you know the stitches, an experienced crocheter can often complete one in two to three hours.
What yarn is best for axolotl amigurumi?
A soft worsted weight cotton or acrylic yarn works best because it holds its shape and keeps stitches tight enough to contain the stuffing. Cotton blends also give a slightly smoother, more polished finished look.
Is this axolotl pattern good for beginners?
Yes, this pattern is designed specifically for beginners with simple shaping and only two stitches required from start to finish. It is one of the most approachable amigurumi animals you can make as a first project.
What size safety eyes work for axolotl amigurumi?
Small-batch handmade sales of finished items are generally allowed, though it is always worth reading the specific pattern terms carefully. Selling the written pattern itself or mass-producing items in a factory setting typically is not permitted.
Why is my axolotl body lumpy after stuffing?
Lumpy stuffing usually comes from adding fiberfill in large clumps instead of small, even pieces. Add stuffing gradually and pause to smooth it with your fingers through the stitches as you go.
Bringing Your Axolotl to Life
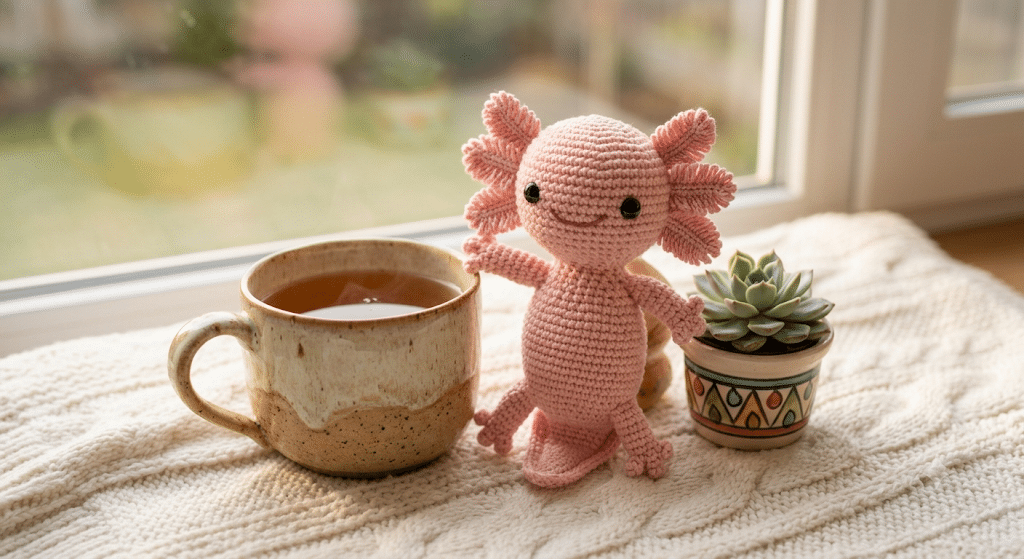
You just turned a few skeins of yarn into a soft, smiling little creature you made completely with your own hands. That feeling of finishing your first crochet axolotl pattern and holding the finished plushie never really gets old, no matter how many amigurumi animals you make after this one.
Every gill, stitch, and tiny safety eye came together because you followed each step at your own pace. Whether this axolotl becomes a gift, a shelf decoration, or the start of a whole crocheted collection, you should feel genuinely proud of what you made.
Save this pin to your crochet board on Pinterest so you can find this pattern anytime!
Looking for more free crochet animal patterns? Visit Yarned Animals for new amigurumi patterns, kawaii plushies and beginner crochet tutorials added every week at yarnedanimals.com